If you’re anything like me, you have backdrop envy. You see photos all over Pinterest and ask yourself: How do they have such beautiful surfaces? How come my yellow flowery tablecloth isn’t this nice? Well, that’s because it’s magic. Magic and lies I tell you!
It had never occurred to me for one second that people were faking it, I honestly thought I was the only person in the entire world with an ugly table/floor that was totally unsuitable to use for photographing my projects. (I have a lovely floor, by the way. My husband laid it himself which makes it all the better!)
Well, no more! I’ve just finished my own fabulous “Fakedrop” and I’m going to show you how I did it. I spent weeks searching Etsy and other sites for perfect vinyl sheets to use as backdrops, but they’re fairly pricey and I couldn’t find anything local, meaning I’d likely be stung for import duty on top of the cost of the backdrop and then shipping.
So I decided that I could do this and I jumped on my bicycle and headed to the local hardware store to see what was on offer. I went straight to the wallpaper aisle and found a great white worn timber print, along with a roll of seriously strong double sided tape and a sheet of the cheapest lightweight plywood I could find. It was the sort of wood that you find in caravans, you know the stuff?
I then proved to the world how dutch I am by carrying a huge sheet of wood home under my bike under my arm. I should have picked up a bunch of flowers on my way home, just for fun.
Here’s what you need: A sheet of lightweight plywood, a roll of wallpaper that you love, a stanley knife to cut it all, plus some double sided tape. You could also use wallpaper glue, but I didn’t want to wait around for it to dry, or clean up the mess. You’ll also need some gaffer tape to hold it down on the back.
So what I did first was cut the length of ply in half, because it was about 1mx2m, so I really didn’t need something that large. I just used the Stanley knife for that, so you don’t need a saw or anything, but watch your fingers! Then I edged the ply with the double sided tape before cutting lengths of the wall paper (about 10cm overhang at each end).
Then I carefully laid the wallpaper out so that it was square to the plywood then made sure it was pulled tight. I folded it over the edges and taped it all down with gaffer tape.
I also used some clear tape at the corners to protect the paper a bit – it might not last too long kicking around my living room otherwise!
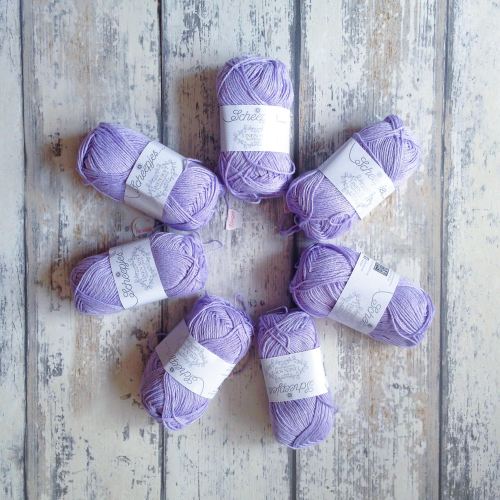
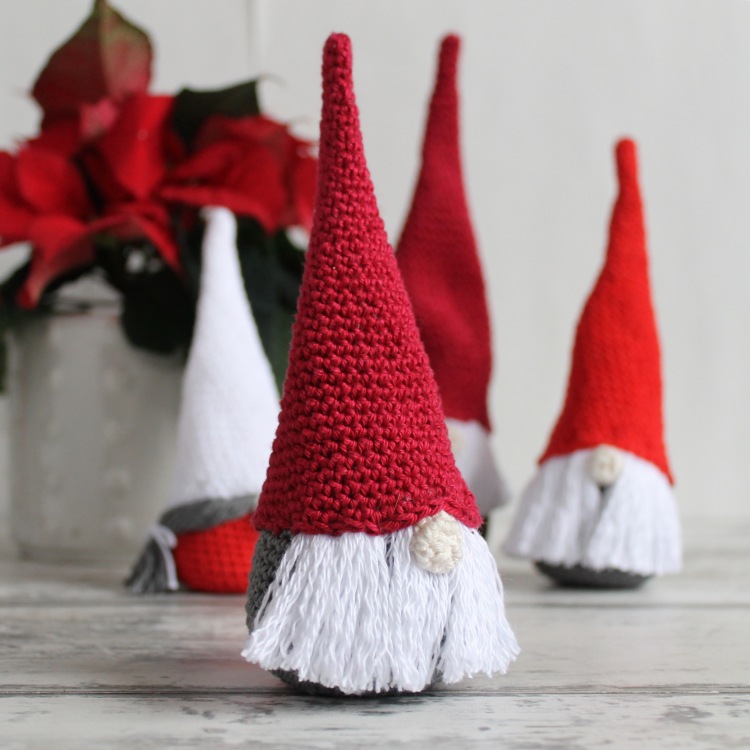
And all that was left was to start taking photos!
And see how fake it is?
You’re welcome!
All in all it cost me about 30 euros to make. The wallpaper wasn’t cheap, but I’m sure you can find it cheaper at a large hardware store or online. I wanted to make it while I was motivated, so didn’t mind the price tag. And plus, if this one wears out I can make another. Or I can use the wallpaper to cover something else! I did use the leftover piece of timber to create a white reflector board too actually. I just attached the wallpaper facedown instead. Perfect!
Don’t forget to follow me on Social Media. Instagram is where I hang out most, so I’d love to see you there! Come share your Fakedrops if you have any, don’t forget to tag me: @miss__neriss
Never miss a post!
XN









Brilliant! Miriam told me about the “fake” background she uses and I’ve been meaning to make one – but this tutorial is simply the best, thank you so very much! Wip-list-quest or not: this one is going to be made very soon! Marianne xx
Seriously, it’s ridiculously easy. I love gaffer tape, can do everything with it! X
This is honestly SUCH a helpful post for me! I’d really been struggling with my backdrops – my desk is a high gloss white which is tough for photos. I’ve just ordered two rolls of wallpaper to follow this tutorial – thank you so much!
Now to work out how I will get creative with the remainder of my wallpapers… this could’ve started something! 🙂 xx
Brilliant Elsie, do share your results!!! ❤
Amazing!! This would be perfect for my outfit layouts!
It will be!!!
Brilliant 🙂 I have 3 wallpaper sample books that I raid every now and then if I need a backdrop other than white. If you can beg an expired one off of a hadlrdware store owner, you don’t have to spend any money on the wallpaper.
D
I’d LOVE a sample book! I might go back and ask them if they have any old ones lying around. I know in the UK you can just go into B&Q and rip off a sample sheet, but there’s no way that would fly here in NL…