Tag Archives: craft

Christmas Bunting

Today is the very last day of the Scheepjeswol Christmas Blog Hop and I’m so sad that it’s over, yet very happy to be able to send it off, hopefully in style!

A fabulous Christmas-themed blog hop hosted by @Scheepjeswol. Check out all ten fantastic creations, all with free patterns!

How incredibly beautiful is Heike from Made with Loops bag?  Fair Isle, I promise you, will be absolutely THE biggest yarn trend of 2015, so get onto it!

Here’s today’s project from me, some lovely and very simple Christmas Bunting.

Christmas Bunting, part of the Scheepjes Christmas Blog Hop, see and make all ten of the beautiful Christmas projects!I had some left over yarn once I had finished my Christmas Wreath and I wanted to use it up for something fun to decorate the house with this Christmas, and I just love bunting, so bunting it was!

I came up with a very simple half double crochet pattern that works up in a jiffy.  Each flag can be made in under ten minutes!  It’s a great scrap project too, so you don’t have to worry too much about how much yarn you have lying around.
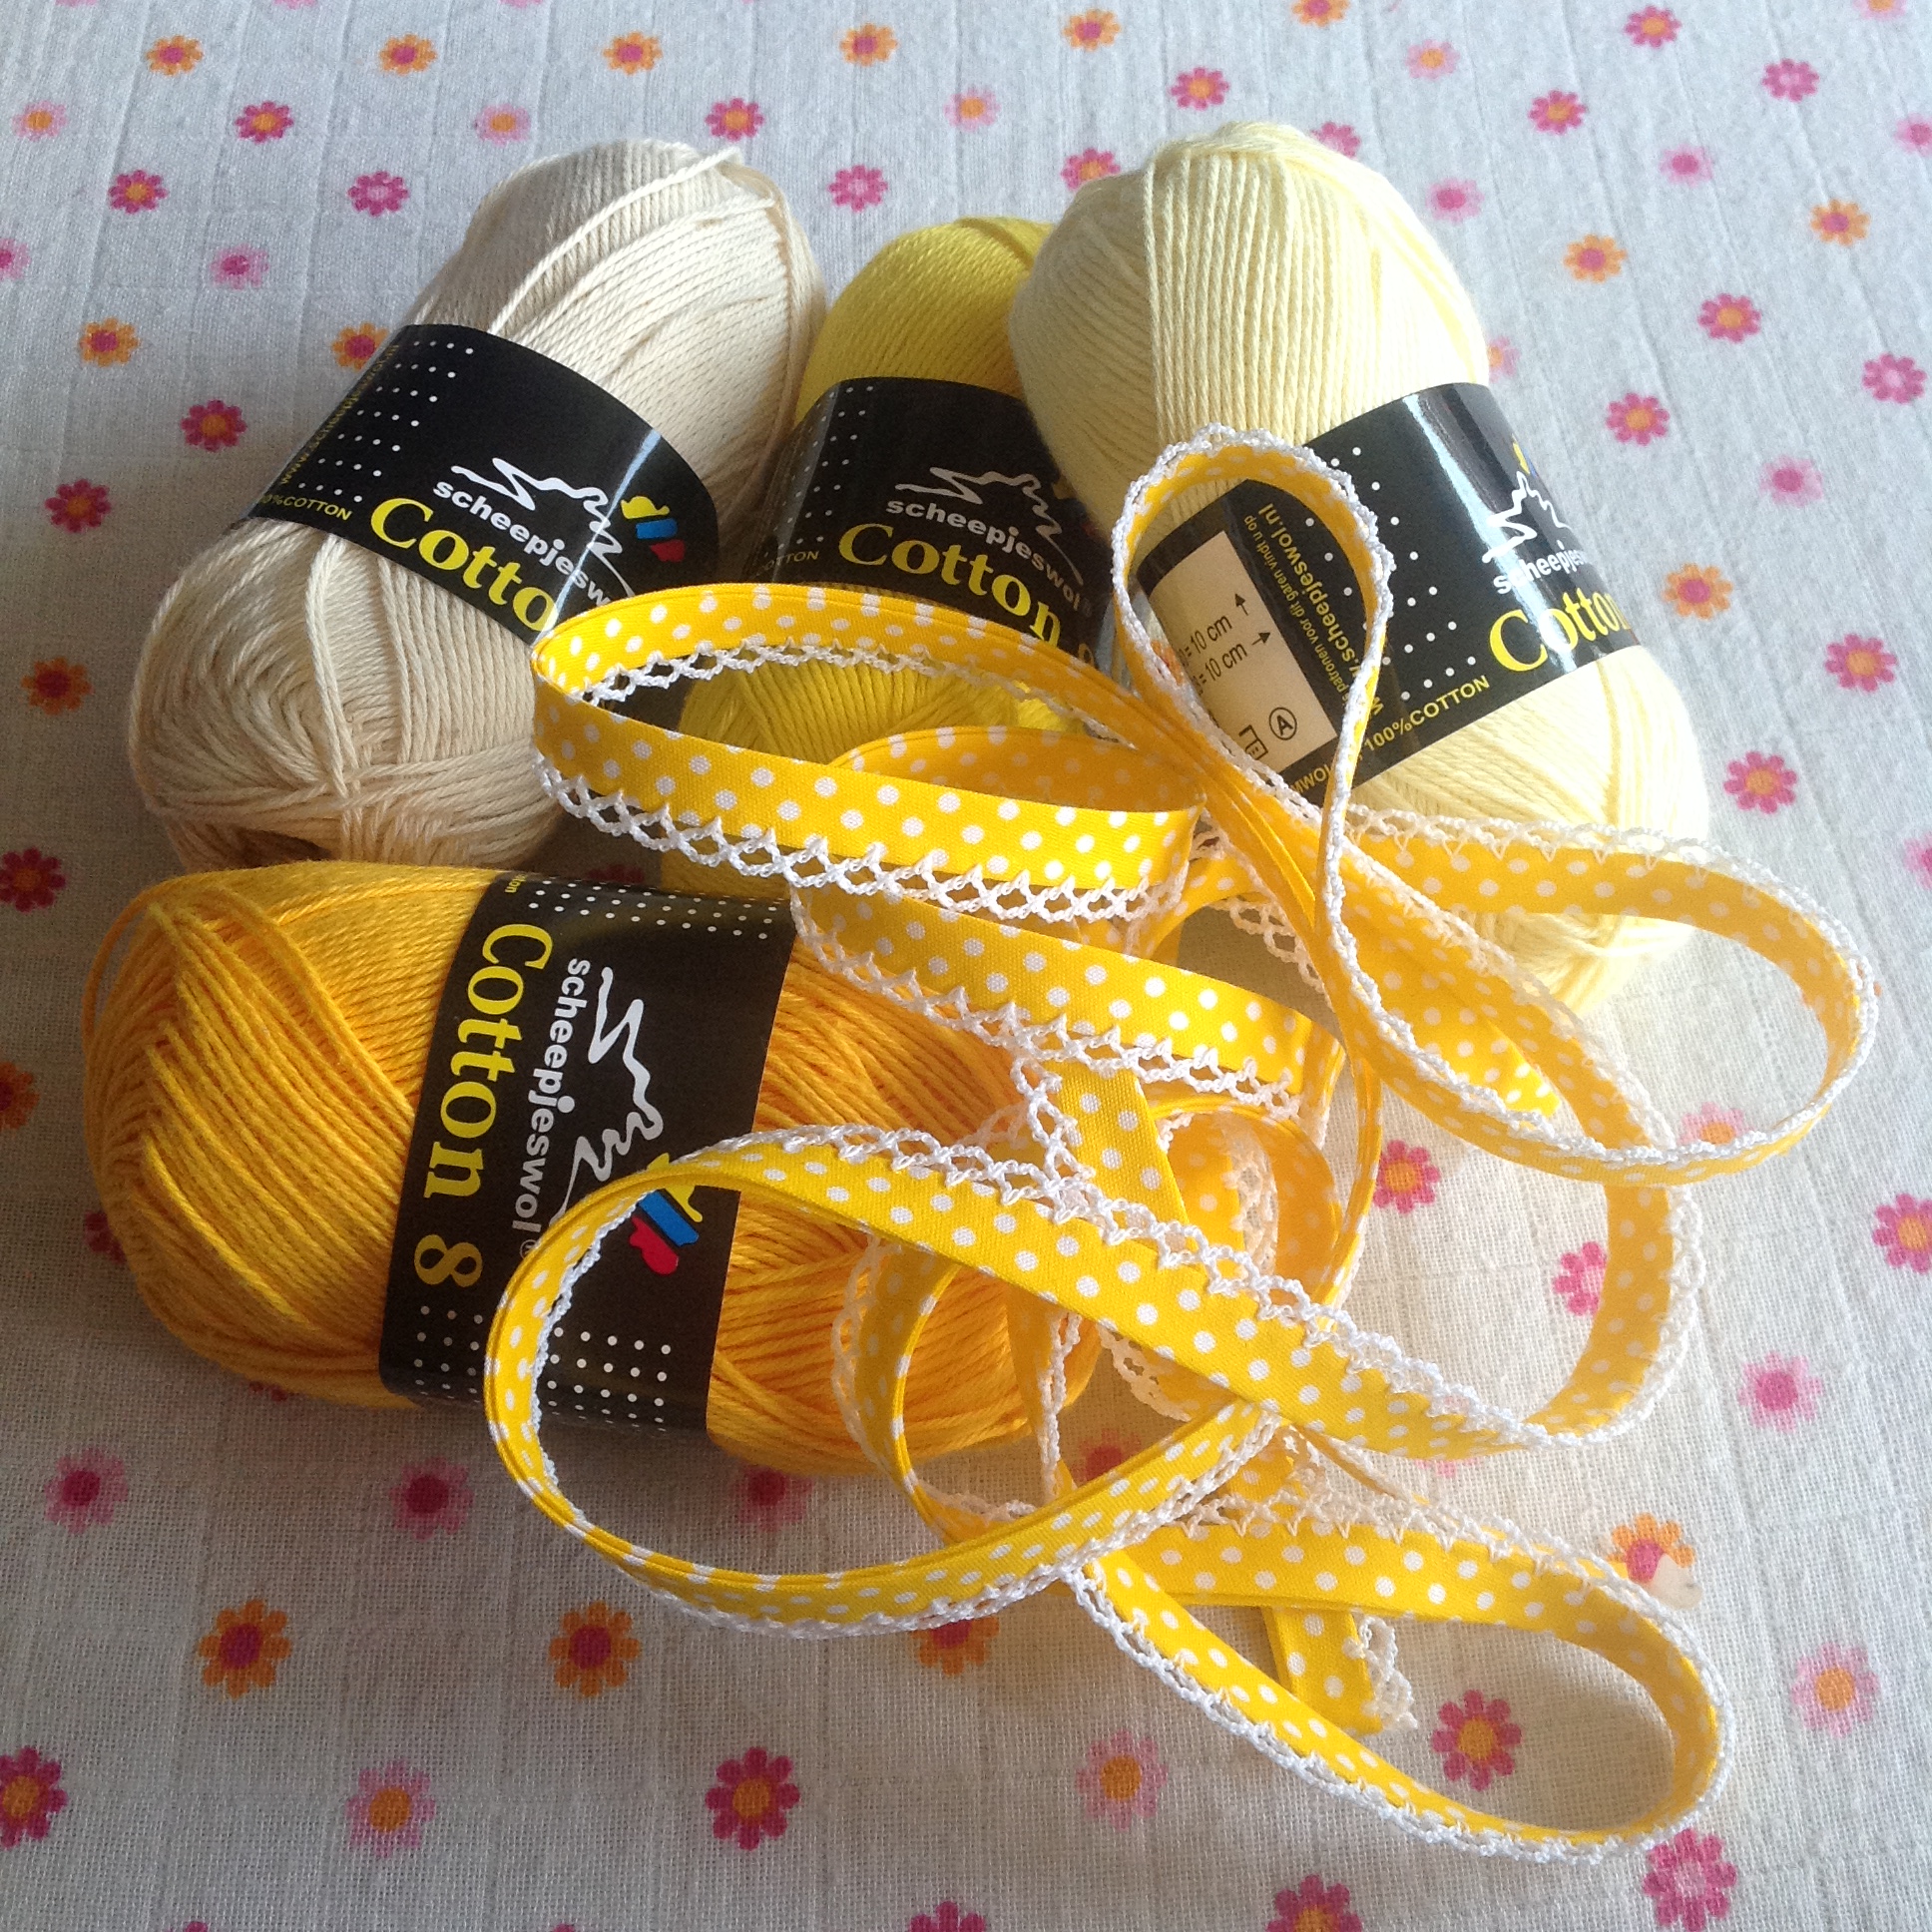
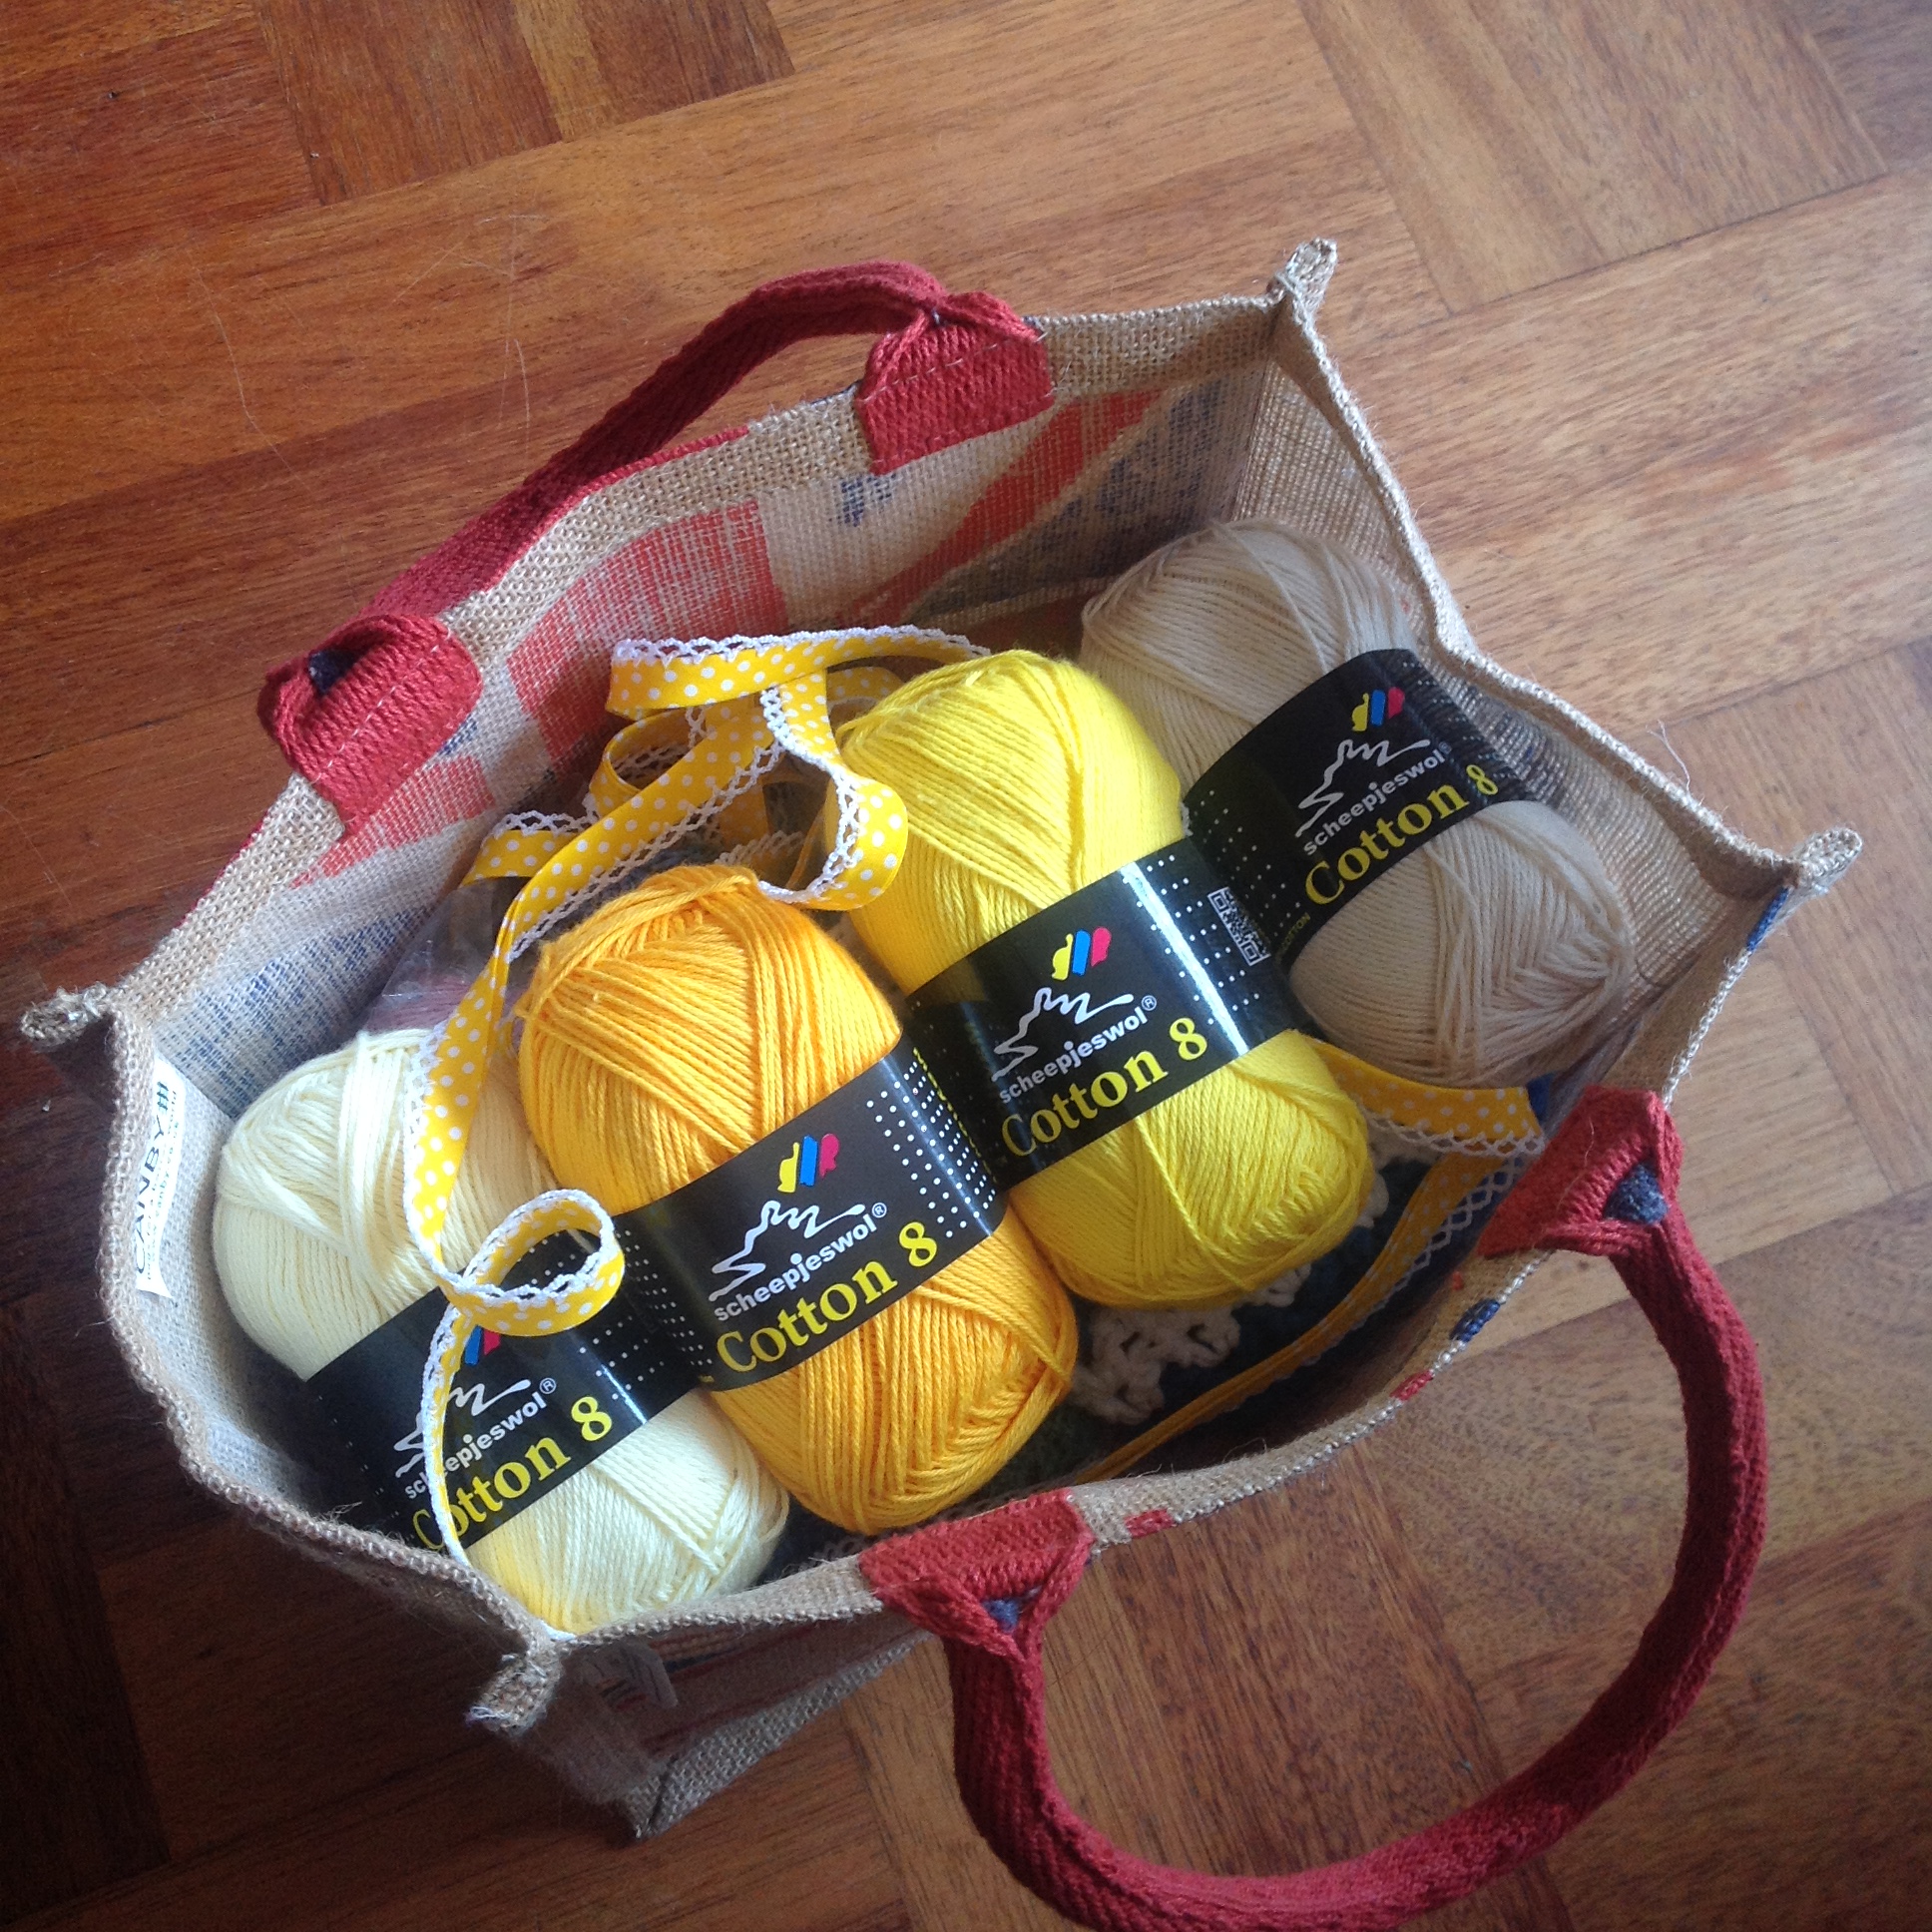
What you’ll need:

Scheepjeswol Stone Washed in five colours.  I used the same as in my wreath: 801, 807, 815, 813 and 814.
4mm hook
Scissors
Tapestry needle
Measuring tape

IMG_2229

How To:

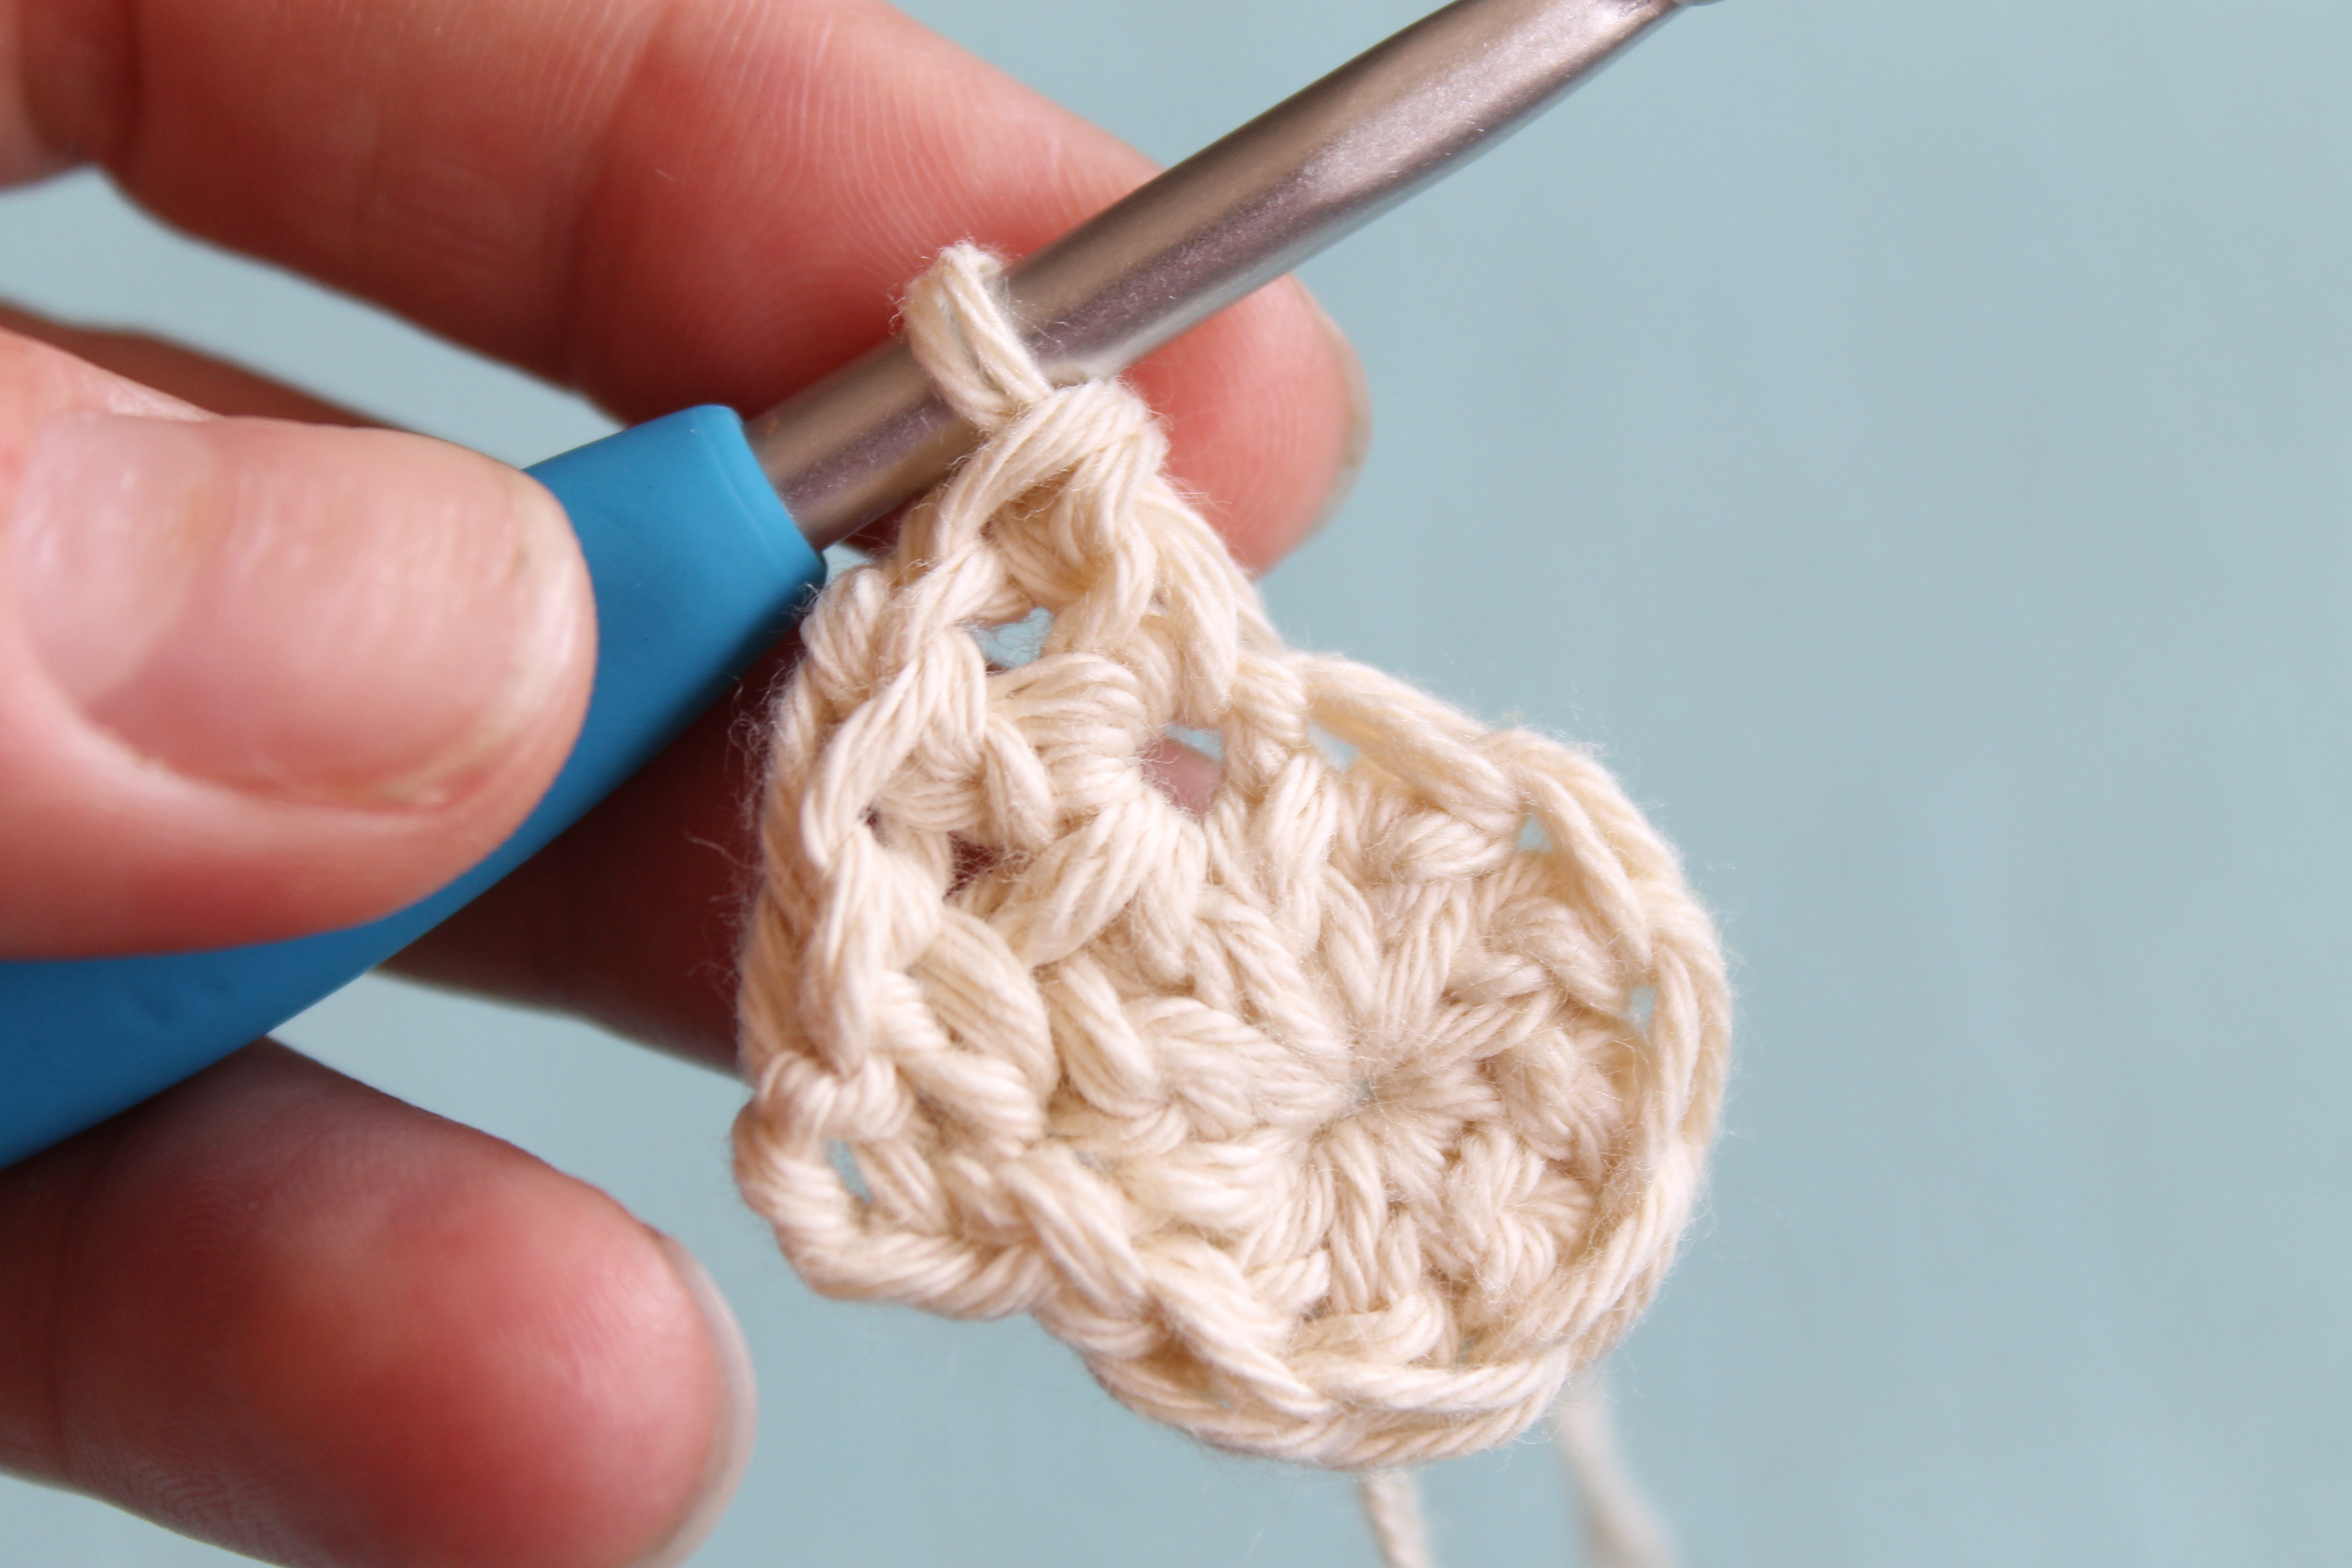
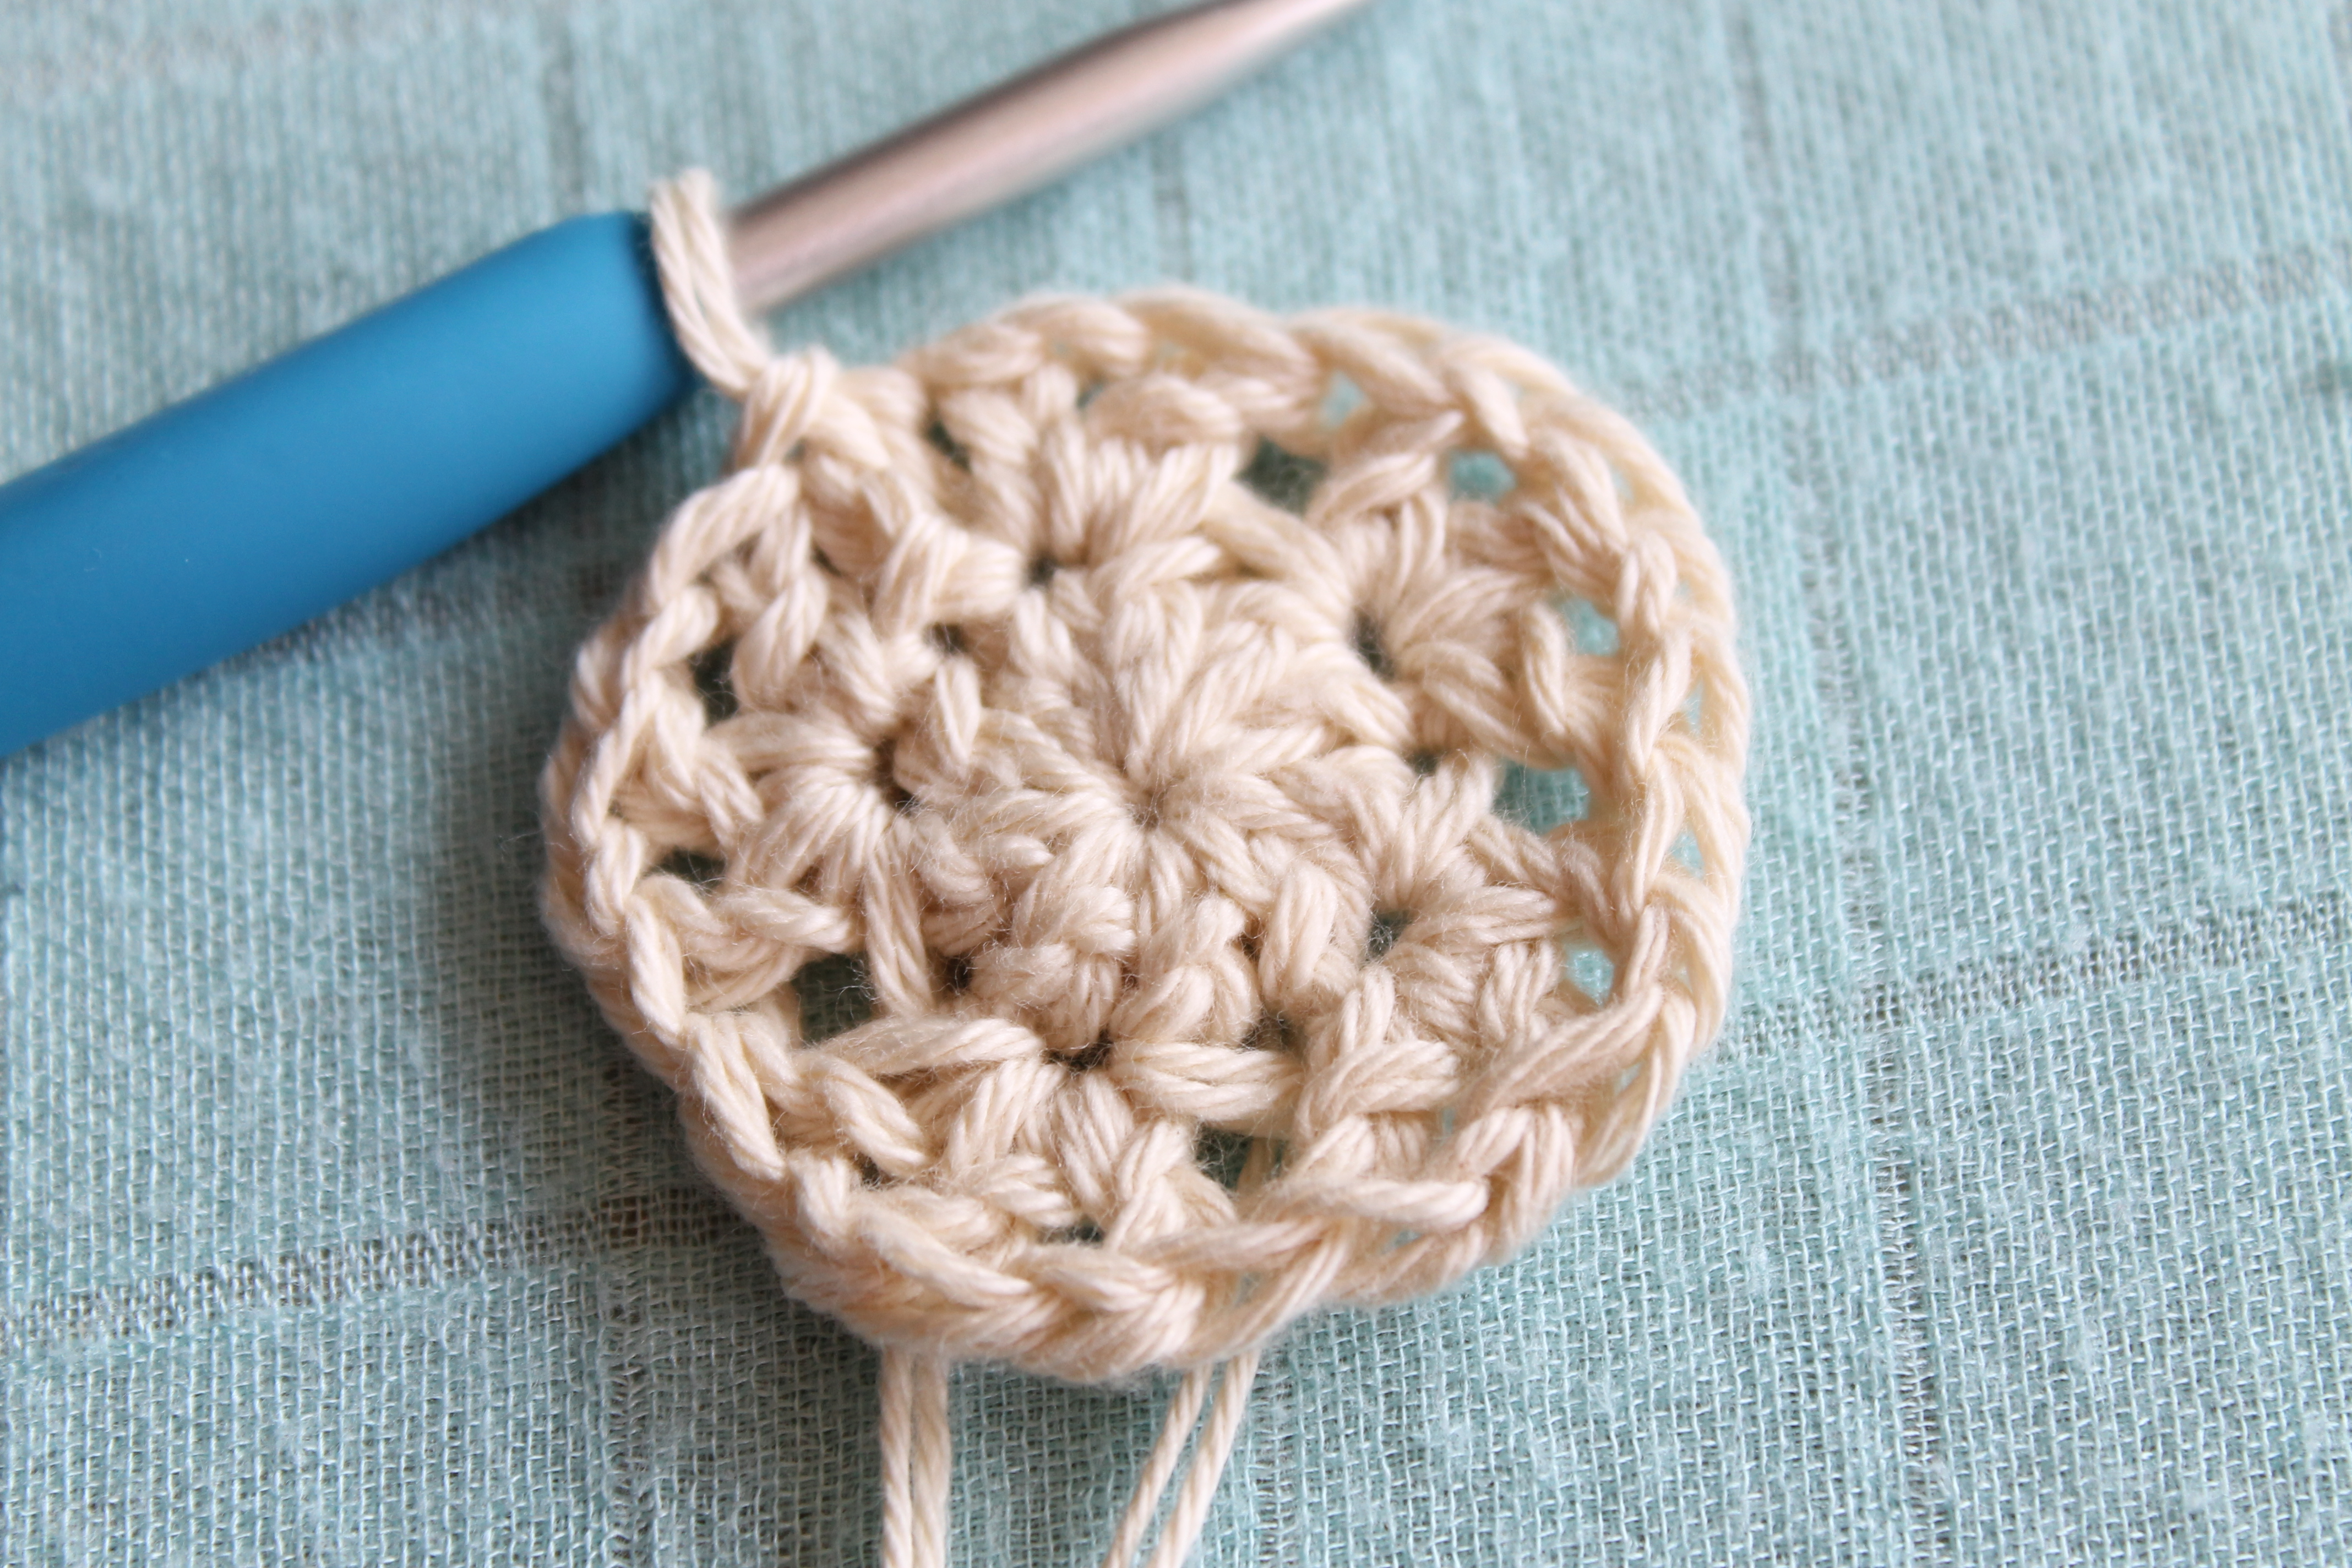
Choose one of your colours, then start with a slip stitch, and chain 2.  Half double crochet into the second chain from the hook and there you will have the foundation of the triangle to start building your bunting.
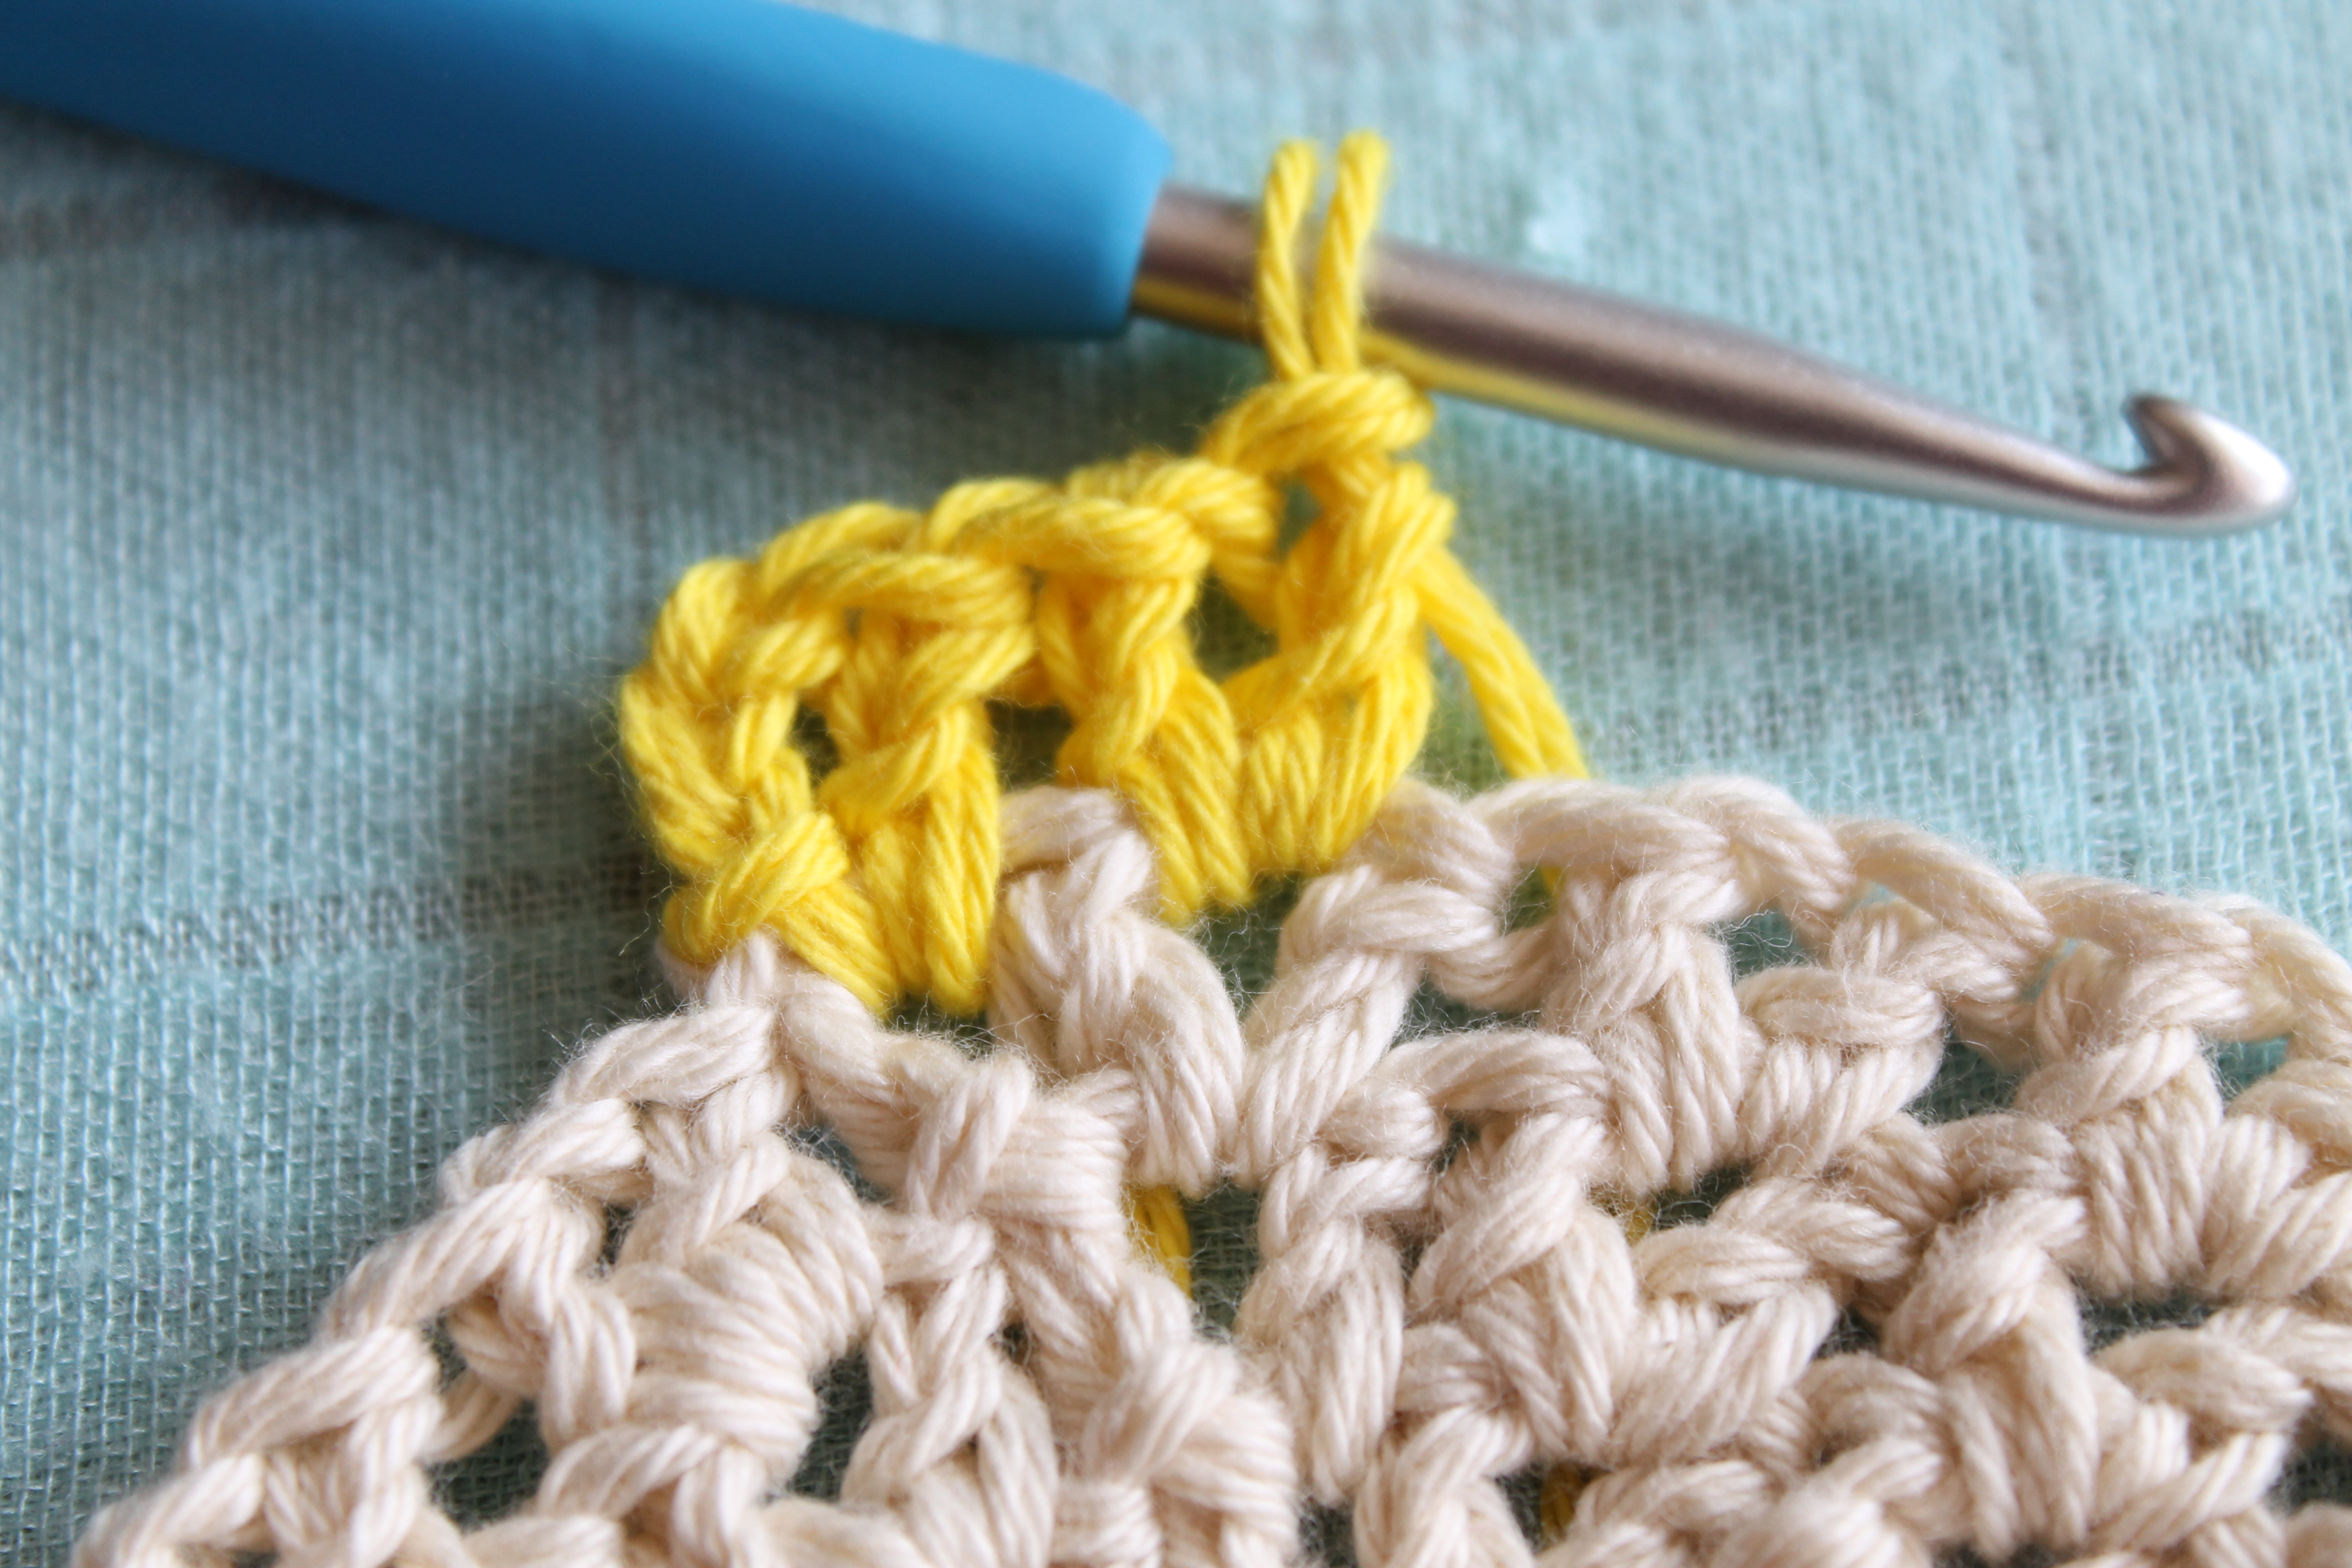
From here on, you will need to increase at the end of each row with 2 half double crochets into the last stitch.
Row 2: Chain 2, 2 HDC (half double crochet) into the next stitch (3 stitches in total), turn.
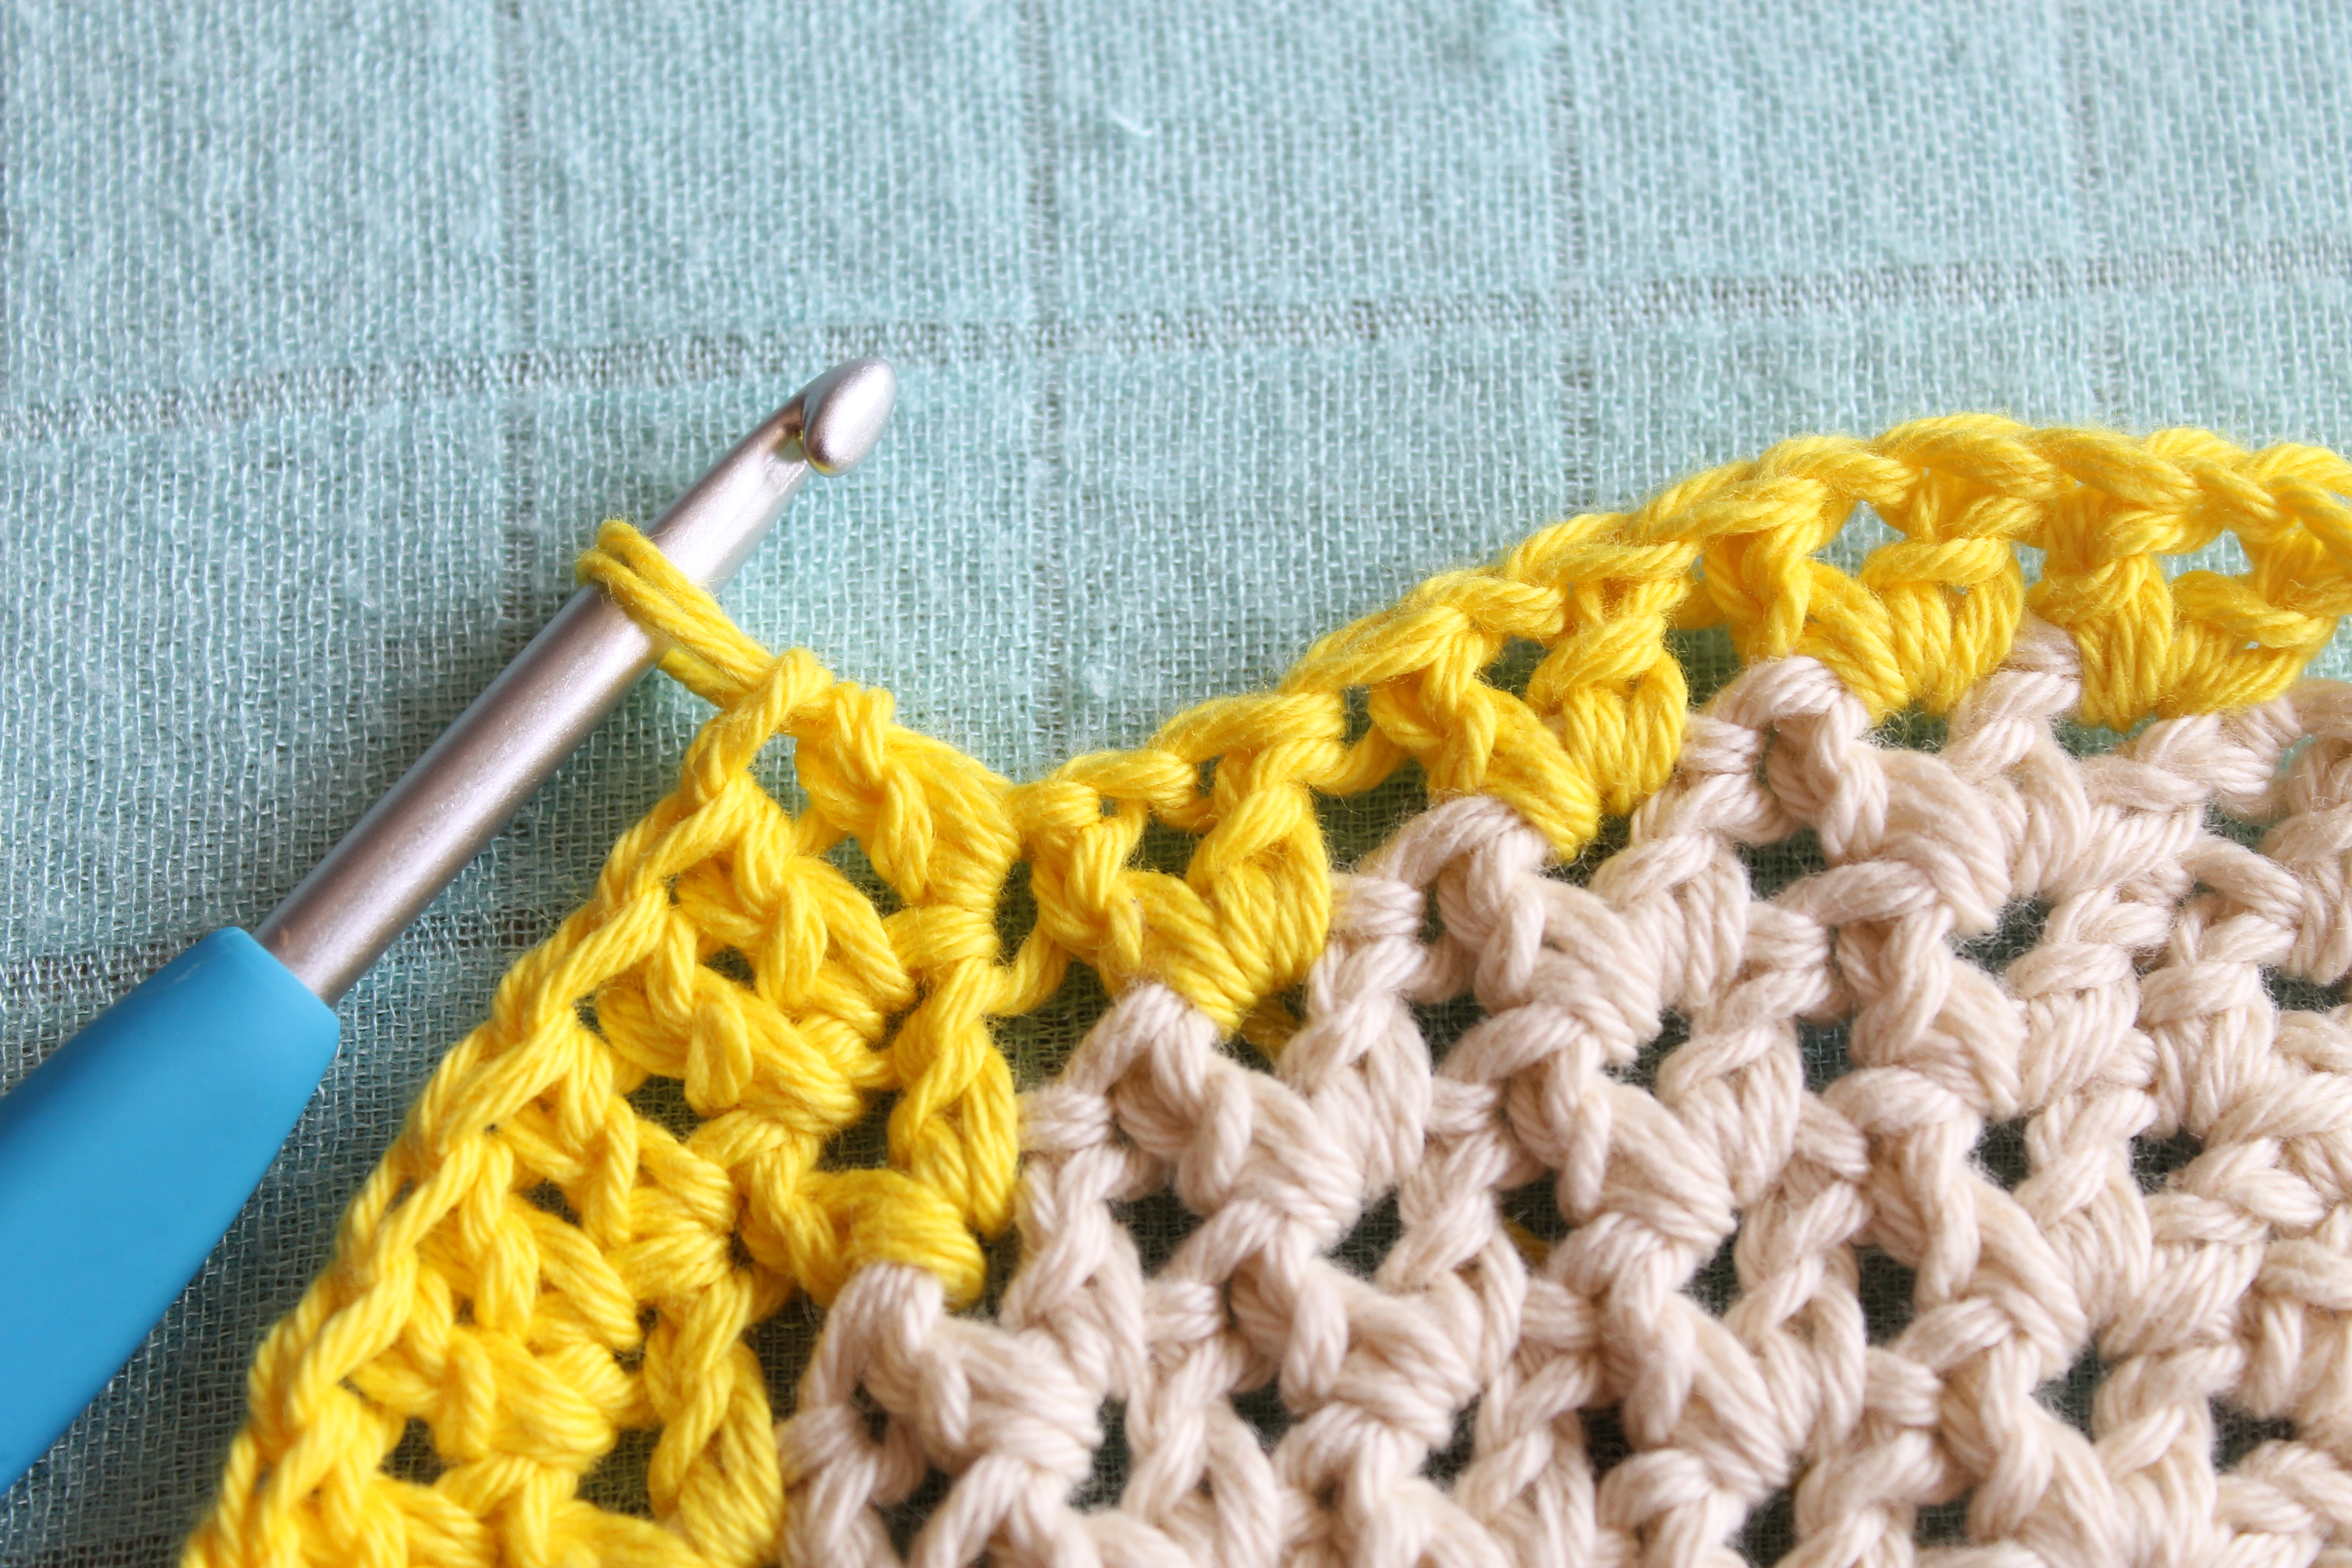
Row 3: Chain 2, HDC into the next stitch, 2 HDC into the last stitch (4 stitches), turn.
Row 4: Chain 2, HDC into the next 2 stitches, 2 HDC into the last stitch (5 stitches), turn.
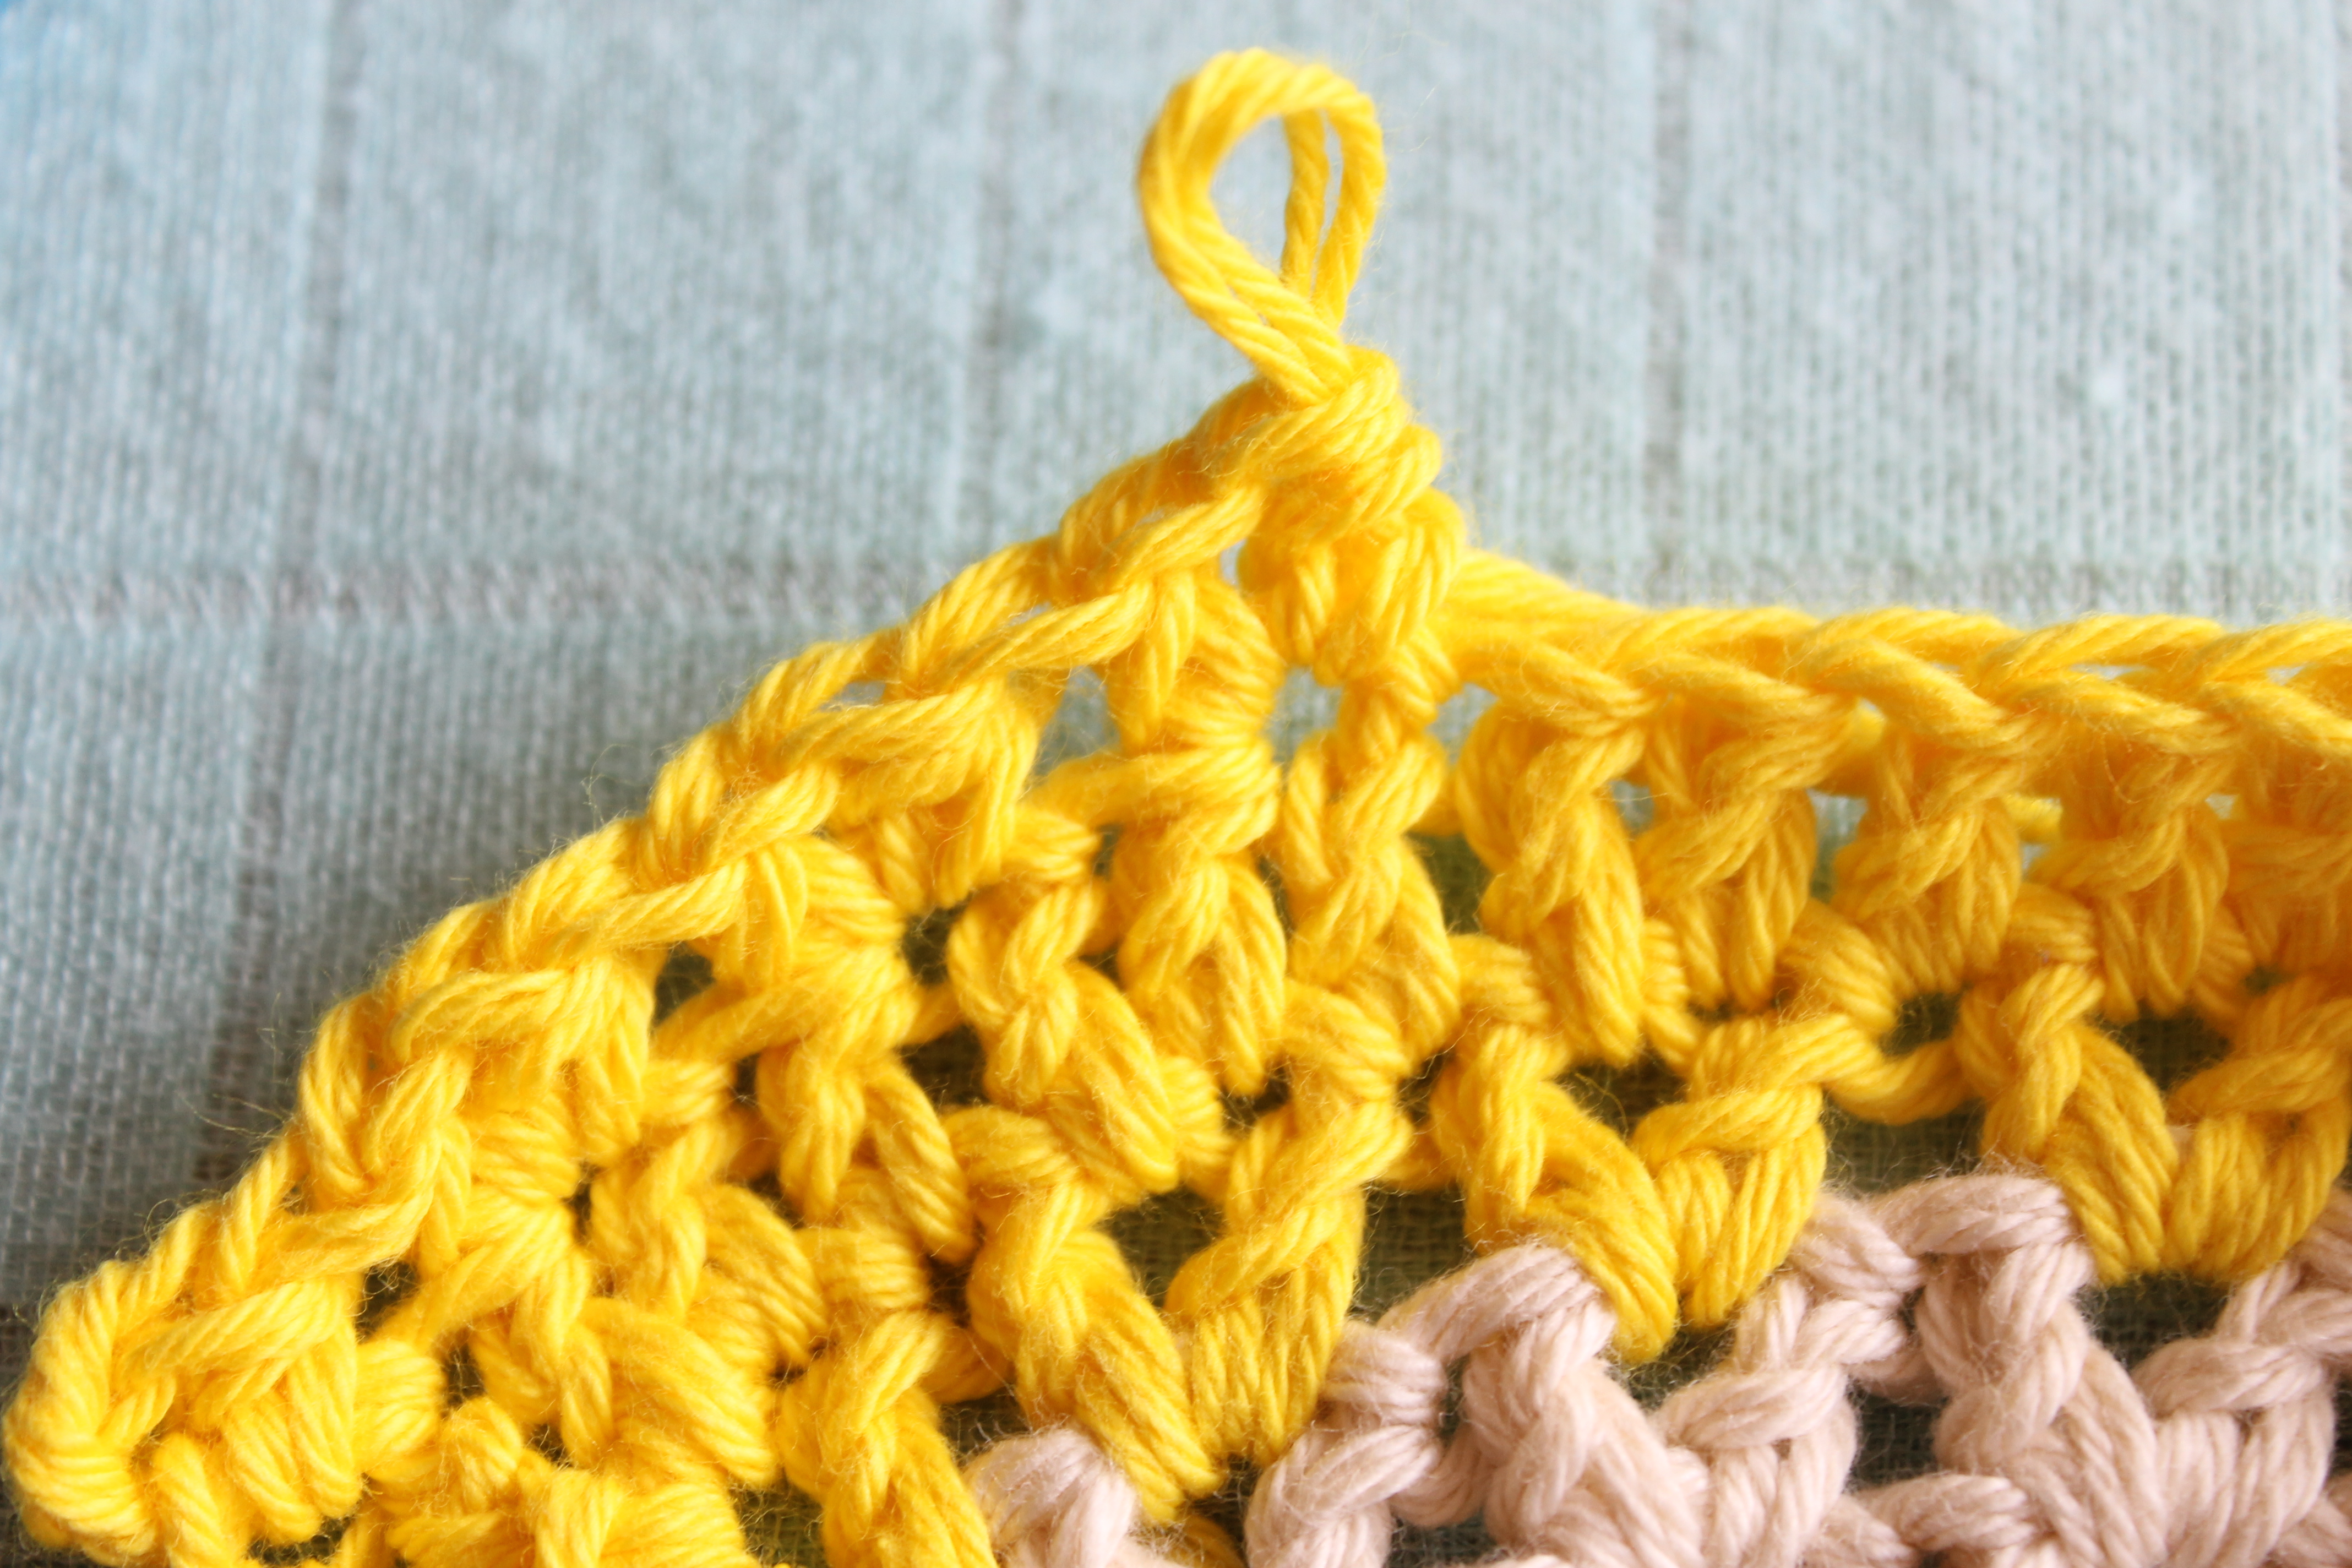
Continue this pattern until you have a stitch count of 17 (16 rows in total), then tie off and weave in the ends, making sure you keep the nice point at the bottom of the triangle.

Make 3 of each colour (or more if you’d like to make it longer)

Here’s a chart to help make it a bit easier:

Use this chart to create a Half Double Crochet Bunting triangle for your Christmas Bunting

To join the bunting, take your lightest colour (801) and start chaining, working the end in as you go.  Chain for 60cm to create a long enough tie, then attach to the first bunting triangle by single crocheting into the first and then all 17 stitches along.  Continue to chain, leaving about 8cm in between triangles.  Repeat this pattern until you have attached all your triangles to the chain, then to finish off, chain a further 60cm before cutting the yarn and weaving in the end.  The finished bunting will measure about 4m in length.

And you’re all done!  Now all that’s left to do is find the perfect spot to hang it!
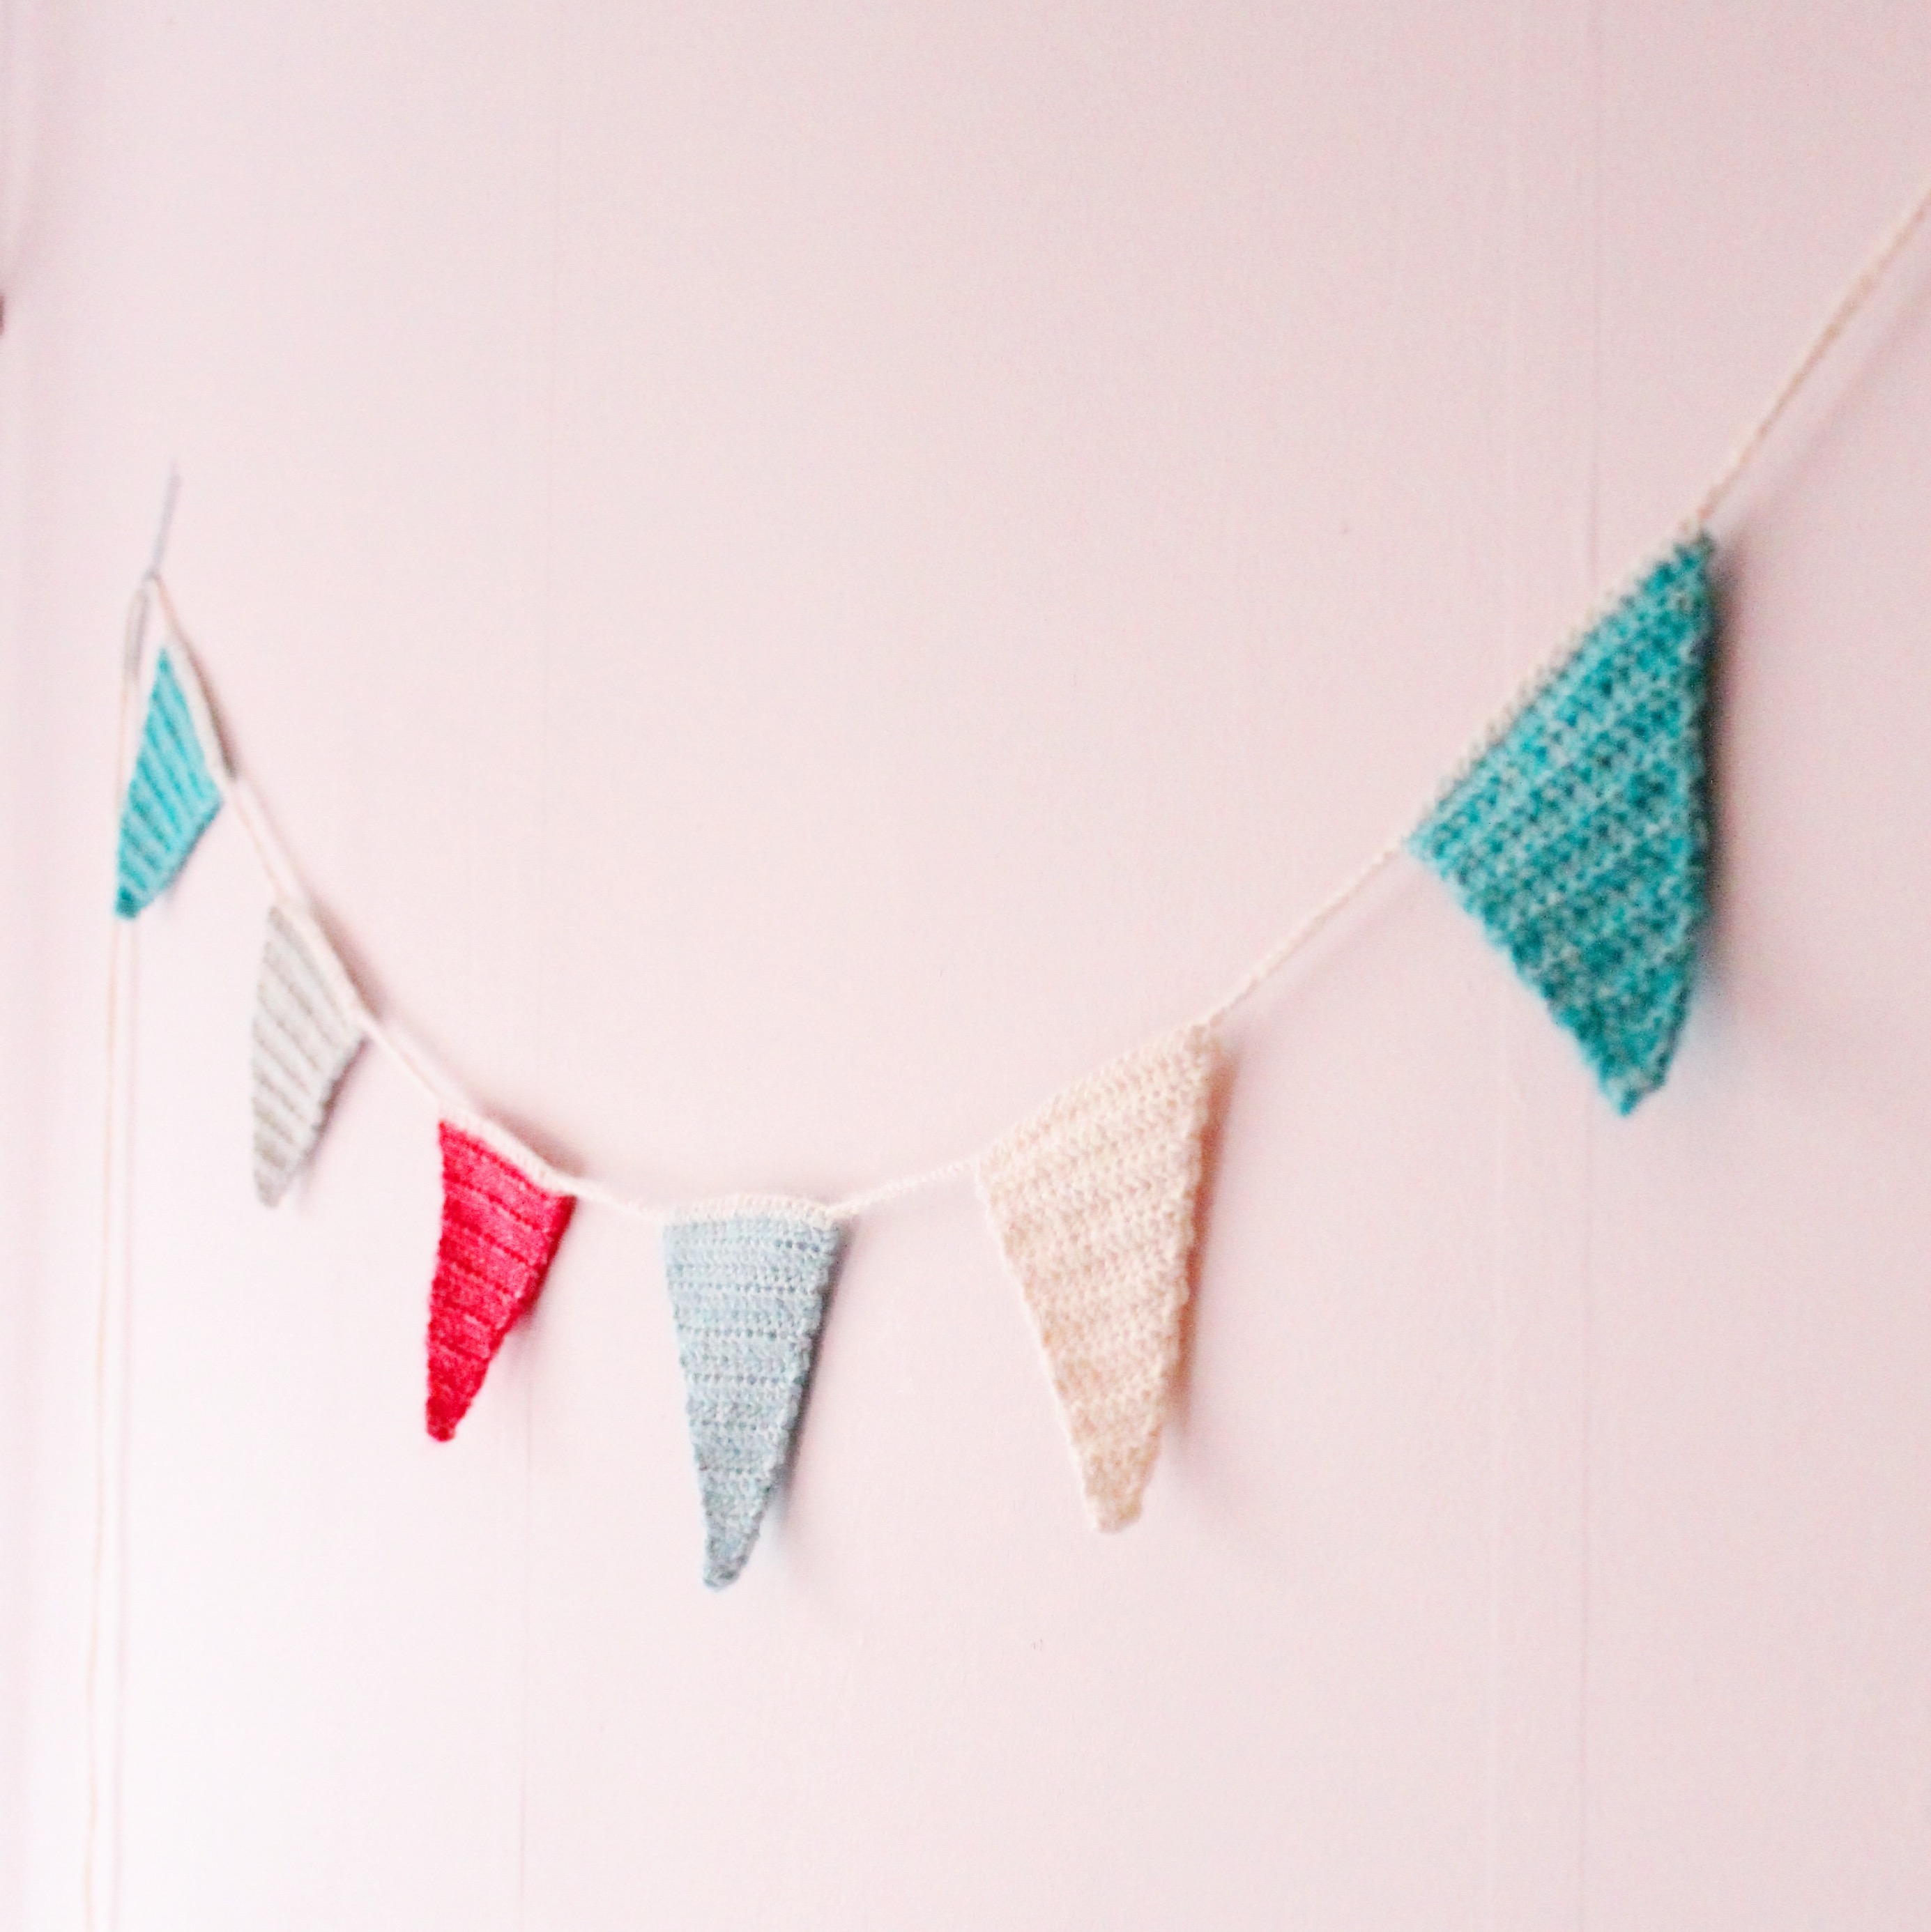
Christmas Bunting, part of the Scheepjes Christmas Blog Hop, see and make all ten of the beautiful Christmas projects!On a wall…

Christmas Bunting, part of the Scheepjes Christmas Blog Hop, see and make all ten of the beautiful Christmas projects!Or in a window…?

And that’s it.  The Christmas Blog Hop is over for this year *sob*.  I hope you found some wonderful inspiration – I certainly did.  But before I go, here’s a recap of what we’ve seen in the last ten days:

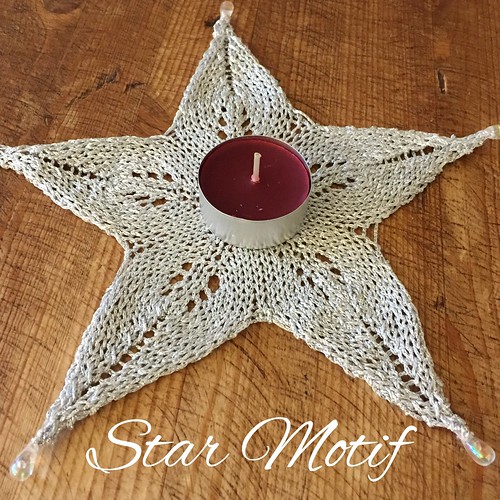
 The beautiful Knitted Star motif from Crafts from theCwtch

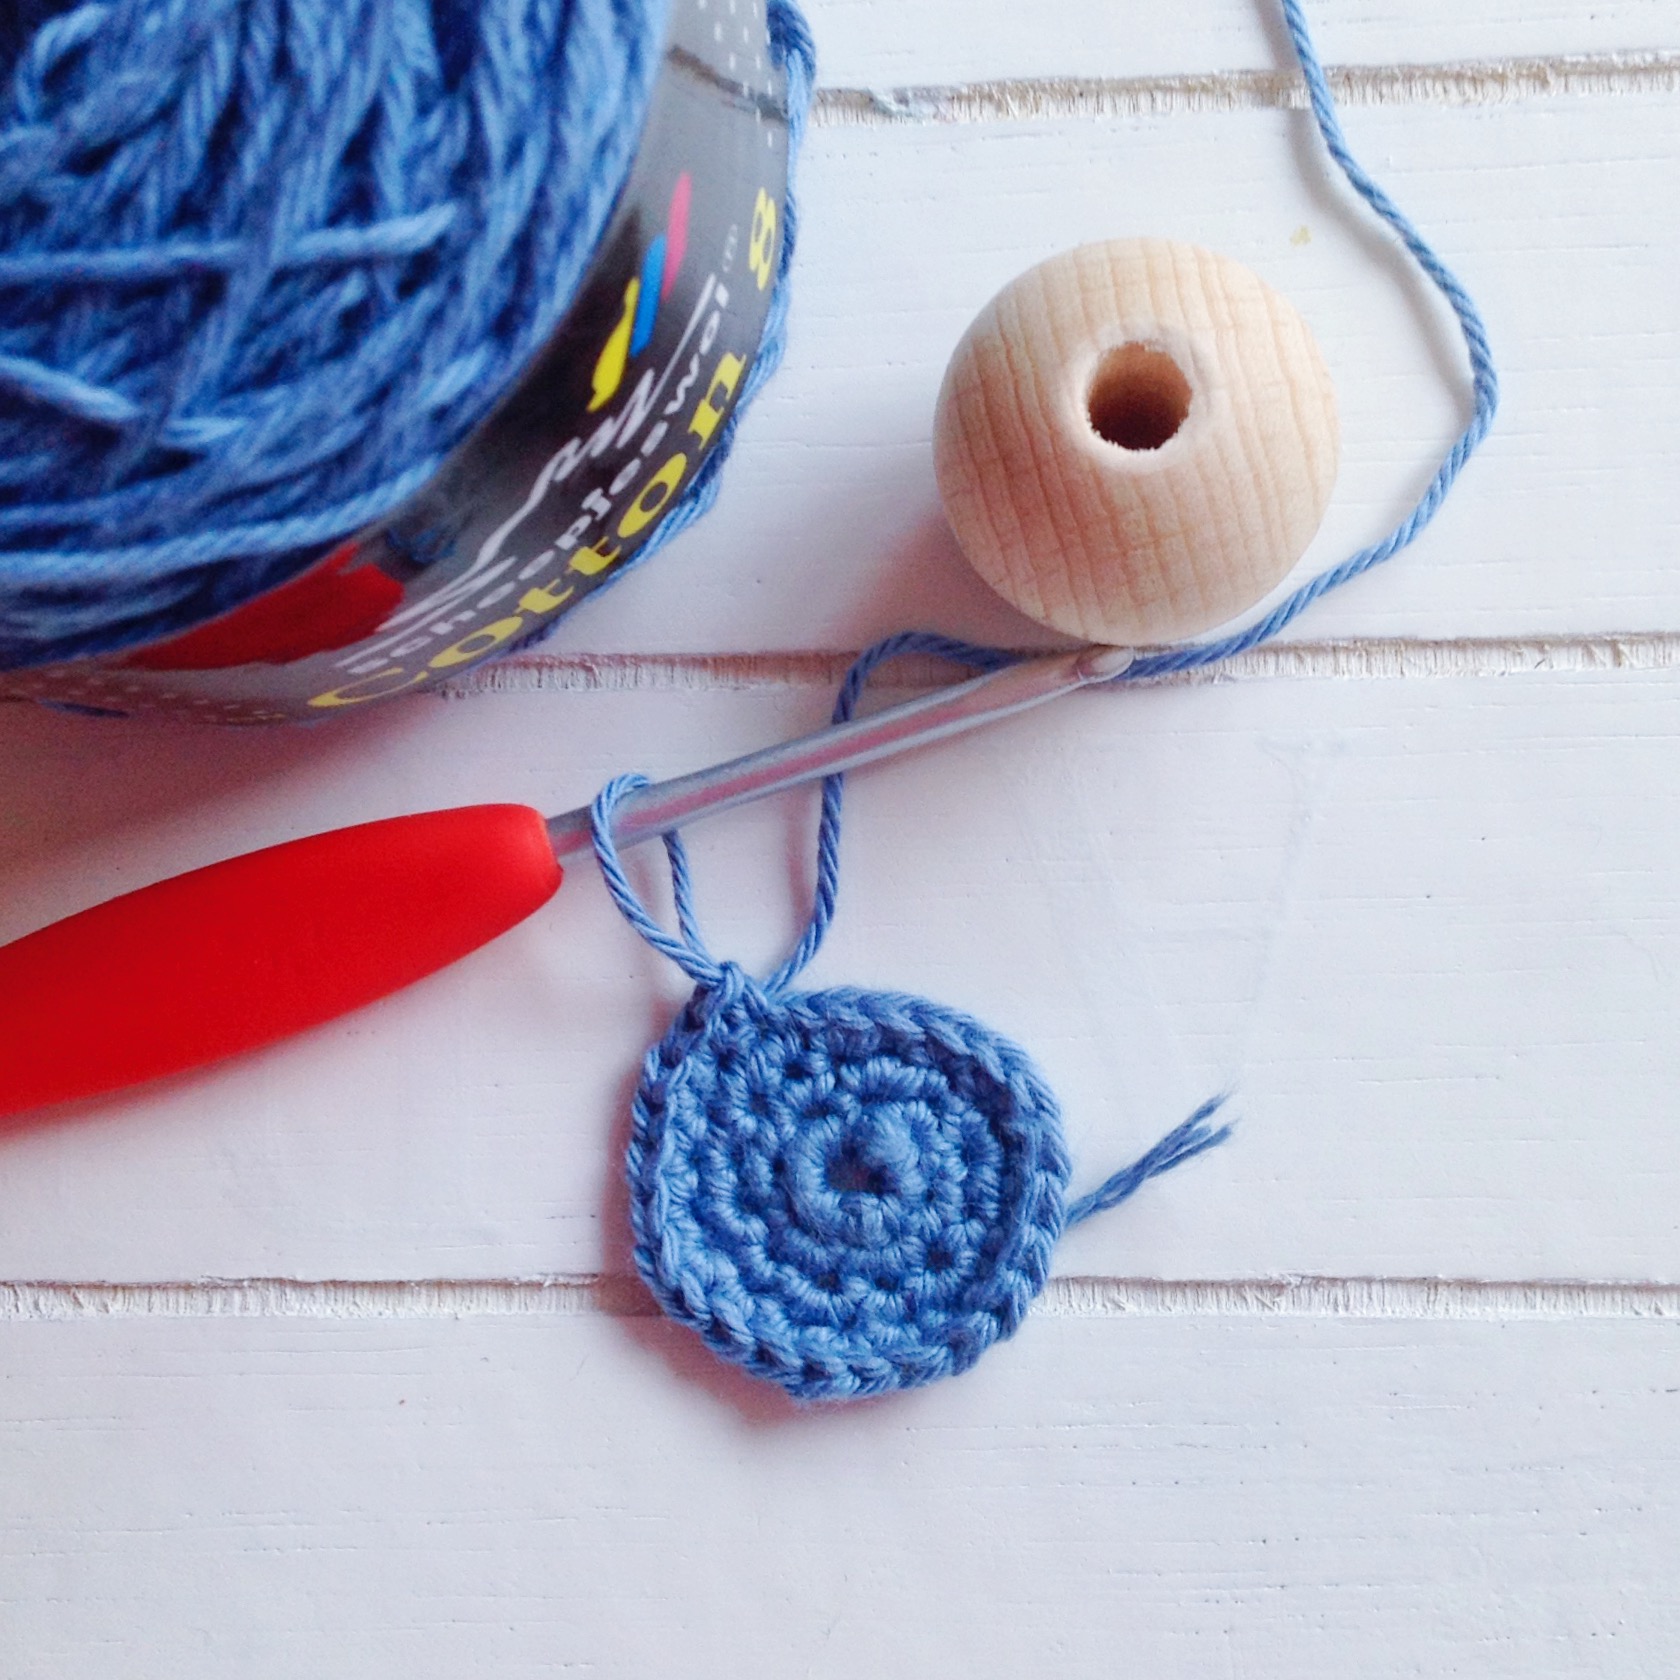
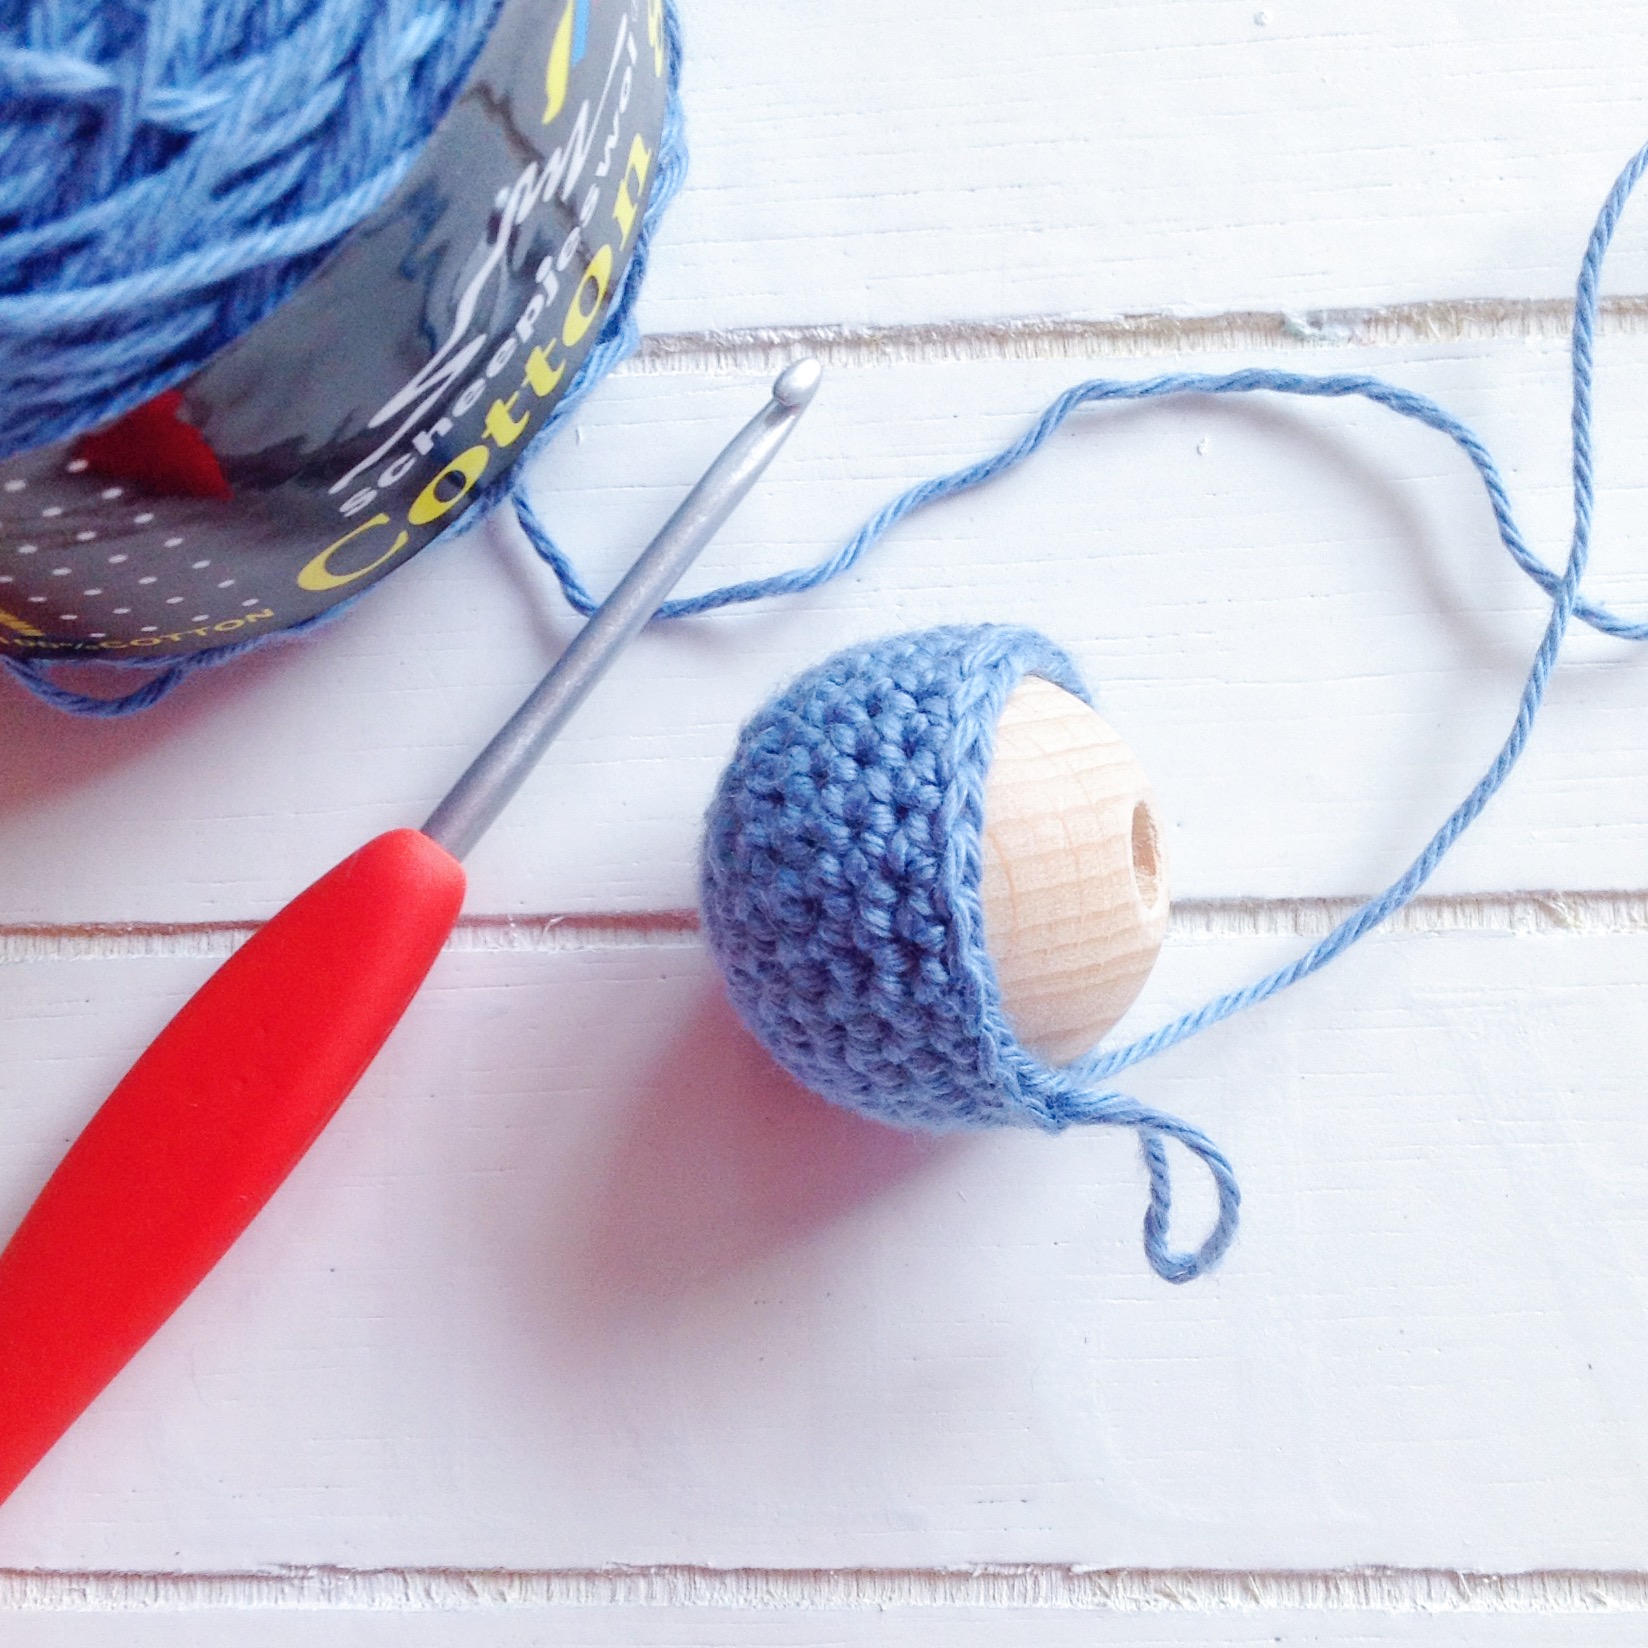
 The seriously cute Reindeer Mug Cozy (including fluffy butt – haha!) by Haak Maar Raak

 Jellina-Creation’s lovely Christmas Tree Garland

Atty’s cool Bauble Coasters

Christmas Wreath for the Scheepjes Christmas Blog Hop - see all ten amazing designs and their free patterns, including how to make this wreath for yourself!My Christmas Wreath

 The most beautiful Christmas Baubles you’ve ever seen, by 50 Shades of 4 Ply

 The deliciously warm Fair Isle mittens by Canadutch

Vicarnos adorable little snowman

and finally,

This spectacular Fair Isle Christmas gift bag from Made with Loops.

What a collection of designs, I’m so happy to have been involved – surrounded by such talent!

Merry Christmas.

Advertisement

Miniman’s Nursing Necklace – The Tutorial

As promised, I’ve put together a tutorial on how to make your very own nursing necklace, which is designed to keep small ones occupied while nursing, saving mama’s sensitive skin from sharp fingernails, hair from being yanked, and general mischief making while baby is nursing.  Of course this is not only for nursing mamas; it’s such a lovely necklace that it looks stylish on everybody!

Minimans Nursing Necklace isnt just for nursing mamas! Its a beautiful accessory in its own right! Free crochet tutorial

What you’ll need

Scheepjeswol Cotton 8* in four shades.  I used 527, 711, 652 and 700.  In the Netherlands you can pick Cotton 8 up at just about any great yarn seller, and internationally you can buy via deramores.com*.

A 3mm crochet hook, scissors, and you’ll also need wooden beads in varying sizes.  I used five 35mm balls and two 25mm balls.  For added interest, you can also add a wooden ring or two – babies love the different elements and textures.

IMG_1826Abbreviations

(American terms)

CH – chain stitch
SC – single crochet (UK double crochet)
INC – increase; two single crochet stitches into the same stitch
DEC – decrease; two single crochet stitches together
STS – stitch count

Notes

This project is worked in the round.  You will also need to crochet your stitches very tightly to ensure that they keep the form of the beads.  If you crochet loosely, use a smaller hook.

Don’t forget, I’m a leftie so you might have to flip the images in your mind.  I like to keep the images for us lefties because there just aren’t that many left handed tutorials out there.  If you need help, ping me using the contact page or on Facebook.

Make one ball in the darkest colour, two in the second darkest, two in the third darkest, and two in the lightest (the 25mm balls).

Babies can't resist Miniman's Nursing Necklace from missneriss.com

35mm Bead

Round 1

CH 5, close with a slip stitch, CH 1.

Round 2

SC x 6 into the ring (6 STS)SC x 6 into the ring (6 STS)

Round 3

INC in each stitch around (12 STS)INC in each stitch around (12 STS)

Round 4

(INC, 1 SC) x 6 (18 STS)(INC, 1 SC) x 6 (18 STS)

Round 5

(INC, 2 SC) x 6 (24 STS)(INC, 2 SC) x 6 (24 STS)

Round 6-10

SC x 24 (24 STS).  Insert the bead to measure how progress is going at each round.SC x 24 (24 STS)SC x 24 (24 STS)SC x 24 (24 STS)

Round 11

(DEC, 2 SC) x 6 (18 STS).  Make sure the bead is inserted here and continue working around it.(DEC, 2 SC) x 6 (18 STS).  Make sure the bead is inserted here and continue working around it.

Round 12

(DEC, 1 SC) x 6 (12 STS).

2014-09-04 19.47.03-1

Round 13

DEC in each stitch around (6 STS)DEC in each stitch around (6 STS)

Finish off and hide the tail.

For the 25mm bead, follow the same instructions, skipping round 5 (and round 11 as a consequence).

Once you’ve finished all five balls in the colour combination of your choice, it’s time to thread them onto a chain.  First you need to make yourself one.  I used the lightest shade and chained stitched until I had about 90 cm.  This way the necklace would have plenty of room to become longer or shorter as necessary.

Thread the beads and tie the ends into a little knot and then together using a slip stitch so that one end can slip easily (but not too easily) to adjust the length of the necklace.

Tie the ends, then join together using a slipknot.

And you’re all done!  Looks beautiful, doesn’t it? Miniman necklace - photo tutorial on missneriss.comI love seeing projects by others, so don’t forget to brag about what you’ve made on my Facebook page or upload to Pinterest, tagging me @missneriss.  Don’t forget to follow me on Instagram while you’re at it!

*Affiliate link

Crochet Induced Insomnia

Last night I couldn’t sleep.  I’ve never been a great sleeper, but since my daughter was born two and a half years ago, my old friend insomnia hasn’t been around much.  Physical exhaustion has won the day mostly.  But last night I couldn’t switch off.  All I could think about were the mounting crochet projects that I have on the go, plus a mass of life business.

I’m in the process of applying for permanent residency here in the Netherlands, and I have to find the time to fit in a trip to Amsterdam to have my photo taken and to be fingerprinted (that’s new).  Plus a host of my actual career projects that have to be done all at once and some semblance of a social life that I need to keep going – If I don’t, I’ll be out of friends!  There’s only so long you can say “I’m so sorry, I’m just too busy!” before people stop believing you.

So needless to say, last night I was awake with my brain racing and trying to process everything that’s going on in my life while I was frantically adding items to my Must Do list.  In and in an attempt to distract myself, I did what any social media freak would do, I checked Facebook, Instagram and then Pinterest.  I had quite a few Pinterest alerts to check and was gobsmacked when I saw that one of my pins had been repinned 999 times!

I’ve talked about this pin before, back when it had around 200 repins and I was amazed at that number, but now this morning it has cracked 1000 repins, and just won’t stop!

I have a few pins that I see getting a lot of (P)interest daily, including

and

Incidentally, I’ve never made this monkey.  I just pinned it because I thought it was so cute.

The Dickie Birds are also doing well:

Ok, now I’ll shut up about Pinterest, sign off and go start work for the day.  That To Do list won’t do itself!

Oh, and PS.  If you want to pin the Elephant Snuggle yourself, you can:


Big Reveal – Miniman’s Nursing Necklace


A quick smile for the camera before I shove this in my mouth! Minimans Nursing Necklace - tutorial

I just had to share this photo first.  Isn’t that the cutest face you’ve ever seen, and can you even imagine that this baby has an identical twin?!  It’s almost too much to bear!

Am I allowed to put this in my mouth? I am, right... Minimans Nursing Necklace - tutorial

Introducing Miniman’s Nursing Necklace.  Unfortinately Miniman himself doesn’t live in the neighbourhood to pose for pictures himself, so I borrowed one of my friend Stephanie’s adorable babies for the morning so you could see for yourself how this wonderful necklace works.

This will keep me interested for ages, mum! Minimans Nursing Necklace - crochet tutorial

The idea is that mama wears this while baby is nursing, or playing, or snuggling, or generally making mischief and it keeps those fingers occupied and out of mama’s hair, earrings, necklaces and from scratching sensitive skin.  It also helps baby focus on the task at hand (essentially: feeding) and minimises distractions from the surrounding environment.  When I took these pics, there were two toddlers running wild, another twin and also a dog around the place, but the necklace firmly captured this little one’s attention.  Even when there was a real distraction, she wasn’t letting those beads go!

Distracted, but not so distracted to let go of the beads! Minimans Nursing Necklace tutorial

And…straight back again.

This will keep me interested for ages, mum! Minimans Nursing Necklace - crochet tutorial

Next week, I’ll show you step-by-step how you can make one of these for yourself.  You don’t have to be a nursing mama to wear one of these either – they are a lovely stylish accessory even if you don’t have one of these adorable twins to share!

Minimans Nursing Necklace isnt just for nursing mamas! Its a beautiful accessory in its own right! Free crochet tutorial

The tutorial is now live, you can get it here!

P.S. I’ve also added this to the really cool Hookin on Hump Day link sharing party.  Go check out all the great projects!

The Big Reveal!


The Big Reveal!  The labour of love that has been my #stonewashed top is finally ready!  Pattern is coming soon! #Scheepjes #Scheepjeswol #missneriss

This has been one almighty labour of love and a huge learning curve.  It’s the first time that I’ve designed something that I can wear that’s not a hat or a shawl.  Can you tell how proud I am?The Big Reveal!  The labour of love that has been my #stonewashed top is finally ready!  Pattern is coming soon! #Scheepjes #Scheepjeswol #missnerissThe first thing that really strikes me is how warm it is!  When I first started rolling the idea around in my head I thought perhaps it could be something for the beach, but no!  This is really something for chilly mornings or late summer evening BBQs.  I’m sitting at my laptop in my garden wearing it this morning while there’s still a slight chill in the air and it’s perfect.

I love the wide open V-neck and how versatile it will be.  I already wore it walking the dog this morning, and I also plan to wear it when I go out for dinner next, paired with my favourite jeans and a white top.  For the first time I have an outfit ready!

I’m so happy that I chose the Scheepjeswol Stone Washed for this project.  I love the Red Jasper, but I have to be honest, I chose this colour  when it first came available and if I had to choose now, I don’t know what I would do as the collection has since doubled in size, with so many amazing colour choices!

Here are a few more photos for you to get an idea of the texture and how the colour-play works together.

The Big Reveal!  The labour of love that has been my #stonewashed top is finally ready!  Pattern is coming soon! #Scheepjes #Scheepjeswol #missneriss The Big Reveal!  The labour of love that has been my #stonewashed top is finally ready!  Pattern is coming soon! #Scheepjes #Scheepjeswol #missneriss

Isn’t the V-Neck just fantastic?The Big Reveal!  The labour of love that has been my #stonewashed top is finally ready!  Pattern is coming soon! #Scheepjes #Scheepjeswol #missneriss

It didn’t stay hanging over that chair for long this morning, believe me!The Big Reveal!  The labour of love that has been my #stonewashed top is finally ready!  Pattern is coming soon! #Scheepjes #Scheepjeswol #missneriss

And now comes the almighty task of putting the pattern together!  I’ll have to dig though pages and pages of notes to make it more concise for you to be able to follow, and I’ll be figuring out a few sizes while I’m at it.

But first, I need your help!  This design does not have a name yet and I have no idea what I should call it.  What do you think?

If you want to get your hands on the Stone Washed there are loads of options within the Netherlands.  Scheepjeswol has a list of stockists on their website and for those of you who aren’t lucky enough to live in Holland, you can pick it up via Deramores!


Crochet Hack: Straight Edge Double Crochet

You know how much I love a good crochet hack.  I love a good foundation single crochet, and I LOVE Moogly’s Chainless Starting Double Crochet so much that I use it exclusively.  Well, I did.  Now I have a new love.  It’s Mamachee’s Double Crochet Hack! Seriously, this hack has revolutionised my crochet style!  Let me show you some examples.

I’ve been working on this Convergence top for about a month now, and for the first half of the back side, I used Moogly’s version, but on the top half I started using Mamachee’s.  Can you spot the difference?Straight edge double crochet

Both are excellent methods, but you can see the edging to the right is almost perfectly straight. And firm.  It’s going to be excellent when the time comes (in another month or so?) to sew the sides together.

You can really see the difference on the feature rows of the top.  Here’s the Moogly version:Convergence Edging - Moogly version


And here’s the Mamachee version:Convergence edging - Mamachee version

Great, isn’t it!

Want the hack? Get it here:

How to double crochet a better square

Image from mamachee.com

Project Pile | Is that another Candace Scarf?

Why, yes it is!

Candace Scarf in Lettuce - Malabrigo Worsted

This is a scarf I made for a family friend, and it flew off to Australia with my brother when he went home last week.

This time I used Malabrigo Worsted in Lettuce that I picked up from wolwereld.nl and I also decided to add a border which worked very well too.

Candace Scarf borderInstead of using a particular stitch count, what I did was line my stitches up with the middle of the bows and the mid-point of the space between.

5DC in the same stitch, SC in the mid-stitch between the bows, then 5DC in the middle stitch of the bow.  This ensured that I didn’t have any left over stitches from mis-counting (which can easily happen when you have a long project to border) and it looks great.

I also used the wonderful hack that I found on Mamachee, so I saved a lot of yarn by not having to do a SC round first.  More on that hack in a post coming soon!

Want the pattern? Grab it here:  The Candace Scarf.

Project Pile: Scalloped Neckline Lace Dress

A couple of weeks ago I decided that I wanted to crochet a dress for my daughter.  I haven’t made a lot of clothing, but the few pieces I have made are wonderful.  They’re so much fun, and give such a feeling of accomplishment.  So when I came across this pattern, I knew it was the right one.

Crochet Scalloped Neckline Lace dress

I especially loved the texture and the romantic neckline, but had to find the perfect yarn.

Eventually I settled on using Scheepjes Softfun, a yarn that I’ve heard so much about, but hadn’t had the opportunity to use yet.

But before I could begin, I had to check a few projects off the list.  I had to finish a scarf, a couple of amigurumi projects, and finalise the Bucketful of Sunshine pattern, but once they were all out the way, it was all systems go!

I just love the neckline on this pattern, it’s just so beautiful.

The project was surprisingly easy.  It took me a few swatches to get the gauge right, as I crochet much tighter than the average designer, it seems.  In the end I had to upsize to a 4.5mm hook (the pattern calls for a 3.5mm hook) which seems to be about the norm for me now.

Here is the end result.  I’m so happy with the outfit, my daughter looks so cute!

Thanks to Carrie for this photo, taken at the weekend:

http://instagram.com/p/osnnHEB5-S/

And here she is, with her first love: Peppa Pig.

Crochet scallope neckline lace dress

Now I’m hoping for a long, hot summer so we can wear the dress every day!


Scheepjes Bucketful of Sunshine Hat – Tutorial (Toddler)

Here it is, the tutorial for my Bucketful of Sunshine Hat!  My daughter absolutely loves it, and so do I.  And it’s ready, just in time for the glorious weather in the Netherlands.

Enjoying the weather and the Bucketful of Sunshine hat on missneriss.com #scheepjes #scheepjeswol #cotton8 #crochet

Let’s get started, shall we?  This tutorial will show you how to make a hat to fit a toddler/preschooler.  My daughter has a small head for her age (it’s a family thing, so does my husband), so if your toddler’s a bit bigger, go up half a hook size, it won’t matter.

This hat is made using the V-Stitch and the Half V-Stitch.  The half V-stitch may well be a made up term, but it’s essentially the same stitch as a normal V-Stitch, but using the half double crochet instead of a double crochet.  You can V-Stitch using whatever height stitch you like really, but Google wouldn’t tell me the official name, so I’ve assigned one to it.

The V-Stitch

The V-Stitch is a very easy stitch to master, it is essentially a double crochet, chain 1 and double crochet in the same stitch.  Then you skip a stitch and repeat in the next.  When it comes to the next row, instead of doing the V-Stitch into the double crochet stitch, you do it into the chain 1 space.

A bit like this:

V-Stitch step 1, chain 3

V-Stitch step 1, chain 3

V-Stitch Step 2 - DC into same stitch

V-Stitch Step 2 – DC into same stitch

V-Stitch step 3 - skip 1 stitch, DC into the next stitch

V-Stitch step 3 – skip 1 stitch, DC into the next stitch

V-Stitch Step4 - Chain 1

V-Stitch Step4 – Chain 1

V-Stitch step 5 - DC into the same stitch

V-Stitch step 5 – DC into the same stitch

And there you have it!  The V-Stitch

And there you have it! The V-Stitch

The Half V-Stitch is the same process, using a half double crochet instead.

What you’ll need

Scheepjeswol Cotton 8 in three shades of the same colour.  I used yellow (508, 551, and 655). The best thing you can do is cake the yarn so you can pull from both ends, because for this project we’re using two strands together.

You’ll also need a 5mm crochet hook. scissors and a tapestry needle.

Abbreviations

(American terms)

MR – Magic Ring

DC – Double Crochet

VS – V-Stitch

HVS – Half V-Stitch

Inc – Increase

STS – Stitches (stitch count)

Notes

The beginning of each row begins with a CH3, which counts as the first DC and CH 1 to start your first V-Stitch of the row.  Below I will just use VS, but assume unless described otherwise that the first V-Stitch is a CH3, DC.  Always join into the chain space of the first V-Stitch.

When working the Half V-Stitch, still chain 3 at the beginning of the each row.

Oh, and did I mention that I’m a leftie?

Round 1

Start with a Magic Ring, chain 3 and work 9 DC into the ring, pulling it tight.  You’ll have 10 double crochets for your foundation.

10 DC into a magic ring

Round 2

VS Inc x5.  SLS into the first VS to join = 15 STS

To crochet a V-Stitch Increase, follow the instructions for a normal V-Stitch, but instead add a third V.  So, DC, CH1, DC into the same stitch, CH1, DC into the same stitch again.  Skip 1 stitch and either repeat the increase (as is needed in Round 2) or work an ordinary V-Stitch.

V-Stitch Increase - CH3, DC, CH1 DC, skip 1 stitch, V-Stitch in the next

V-Stitch Increase round

Round 3

(VS Inc, VS) x 5.  SLS into the first VS to join = 25 STS

INC, VS x 5 round

 Round 4

(VS Inc, 2 x VS) x 5.  SLS into the first VS to join = 35 STS

INC, 2VS x 5 Round

Round 5

VS x 20.  SLS into the first VS to join = 40 STS

VS x 20 Round

Round 6

(VS Inc, 3 x VS) x 5.  SLS into the first VS to join = 45 STS

Round 7

VS x 25.  SLS into the first VS to join = 50 STS

Round 8-12

VS x 25.  SLS into the first VS to join = 50 STS

Change colour

Change Colour

Round 13-15

VS x 25.  SLS into the first VS to join = 50 STS

Change Colour
Round 16

VS x 25.  SLS into the first VS to join = 50

Round 17

In this row we start making the brim.  We will count the CH 1 space in the V-Stitch as a stitch.  We will also be adding a few increases to widen the brim.

CH2, (2DC in the next stitch, which is the 1st CH space, then DC in the next 14 Stitches.  Repeat this 4 times and slip stitch to the first CH2 of the round. = 80 STS

DC in each stitch around, adding increases every 14 stitches

Round 18

HVS x 40 = 80 STS

Half VS around

Round 19

HVS x 40 = 80 STS

Finish off and weave in the ends.

Sunburst

To make the sunburst, I experimented with lots of different flowers and picots and nothing really seemed to be right.  So, when I came across this scrubby pattern on Petals to Picots, I realised it would be perfect.  I just grew the sunburst with each colour instead of crocheting the entire base in one go.  Then I just tacked it onto the hat in the right spot.  You can pick up the pattern for free here.

Sunburst attached to Bucketful of Sunshine hat


Here’s the finished hat, modelled on my super-cute (just recovering from chicken pox) daughter:

Bucketful of Sunshine hat on missneriss.com - free pattern #scheepjes #scheepjeswol #cotton8 #crochet #freepattern Bucketful of Sunshine hat on missneriss.com, made with Scheepjeswol Cotton 8. #scheepjeswol #cotton8 #scheepjes

You’ve made it to the end, way to go!  I hope you enjoy making this adorable hat as much as I’ve enjoyed designing it.

Watch this space, coming soon are other sizes, including the 3-6 month old which is up next!

For updates and cute photos in the mean time, do follow me on both Facebook and Instagram, and I would be so excited if you would share your own projects with me!

https://www.facebook.com/madebyMissNerisshttp://instagram.com/miss__neriss


Yarn Love

Look what arrived for me this week!  The postman is already one of my good friends, but this may well have elevated him to BFF status.

Scheepjeswol Cotton 8 #cotton8 #scheepjes #ombre

It went straight into my project bag, and to the top of the project queue.

Scheepjeswol Cotton 8 in my favourite project bag #cotton8 #scheepjes

This last Saturday was King’s Day here in the Netherlands.  The first King’s Day ever I think.  We haven’t had a king here since the end of the 1800s, but for the longest time we’ve always celebrated Queen’s Day with fabulous national holiday and one of the biggest parties on the entire planet.

King's Day in Amsterdam, photo by Caitlyn from olympicwanderings.com

King’s Day in Amsterdam, photo by Caitlyn from olympicwanderings.com

My favourite part of King’s Day is the free market.  Everybody pours out onto the streets and sets up their own little stall, selling all their old stuff.  It usually starts the night before, with the really serious sellers and buyers camping out over night to get the best bargains and make the biggest profits.  Most of it is junk though.  We come across the same woman selling the same Disney videos (that’s right, videos) every year, so she’s obviously not in it for the money!

Speaking of junk, one man’s trash is another woman’s treasure, as they say.  We bought loads of cool things, including a brand new rain coat for our daughter, lots of picture books and I even found a loom!  However, this was my number one score for the weekend:

Originally this case housed massage machine from an era long past, but was only interested in the packaging.  A quick spray with some paint and gingham lining and I have myself the cutest little project case in the world!

Scheepjeswol Cotton 8 in my new pimped project case#cotton8 #scheepjes

Scheepjeswol Cotton 8 is a yarn that I haven’t had the chance to work with yet, but I know for sure that it will be a perfect fit for me.  Its vibrant colours are perfect for summer and it’s so, so soft.  It will be brilliant for amigurumi.

But that’s not the destiny of this batch.  Instead I have another project in mind.  Something beautiful for warm summer days.

Stay tuned and there’ll be a pattern in it for you….