Tag Archives: handmade

Rainbow Ridge Blanket Free Crochet Pattern

styled photograph of blanket

It’s pattern day!

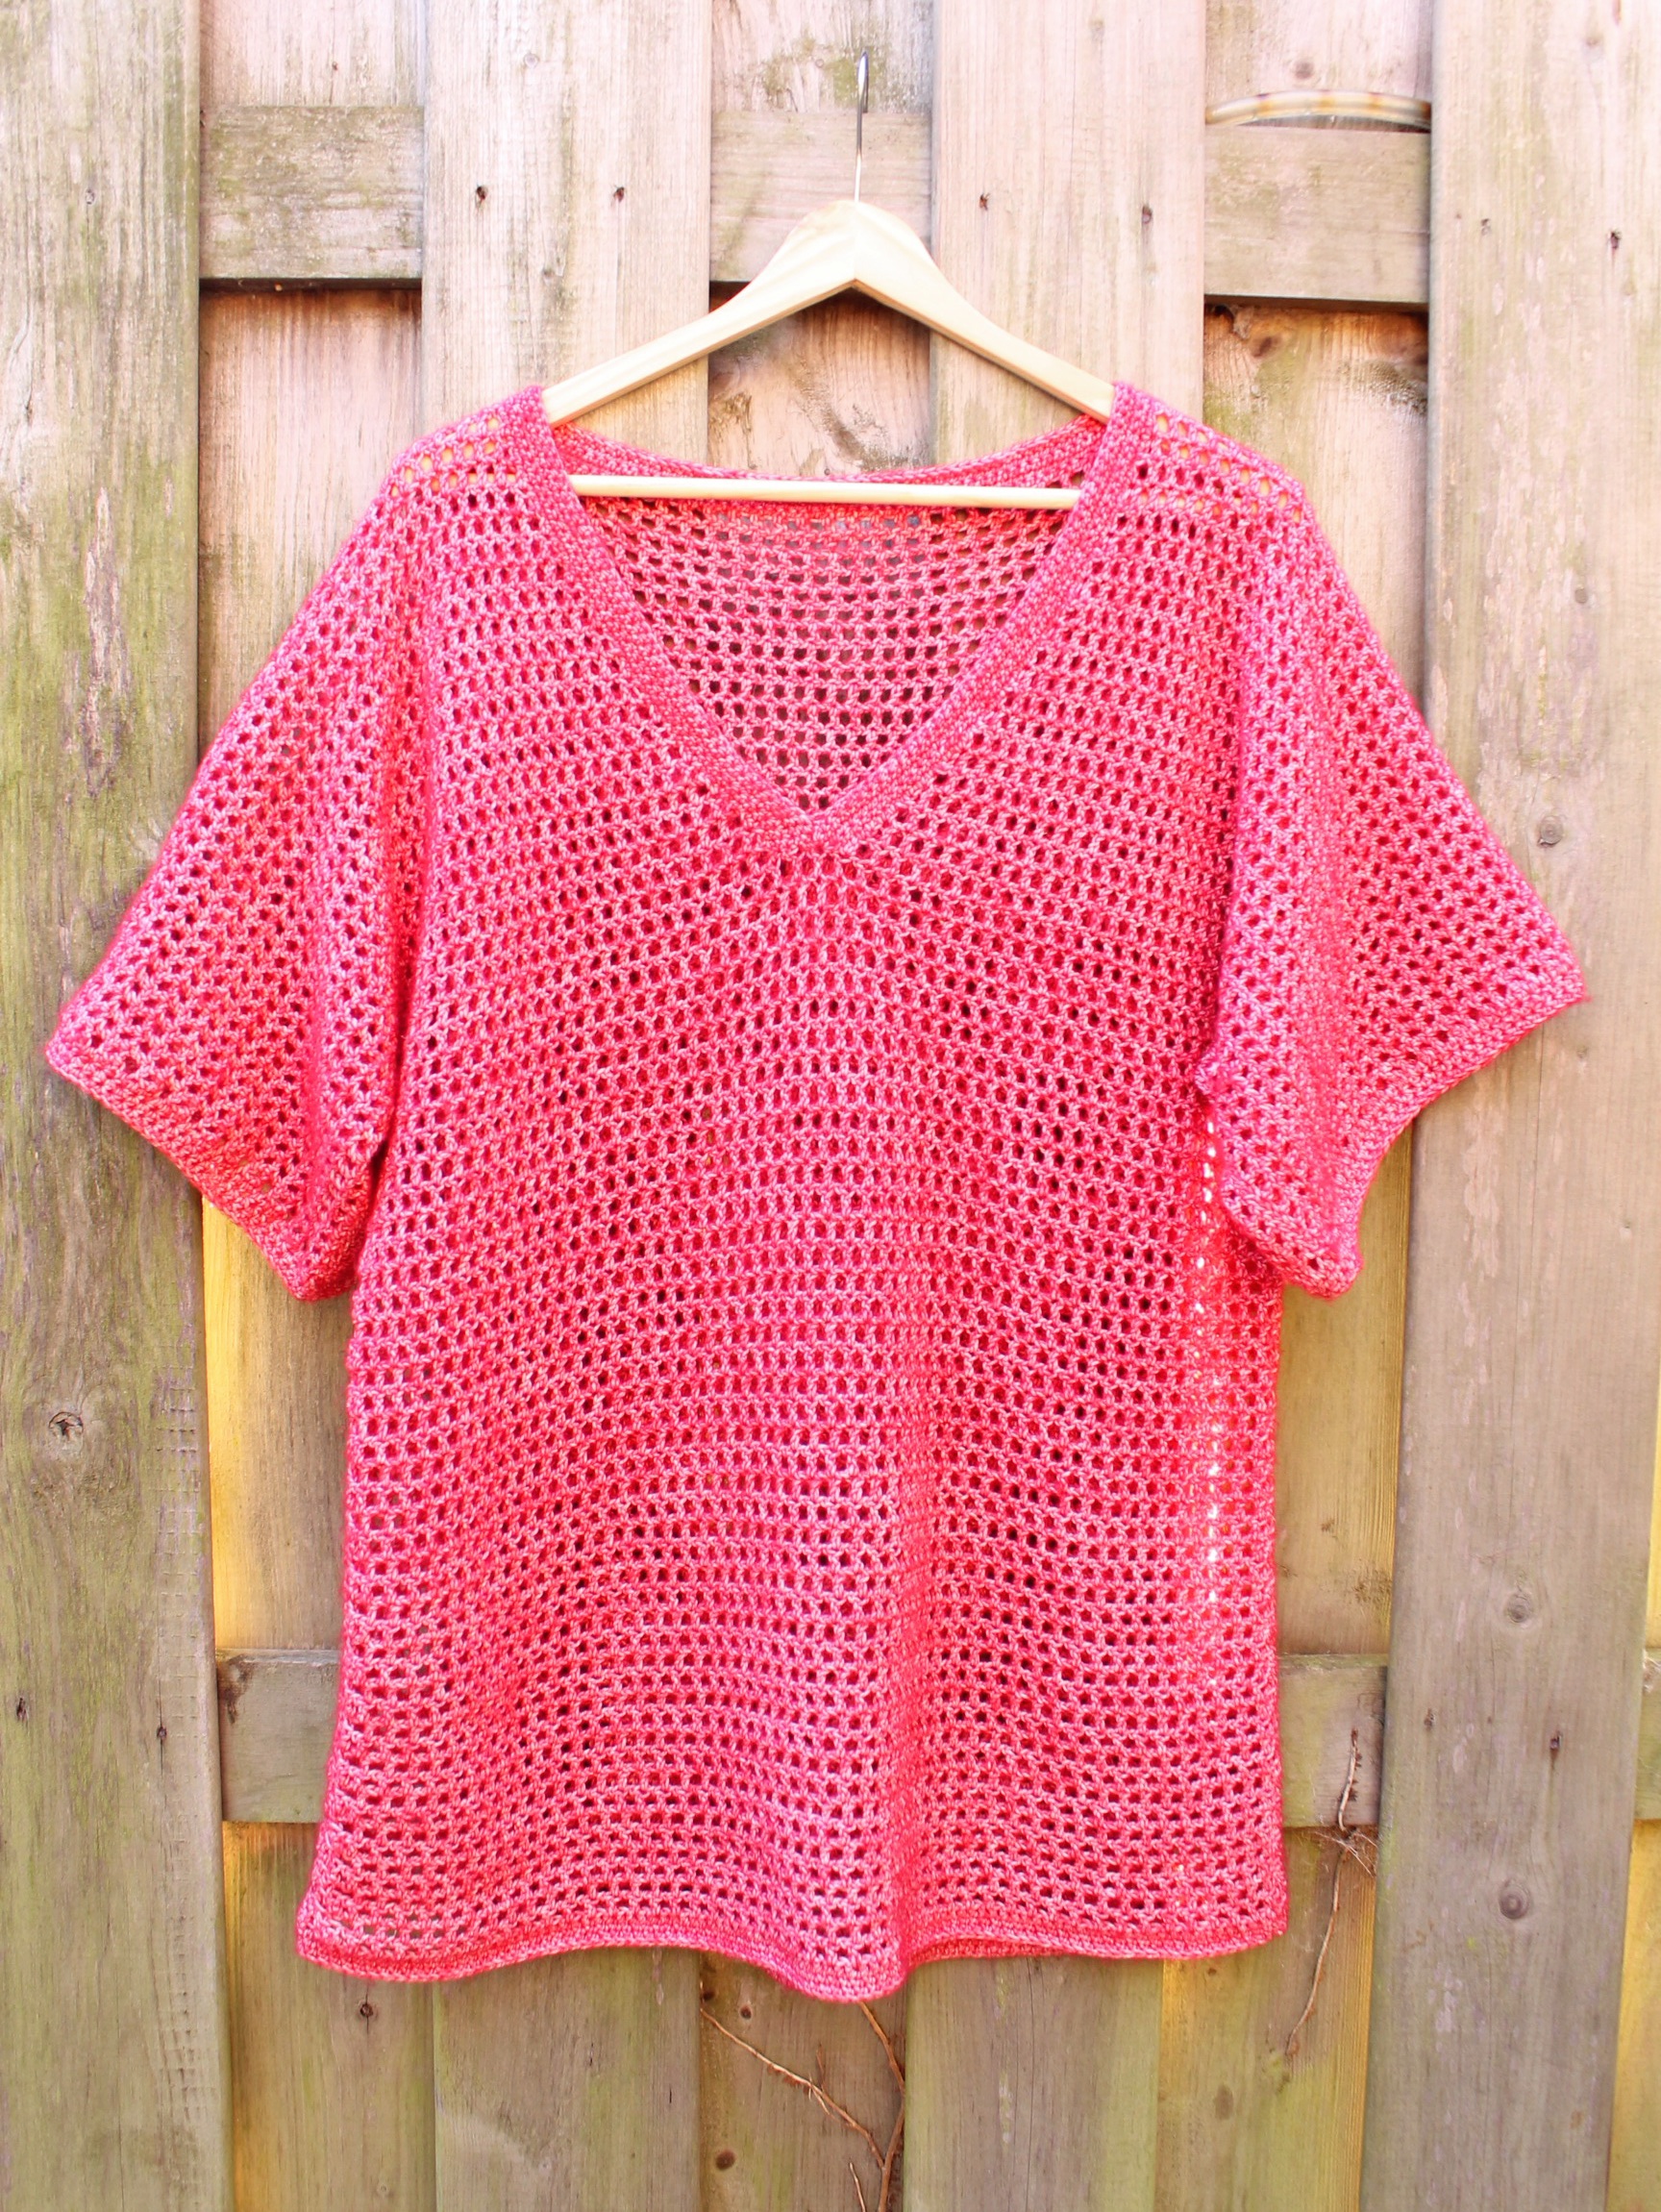
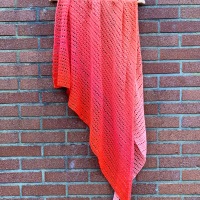
I LOVED making this blanket SO much! I mean, you know how few blankets I make, right? I simply struggle with making something so huge, it takes me months! This one however, is perfect for my instant gratification heart. I could smash it out relatively quickly as it’s sized for a baby, and the rhythm of the stitches means you just want to keep doing “one more row.”

The Scheepjes Softfun is a wonderful blanket yarn. It has loads of stretch to make it squishy and a bit of weight to add warmth, plus enough cotton to make sure you can still use it all summer long.

No baby? No problem! It also makes a great lap blanket 😉

There will be US terms available on Ravelry and Lovecrafts, and this free version below uses UK terminology.

Nederlandse versie vind je hier.


Get the Yarn

There are five different Softfun colour packs to choose from including Pastel (which I have), Jewel, Rich, Rainbow and Cloud. There are a full list of stockists on the Scheepjes website, but you can also find the packs at your favourite LYS or online retailer including:
Wool Warehouse* (global)
Caro’s Atelier* (NL and Europe)
Love Crafts* (US)
Dot’s Yarn Den (US)
Belle Mae Yarns (AU)

You’ll need one colour pack in the colours you like best, plus 6 balls of Softfun in a complementary colourway. I chose 2622 Latte.


Materials

6 balls of Scheepjes Softfun in 2622 Latte
1 Scheepjes Softfun minis colour pack in pastel
5mm hook (body of blanket)
4mm hook (border)
6mm hook (SS round to begin border)

Tension

18sts and 19 rows over 10 cm in pattern. Stick as close to the tension as possible as the mini balls are limited and you may run out if your tension is looser than indicated.

Measurements

100 x 70cm blocked (will contract a little due to the stretch in the yarn)

Abbreviations

(UK terms)

Ch chain
Ss slip stitch
St(s) stitch(es)
Ch chain
Ch(2)-sp chain (2) space
Dc double crochet
YUdc yarn under double crochet
MC main colour (2622 Latte)
CC(1) contrast colour. Number denotes which colour to be used
Rep repeat
RS right side
WS Wrong side

Pattern Notes

This pattern is worked back and forth in rows using the yarn under colourwork technique to make the blanket.  The double border is worked in rounds.

Each row begins with a ch1, this does not count as a stitch.

Work instructions inside brackets and parentheses [(…)] the indicated number of times.

Sort the colours into the following order:

CC1: 2514 Rose
CC2: 2513 Light Rose
CC3: 2620 Starfish
CC4: 2466 Peach
CC5: 2518 Canary
CC6: 2496 Banana
CC7: 2640 Mint
CC8: 2639 Green Tea
CC9: 2630 Arctic
CC10: 2646 Glacial Mist
CC11: 2658 Lavendar
CC12: 2657 Orchid

Shot from above of crochet blanket

Special Abbreviation

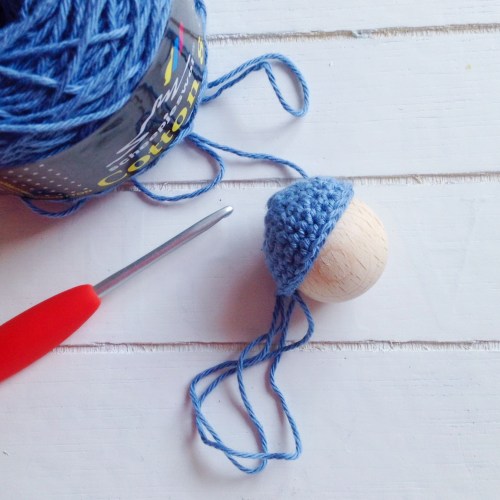
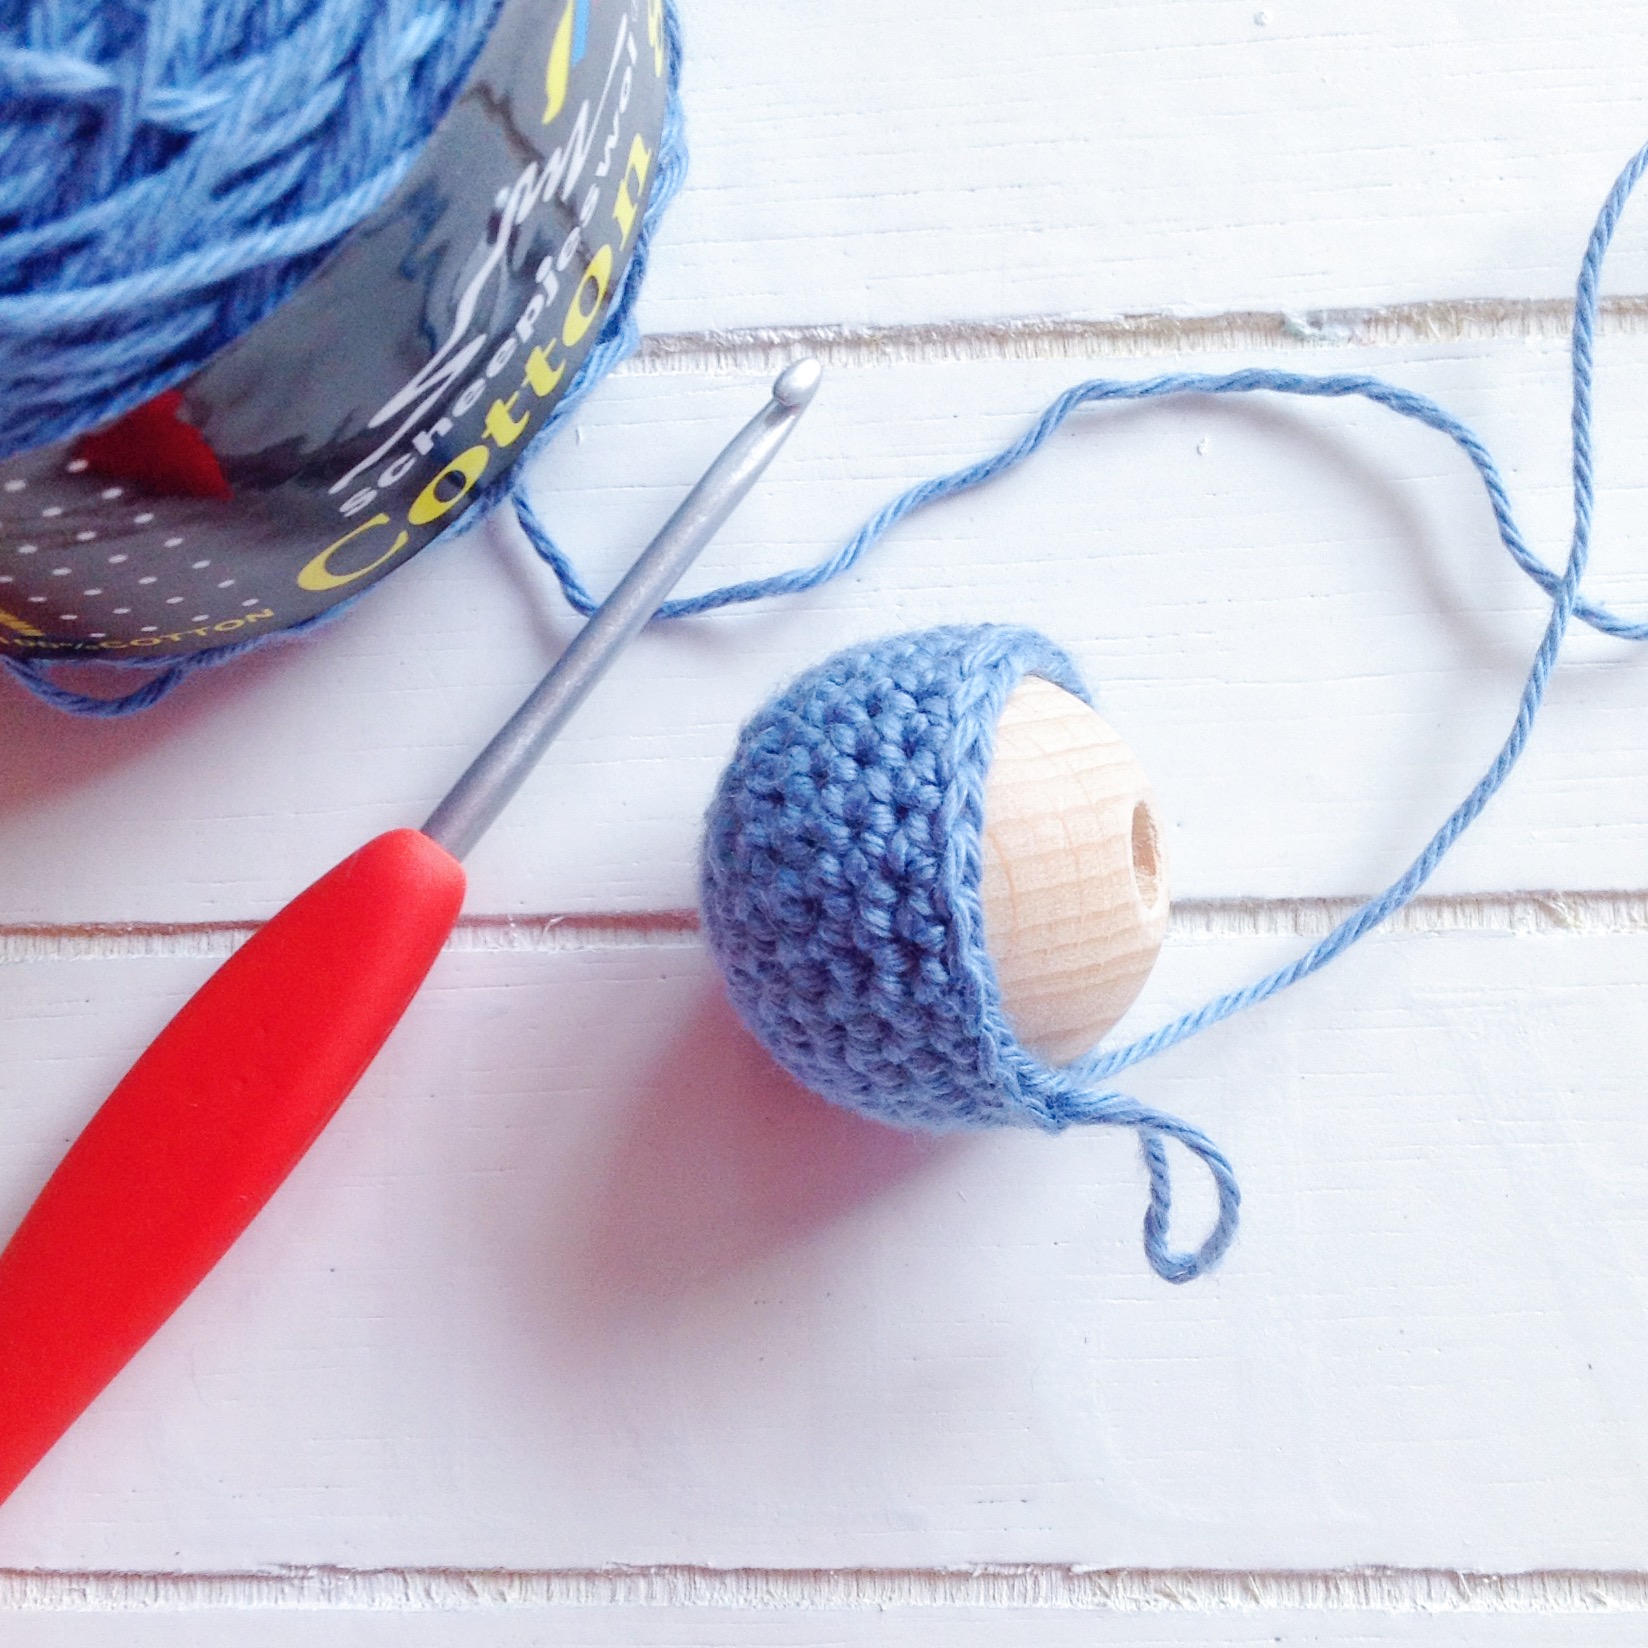
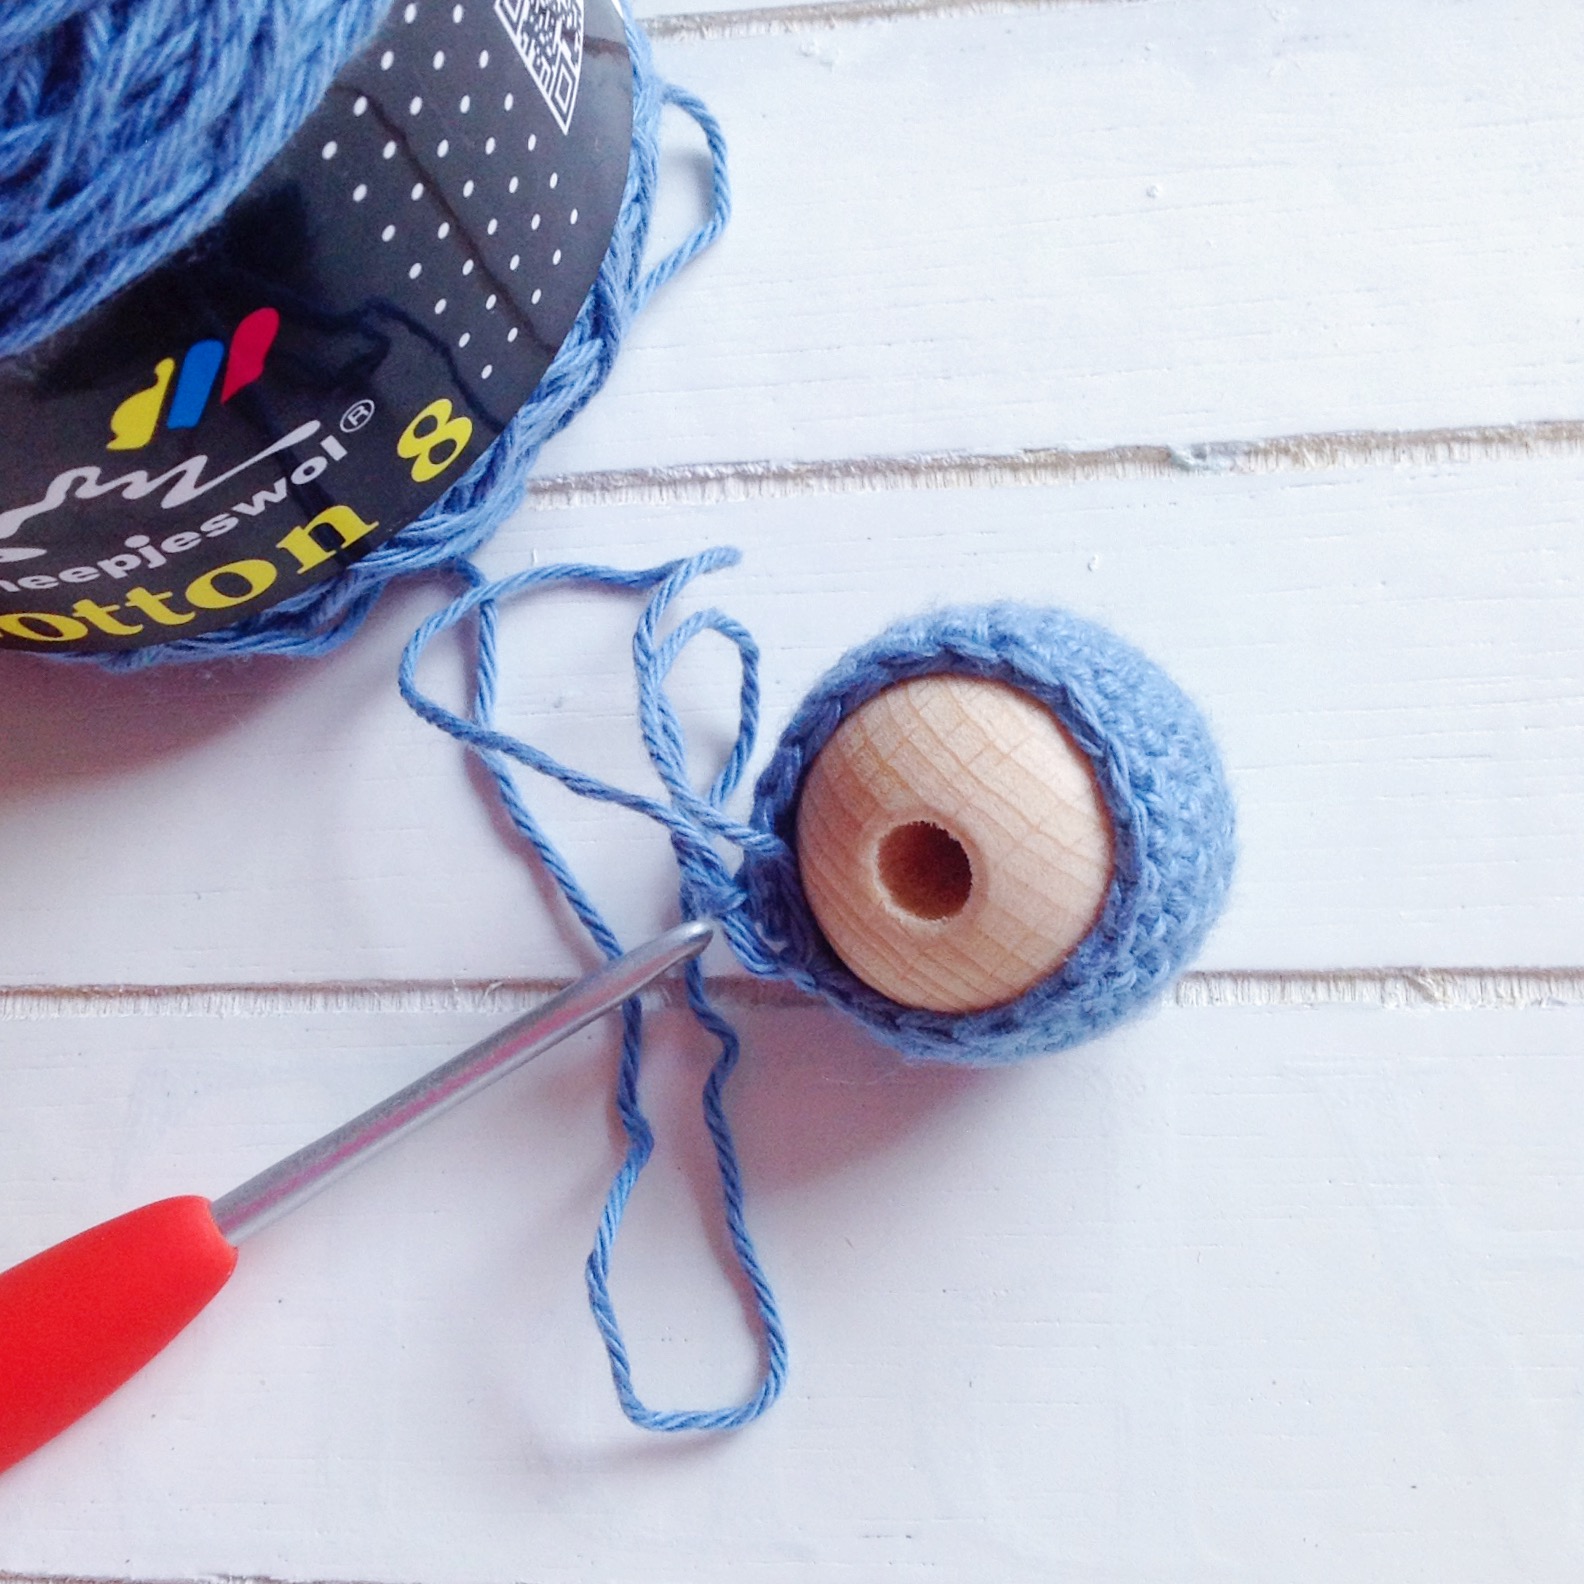
YUdc (yarn under double crochet) is a colourwork technique using two strands of working yarn. To work the stitch insert hook with mc, yoh, pull up a loop, with cc yoh from front to back (keeping cc in front of mc), with mc yoh, pull through 3 loops. See video instructions here on Instagram, or here for Youtube.

Instructions

Row 1 With MC, ch102, dc in the third ch and in all ch sts to end (100sts), turn
Row 2 With CC1 as the lead, carrying MC, ch1, YUDC in all sts to end, turn
Row 3-6 Rep row 2
Row 7 With MC as the lead and rep row 2
Row 8-10 Rep row 7
Row 11-14 Rep row 2, cut CC1
Row 15 Switch to CC2, with MC as the lead, rep row 7
Row 16-18 Rep row 7
Row 19 With CC2 as the lead, rep row 2
Row 20-22 Rep row 2
Row 23 With MC as the lead, rep row 7
Row 24-26 Rep row 7
Row 27 With CC2 as the lead, rep row 2
Row 28-30 Rep row 2, cut CC2
Row 31-46 With CC3 rep rows 15-30
Row 47-62 With CC4 rep rows 15-30
Row 63-78 With CC5 rep rows 15-30
Row 79-94 With CC6 rep rows 15-30
Row 95-111 With CC7 rep rows 15-30
Row 112-127 With CC8 rep rows 15-30
Row 128-143 With CC9 rep rows 15-30
Row 144-159 With CC10 rep rows 15-30
Row 160-175 With CC11 rep rows 15-30
Row 176-191 With CC12 rep rows 15-30, cut yarn

close up of crochet blanket

Border

Working in rounds with 6 and 4mm hooks

Round 1 This now becomes the RS. With MC and a 6mm hook, turn, ch2, ss to end (now corner), ch2, rotate 90 degrees, ss in each row as close to the edge as possible to next corner, ss in corner, ch2, rotate 90 degrees, ss in each st across, ch2, rotate 90 degrees, ss in each row to next corner, ss to ch1 to join.

Round 2 With 4mm hook ch1, dc in ch-sp [(ch1, miss 1, dc in ch-sp) rep to corner ch2-sp, ch 2, dc in ch2-sp], rep on all four sides to end, don’t work last dc in final corner ch2-sp, ss to dc instead.

Round 3 Ss to ch2-sp, ch1 [(dc in ch2-sp, ch1) rep to corner, (dc, ch2, dc) in corner] rep to end, ch1, ss to dc to join.

Round 4 Rep round 3, but ad 1 (ch1, dc, ch1) at the end before ss to join.

Round 5 Rep round 4, tie off.

Flip to WS, Starting in the same corner as R1 from the RS instructions, and working in the back of the SS from round 1, rep rounds 1-5.

Flip to RS Close the double border. Ch1, dc into ch-sp of both layers, [(ch1,dc in ch-sp of both layers) to corner, (dc, ch1, dc in both layers) in corner ch2-sp], rep to end, ss to join, hiding all the ends inside the border. Cut yarn, weave in the end, block to size.

*Affiliate link

Say Hello to the Peek-a-Boo Button Wrap

Crochet body warmer

Finally!  But, it was worth the wait, right?

Peek-a-boo Button Body Warmer

I picked up a mannequin from Xenos just to be able to show this off to you properly, and the form is just perfect.

peek-a-boo Button crochet body warmer

And so is the peek-a-boo button.  Better than I ever could have imagined.  I’ll be honest, when I first ordered the yarn and the button, I hadn’t really calculated the size of the button correctly, but now I couldn’t imagine having chosen anything else.

Standing collar on the crochet body warmer

I love how there is just enough strength in the stitch to hold the collar up at the back.  It’s always surprising just how soft and supple the Scheepjes Stone Washed is after blocking – I wasn’t sure if the collar would keep standing!

The back of the body warmer

Most of all, I adore the texture of the stitch I used.  It’s a very ordinary Half double Crochet, but in alternating front and back loops, giving the design just that little bit extra texture.  Plus the stitch allows just enough stretch for the top to really mold to the shape of the figure.

Can you tell how happy I am with the result?

Coming very soon, the pattern!  I’m drafting it in multiple sizes.  So we’ll have sizes from S through to XL next week!

The pattern is now live!  You can pick it up here: Peek-a-Boo Button Wrap.  Coming soon: pattern in Dutch! OMG that’s going to be tough 😀

Miniman’s Nursing Necklace – The Tutorial

As promised, I’ve put together a tutorial on how to make your very own nursing necklace, which is designed to keep small ones occupied while nursing, saving mama’s sensitive skin from sharp fingernails, hair from being yanked, and general mischief making while baby is nursing.  Of course this is not only for nursing mamas; it’s such a lovely necklace that it looks stylish on everybody!

Minimans Nursing Necklace isnt just for nursing mamas! Its a beautiful accessory in its own right! Free crochet tutorial

What you’ll need

Scheepjeswol Cotton 8* in four shades.  I used 527, 711, 652 and 700.  In the Netherlands you can pick Cotton 8 up at just about any great yarn seller, and internationally you can buy via deramores.com*.

A 3mm crochet hook, scissors, and you’ll also need wooden beads in varying sizes.  I used five 35mm balls and two 25mm balls.  For added interest, you can also add a wooden ring or two – babies love the different elements and textures.

IMG_1826Abbreviations

(American terms)

CH – chain stitch
SC – single crochet (UK double crochet)
INC – increase; two single crochet stitches into the same stitch
DEC – decrease; two single crochet stitches together
STS – stitch count

Notes

This project is worked in the round.  You will also need to crochet your stitches very tightly to ensure that they keep the form of the beads.  If you crochet loosely, use a smaller hook.

Don’t forget, I’m a leftie so you might have to flip the images in your mind.  I like to keep the images for us lefties because there just aren’t that many left handed tutorials out there.  If you need help, ping me using the contact page or on Facebook.

Make one ball in the darkest colour, two in the second darkest, two in the third darkest, and two in the lightest (the 25mm balls).

Babies can't resist Miniman's Nursing Necklace from missneriss.com

35mm Bead

Round 1

CH 5, close with a slip stitch, CH 1.

Round 2

SC x 6 into the ring (6 STS)SC x 6 into the ring (6 STS)

Round 3

INC in each stitch around (12 STS)INC in each stitch around (12 STS)

Round 4

(INC, 1 SC) x 6 (18 STS)(INC, 1 SC) x 6 (18 STS)

Round 5

(INC, 2 SC) x 6 (24 STS)(INC, 2 SC) x 6 (24 STS)

Round 6-10

SC x 24 (24 STS).  Insert the bead to measure how progress is going at each round.SC x 24 (24 STS)SC x 24 (24 STS)SC x 24 (24 STS)

Round 11

(DEC, 2 SC) x 6 (18 STS).  Make sure the bead is inserted here and continue working around it.(DEC, 2 SC) x 6 (18 STS).  Make sure the bead is inserted here and continue working around it.

Round 12

(DEC, 1 SC) x 6 (12 STS).

2014-09-04 19.47.03-1

Round 13

DEC in each stitch around (6 STS)DEC in each stitch around (6 STS)

Finish off and hide the tail.

For the 25mm bead, follow the same instructions, skipping round 5 (and round 11 as a consequence).

Once you’ve finished all five balls in the colour combination of your choice, it’s time to thread them onto a chain.  First you need to make yourself one.  I used the lightest shade and chained stitched until I had about 90 cm.  This way the necklace would have plenty of room to become longer or shorter as necessary.

Thread the beads and tie the ends into a little knot and then together using a slip stitch so that one end can slip easily (but not too easily) to adjust the length of the necklace.

Tie the ends, then join together using a slipknot.

And you’re all done!  Looks beautiful, doesn’t it? Miniman necklace - photo tutorial on missneriss.comI love seeing projects by others, so don’t forget to brag about what you’ve made on my Facebook page or upload to Pinterest, tagging me @missneriss.  Don’t forget to follow me on Instagram while you’re at it!

*Affiliate link

Crochet Induced Insomnia

Last night I couldn’t sleep.  I’ve never been a great sleeper, but since my daughter was born two and a half years ago, my old friend insomnia hasn’t been around much.  Physical exhaustion has won the day mostly.  But last night I couldn’t switch off.  All I could think about were the mounting crochet projects that I have on the go, plus a mass of life business.

I’m in the process of applying for permanent residency here in the Netherlands, and I have to find the time to fit in a trip to Amsterdam to have my photo taken and to be fingerprinted (that’s new).  Plus a host of my actual career projects that have to be done all at once and some semblance of a social life that I need to keep going – If I don’t, I’ll be out of friends!  There’s only so long you can say “I’m so sorry, I’m just too busy!” before people stop believing you.

So needless to say, last night I was awake with my brain racing and trying to process everything that’s going on in my life while I was frantically adding items to my Must Do list.  In and in an attempt to distract myself, I did what any social media freak would do, I checked Facebook, Instagram and then Pinterest.  I had quite a few Pinterest alerts to check and was gobsmacked when I saw that one of my pins had been repinned 999 times!

I’ve talked about this pin before, back when it had around 200 repins and I was amazed at that number, but now this morning it has cracked 1000 repins, and just won’t stop!

I have a few pins that I see getting a lot of (P)interest daily, including

and

Incidentally, I’ve never made this monkey.  I just pinned it because I thought it was so cute.

The Dickie Birds are also doing well:

Ok, now I’ll shut up about Pinterest, sign off and go start work for the day.  That To Do list won’t do itself!

Oh, and PS.  If you want to pin the Elephant Snuggle yourself, you can:


Big Reveal – Miniman’s Nursing Necklace


A quick smile for the camera before I shove this in my mouth! Minimans Nursing Necklace - tutorial

I just had to share this photo first.  Isn’t that the cutest face you’ve ever seen, and can you even imagine that this baby has an identical twin?!  It’s almost too much to bear!

Am I allowed to put this in my mouth? I am, right... Minimans Nursing Necklace - tutorial

Introducing Miniman’s Nursing Necklace.  Unfortinately Miniman himself doesn’t live in the neighbourhood to pose for pictures himself, so I borrowed one of my friend Stephanie’s adorable babies for the morning so you could see for yourself how this wonderful necklace works.

This will keep me interested for ages, mum! Minimans Nursing Necklace - crochet tutorial

The idea is that mama wears this while baby is nursing, or playing, or snuggling, or generally making mischief and it keeps those fingers occupied and out of mama’s hair, earrings, necklaces and from scratching sensitive skin.  It also helps baby focus on the task at hand (essentially: feeding) and minimises distractions from the surrounding environment.  When I took these pics, there were two toddlers running wild, another twin and also a dog around the place, but the necklace firmly captured this little one’s attention.  Even when there was a real distraction, she wasn’t letting those beads go!

Distracted, but not so distracted to let go of the beads! Minimans Nursing Necklace tutorial

And…straight back again.

This will keep me interested for ages, mum! Minimans Nursing Necklace - crochet tutorial

Next week, I’ll show you step-by-step how you can make one of these for yourself.  You don’t have to be a nursing mama to wear one of these either – they are a lovely stylish accessory even if you don’t have one of these adorable twins to share!

Minimans Nursing Necklace isnt just for nursing mamas! Its a beautiful accessory in its own right! Free crochet tutorial

The tutorial is now live, you can get it here!

P.S. I’ve also added this to the really cool Hookin on Hump Day link sharing party.  Go check out all the great projects!

What is this Baby Project..?

So here it is.  A work in progress.  Wooden beads, blue yarn, what will it be?

IMG_1826.JPG

I love working with this Scheepjes Cotton 8, it really is becoming one of my favourite yarns.  Although, for it to be perfect, it would be DK weight. I just like to use a bigger hook and heavier yarn, so projects work up quicker. But that’s just my instant gratification personality shining through!

IMG_1846.JPG

I’m busy covering the wooden beads with the yarn.  In the past I’ve just made balls and stuffed them with filling, but the roundness was just lacking a bit, and by using a wooden bead it just adds the right amount of weight and shape.

IMG_1845.JPG

And look who I caught trying to run steal one as I was taking pictures.  Isn’t that chubby little hand delicious?  No wonder she’s always covered in kisses and cuddles!

IMG_1847.JPGIt’s nearly finished and ready to be shipped to its new home in America, but you’ll have to wait until next week to see the end result!


Jasper V Pattern – All the Sizes!! (S, M, L, XL)

Here it is!  The biggest and most daunting crochet project I have ever undertaken, completely finished!

Here it is!  The Jasper V is available in sizes S through to XL, all Free!  #scheepjes #scheepjeswol #stonewashed

I have to say, I’m a bit sad that it’s all over and I can move on to focus on the next big project, but I’m so relieved to have all the sizes worked out and ready to go.

What I have done for the smaller sizes is to update the diagram only.  I’m not re-writing the entire pattern; instead that can be used as a guide to get started, and the diagram has all the stitch and row counts, which is the clearest description.  The edging is so straight forward that I feel what is written in the original pattern will get you through.

Remember though, if you need any help at all, please just contact me.  I’ve added a contact form below so you can do it painlessly.

1407176460.178020.IMG_8114

Here we go!

The original pattern post with all the written instructions is found at this link.

The attachments with the different sizes are all attached to this post as pdf files.  You will need a program such as Adobe Reader (or similar) to be able to read this file.

Jasper V Size Small

Jasper V Size Medium

Jasper V Size Large

Jasper V Size XL

Please, please do note: the only size that has been tested by me is the XL – the smaller sizes have been created using mathematical magic and are not tested.  I’m relying on your help for that!  If you’re making the top and it feels like it will be a little tight, please don’t panic – the stitch has a lot of give; a good 5-10 cm! Think about the yardage of the smaller sizes, you won’t need as much as I did making the XL size (about 1100 metres).

I do value any and all feedback, but please don’t be mean.  And remember above all that this is a free pattern – together we can improve it.

This is an original design by Nerissa Muijs.  Please do not reproduce this pattern or sell this pattern as your own work.  Please share it on your social networks, linking it back to the original source.  Please also feel free to sell items made from this pattern and please credit me by linking my website: missneriss.com.  All images are the property of Nerissa Muijs, and if you would like to repost the originals, please send me a message to ask my permission before the fact.

Most importantly though, please share pictures of your work with me, by adding them to Ravelry or to my Facebook page, or even via an email.

Enjoy!

Need help, or want to ask a question, go for it here:

Crochet Hack: Straight Edge Double Crochet

You know how much I love a good crochet hack.  I love a good foundation single crochet, and I LOVE Moogly’s Chainless Starting Double Crochet so much that I use it exclusively.  Well, I did.  Now I have a new love.  It’s Mamachee’s Double Crochet Hack! Seriously, this hack has revolutionised my crochet style!  Let me show you some examples.

I’ve been working on this Convergence top for about a month now, and for the first half of the back side, I used Moogly’s version, but on the top half I started using Mamachee’s.  Can you spot the difference?Straight edge double crochet

Both are excellent methods, but you can see the edging to the right is almost perfectly straight. And firm.  It’s going to be excellent when the time comes (in another month or so?) to sew the sides together.

You can really see the difference on the feature rows of the top.  Here’s the Moogly version:Convergence Edging - Moogly version


And here’s the Mamachee version:Convergence edging - Mamachee version

Great, isn’t it!

Want the hack? Get it here:

How to double crochet a better square

Image from mamachee.com

Project Pile | Is that another Candace Scarf?

Why, yes it is!

Candace Scarf in Lettuce - Malabrigo Worsted

This is a scarf I made for a family friend, and it flew off to Australia with my brother when he went home last week.

This time I used Malabrigo Worsted in Lettuce that I picked up from wolwereld.nl and I also decided to add a border which worked very well too.

Candace Scarf borderInstead of using a particular stitch count, what I did was line my stitches up with the middle of the bows and the mid-point of the space between.

5DC in the same stitch, SC in the mid-stitch between the bows, then 5DC in the middle stitch of the bow.  This ensured that I didn’t have any left over stitches from mis-counting (which can easily happen when you have a long project to border) and it looks great.

I also used the wonderful hack that I found on Mamachee, so I saved a lot of yarn by not having to do a SC round first.  More on that hack in a post coming soon!

Want the pattern? Grab it here:  The Candace Scarf.

Spring Shawl – It’s Huge!

Finished.  After a month of picking it up and putting it down, it’s finally done.  And much more beautiful, and bigger, than I could have anticipated.

Spring Shawl made with Malabrigo Silky Merino on missneriss.com #crochet #yarn

It took a good day to block and dry, and was too big for my blocking board, so I had to break out the yoga mat so it would fit!

I’m just in love with it.  The colour, the texture, how soft it is, it’s a complete package.

Spring Shawl in Malabrigo Silky Merino on missneriss.com #crochet #yarn

Spring Shawl in Malabrigo Silky Merino on missneriss.com #crochet #yarn

And here’s the cutest little photo bomber ever:

Photo bombing

I used Malabrigo Silky Merino in Madre Perla (four skeins) that I picked up from houseofyarn.nl.  This shade is sold out, but there are lots of other beautiful ones to choose from.

I used the Spring Shawl pattern that I posted here and added a row of double crochets and picots for the edging because I found the original pattern finally!!!!