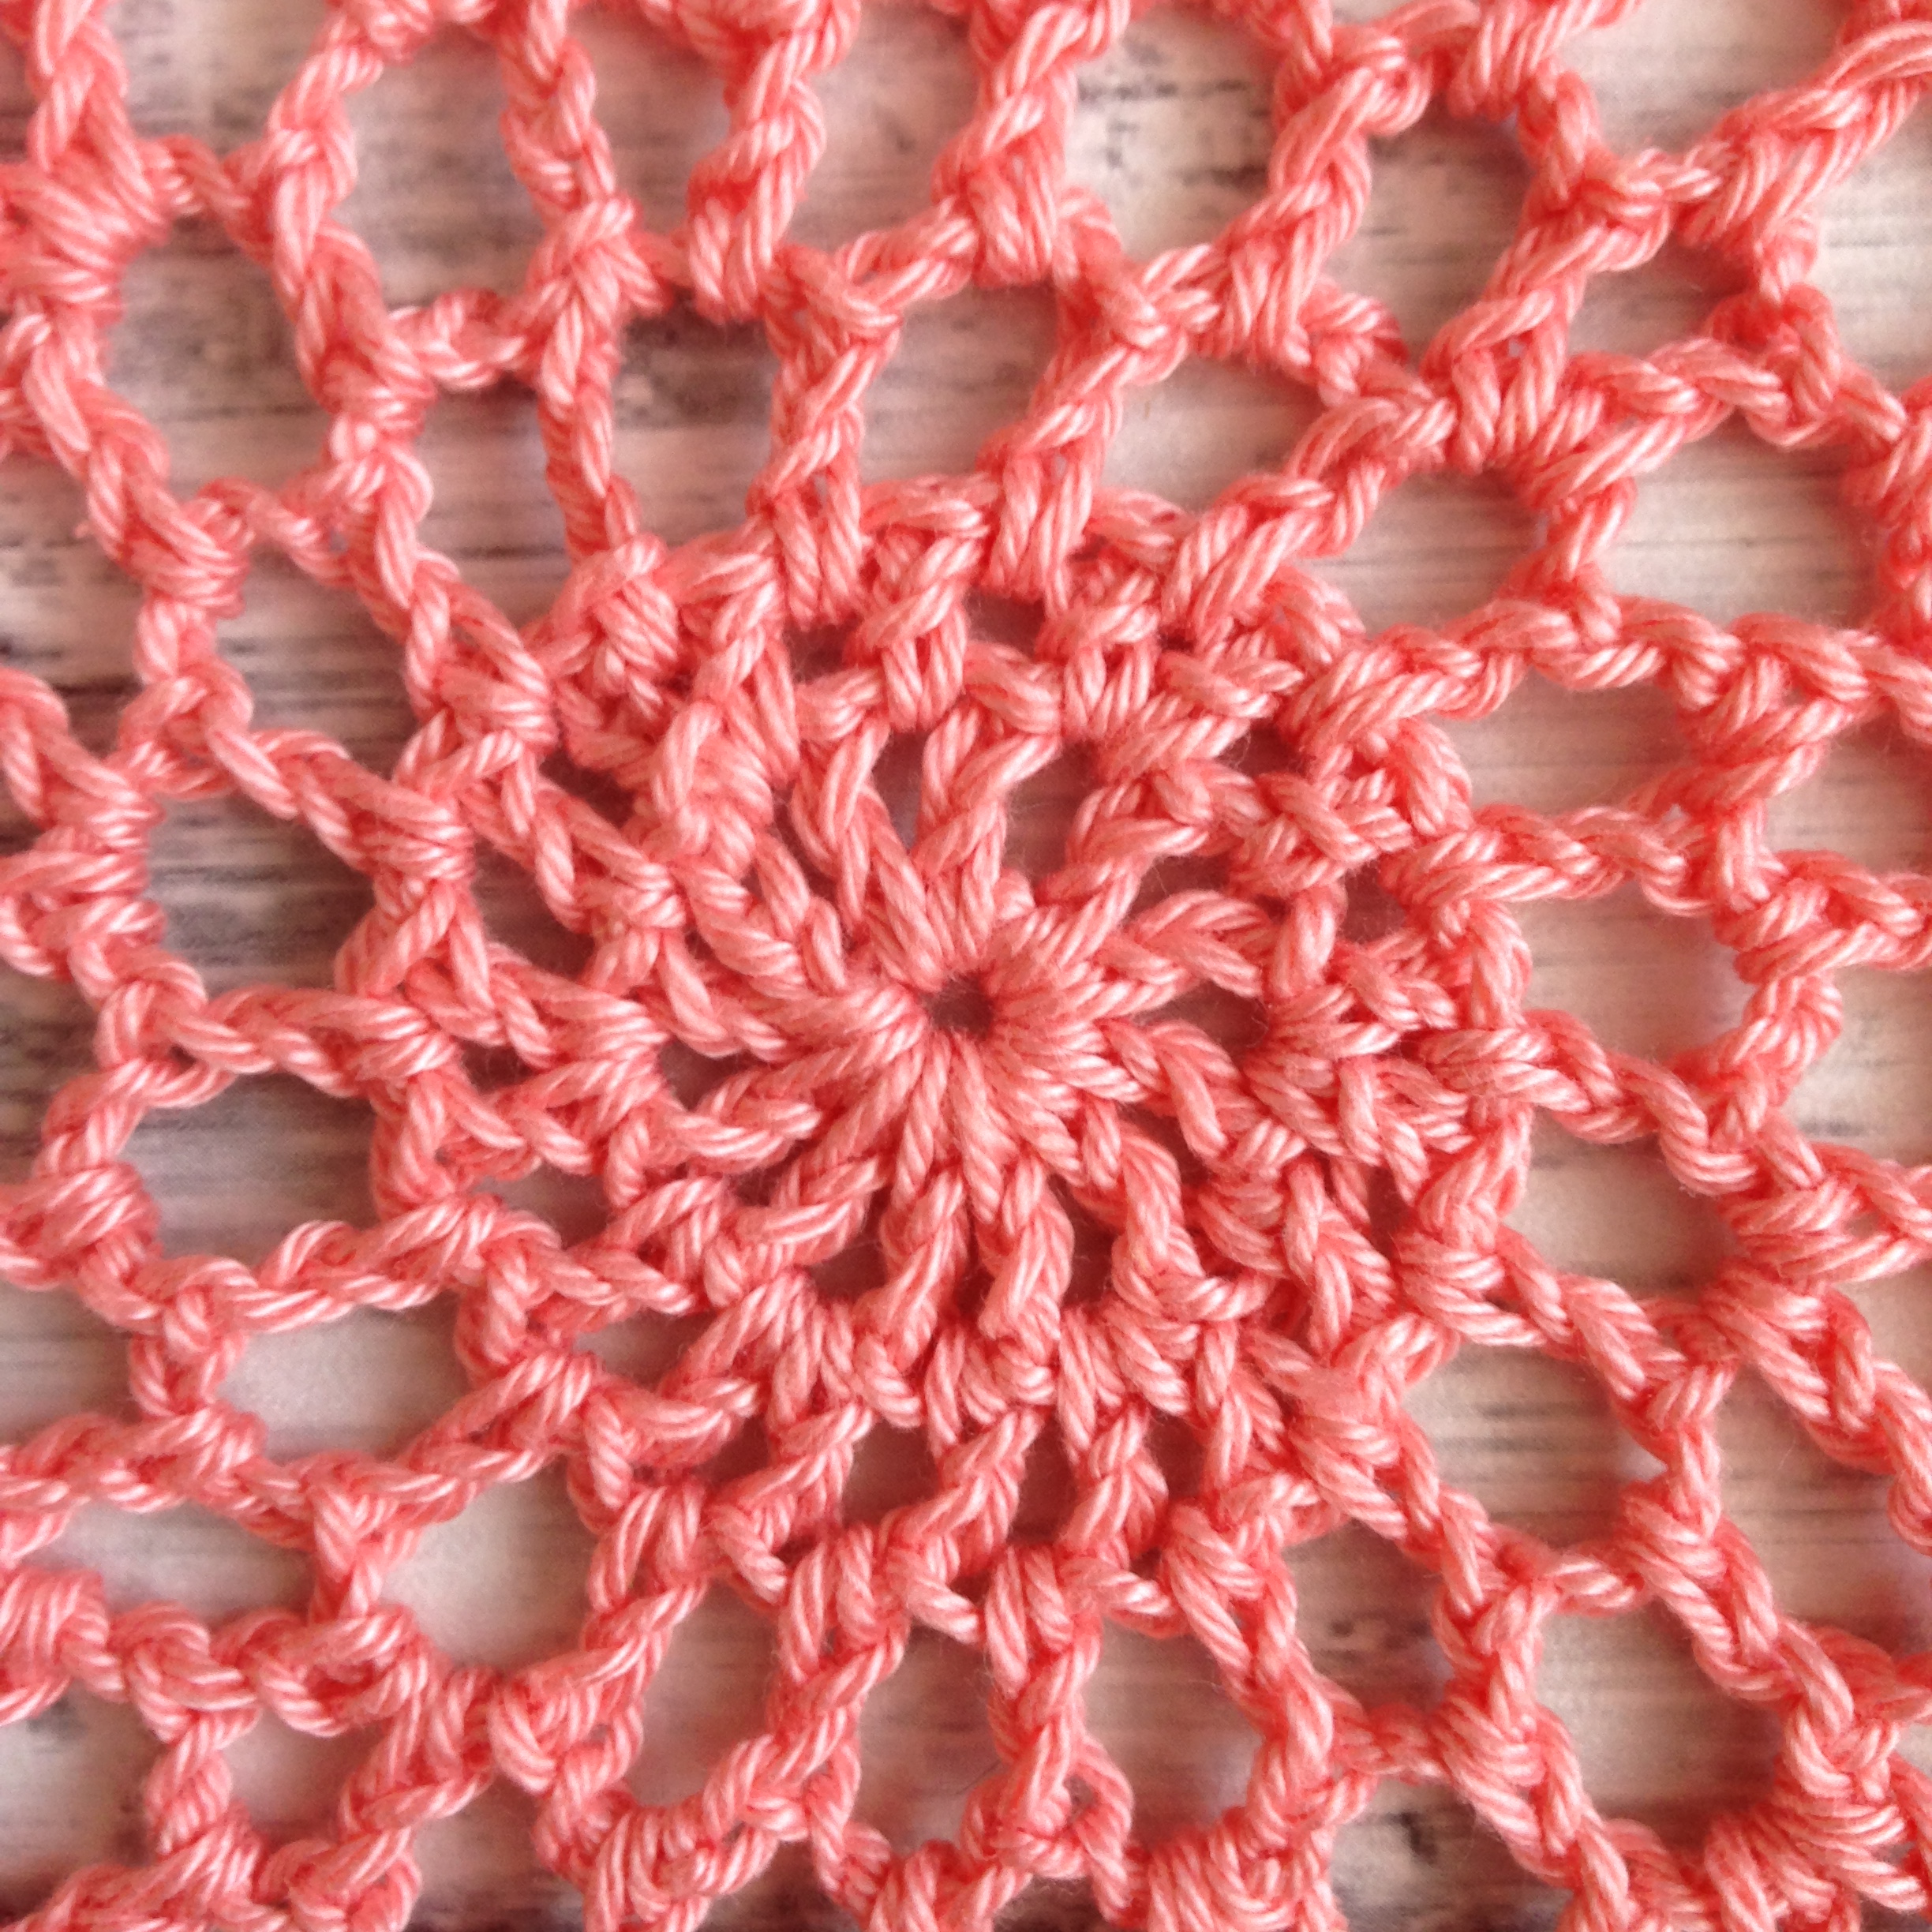
How did you go last week? Did you just love the heart square? I certainly did. Although, I’ve only made one so far – I need a lot more hours in the day. Having to work isn’t awesome, I could use those hours to crochet!
This week we meet Jellina from Jellina’s Creations. I’m sure you’ve already seen (or made) Jellina’s work. I especially love her Escher style projects; they are mind-bendingly good. Jellina blogs mostly in Dutch, so google translate is your friend if you don’t know the language.
Jellina has designed a waffle stitch square for you. It’s another technique that I have never tried, so I’m eager to get started! Make sure you visit her post this week about her inspiration (which is seriously cool, btw) and what this project means to her.
Do make sure you share your squares on social media so we can all see and comment on them. Use hashtag #scheepjesCAL2016or#lastdanceonthebeach all over the internet and I’ll be sure to find them on Insta or Twitter or Facebook.
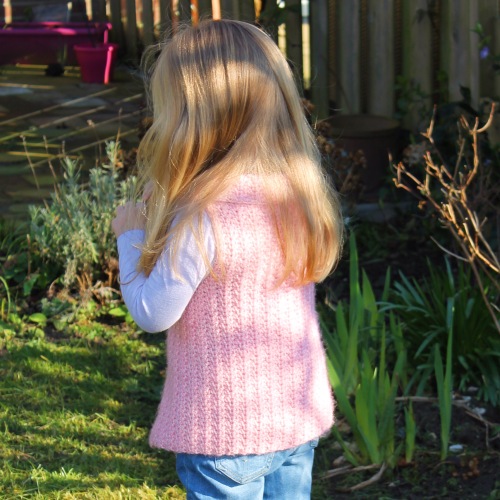
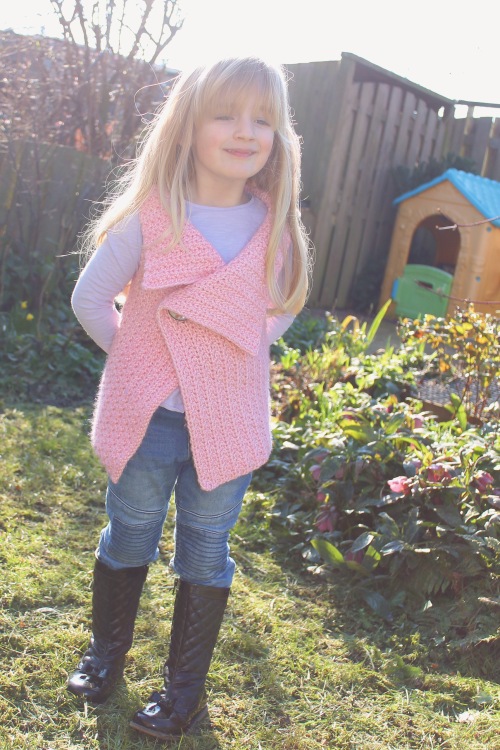
I’m really not a fan of Dutch winters. I’ve had this wrap ready to show you for ages, but haven’t had any decent light-filled days to photograph it. Finally at the weekend there was glorious sunshine, so Raina and I spent the morning outside taking pics.
Raina really loves her wrap. It looks cute on her, don’t you think?
The Scheepjes Stone Washed XL is also a seriously snuggly yarn. Even though it’s a cotton/acrylic blend, it’s warm enough that Raina had no complaints about the cold when it was only 5 degrees outside!
I’m in the process of writing the instructions for kids sizes. I need to get hold of a few different sized kids and a tape measure!
Stay tuned, the instructions and measurements are coming soon.
You can pick up the yarn at Scheepjes retailers all over the Benelux, or internationally from Wool Warehouse*.
The cutest little flop-eared bunny is ready to be shared with you, along with the instructions as to how to make him for yourself.
I’ve created the pattern as a handy pdf file which you can safely download from here and enjoy. But before that, here are some more photos:
He’s right at home there amongst my daughter’s favourite stuffed animals, but sadly he can’t stay. He’s about to be bundled up into luggage and sent of to Perth to a new home with the son of my oldest friend. I know he’ll be well loved.
Right, so let’s get to it. To start making your own bunny, click this PDF file:
Or, clicking on any of the images in this post will take you straight to the pattern too. If you have any problems opening the pdf, shoot me a message via my Contact page.
Edited to add: I forgot to mention the size! Flopsy bunny is about 20cm tall when finished. A great size for toddler hands.
Don’t forget to share your finished bunnies on social media, you can tag and follow me just about everywhere: on Instagram, Pinterest, Ravelry and Facebook. I love seeing your finished results!
It’s been ages since I made any Amigurumi. There was a long time there where it was all I made. I have a few favourite designers, including A Morning Cup of Jo Creations and Local Legend Dendennis. I’ve also long been a fan of the Zoomigurumi books, with just about all of them in my collection.
But amigurumi and I have been on a break. It was only recently when I posted a photo on Instagram for #ThrowbackThursday that the desire reignited.
So I got online and ordered myself a few of the brand new Scheepjes Catona minis so I could get cracking.
I ordered three, as usually one 50g skein of yarn is not quite enough and two is too many. What a gap Scheepjes has managed to fill here, seriously! I hate having leftovers. I never use them and I always buy too many different types of yarn to be able to make a scrap project, so these mini skeins suit me right down to the ground.
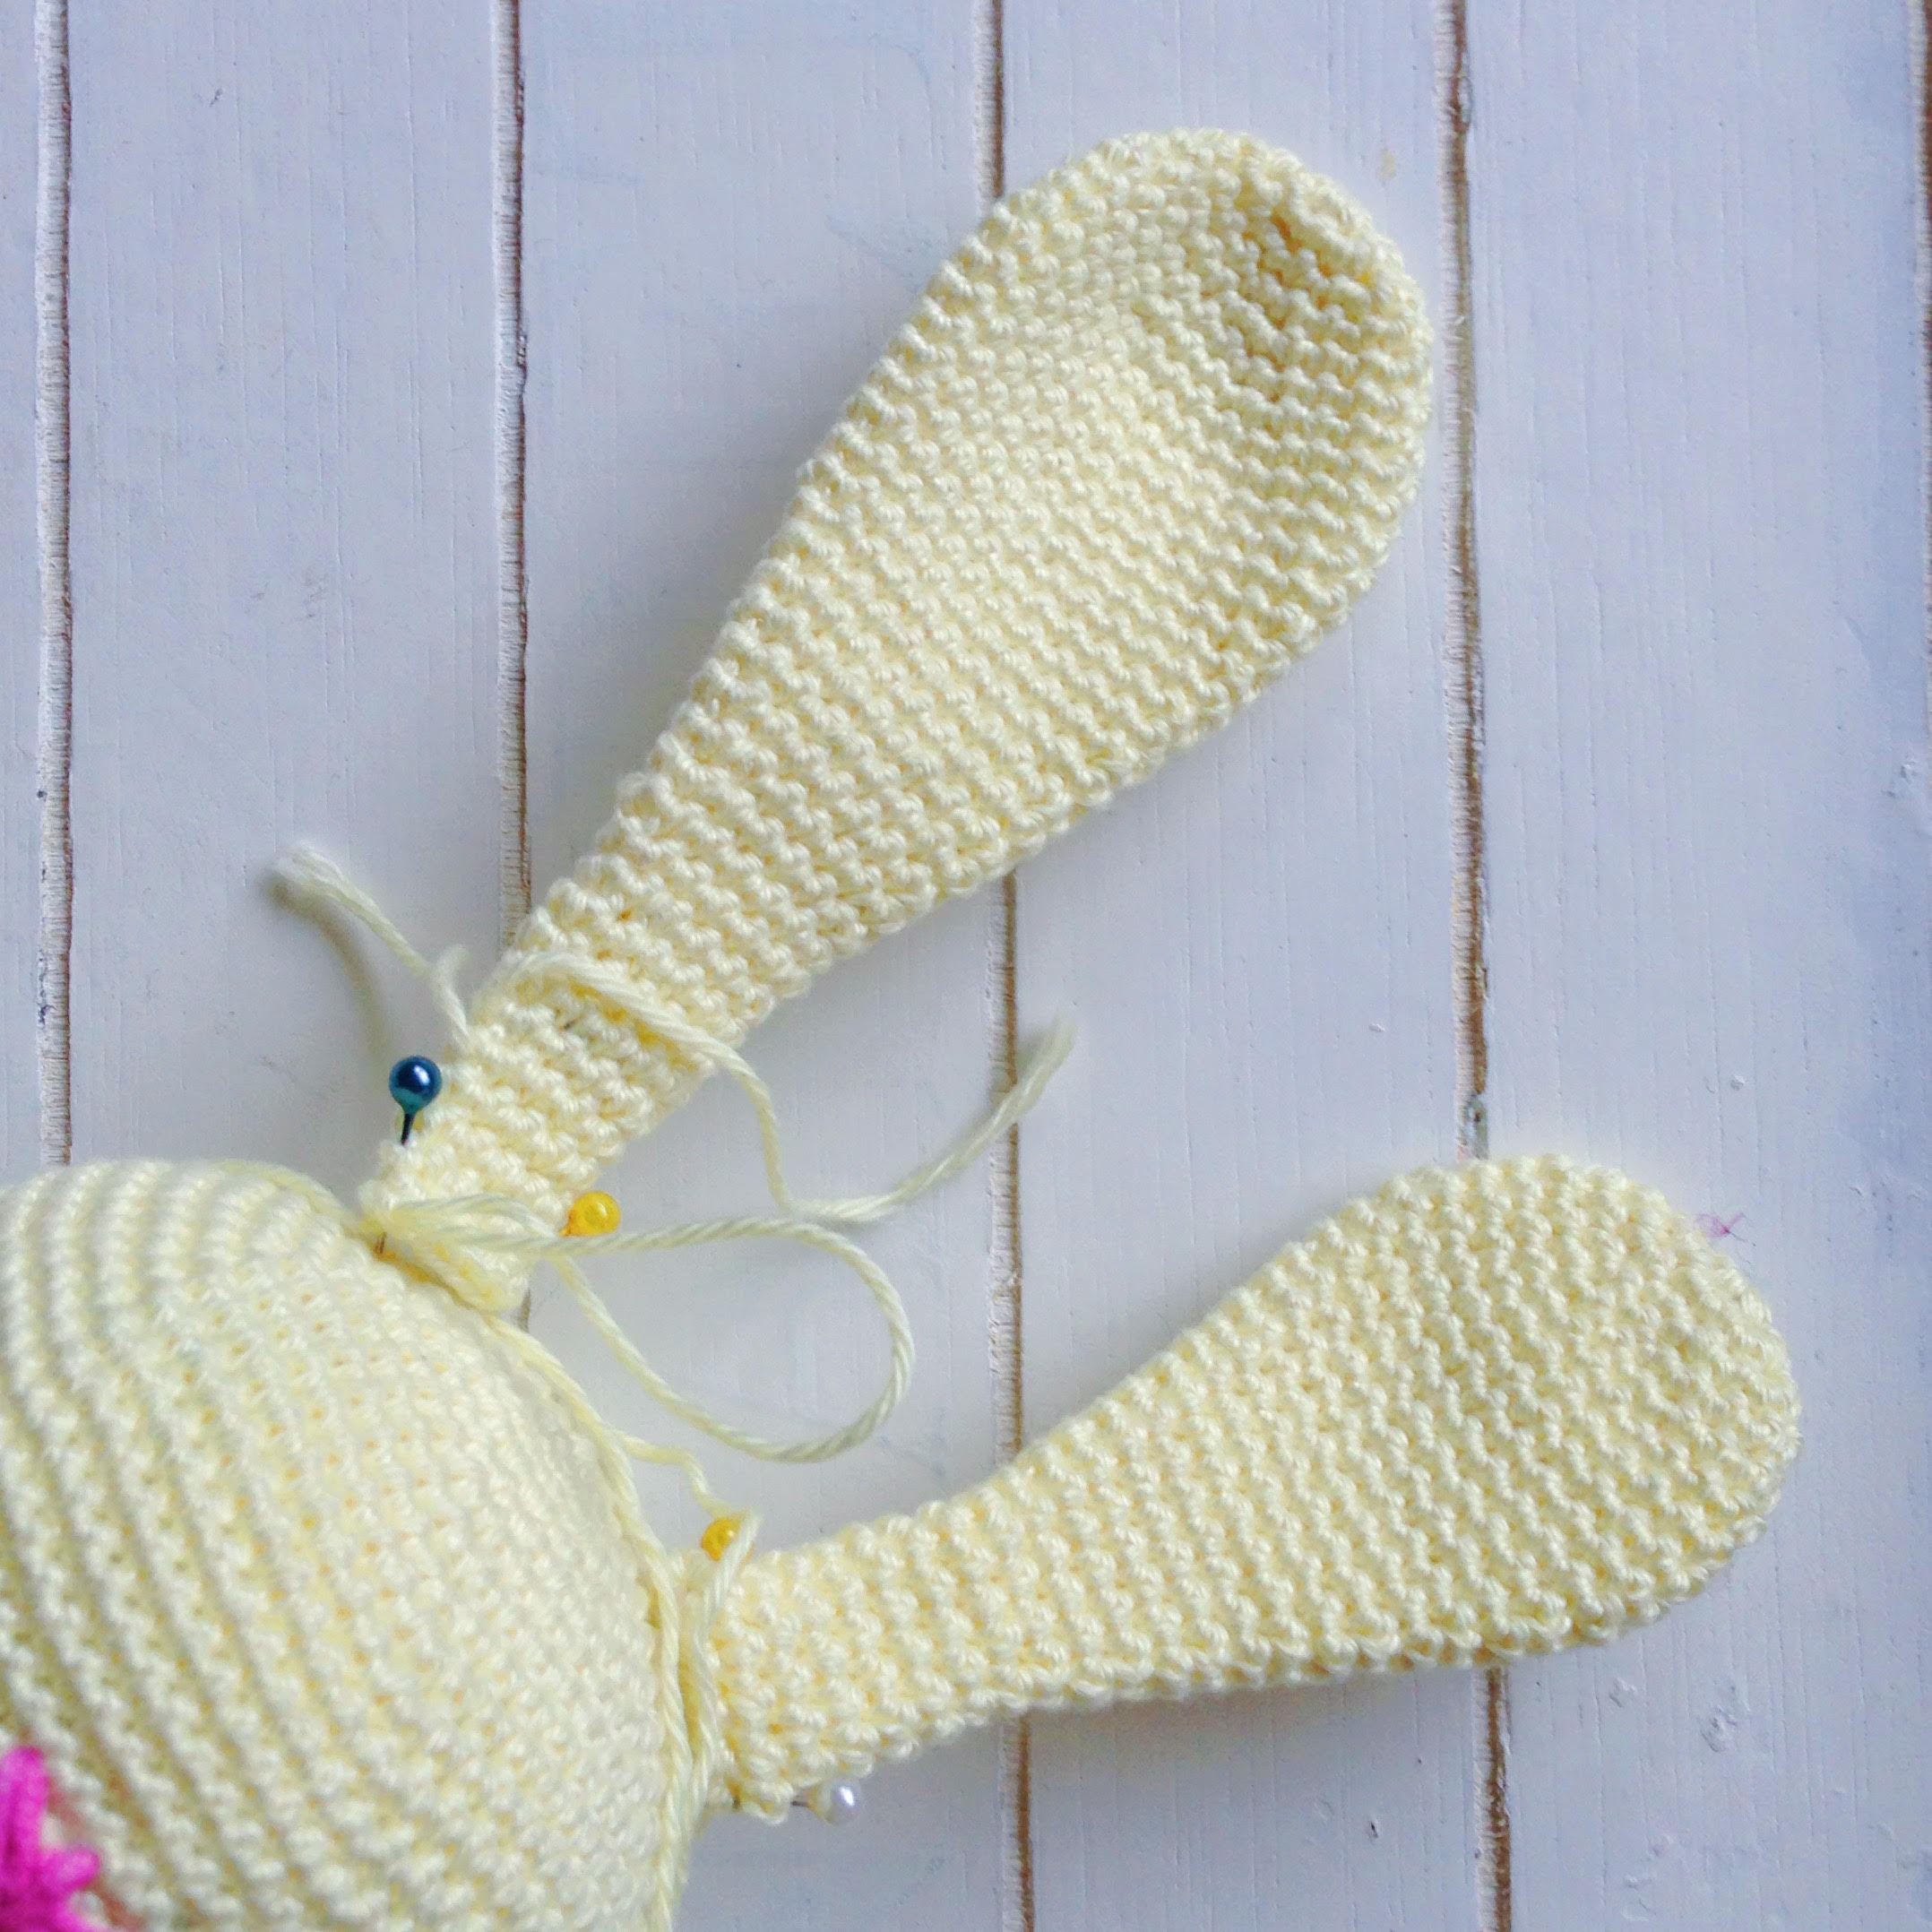
I couldn’t wait to get started on my project, which is going to be a floppy-eared bunny. I’ve already made loads of progress, with only the final touches to be made before I can show you the end result and share the pattern with you!
I’ve really struggled with the ears though. I wanted them to be long and floppy, but not too wide and not too narrow. I think I’ve finally nailed it (on the left).
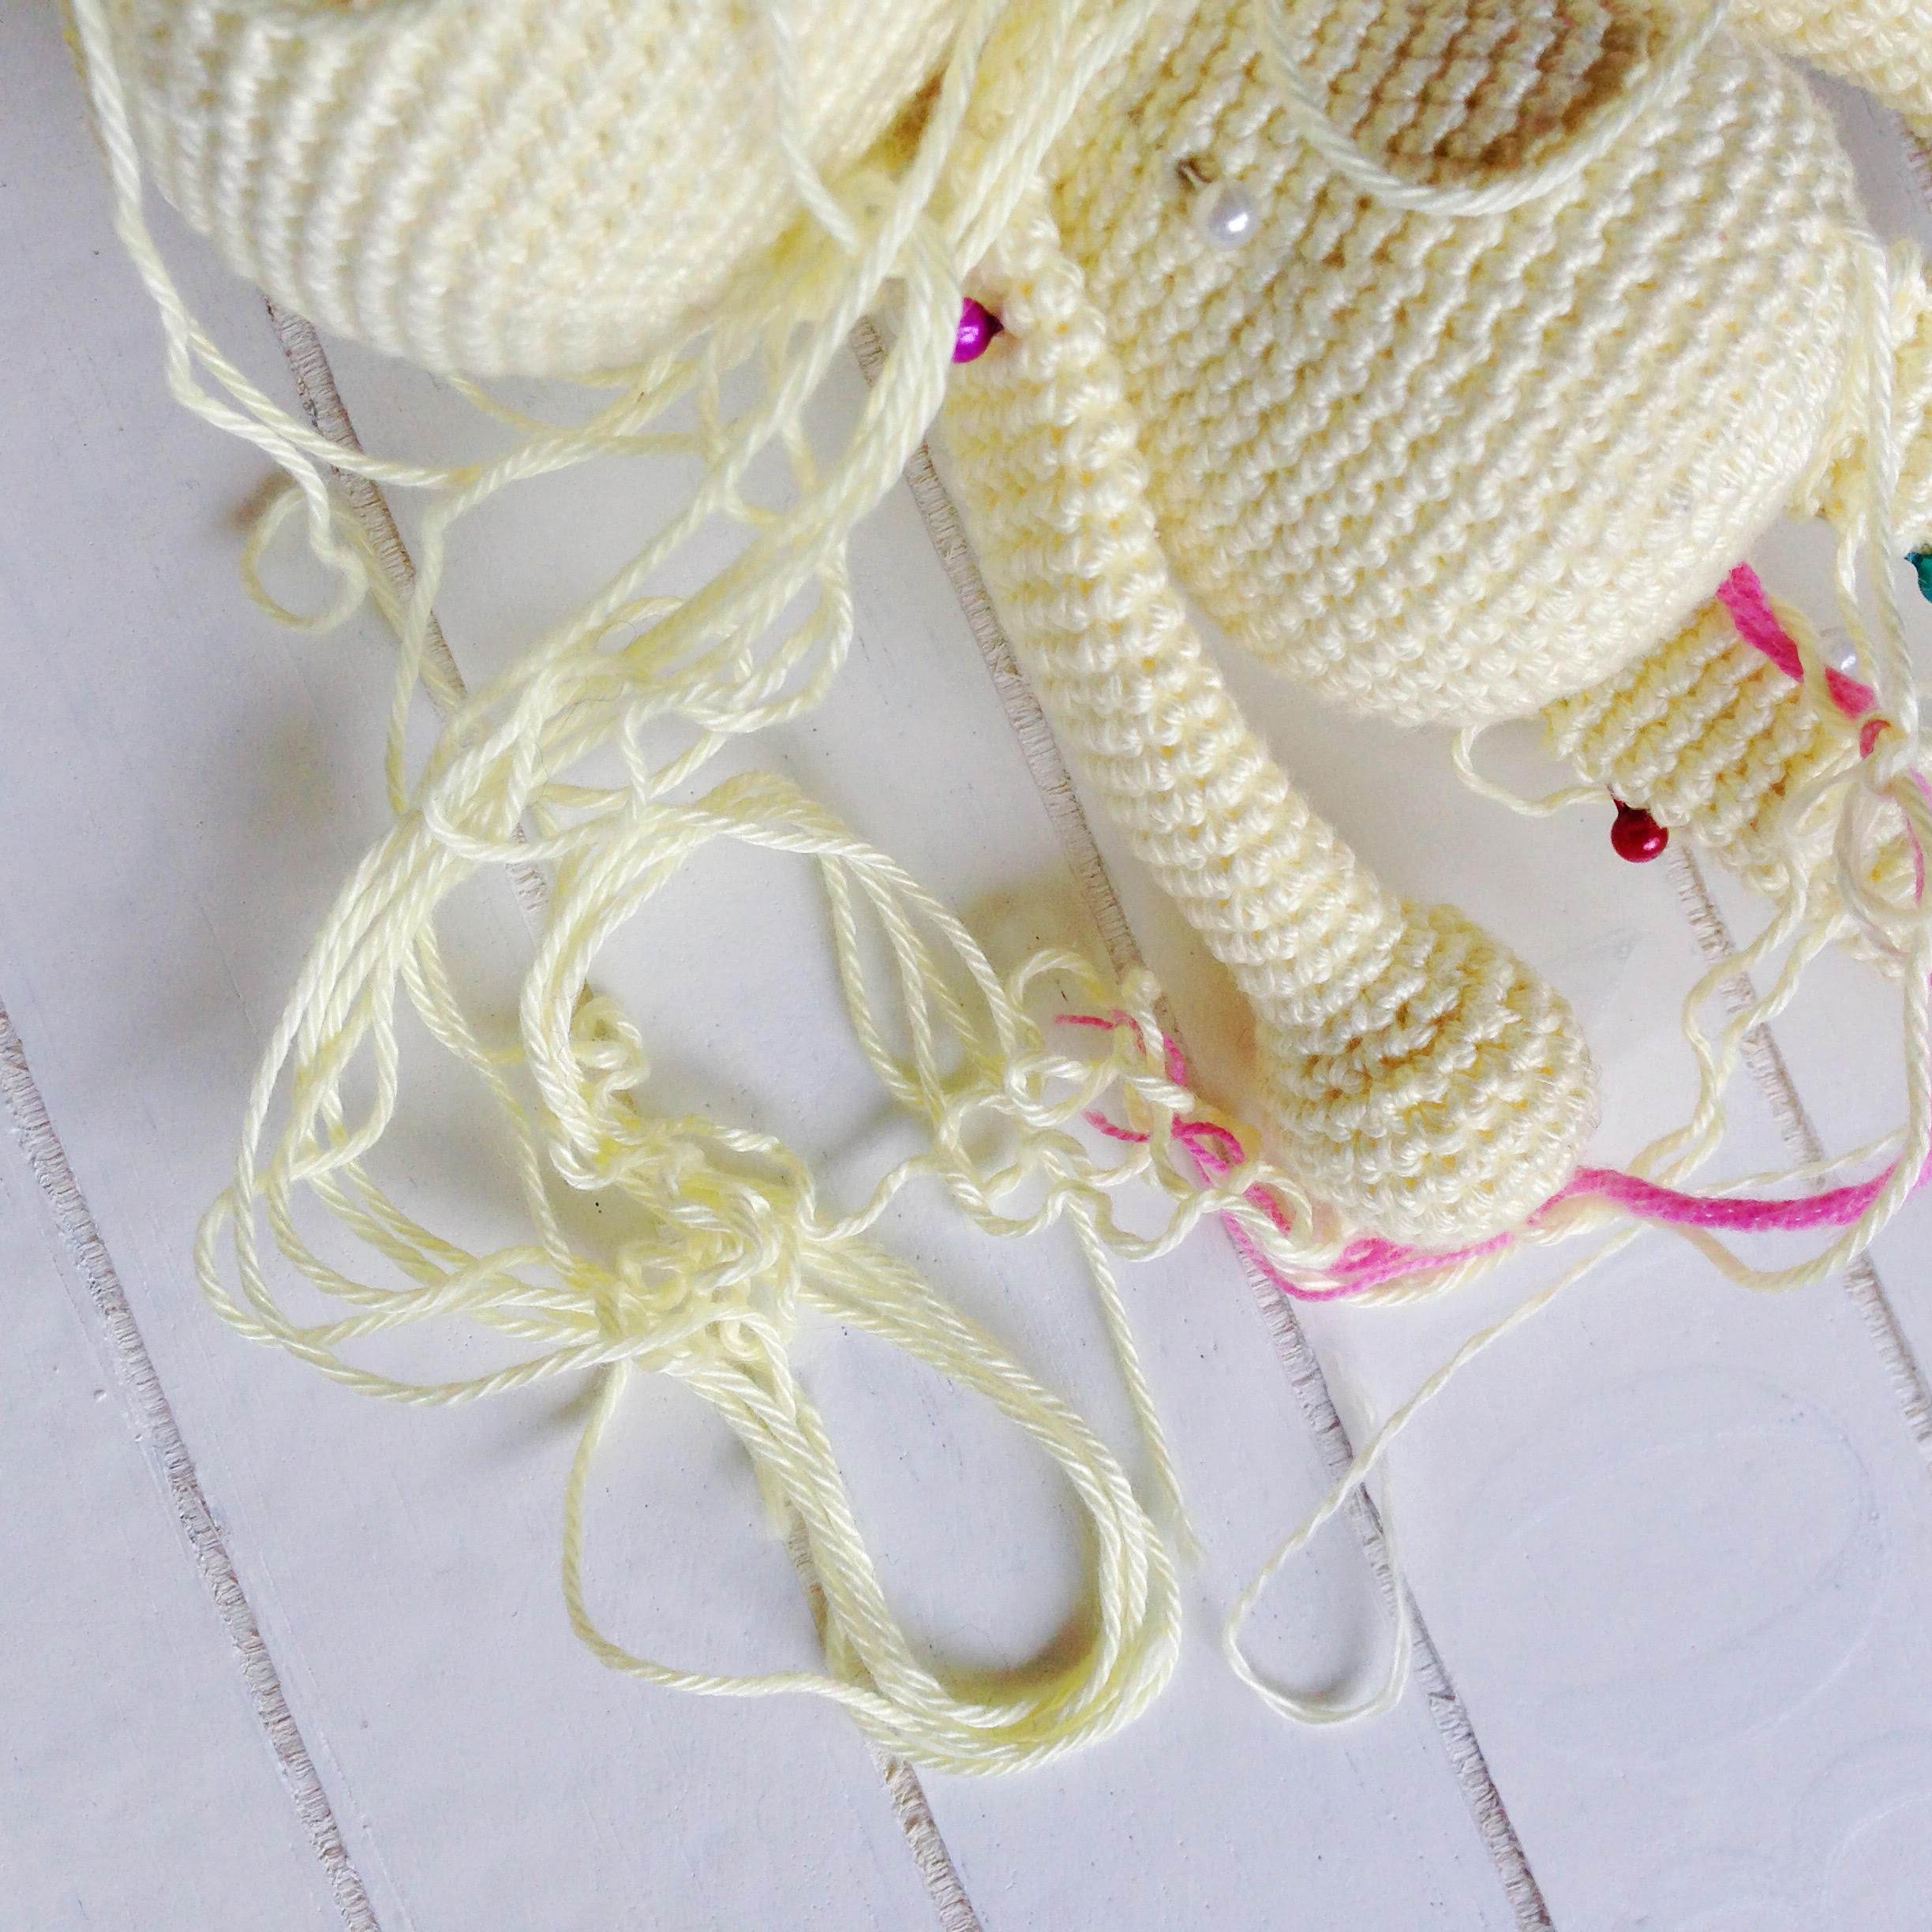
And the assembly is easy, but sewing all the bits and pieces on takes the time and I have to be extra vigilant not to prick my finger and get blood all over the lovely vintage yellow.
So, wish me luck keeping my fingers prick-free, I’m off to sew him all together and makes sure the pattern makes sense for you in time to share this time next week!
If you want to pick up the Catona mini-skeins for yourselves, you can at your local retailer in NL and BE, or via Deramores.com, who ship worldwide.
I seriously can’t believe that I can knit. I just knitted a baby blanket! And she’s a beauty.
I used Scheepjes Sunkissed for this project in colours 3, 7, 9 and 10. (There are currently 11 colours available, but don’t be surprised if you see more coming soon!)
I can’t tell you how much I love working with this yarn. I love the texture of the cotton, I love the colourways, I love the drape. For me it’s about as close to the perfect yarn as you can get. Knitters, you’re going to make some beautiful clothes with this yarn, let me forewarn you.
The finished blanket, at 60x85cm is just the perfect size for a cradle or buggy, and it’s exactly the right weight for this ridiculously cool summer that we’re “enjoying” here in Holland right now.
So, today I have some of the most beautiful cotton yarn to show you – The Sunkissed by Scheepjes.
Just look at those colours! And this is just a tiny selection. There are 11 colours to choose from (so far) and this is just the most beautiful summer yarn. It’s lovely and soft, just like the Cotton 8, and the colour variation is to die for. Actually, you can very easily partner the Sunkissed with the Cotton 8 as they’re the same weight and hook size (sport and a 3mm hook/needle). It’s 100% cotton and comes in 50 gram skeins. There are loads and loads of great retailers in NL and Belgium where you can pick it up, or if you’re outside the Benelux, head to Deramores.com.
But what should I make? Well, I’ve decided on a really simple knitting project. Something that even the biggest novice can make, because let’s face it. That’s what I am: a knitting novice!
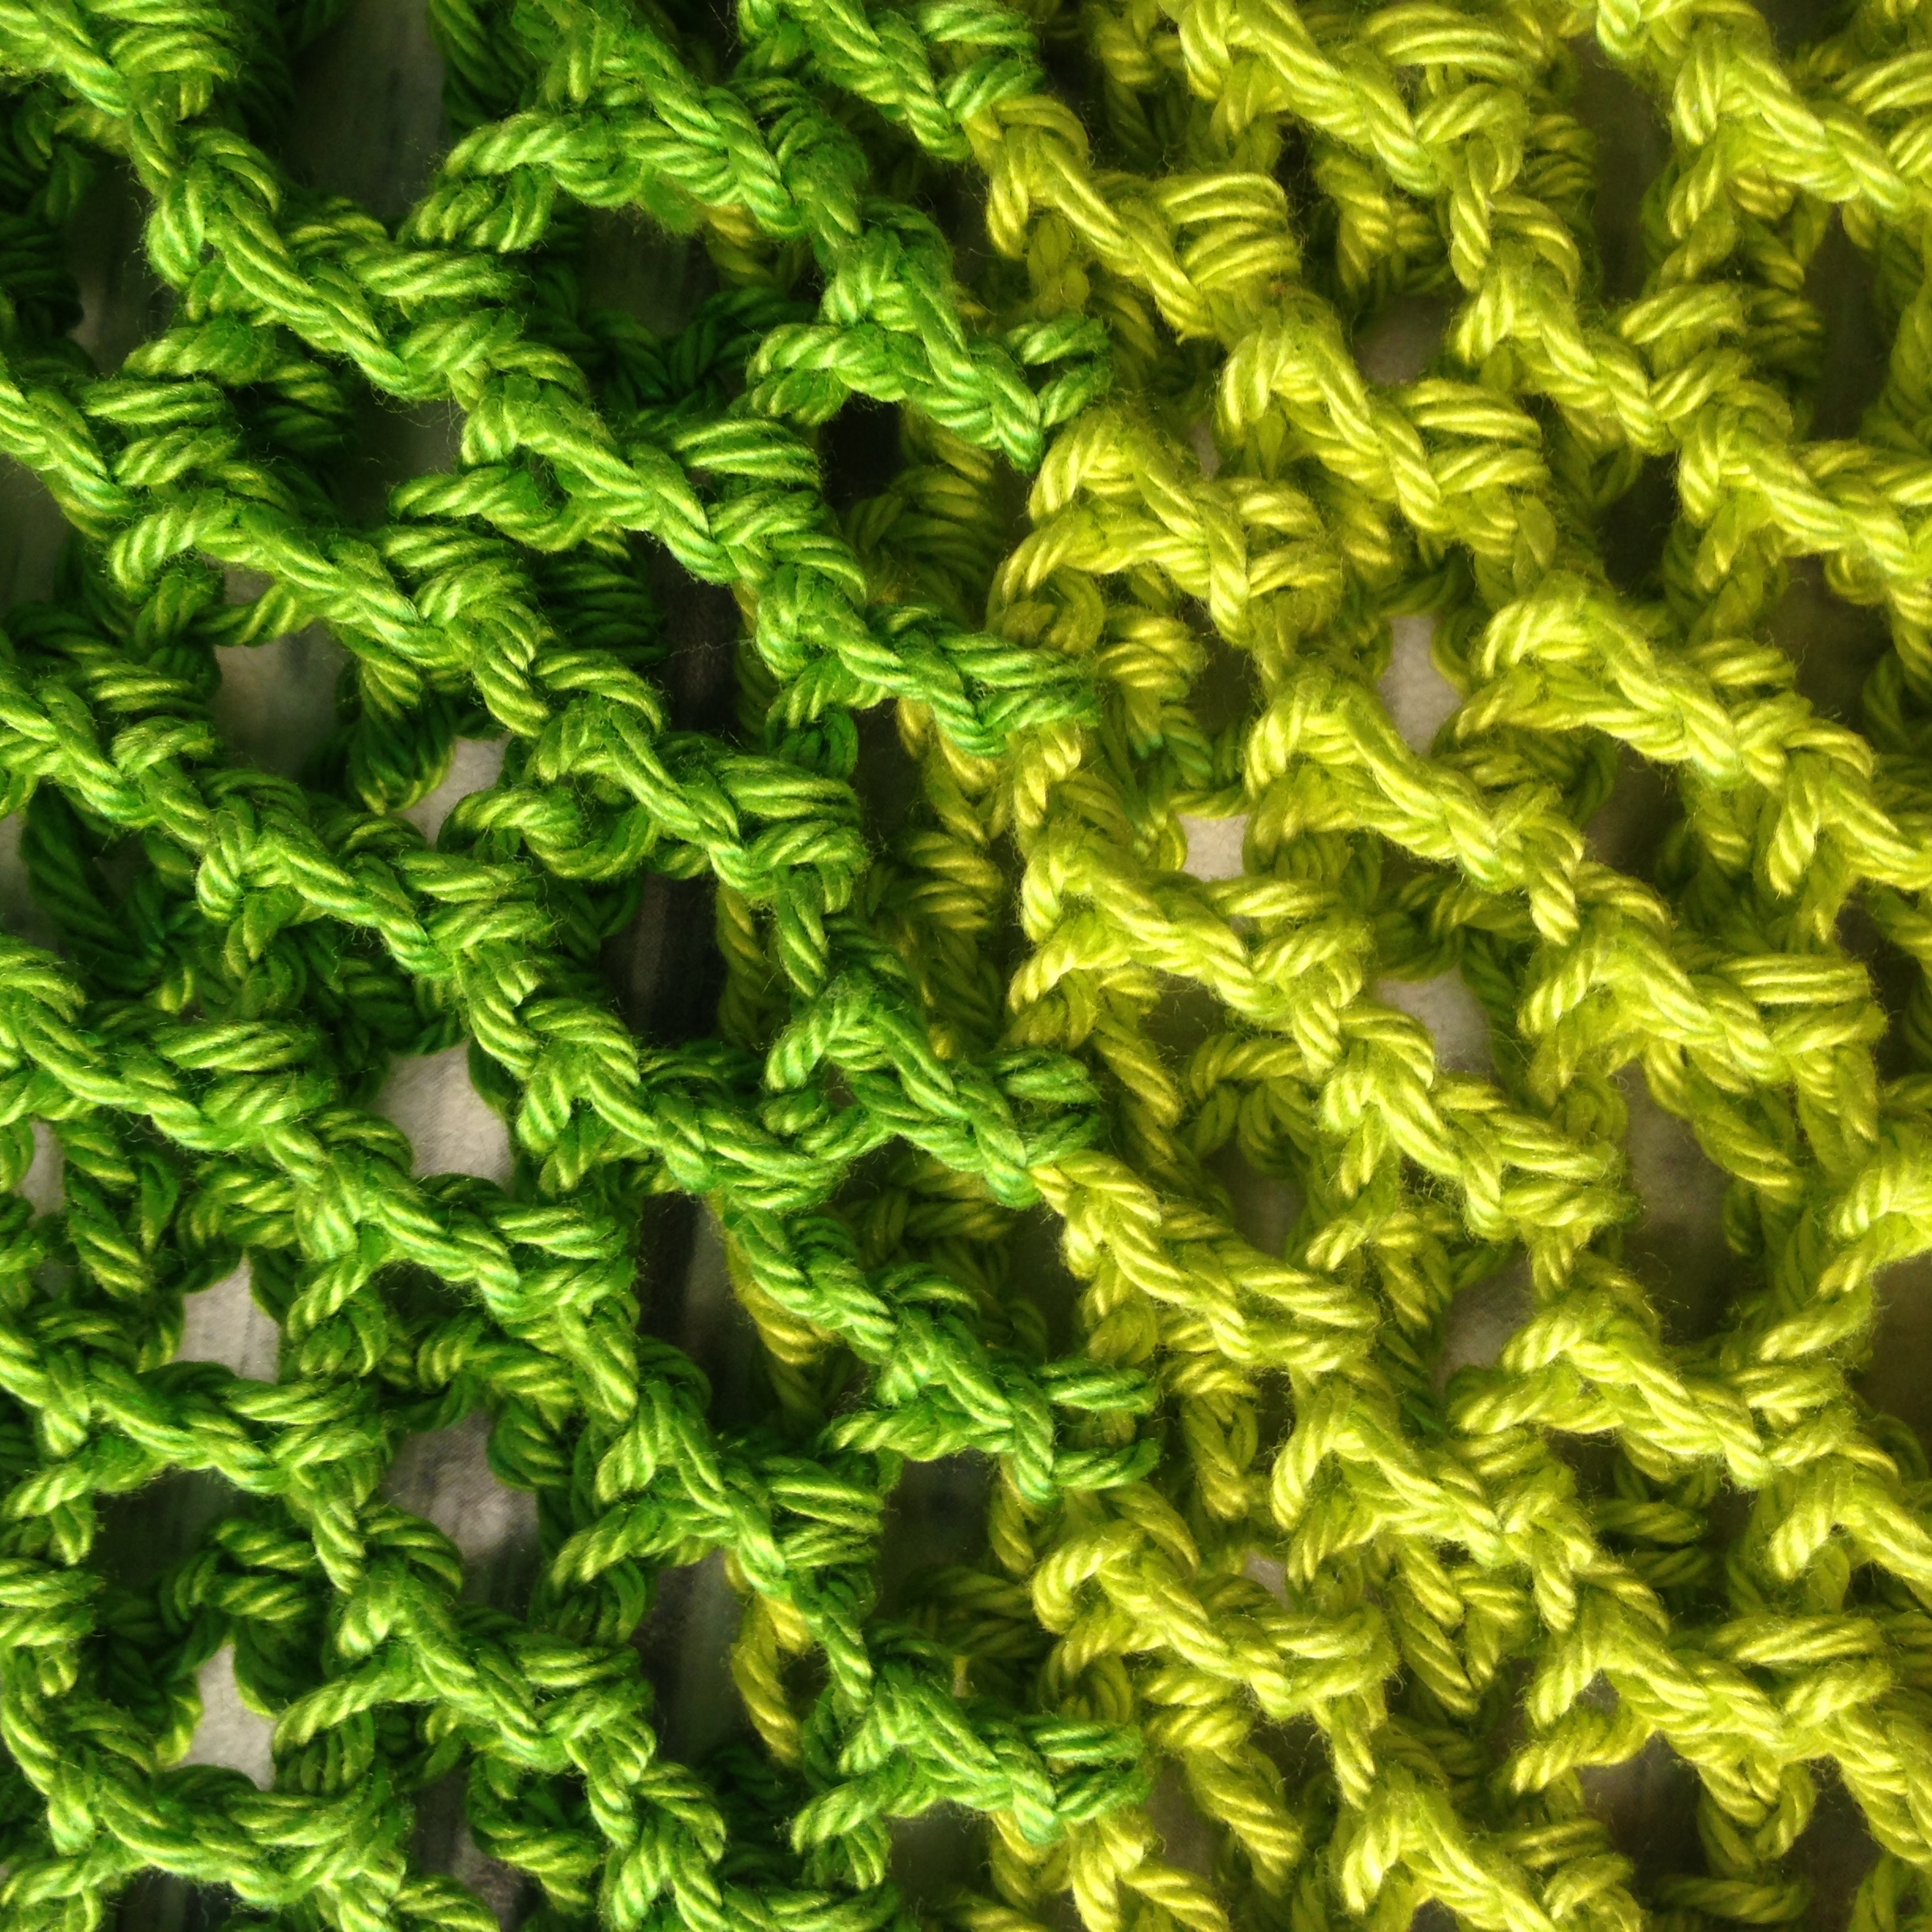
Look at the little swatch I’ve already made, isn’t the colour amazing?
I’m not sure I’ll have quite enough to finish this project, so we’ll have to wait and see, won’t we. Pop back next week for an update.
Meanwhile, have you started working on the Peek-a-Boo Button Wrap yet? What do you think of it? I’m overwhelmed by the positive responses that I’ve had so far, thanks so much!!!
I’ve made this for you in four different sizes, from Small through to XL.
Here you can find a written pattern for size Medium, and below you can find a chart which will give you the measurements and stitch counts for sizes Small, Large and XL.
For the Dutch speakers among us, I’ve also had the design translated. You can find it here. Veel plezier!
Scheepjes Stone Washed XL in 850 (Garnet) – 12 balls for size M (I used 11, but get an extra to be safe)
S = 10 balls (each ball of Stone Washed XL has 75 metres)
M = 12 balls
L = 15 balls
XL = 17 balls
7cm bamboo button – you can pick these up at any good craft store, or online
Size 5mm hook (or hook to obtain gauge)
Measuring Tape
Scissors
Tapestry Needle
Eucalan wool wash
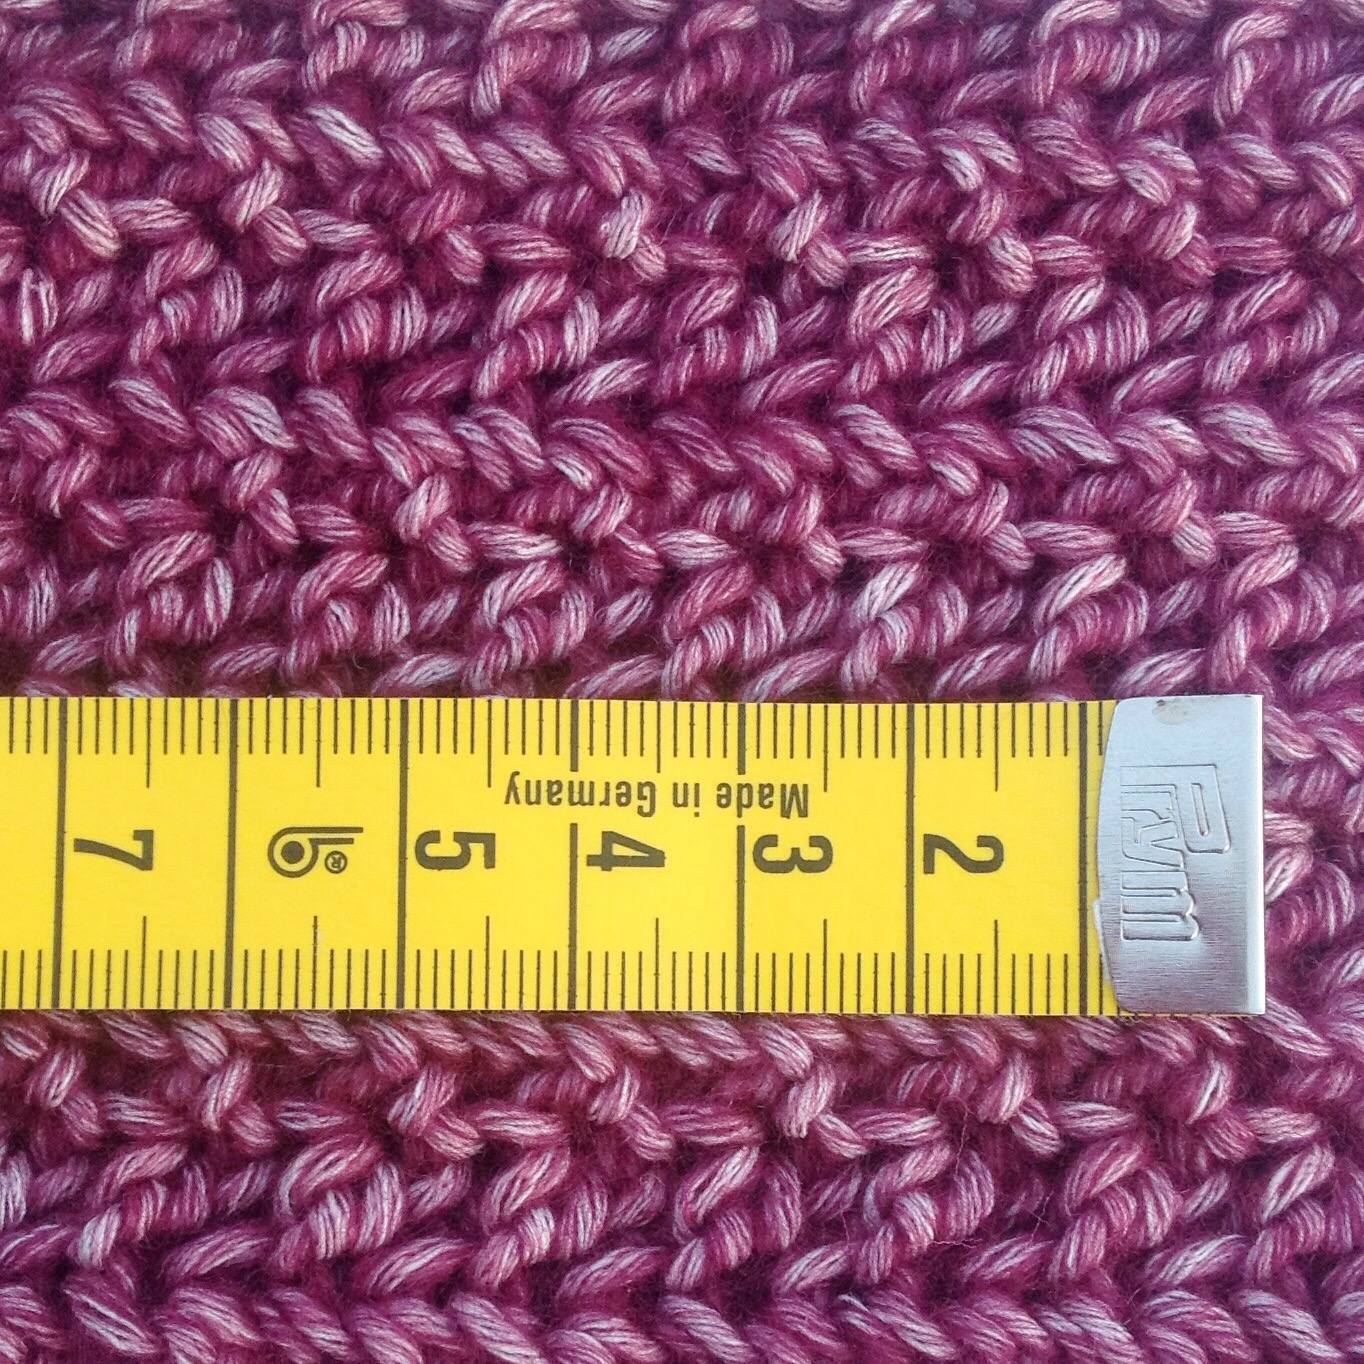
Gauge
8 stitches x 5 rows = 5cm x 5cm
Stitches
Note: All stitches are in US terms
Chain (CH)
Half Double Crochet (HDC)
Half Double Crochet Back Loop Only (HDCBLO)
Half Double Crochet Front Loop Only (HDCFLO)
Size Medium
Chain loosely 119 stitches. If you’re a tight crocheter, consider going up a hook size to make sure that the chain isn’t too tight.
HDC into the third chain from the hook, and all the way across (a total of 117 stitches across). CH2, turn.
HDCBLO in the first stitch, HDCFLO in the next. Repeat this front and back (HDCBLO/FLO) format all the way across, CH2, turn. Note: It’s important to ensure that you have an odd number of stitches to make it easier to achieve the texture of the stitches. If you finish the row in the back loop, when you start the next row, start in the front loop and vice versa. You’ll find very quickly as you go that the look of the wrap will be different if you don’t maintain the BLO then FLO stitch pattern in alternating stitches.
Repeat this pattern building rows for 25cm.
Now we are going to make the first sleeve. Follow the HDCBLO/FLO pattern for 20 stitches, then CH 35, skip 35, then continue the HDCBLO/FLO pattern all the way to the end. Make sure you double check that you stitch into the BLO or FLO correctly (if the stitch in the row below was FLO, you need to stitch into the BLO).
HDCBLO/FLO to the chain from the previous row, then HDC 35 into the chain, then continue the HDCBLO/FLO to the end. the short end becomes the collar of the wrap.
Repeat step 3 for a further 37cm and then we will make the next sleeve. Making sure you start from the top of the collar and work down (add a row if you need to), repeat steps 5 and 6.
Continue building the final front panel, for 25cm, then we will make the button hole.
Starting from the top of the collar, repeat the HDCBLO/FLO pattern for 37 stitches. Chain 7, skip 7 stitches, then repeat the HDCBLO/FLO pattern all the way to the end.
HDCBLO/FLO to the chain from the previous row, then HDC 7 into the chain, then continue the HDCBLO/FLO to the end.
Build a further 7 rows, or complete your ball of yarn. Tie off, weave in ends.
Sew button on the opposite end of the garment to the button hole 9cm from the end, 25cm from the top.
Block, stretching a little (especially the length) and you’re done!
Size Chart
You can switch out the stitch counts and centimetres in the written pattern above for the numbers in the chart below, depending on your required size.
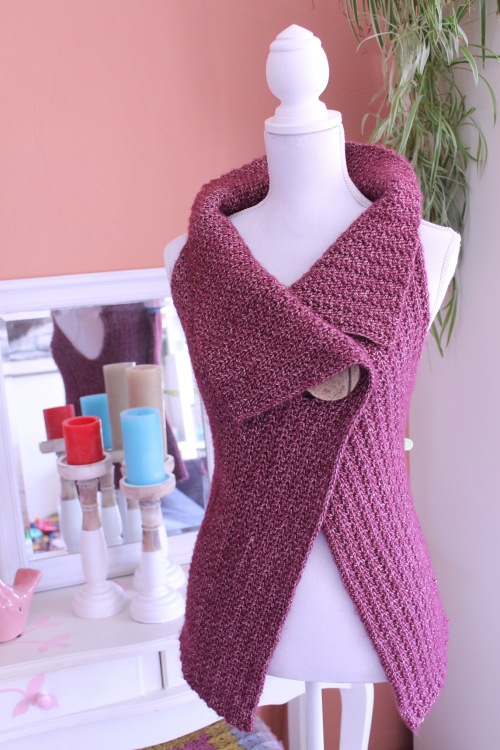
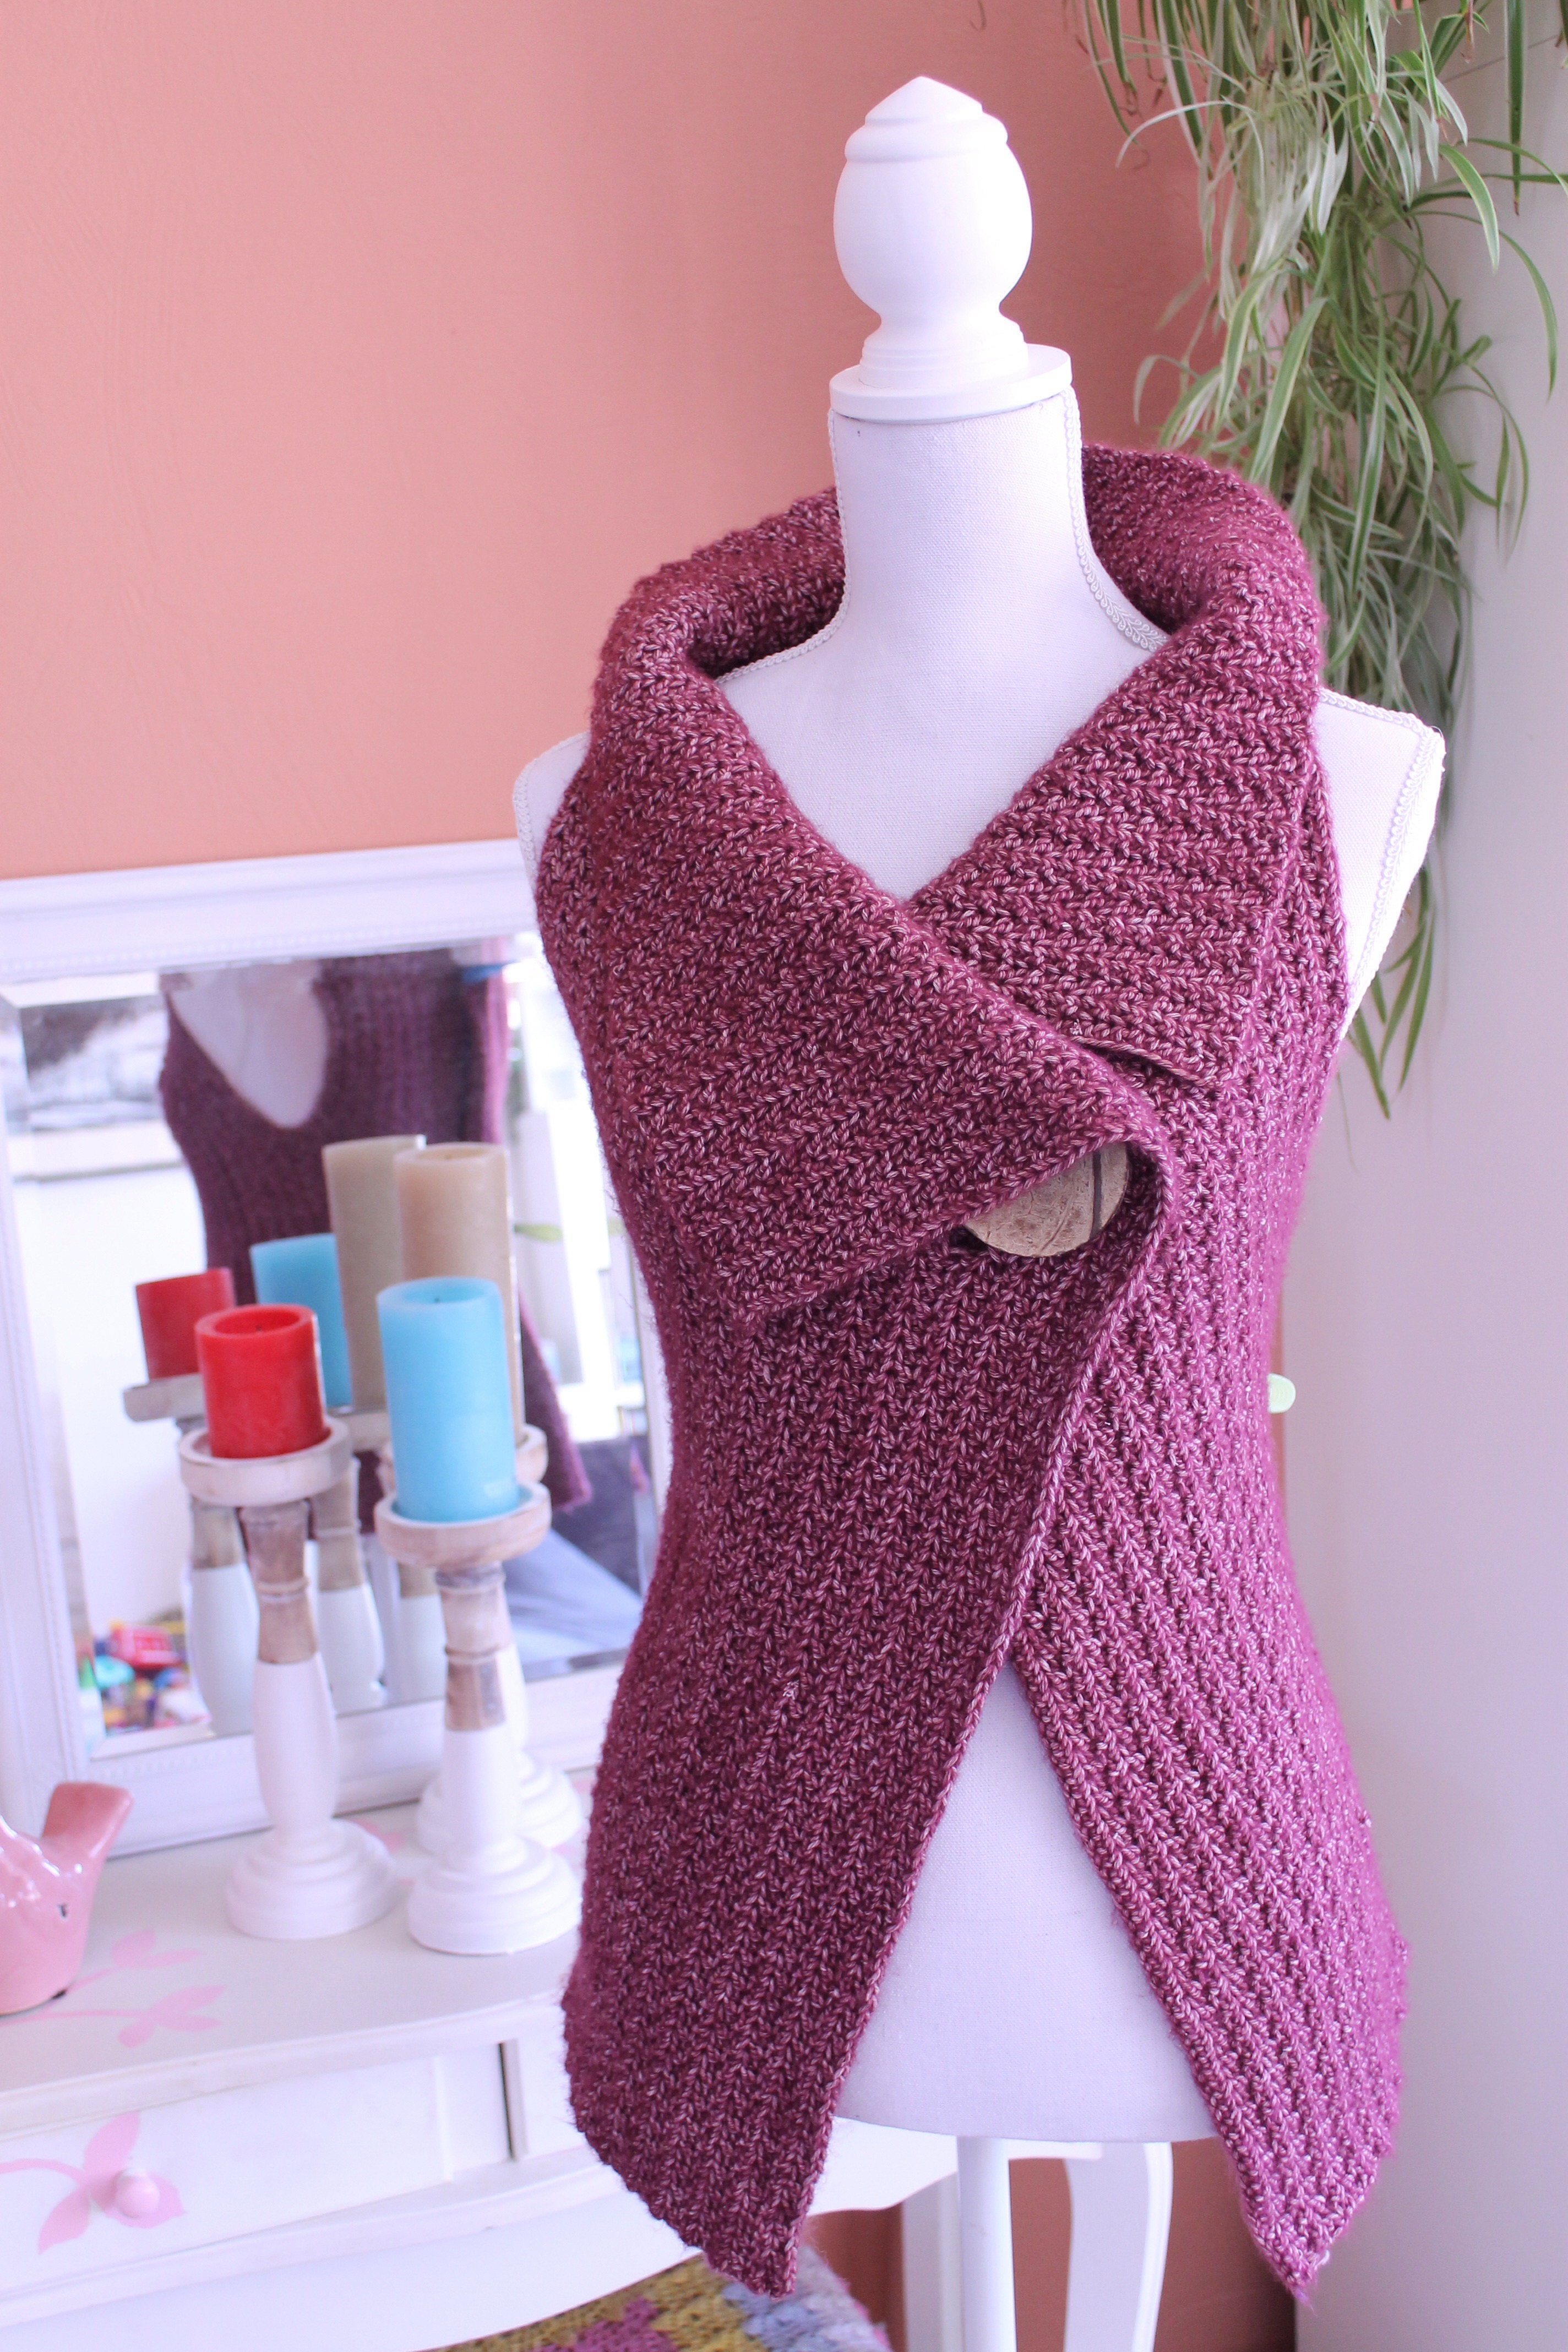
I picked up a mannequin from Xenos just to be able to show this off to you properly, and the form is just perfect.
And so is the peek-a-boo button. Better than I ever could have imagined. I’ll be honest, when I first ordered the yarn and the button, I hadn’t really calculated the size of the button correctly, but now I couldn’t imagine having chosen anything else.
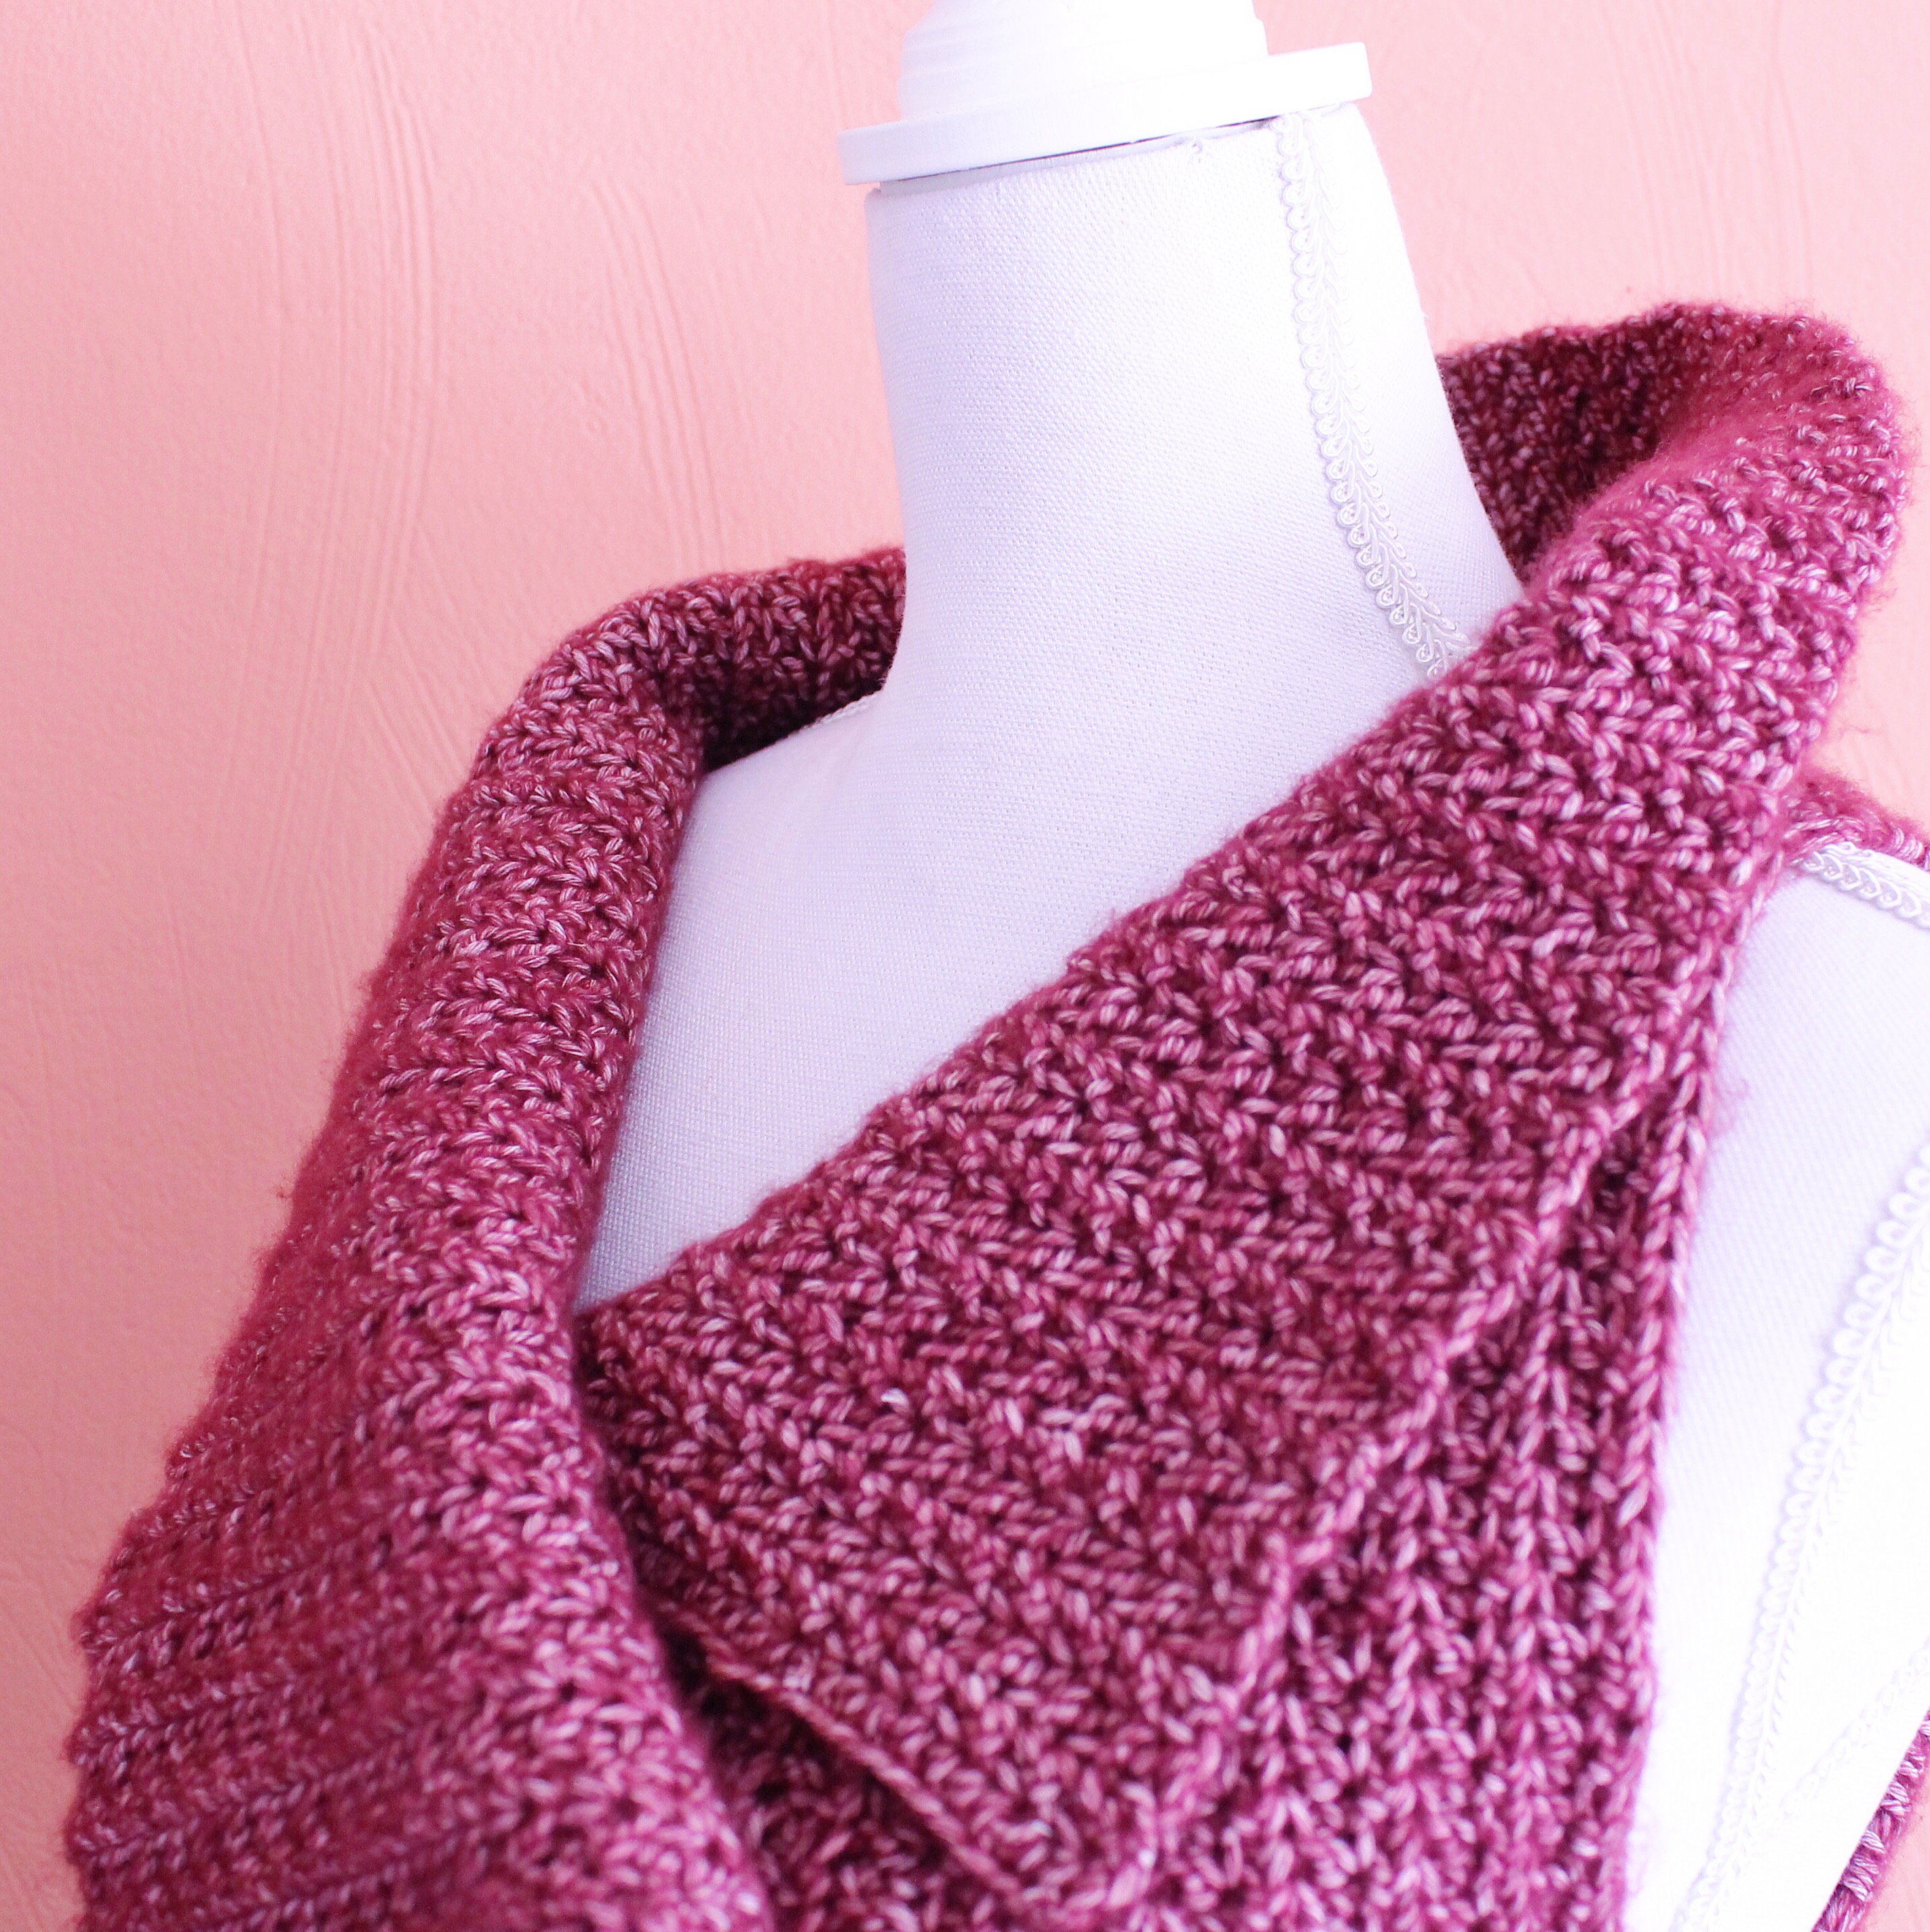
I love how there is just enough strength in the stitch to hold the collar up at the back. It’s always surprising just how soft and supple the Scheepjes Stone Washed is after blocking – I wasn’t sure if the collar would keep standing!
Most of all, I adore the texture of the stitch I used. It’s a very ordinary Half double Crochet, but in alternating front and back loops, giving the design just that little bit extra texture. Plus the stitch allows just enough stretch for the top to really mold to the shape of the figure.
Can you tell how happy I am with the result?
Coming very soon, the pattern! I’m drafting it in multiple sizes. So we’ll have sizes from S through to XL next week!
The pattern is now live! You can pick it up here: Peek-a-Boo Button Wrap. Coming soon: pattern in Dutch! OMG that’s going to be tough 😀
I’ve only about four skeins to go, I’d say I’m nearly finished!
As with all the Stone Washed projects I’ve done in the last almost 12 months, I absolutely love the texture. This yarn is just really, really great looking. I love the fluff-factor too. Look at the stitch detail:
I’m working a really very simple half double crochet into alternating front and back loops, and it just looks great.
I’m actually almost at the stage where I need to think about working in the button. Now, this button is huge. Like the size of a slice of orange. I’m hoping that it’s the right choice, but only time will tell!
Hopefully by this time next week I’ll be able to show you the finished product, won’t that be fun?!