It feels as though Spring has raced on by, and we’re hurtling headlong into an Australian style summer! Although, that’s pretty optimistic, summer will likely only last this week, but I can never help myself. I always get excited when the temperatures crack 20 degrees…
As promised, I’ve put together a little set of instructions to make the Spring Motif. I decided to make this one a photo tutorial for you.
What You’ll Need
4 mini 25g skeins of Scheepjes Catona in colours:
- 226 Light Orchid
- 114 Shocking Pink
- 385 Chrystalline
- 280 Lemon
3mm hook
Scissors
Tapestry needle
Blocking mat(s) and pins
Note: I’m using US terms for this tutorial and the pattern is worked in rounds, slip stitching to join each round, and changing colours almost every round as well. Try to weave in ends as you go, to save work at the end.
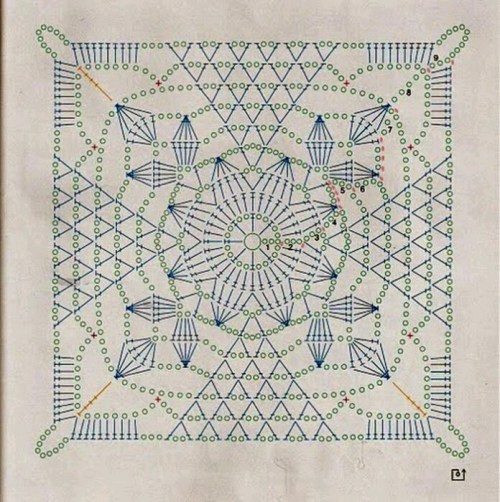
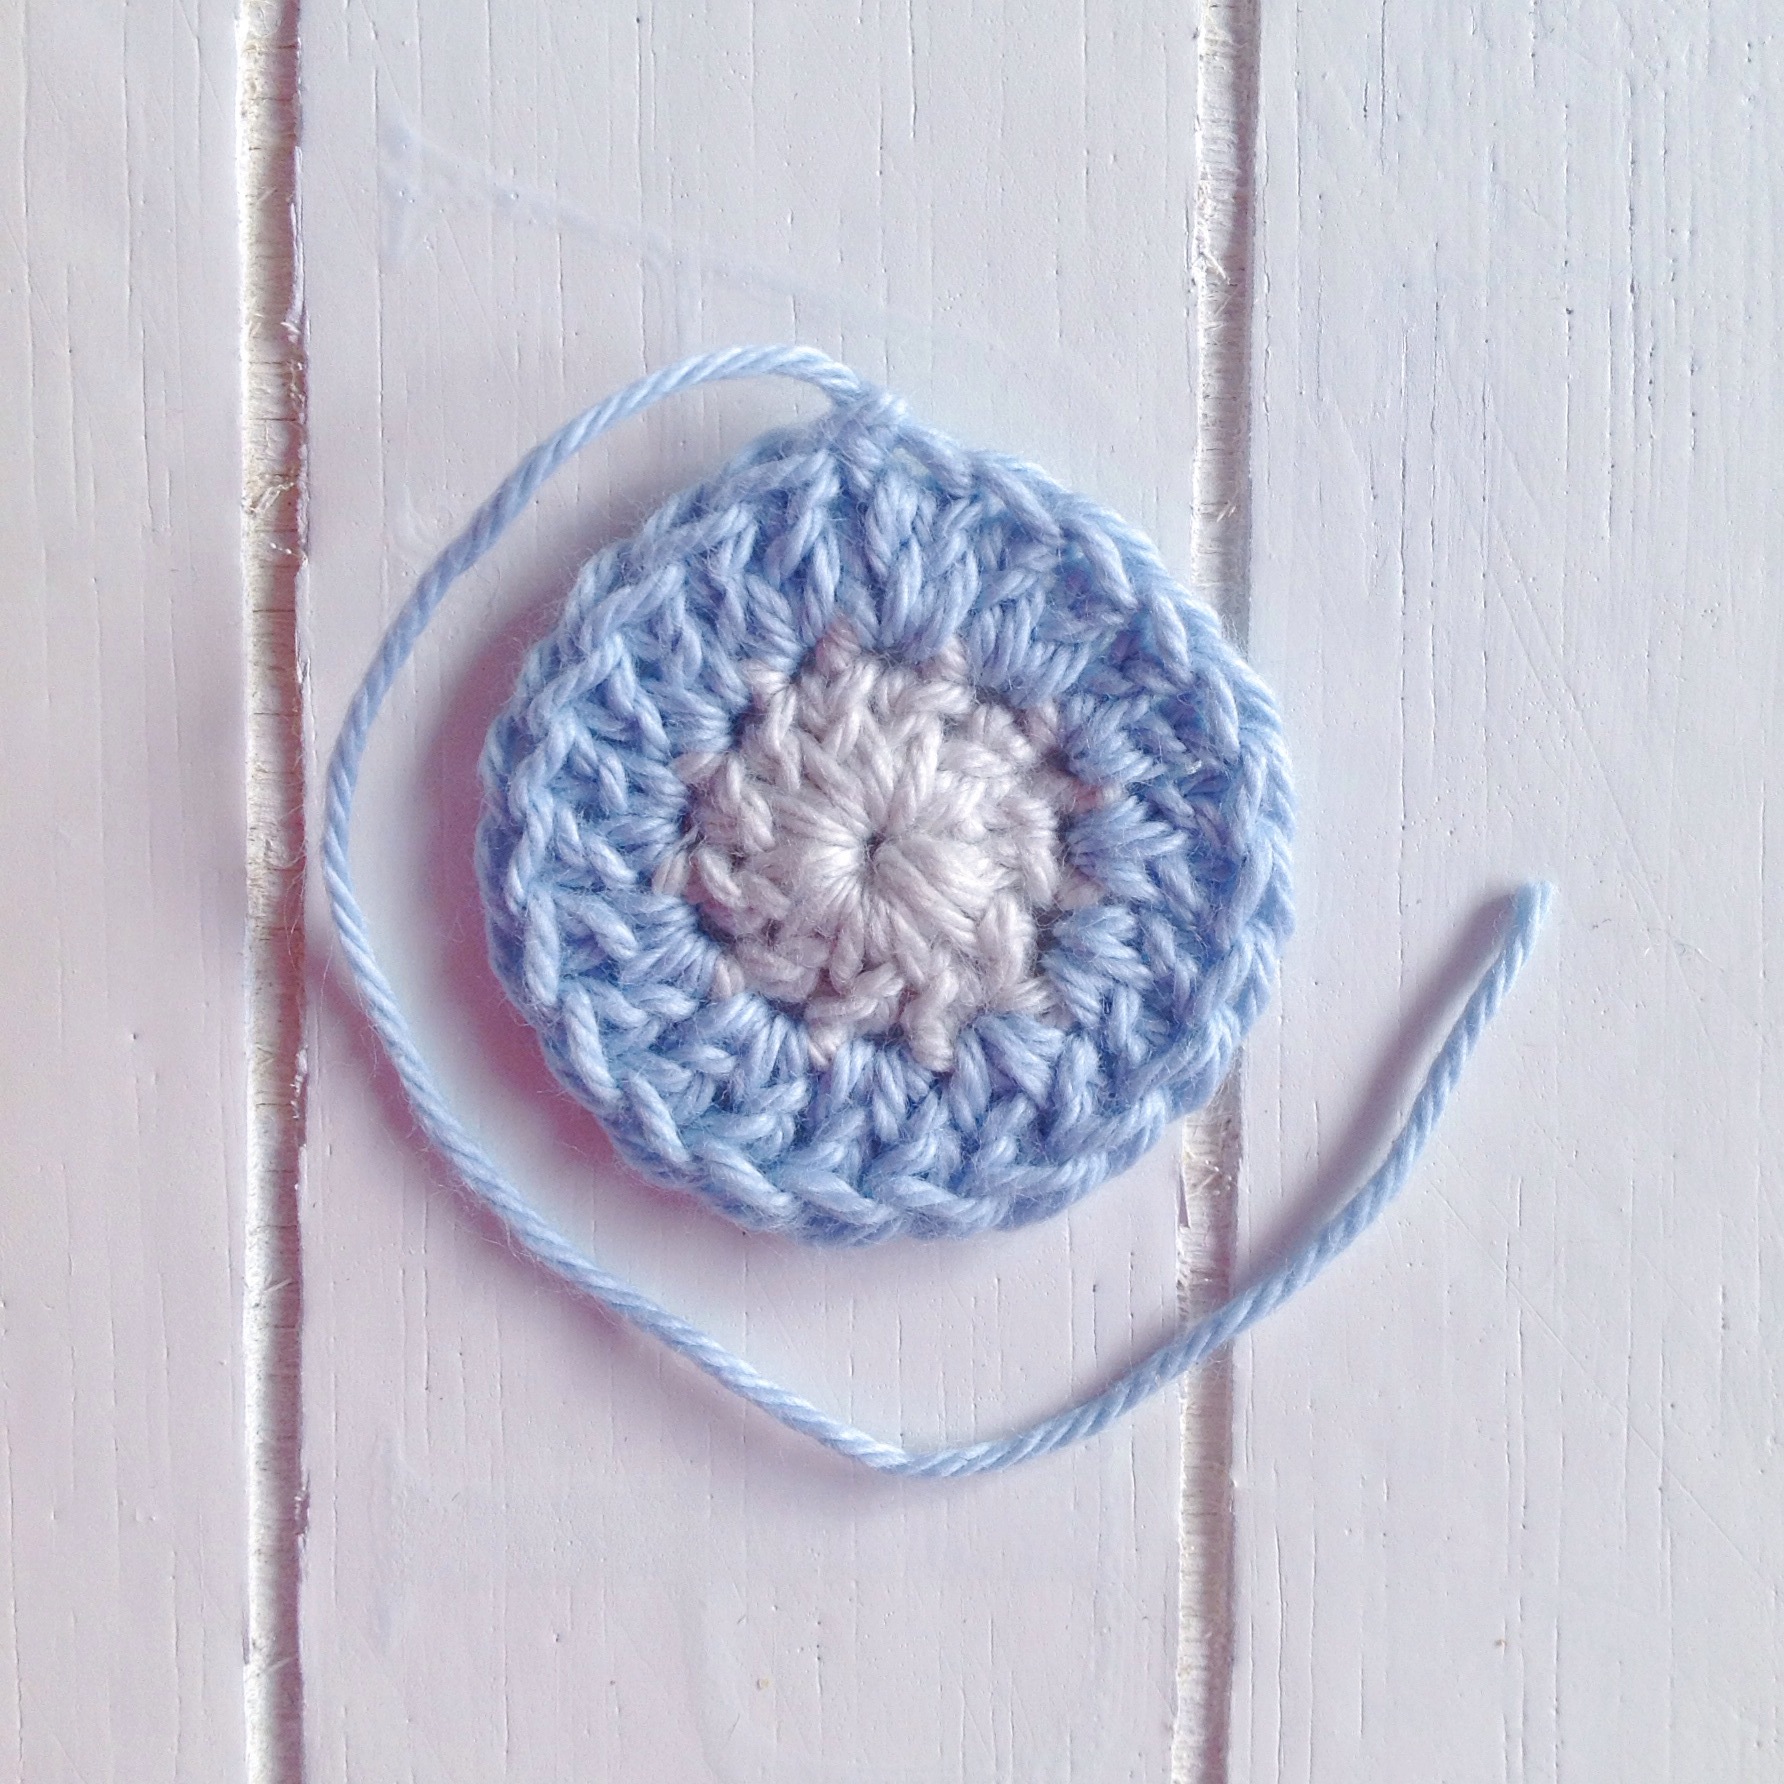
Round 1:
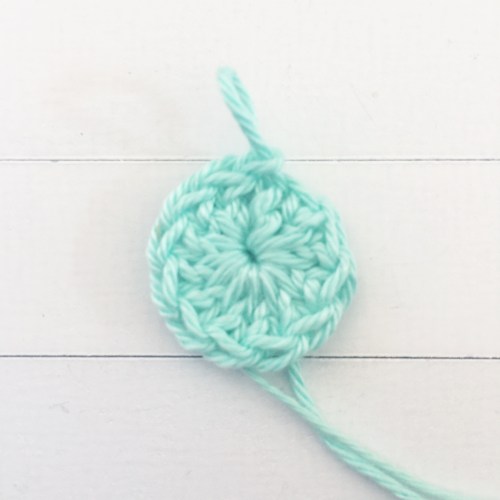
12 DC (double crochet) stitches into a MR (magic ring). SS (slip stitch) to join.
Round 2:

Begin the round with a standing DC, DC into the same stitch, then work 2 DC into each stitch around, ending with 24 stitches.
Round 3:
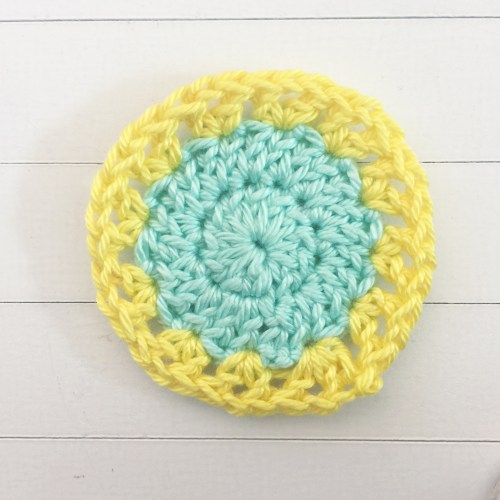
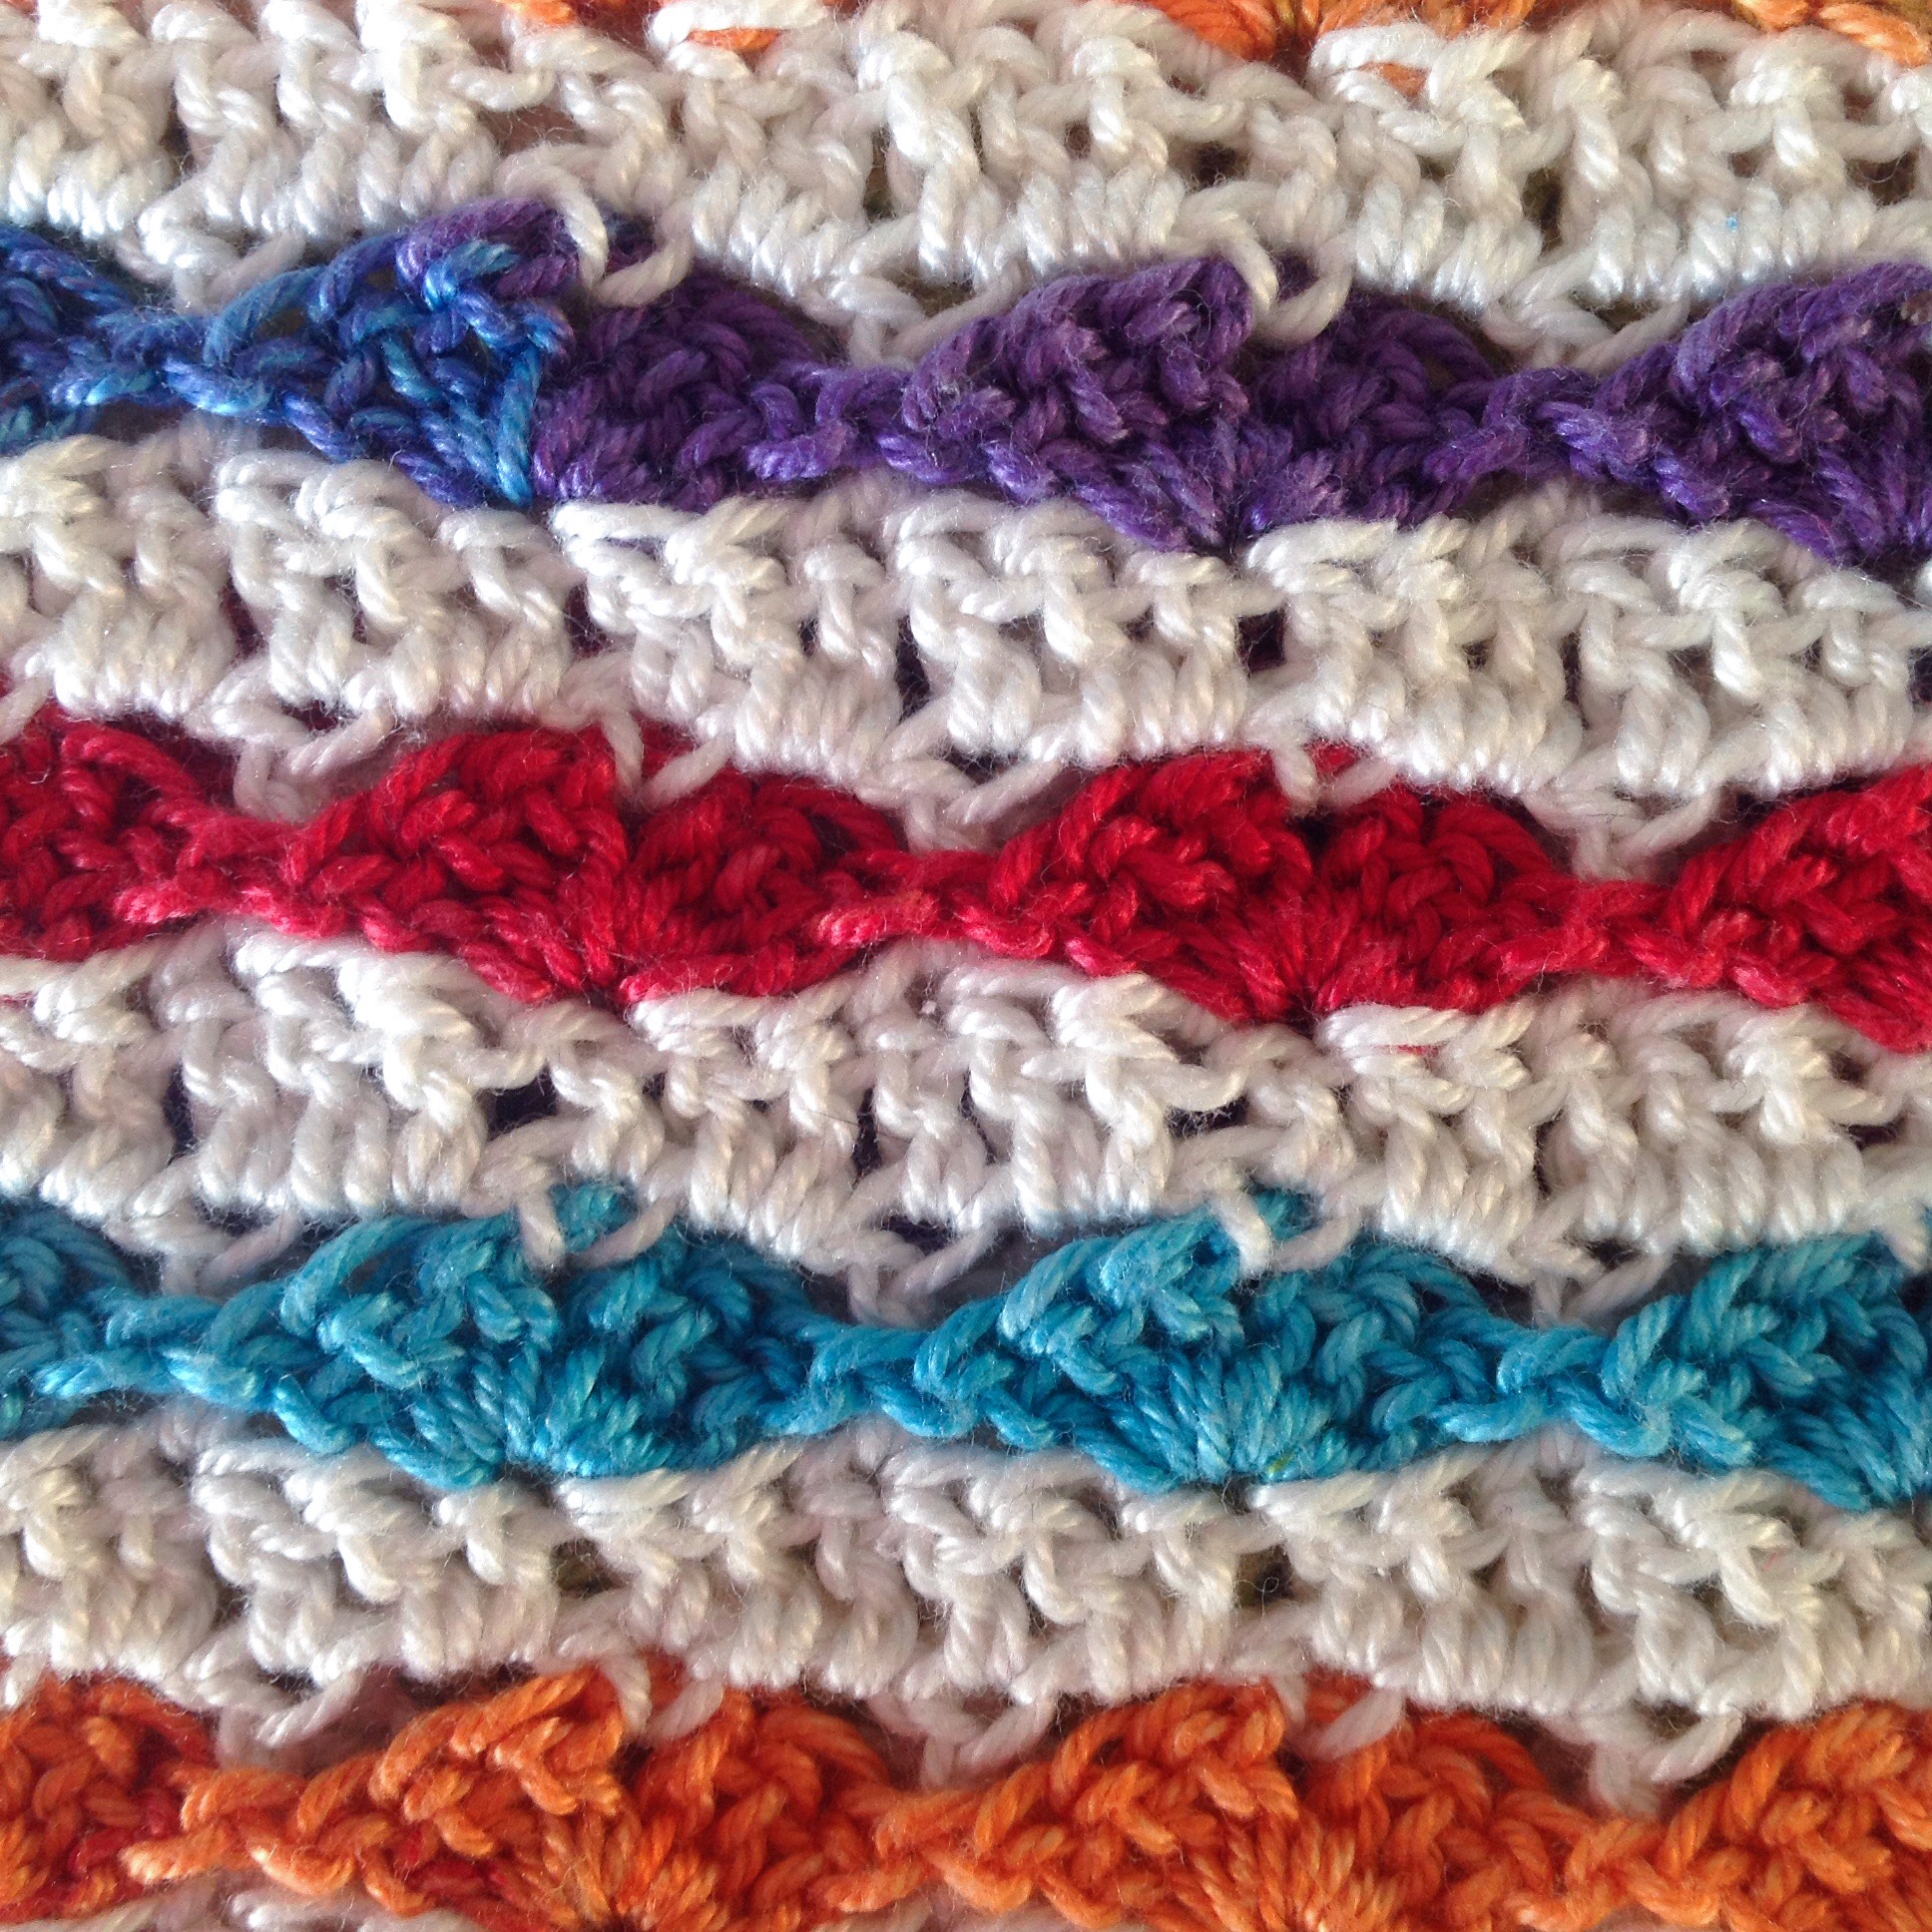
Add the next colour with a standing DC, ch (chain) 1, DC in the same stitch. Miss 1 st, then V-stitch (DC, CH1, DC in the same stitch) in the next. Repeat the V-stitch around, with one stitch between each.
Round 4:

Join the next colour with into the chain space of the V-stitch with half of a standing DC (ie. do not pull through all loops to complete the stitch, keep two loops on the hook. Alternatively, chain 2) and work 2 DC clusters (YO [yarn over], pull up a loop, YO, pull through 2 loops, insert hook into same stitch, pull up a loop, YO, pull through 2 loops, YO pull through all loops) into each V-Stitch with ch3 between each one.
Round 5:

Join next colour to the middle loop of the cluster with a HDC (half double crochet). in the ch space, work a DC, Htr (half treble – YO twice, insert hook, pull up a loop, pull through two loops, YO, pull through all loops), a Tr (treble crochet), Htr and a DC. HDC into the top loop of the next cluster. Repeat this around in each ch space, slip stitch to join.
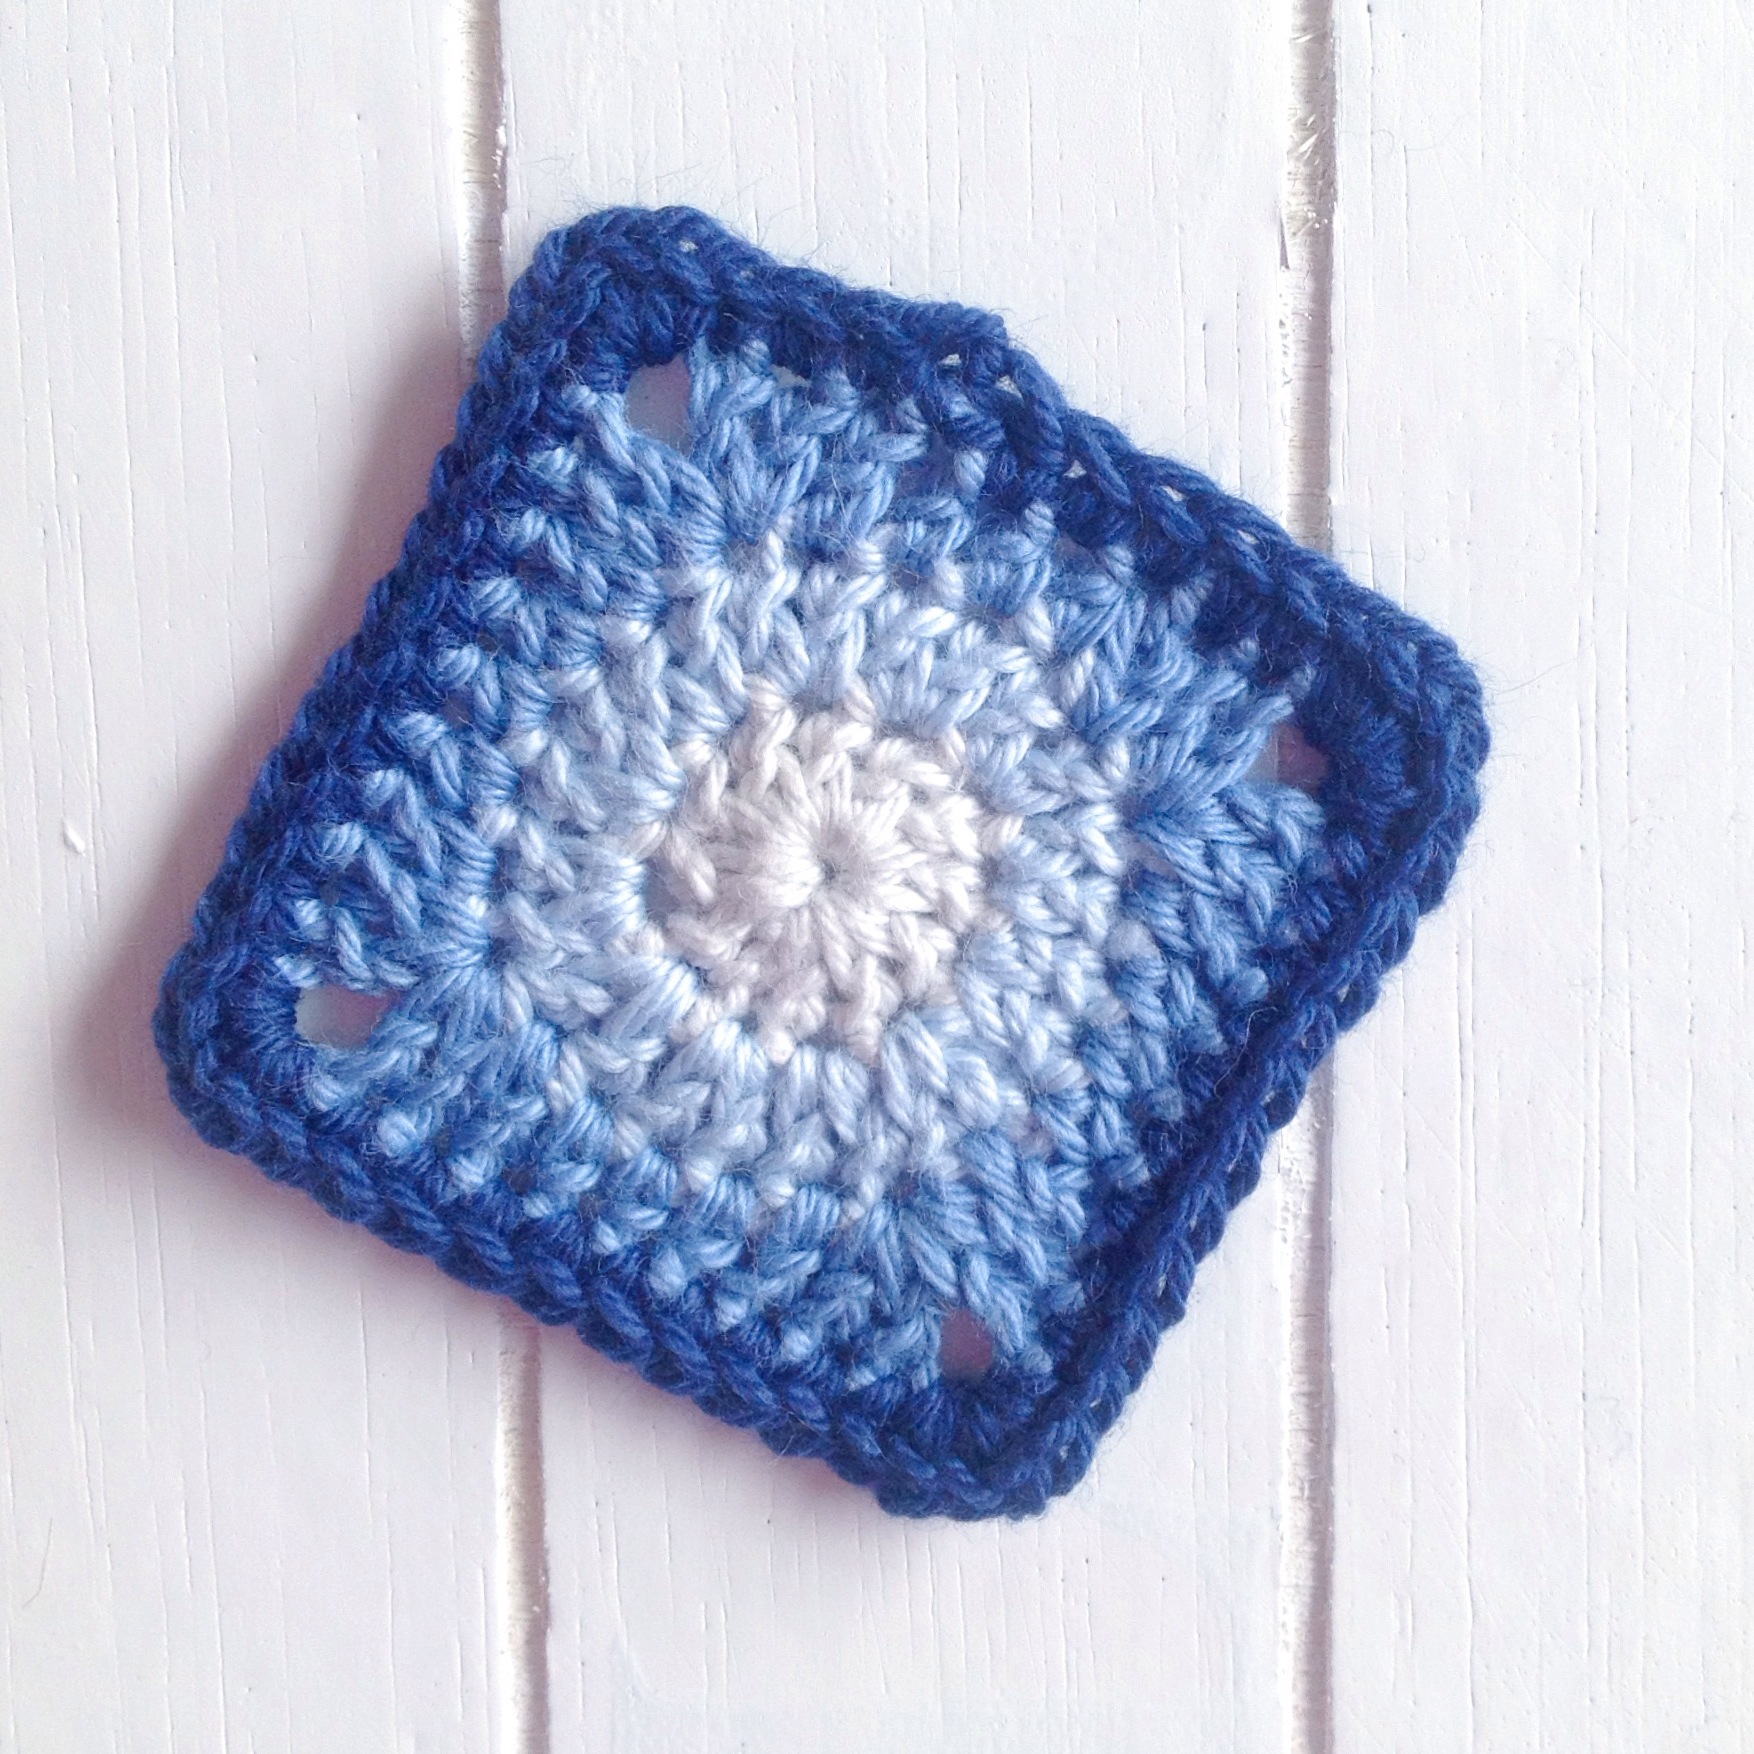
Round 6:
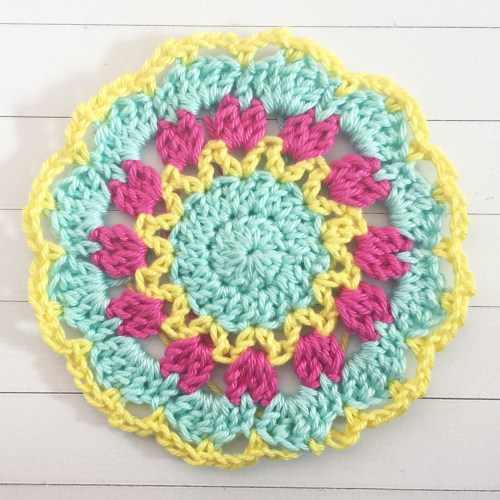
Join next colour to the top of any HDC with an SC (single crochet). CH3, sc into the Tr from the previous round. CH3, sc into the next HDC. Repeat this around, SS to join.
From here we can go a few different ways. To make the coaster, don’t cut the yarn from finishing round 6. Instead, change to a 3.5mm hook and continue by working 3 sc into each ch space, and an SC into the top of each SC from the previous round. Instead of joining, make 2 continuous rounds of slip stitches, into the back loops only. After the two rounds of slip stitches, join, cut the yarn and weave in the ends.
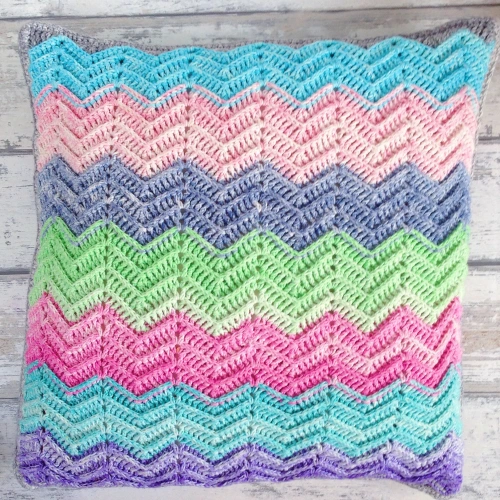
Another option is to create the doily that I shared pics of last week:

I’ll share instructions with you later in the week on how to make that.
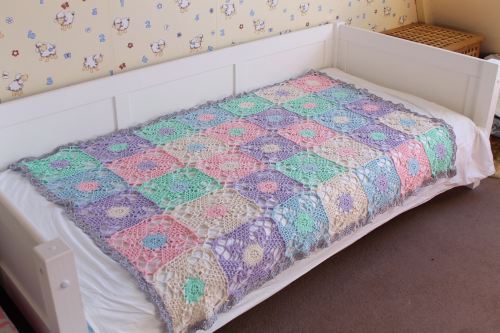
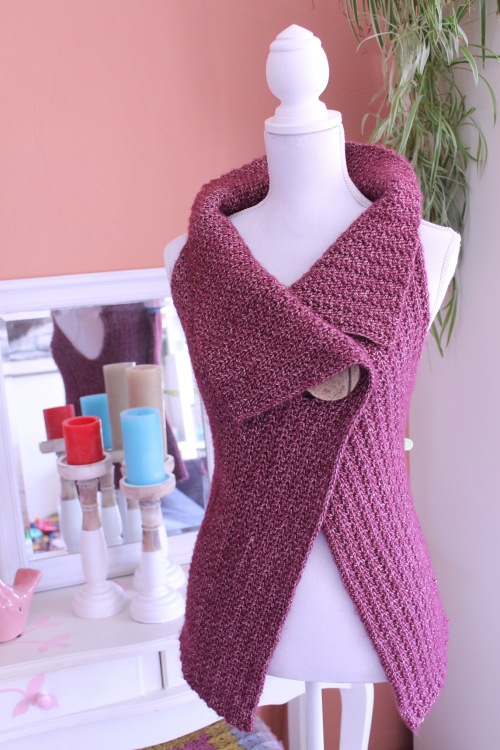
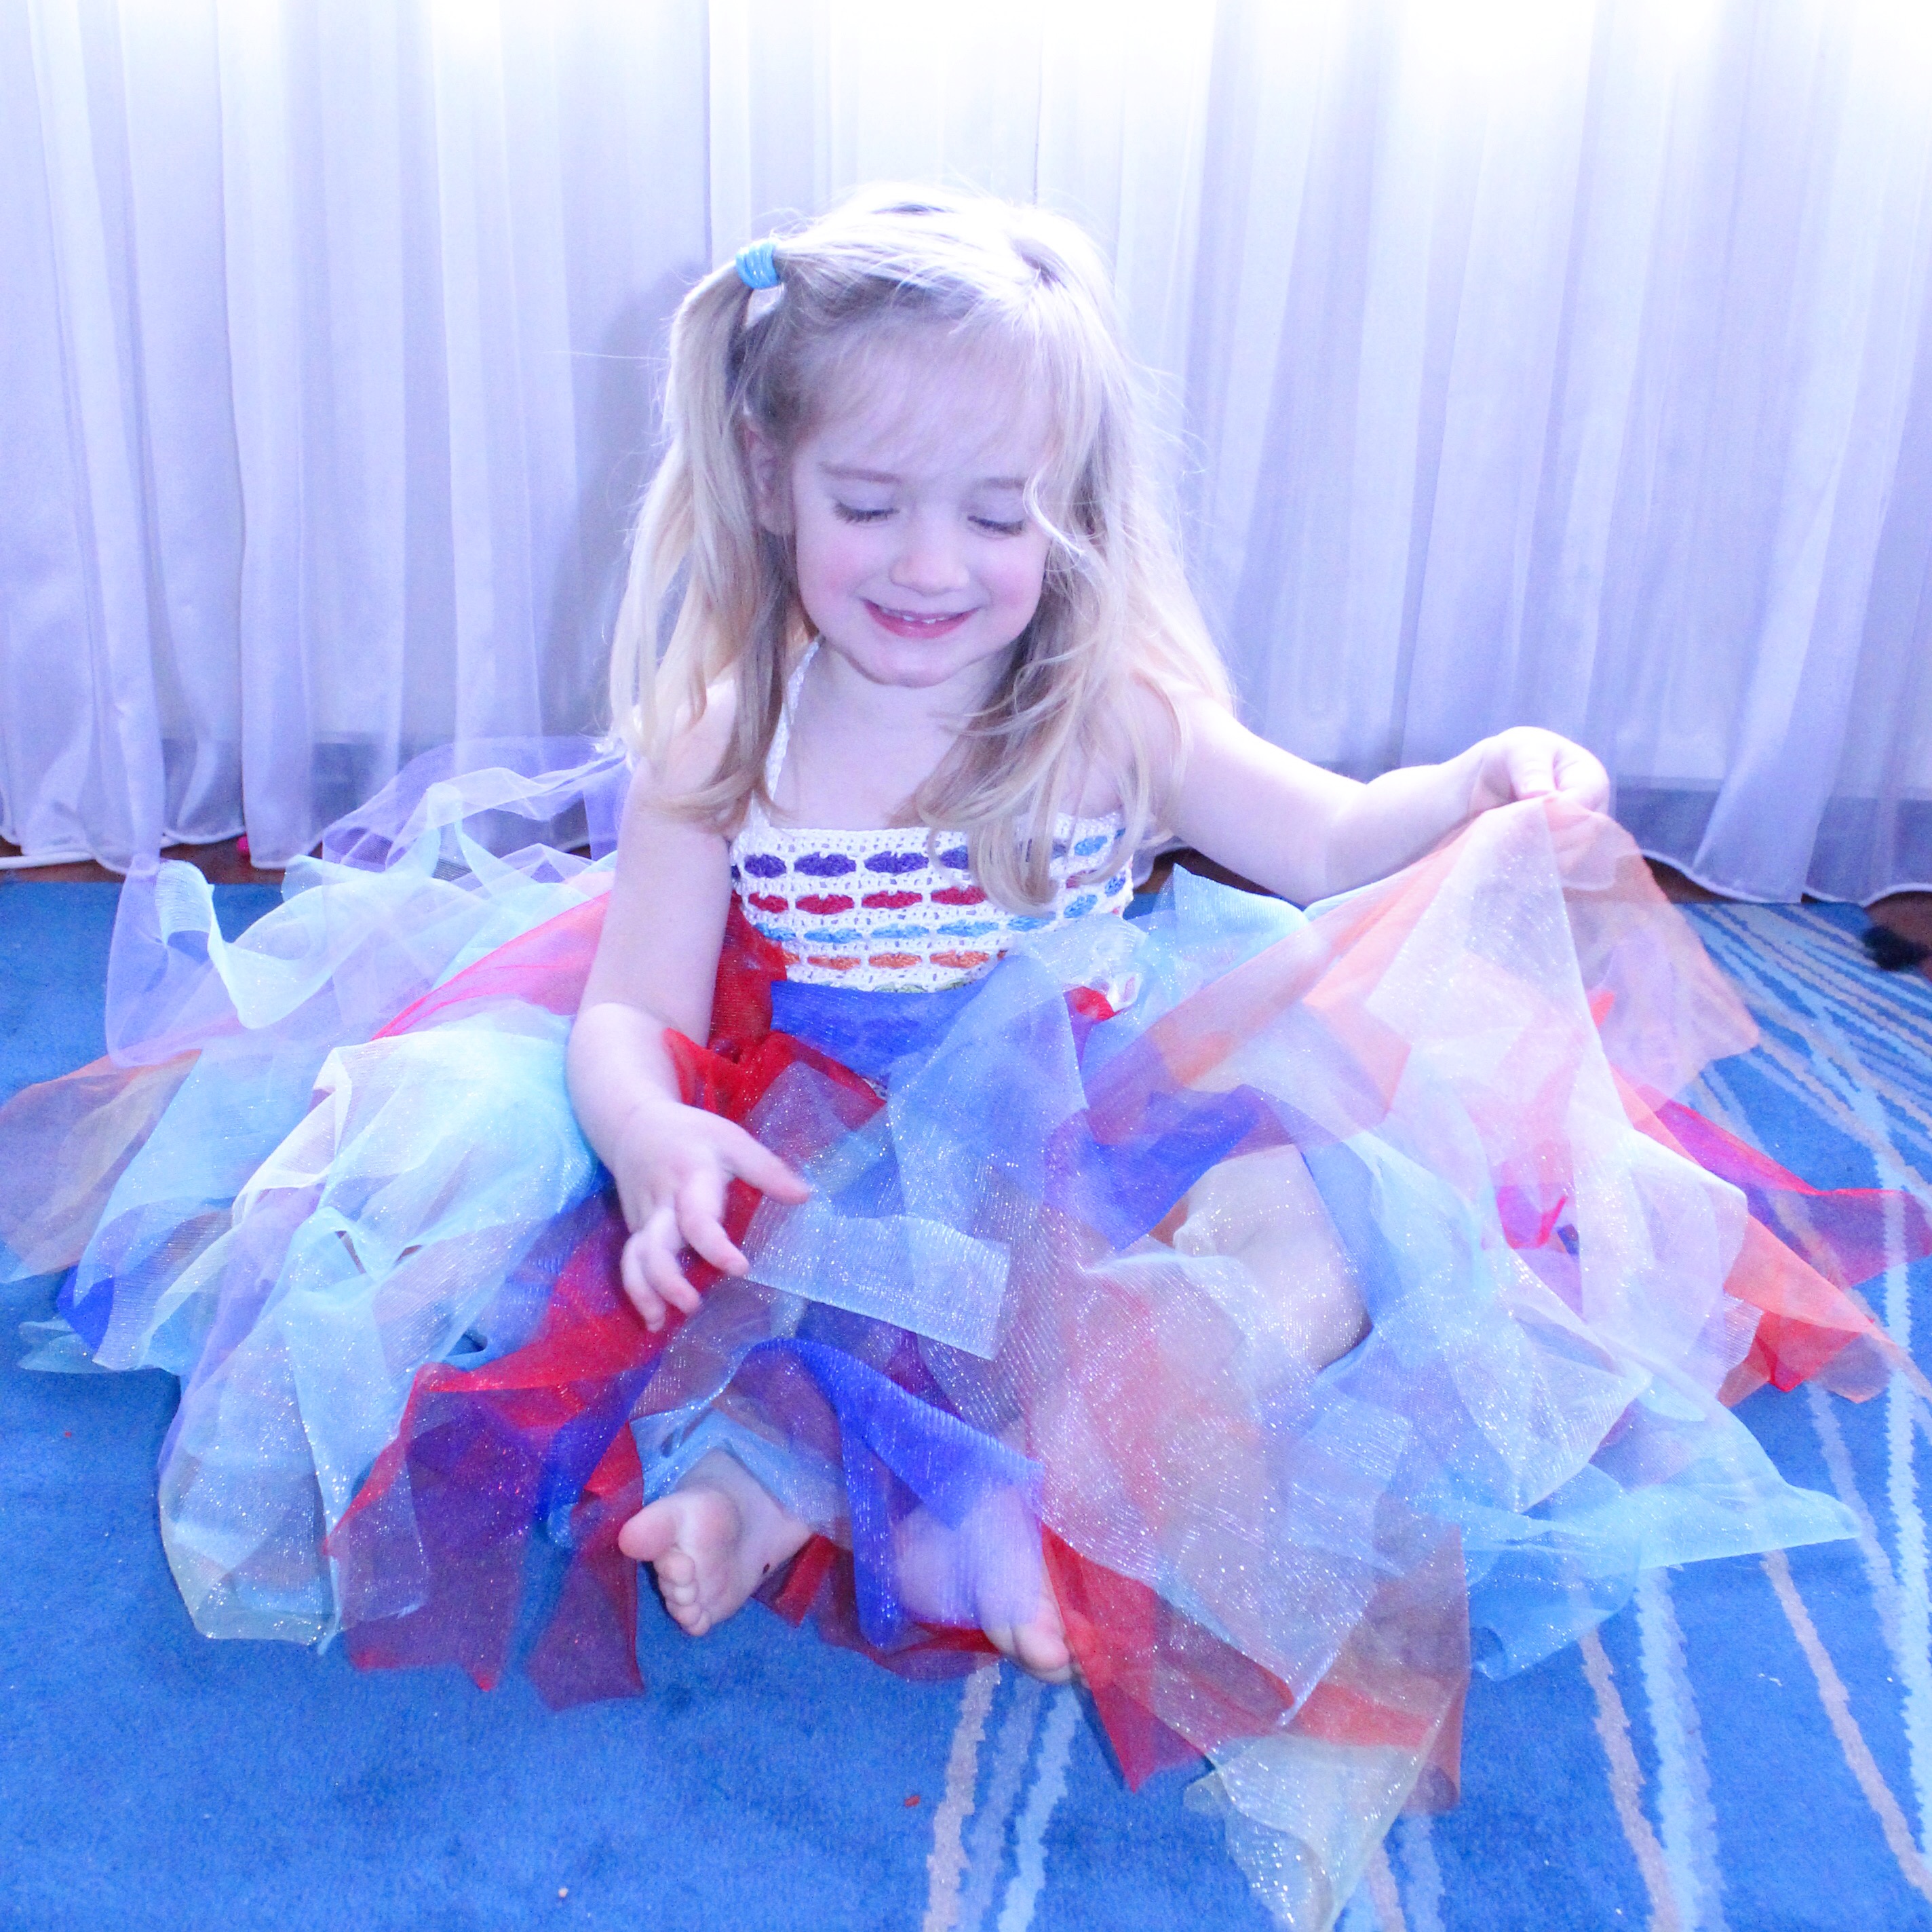
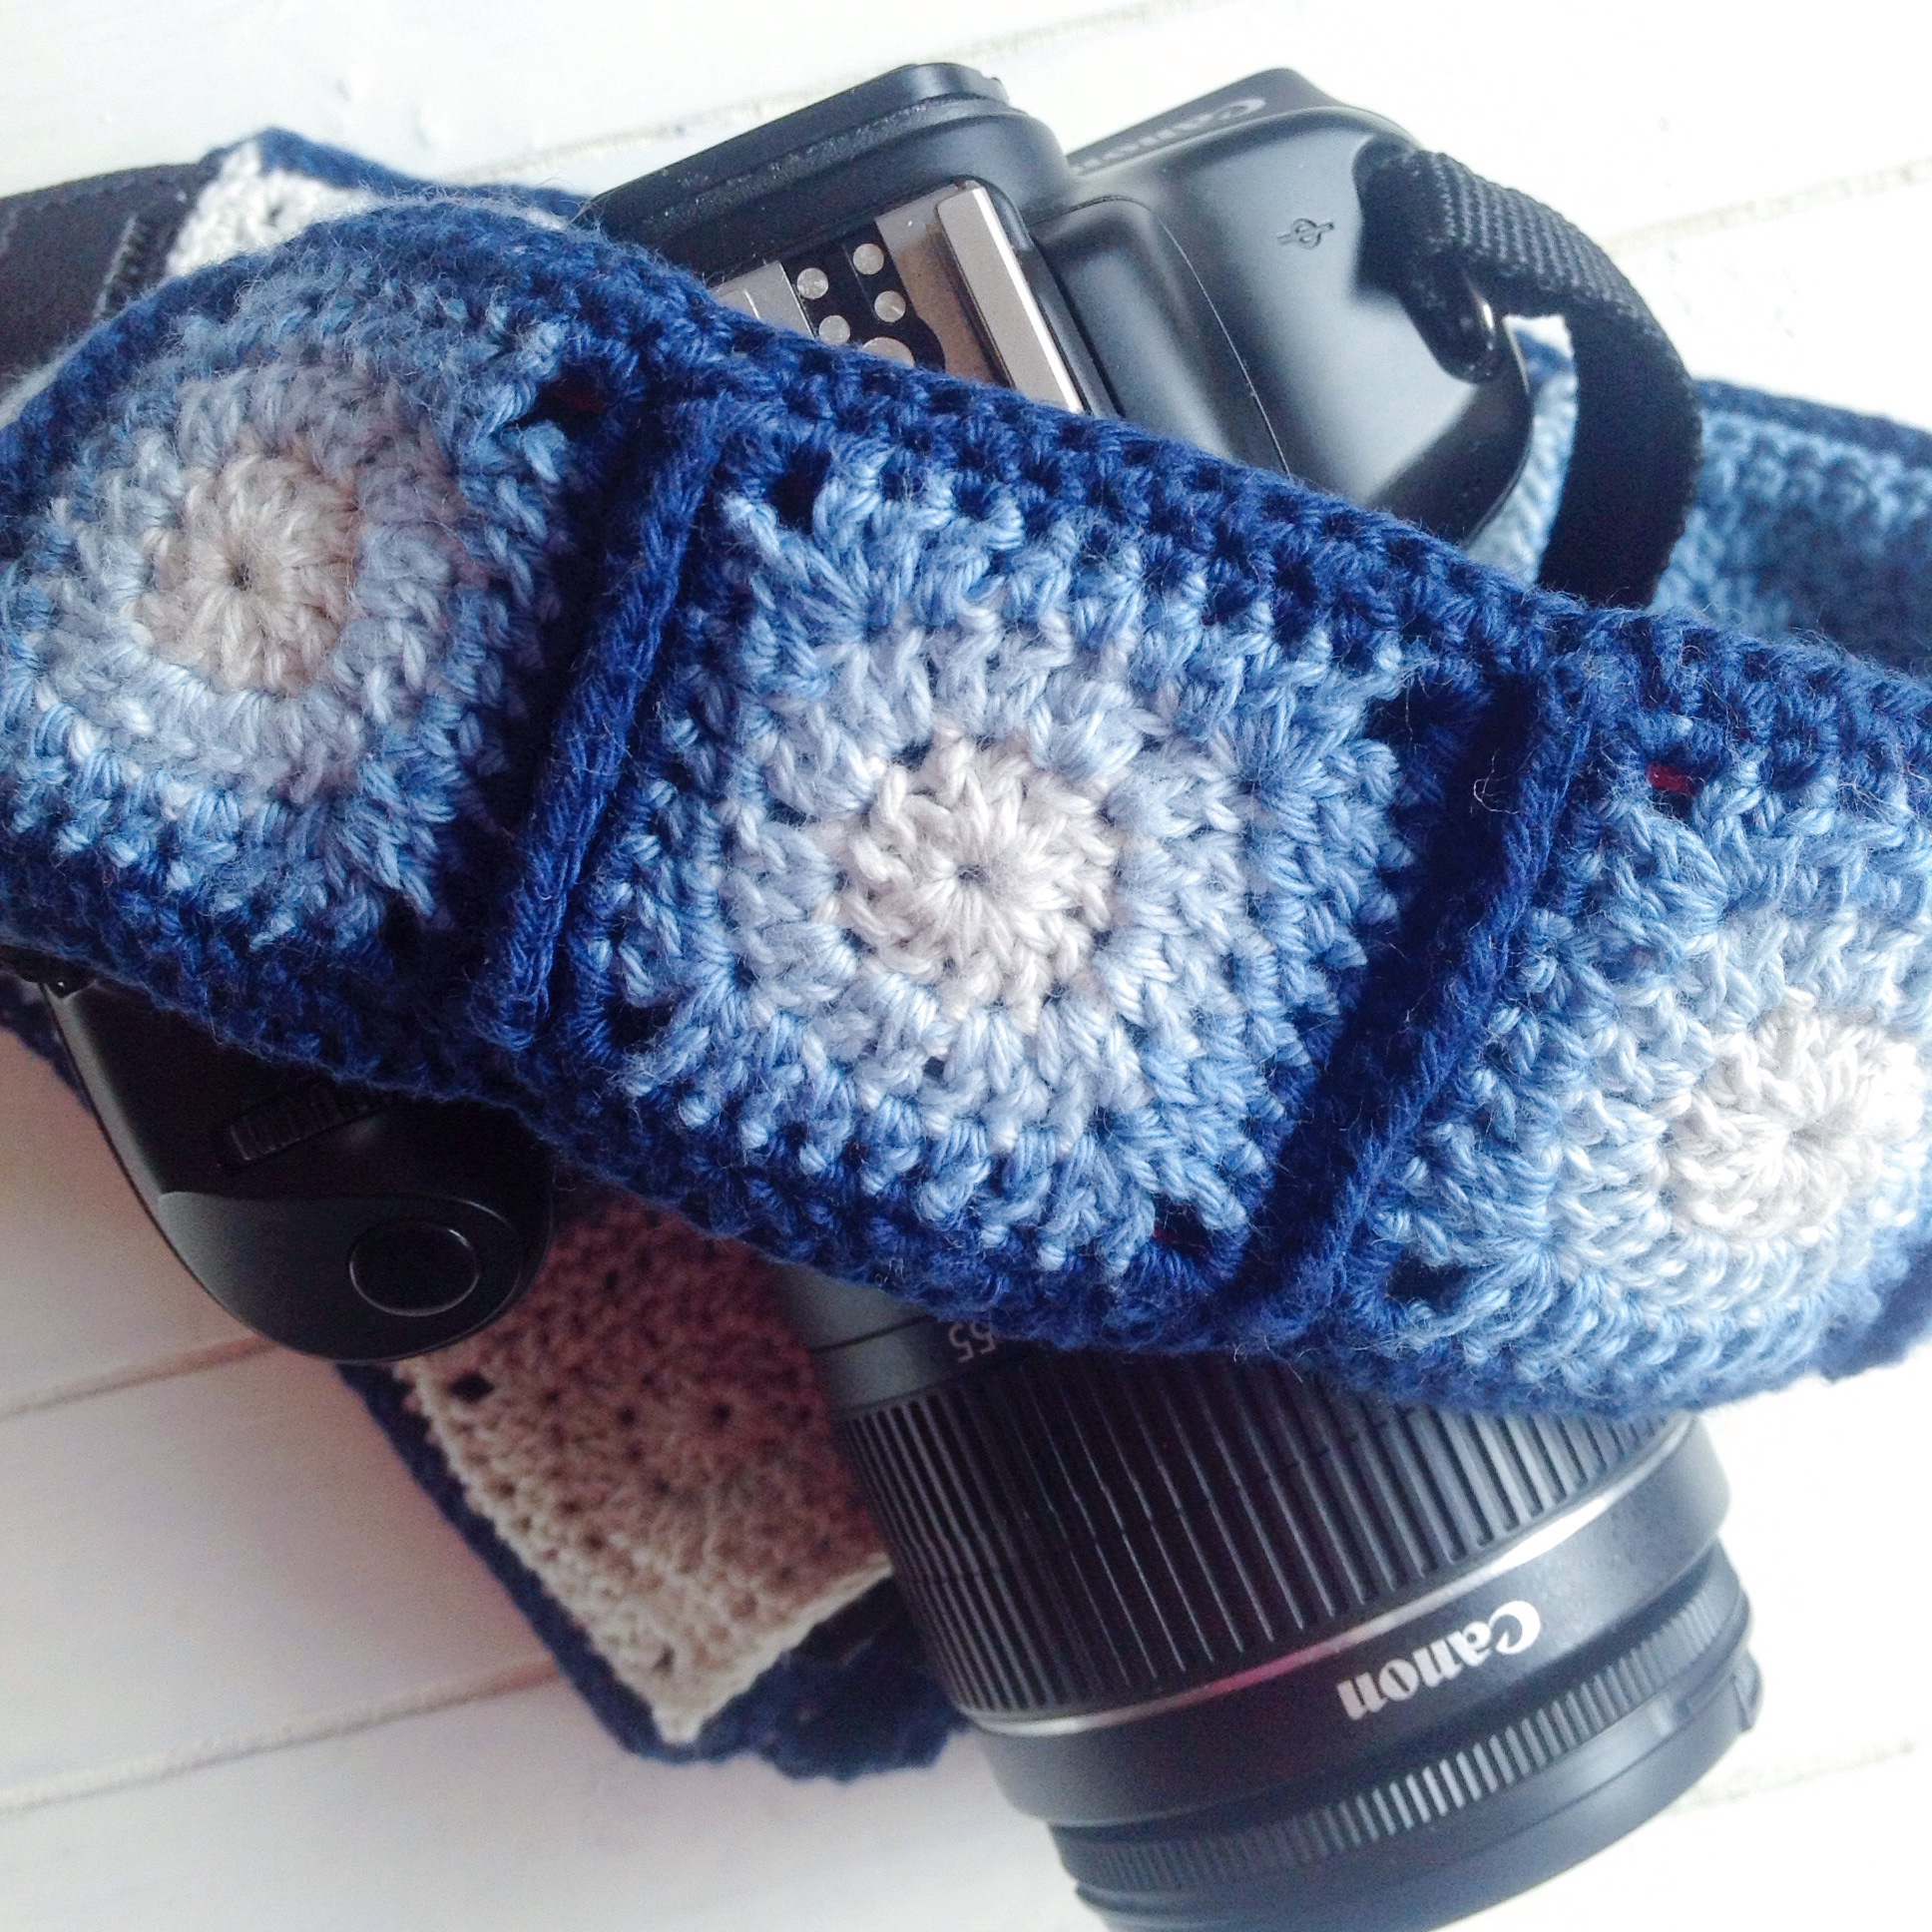
The last option is to go even further and join all the motifs to make a table runner or a throw, or even a shawl. More on that coming soon too. But for now I’ll leave you with the motif instructions,
Scheepjes has a huge list of suppliers throughout the Benelux, otherwise worldwide you can order from Wool Warehouse* and for North Americans don’t forget: Knotty House* in Canada is also now stocking Catona!
*Just a note: this post contains a couple of affiliate links which if you choose to use when feeding your yarn habit will earn me a small commission. This helps me keep up the freebies and doesn’t cost you a thing. Thank you!