Tag Archives: granny tutorial

My Week, and Paris!

It has been a quiet week for me on the crochet front.  I finished a major secret project last week after weeks of work, so this week I’ve been taking it easy.  I am working on a very cool project – a faux taxidermy rhino head for a custom order and I do love the way it’s all coming together.  Hopefully I’ll finish that over the weekend and be able to show you the result next week!

Otherwise, my family and I spent the weekend in Paris!  I’ve been to Paris a few times now, and it really is one of the more beautiful cities in the world.  Not the most beautiful; it’s tough to beat Edinburgh or Rome in my opinion, but it is spectacular, there’s no denying it.

We visited the Eiffel Tower (of course) and did a bit of crowd watching.  Those queues are incredible.  There’s no attraction on earth that you need to book in advance for more than The Eiffel Tower.  At just after 10am the queues were already hours long, so we decided not to climb.  Well, there was no decision really.  If we wanted to see anything else aside from the person in the queue in front’s backpack for the day, then waiting and waiting to climb wasn’t an option!

View this post on Instagram

Paris baby!!!

A post shared by Maarten (@supermuys) on

We also visited Versaille.  And man.  Every tourist on earth was there at the same time.  The interior of the palace was probably the most stressful and unpleasant tourist experiences of my entire life.  Now, I’ve been to quite a few of the big touristy places on this planet, and this was just g0d-awful.  Apparently there was a bedroom or two, and somehow I managed to miss the room where they signed the Treaty of Versaille.  The gardens were an entirely different matter altogether.   Massive, sprawling and not crowded at all.  There were obviously thousands upon thousands of people there, but it was easy to find a quiet nook and pretend you were alone on earth.  And the tourist/audioguide/tourgroup bubble.  Seriously people!  You can visit places without being an arsehole while you’re there.

So that evening we had well and truly earned our fabulous cheese and wine.  I couldn’t tell you what they were any more, but there was a cheddar that I could have sworn was an aged gouda from North Holland!  My friend Emma is the expert, so I left the choosing to her and I just gobbled it all up as quick as I could!

View this post on Instagram

Picnic in Paris.

A post shared by Nerissa | Crochet | Haken 🇦🇺🇳🇱 (@miss__neriss) on

Then further on the food front, I put in an order with my friend Lori from Southern Charm Cupcakes for some of her amazing caramels and chocolates.

Lori’s specialty has fast become Fleur de Sel caramels and she makes the best fleur de sel caramel chocolate you have ever seen in your entire life.  If you put a block of Godiva and a block of Lori’s chocolate in front of me, I’d go for Lori’s every.single.time.  So if you live in the Netherlands, Lori ships!!!!!  I’ve had to freeze the caramels to make sure I don’t gobble them all up at once.

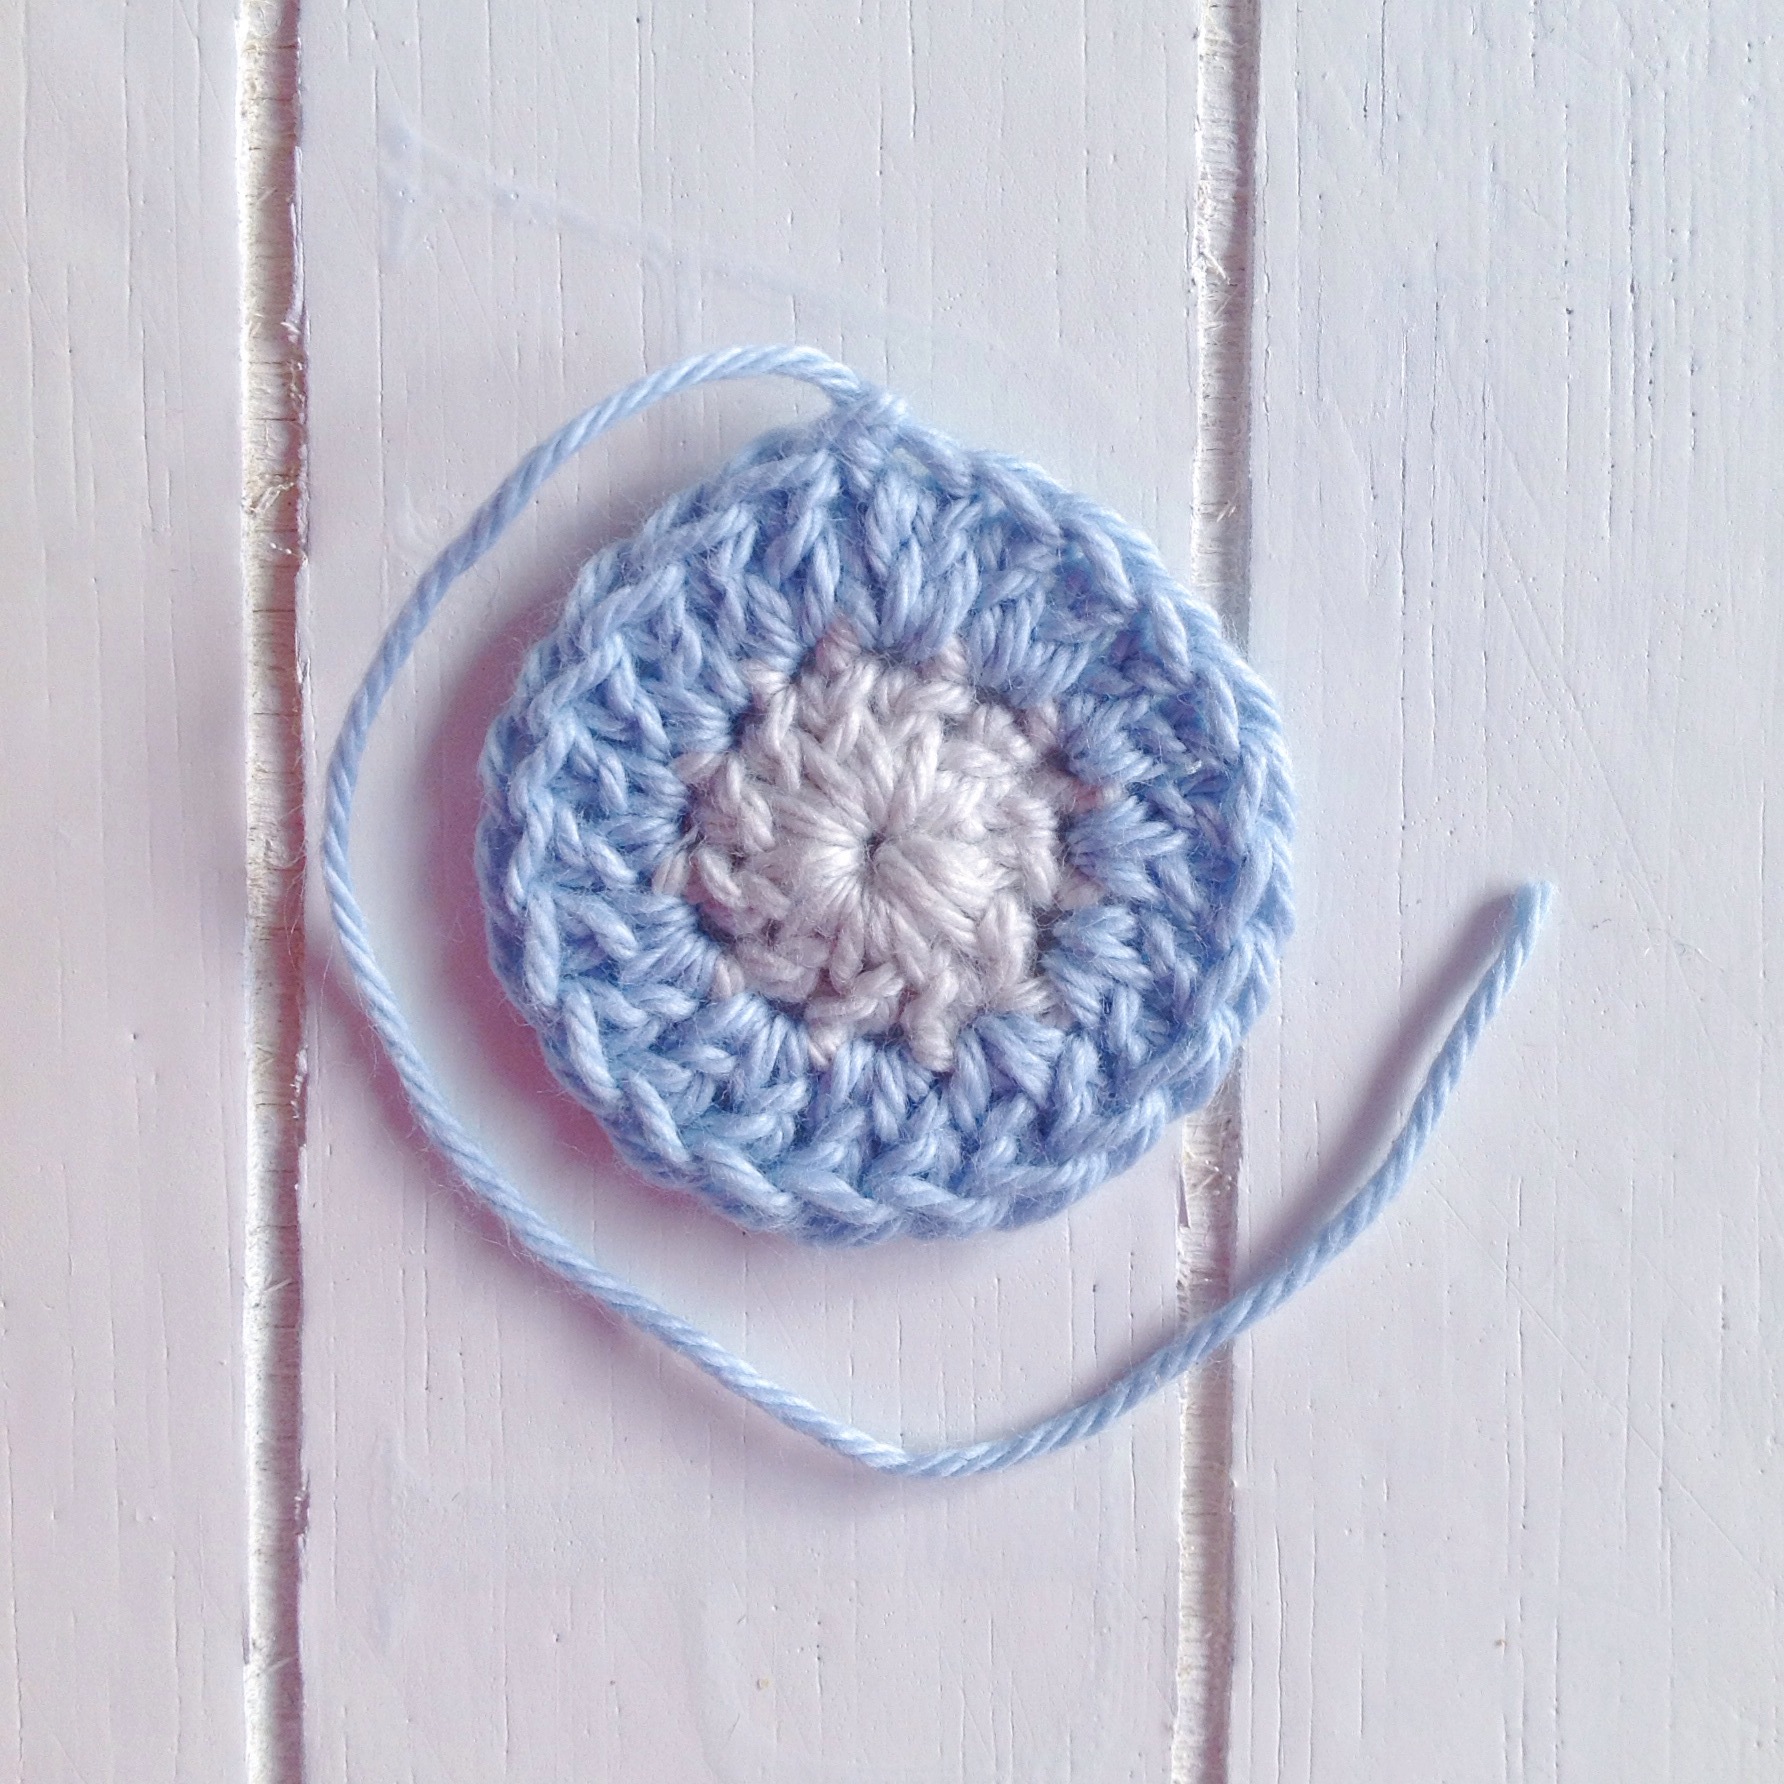
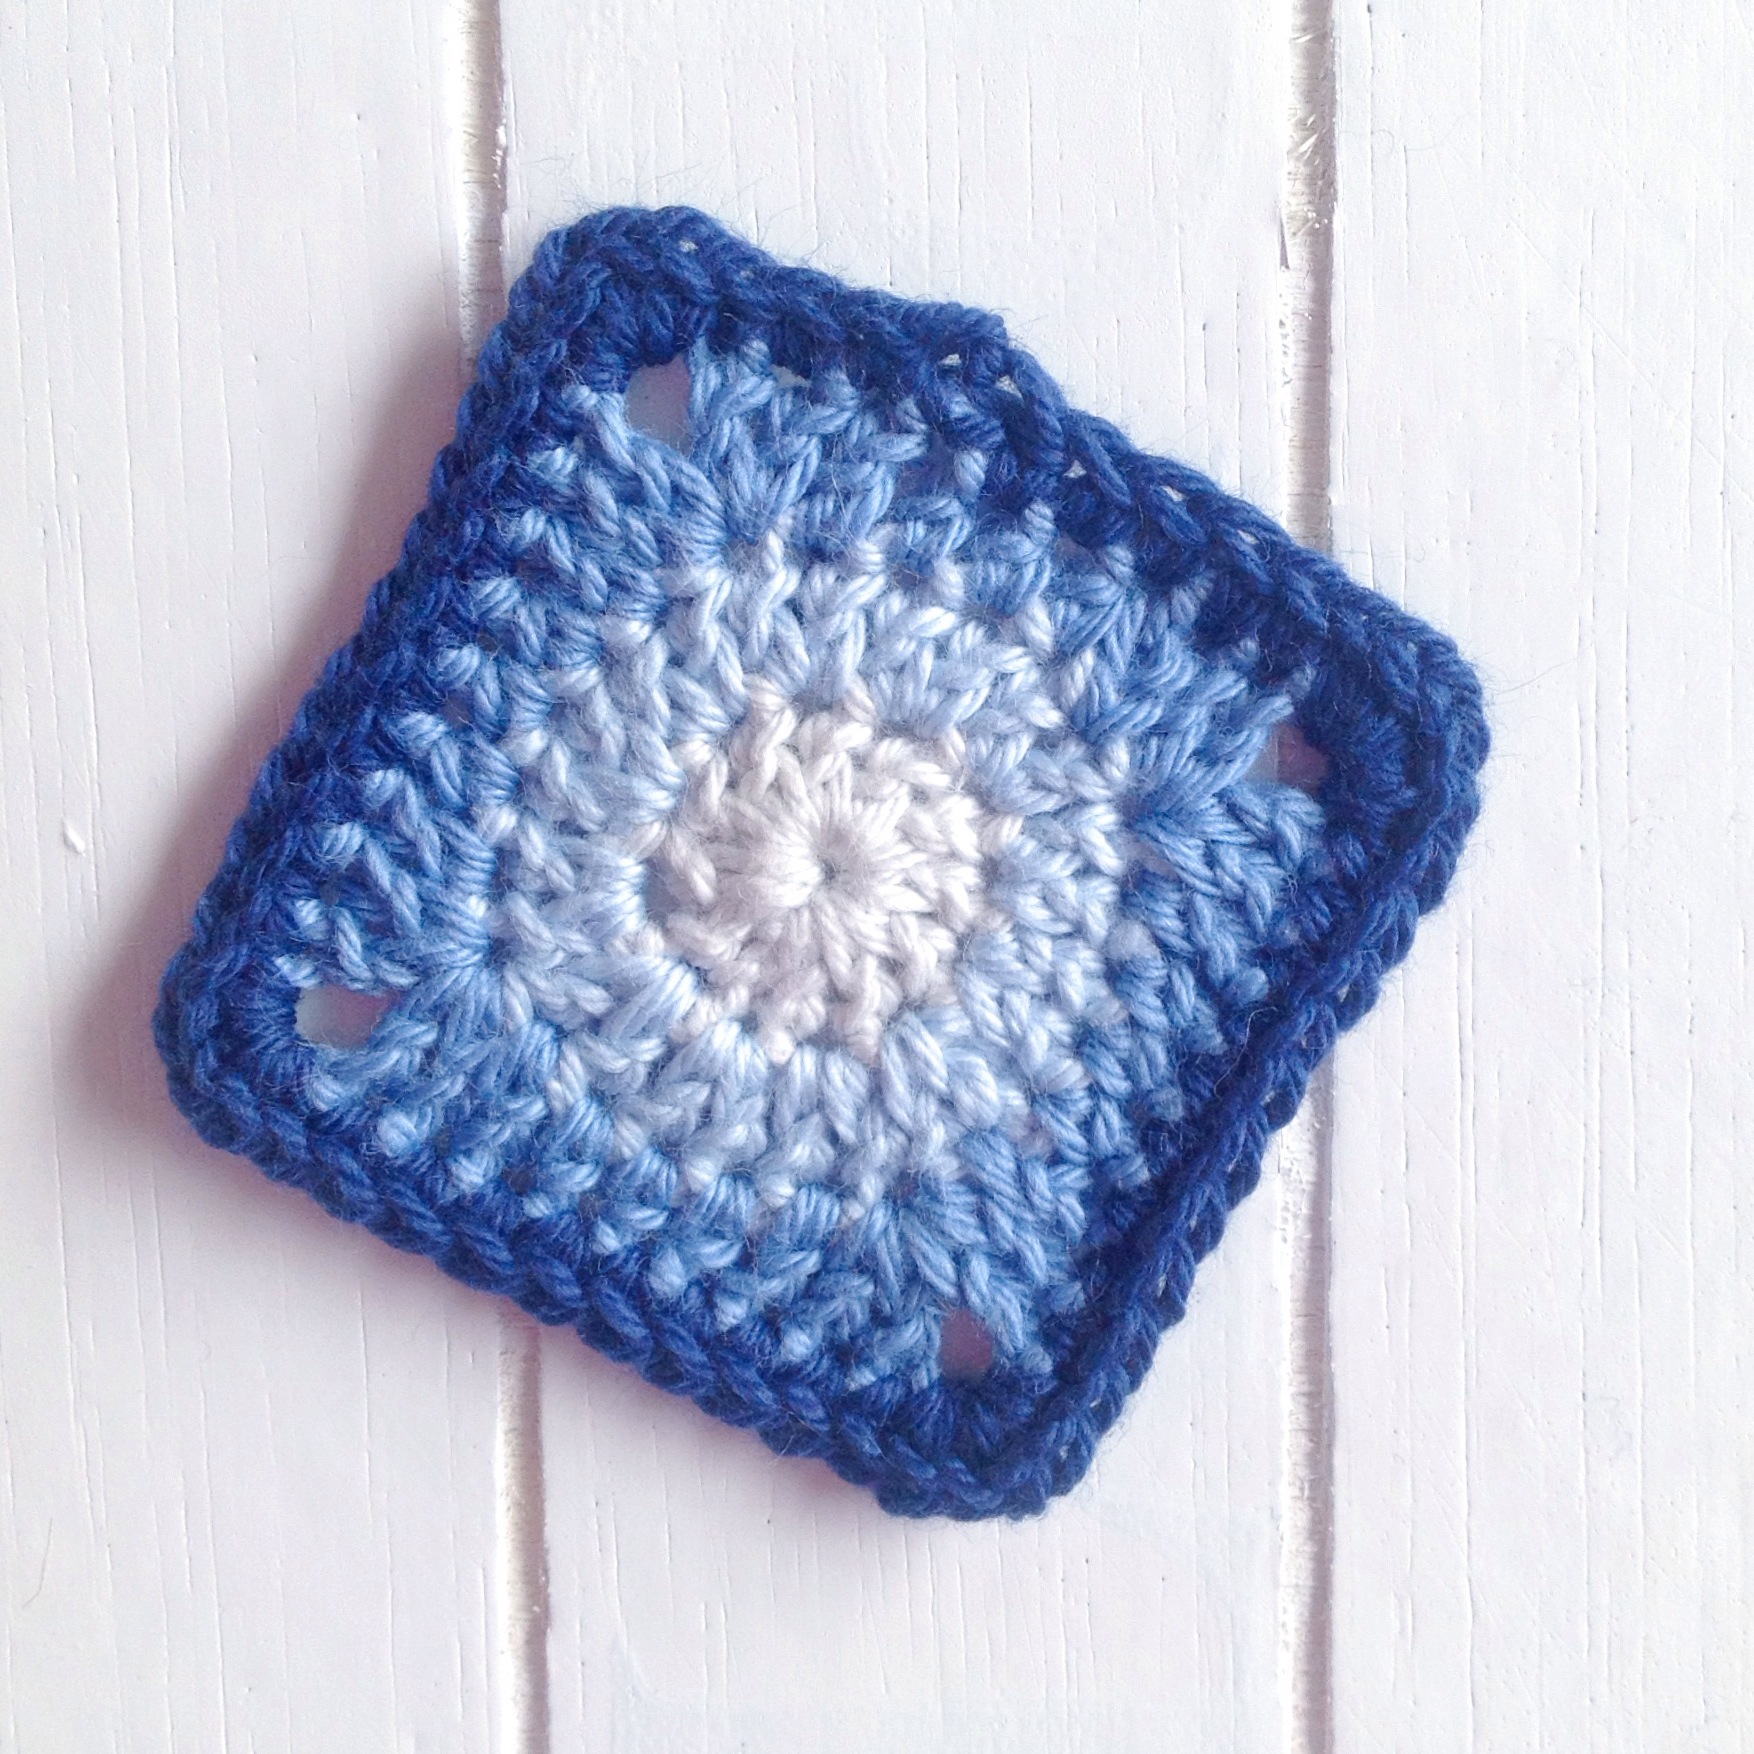
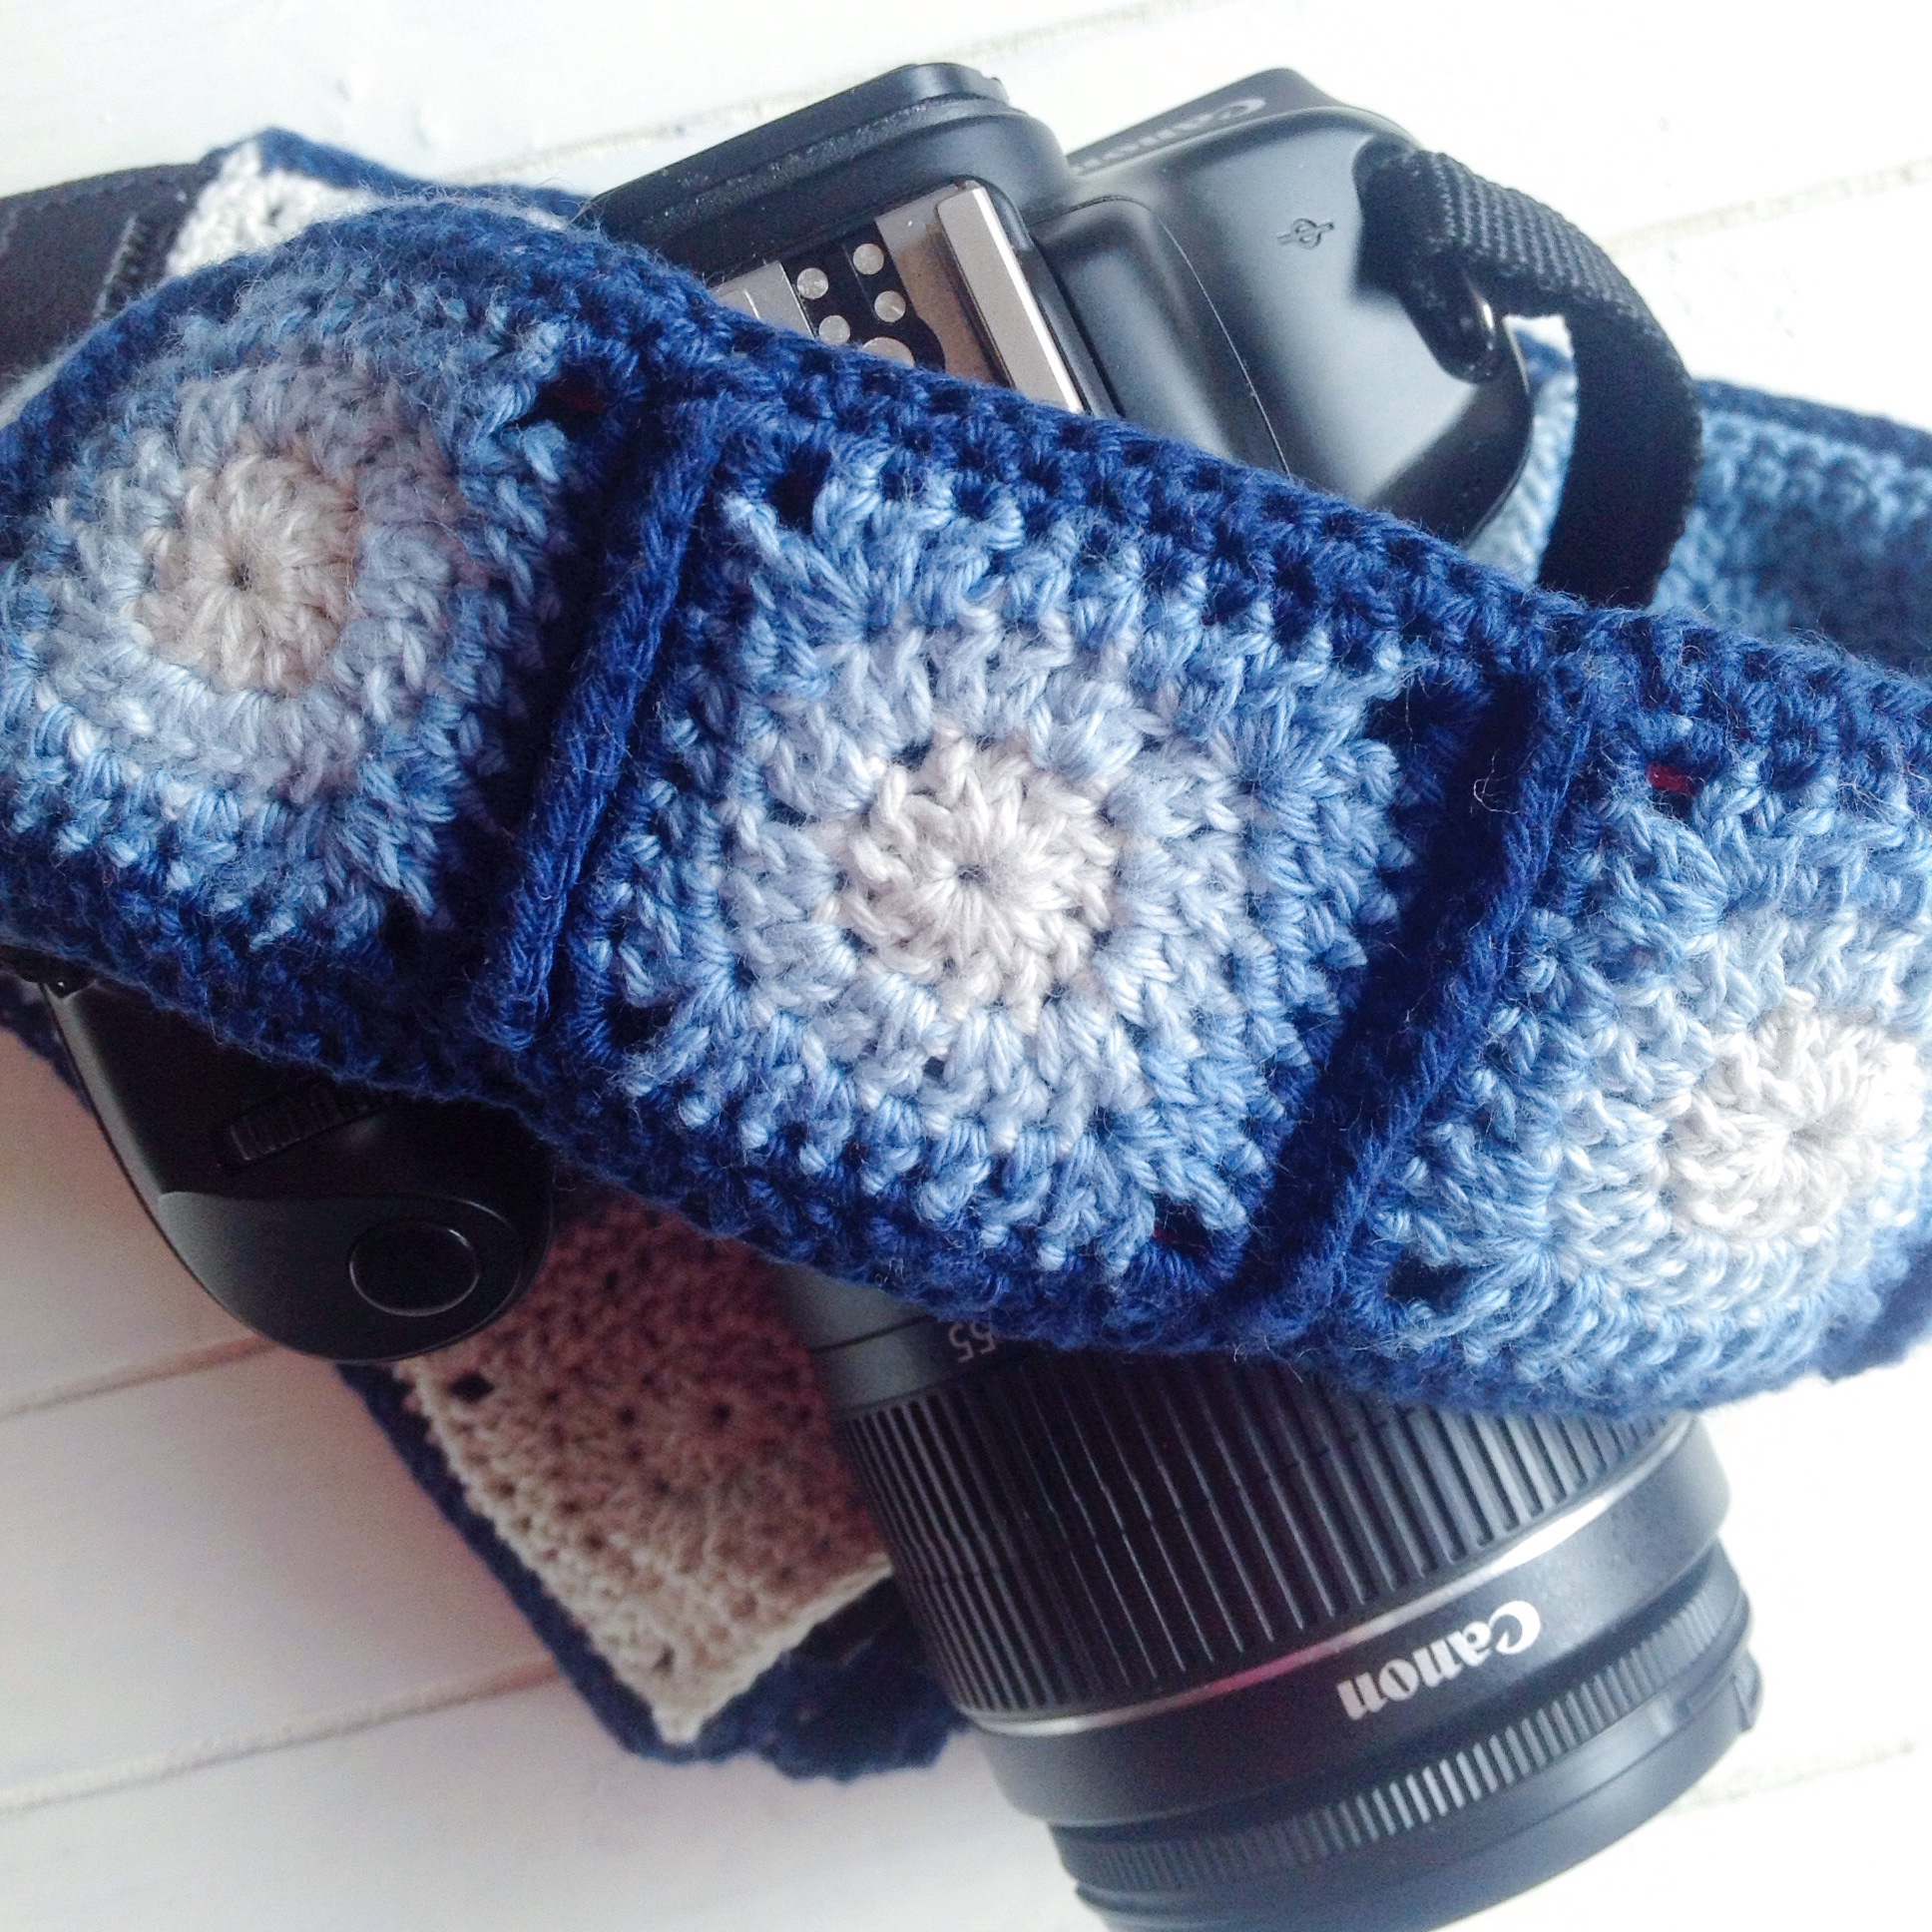
And then there’s crochet.  I posted a tutorial for the granny square I designed on holidays, which is really simple and works up within ten minutes.

This weekend I’m hoping to finish a pattern I’ve been working on, and also the rhino.  Other than that, I’m going to take time for myself to work on strategies I’m going to implement for the Unstoppable program that kicked off this week!

How’s your week?

Advertisement

Seriously Simple Granny Square

And now for the tutorial I promised of the granny I created while on holiday recently.

CH 4, SLS to join.  CH 2, DC x 11, SLS to join.  CH 2, DC into same stitch, Increase around, SLS to join.  CH 3, *DC into next stitch, CH 2, 2 x DC into the same stitch, DC into next, HDC in next 3 stitches, DC into next.*  Repeat what's between *_* three times.  SC around, CH 1 in each corner.  Be sure to click to see the original, and the extended photo tutorial!
It’s really so simple, you will be whipping these up in no time!

First of all, I’ll share a quick step by step photo to show you how it grows, then below I’ll give you the row by row.

CH 4, SLS to join.  CH 2, DC x 11, SLS to join.  CH 2, DC into same stitch, Increase around, SLS to join.  CH 3, *DC into next stitch, CH 2, 2 x DC into the same stitch, DC into next, HDC in next 3 stitches, DC into next.*  Repeat what's between *_* three times.  SC around, CH 1 in each corner.  Be sure to click to see the original, and the extended photo tutorial!
Simple, right? Now, let’s go.

For this project I used Scheepjeswol Cotton 8*. It’s a sport weight yarn and I used a 3mm hook. You can use whatever yarn you like, and the hook to match. Gauge isn’t important in this one. If you use my recommended yarn and hook, your finished square should measure 5.5 x 5.5 cm.

First of all, chain 4 and join with a slip stitch. Usually I prefer a magic ring because I like the centre to be as tight as possible, but in this case it doesn’t matter. There are a lot of stitches into the ring, so the chain 4 foundation will have a nice tight circle anyway.

Now, for row 2 (I’m counting the ring as the first row), chain 2 and double crochet 11 times into the ring, joining with a slip stitch to finish with 12 stitches into your ring. This is because we want to make a square eventually, so need a total that is divisible by 4. Finally, almost 20 years after I left school I’m using maths!

IMG_1926.JPG

If you’re changing colours after each row, you’ll want to cut and tie off your yarn, leaving a tail to weave in. I like to work the ends in as I go, to minimise the amount of weaving in at the end – I hate weaving in ends, have I mentioned that?

Row 3 – chain 2, double crochet into the same stitch so you have two double crochets in one stitch and stitch two double crochets into each stitch around, leaving you with 24 stitches once you slip stitch to join. If you’re not changing colours, chain 2, stitch two double crochets into the next stitch and each stitch around, with one into the last stitch, which is the same stitch that your starting chain came from.

IMG_1925.JPG

Row 4 – here we create the square. Chain 3, two double crochet stitches into the next stitch, chain 2, and two more double crochets into the same stitch. This creates the corner. Double crochet into the next, half double crochet into the next three stitches and then double crochet into the next. Now comes the time to repeat the corner stitch (two double crochets, chain 2, two double crochets into the same stitch), then repeat the row (DC, 3xHDC, DC) until you come back round to the start. Slip stitch into the top of the chain of the first stitch.

IMG_1924.JPG

Row 5 – Single crochet in each stitch around, with two stitches, a chain 1 and two more stitches into each corner, and you’re done!

IMG_1923-0.JPG

I joined the top side of my camera strap using single crochets, and the back side with a whip stitch so that it would sit flat and not annoy my husband’s neck, but you can use your favourite joining method. Once I had made enough squares to cover the entire length of the camera strap (13 in my case) I joined the two sides together with a single crochet into each corresponding stitch up each side, leaving the ends open so you can feed the strap through once you’re finished. This size granny is a perfect size for a camera strap, and it looks fantastic!

Ombre Camera Strap in action

Ombre Camera Strap

*Affiliate link