As promised, I’ve put together a tutorial on how to make your very own nursing necklace, which is designed to keep small ones occupied while nursing, saving mama’s sensitive skin from sharp fingernails, hair from being yanked, and general mischief making while baby is nursing. Of course this is not only for nursing mamas; it’s such a lovely necklace that it looks stylish on everybody!

What you’ll need
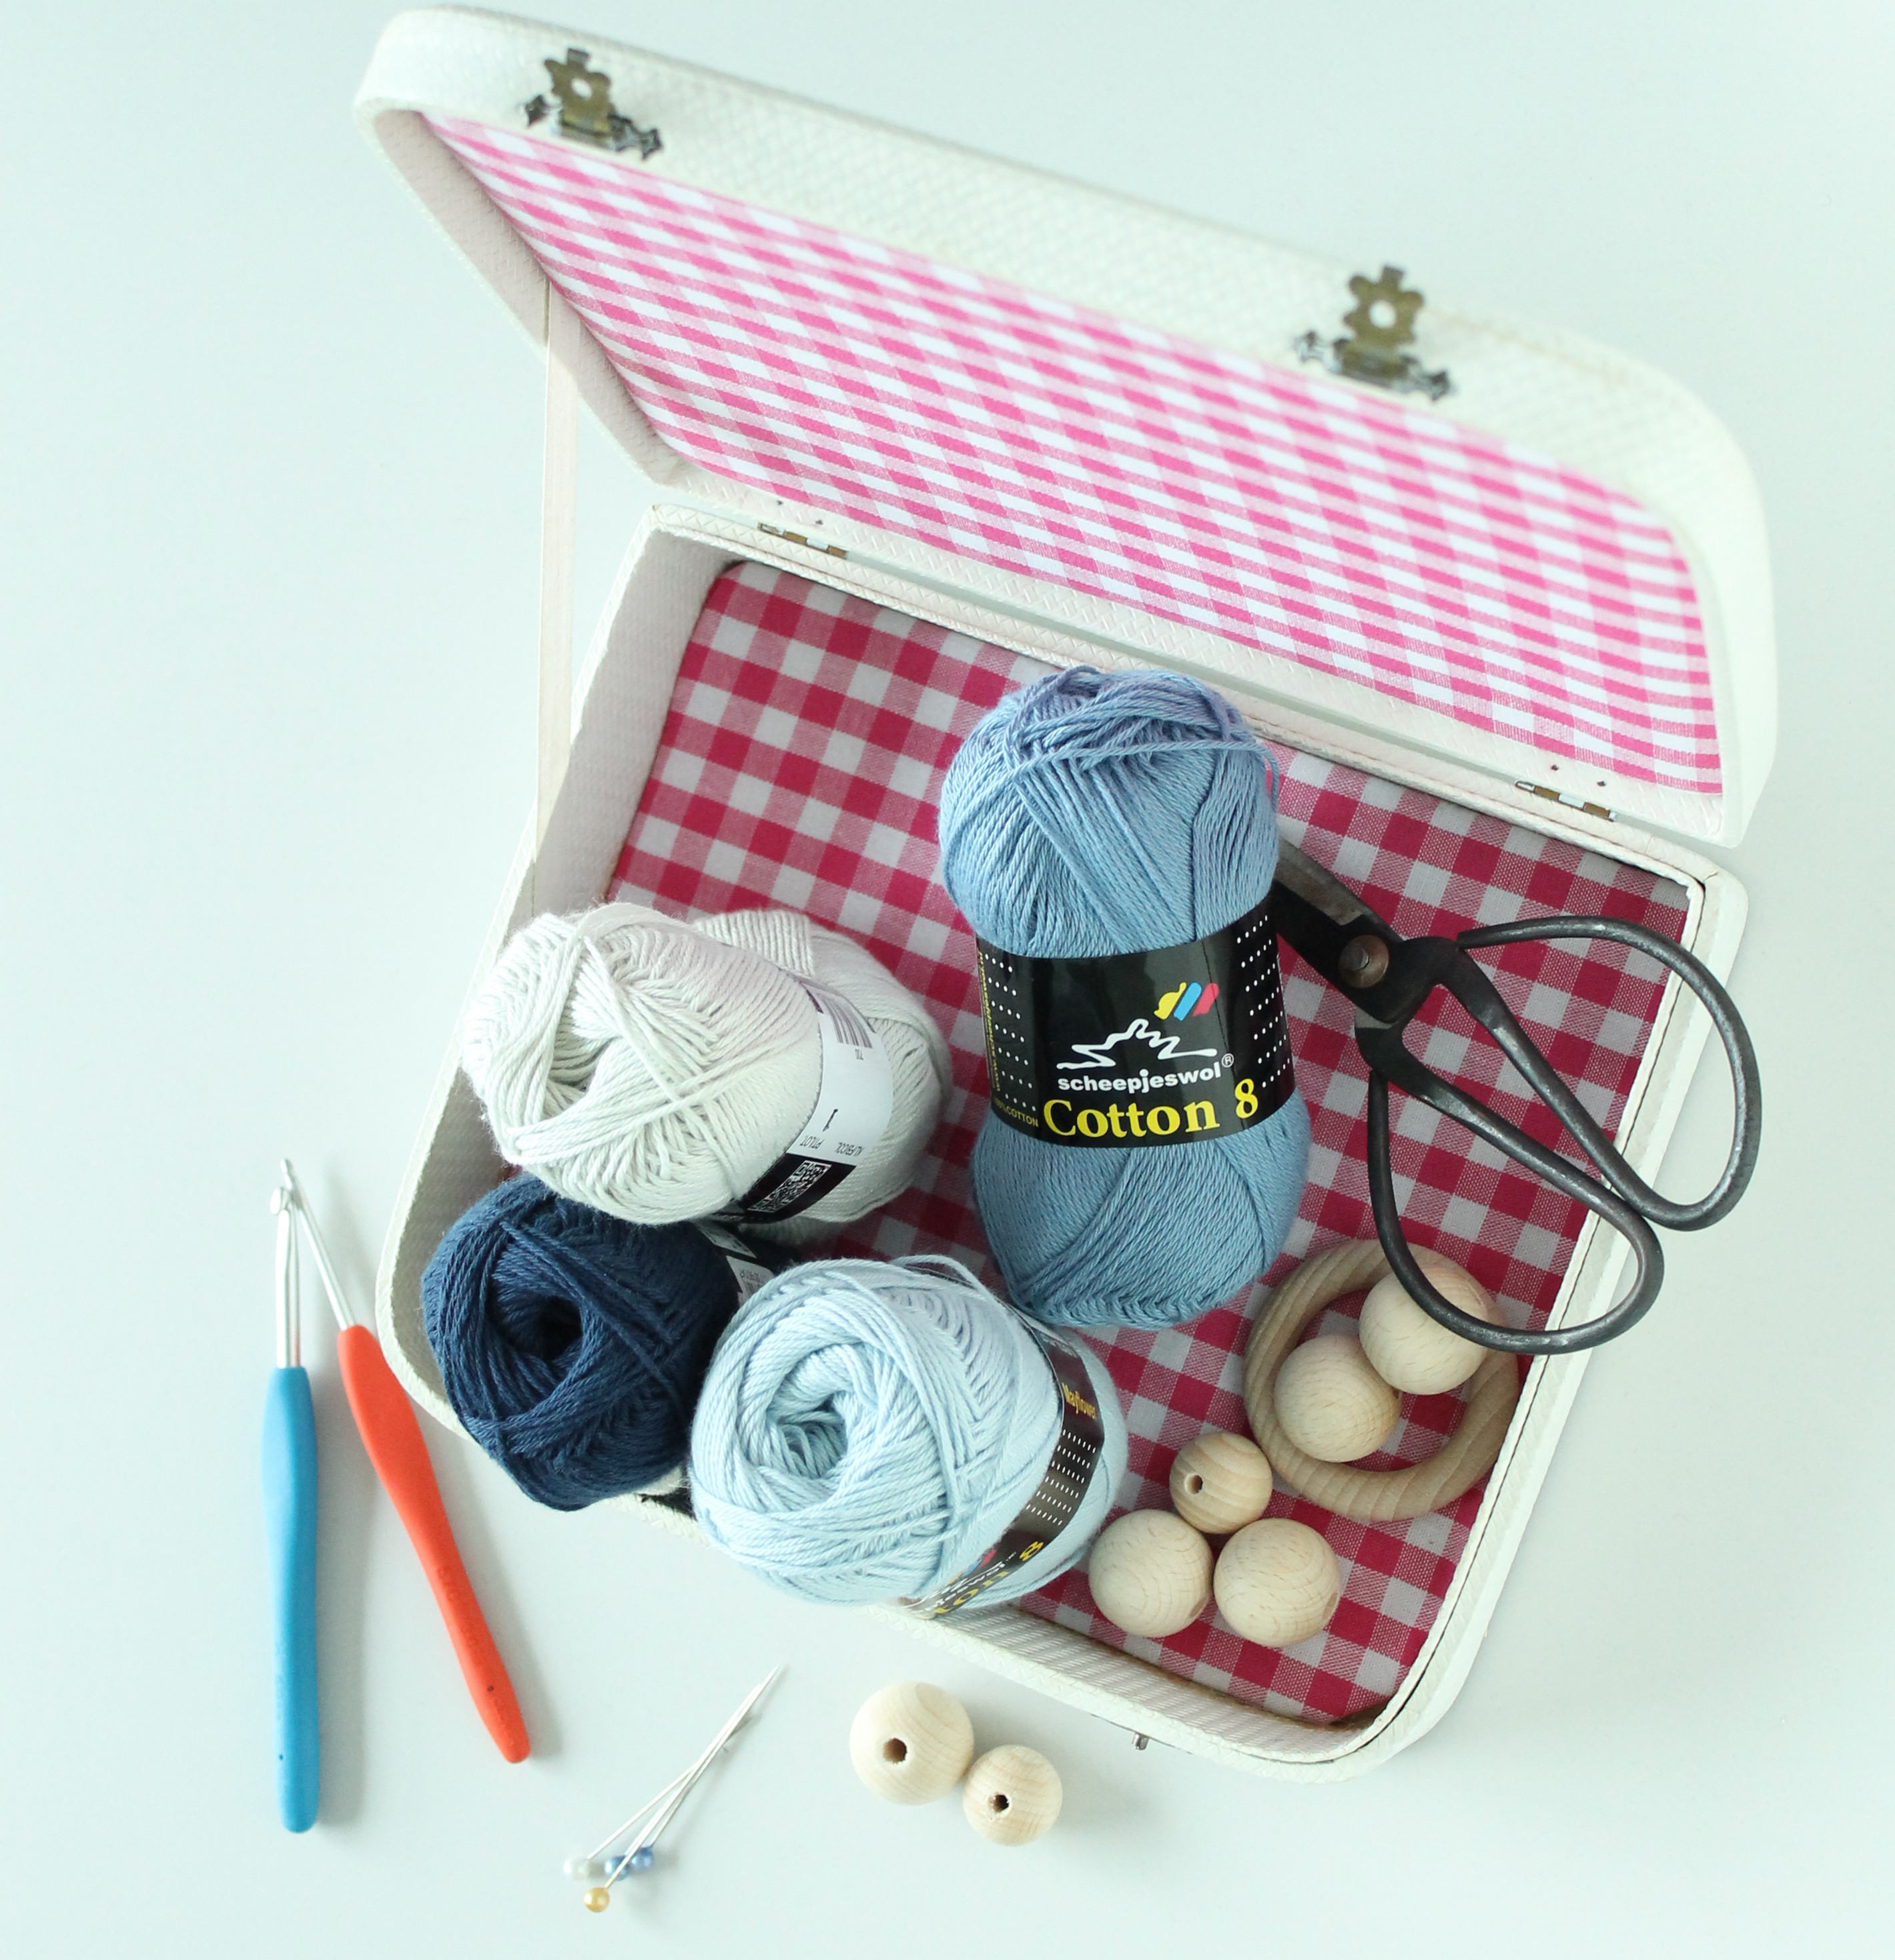
Scheepjeswol Cotton 8* in four shades. I used 527, 711, 652 and 700. In the Netherlands you can pick Cotton 8 up at just about any great yarn seller, and internationally you can buy via deramores.com*.
A 3mm crochet hook, scissors, and you’ll also need wooden beads in varying sizes. I used five 35mm balls and two 25mm balls. For added interest, you can also add a wooden ring or two – babies love the different elements and textures.
 Abbreviations
(American terms)
CH – chain stitch
SC – single crochet (UK double crochet)
INC – increase; two single crochet stitches into the same stitch
DEC – decrease; two single crochet stitches together
STS – stitch count
Notes
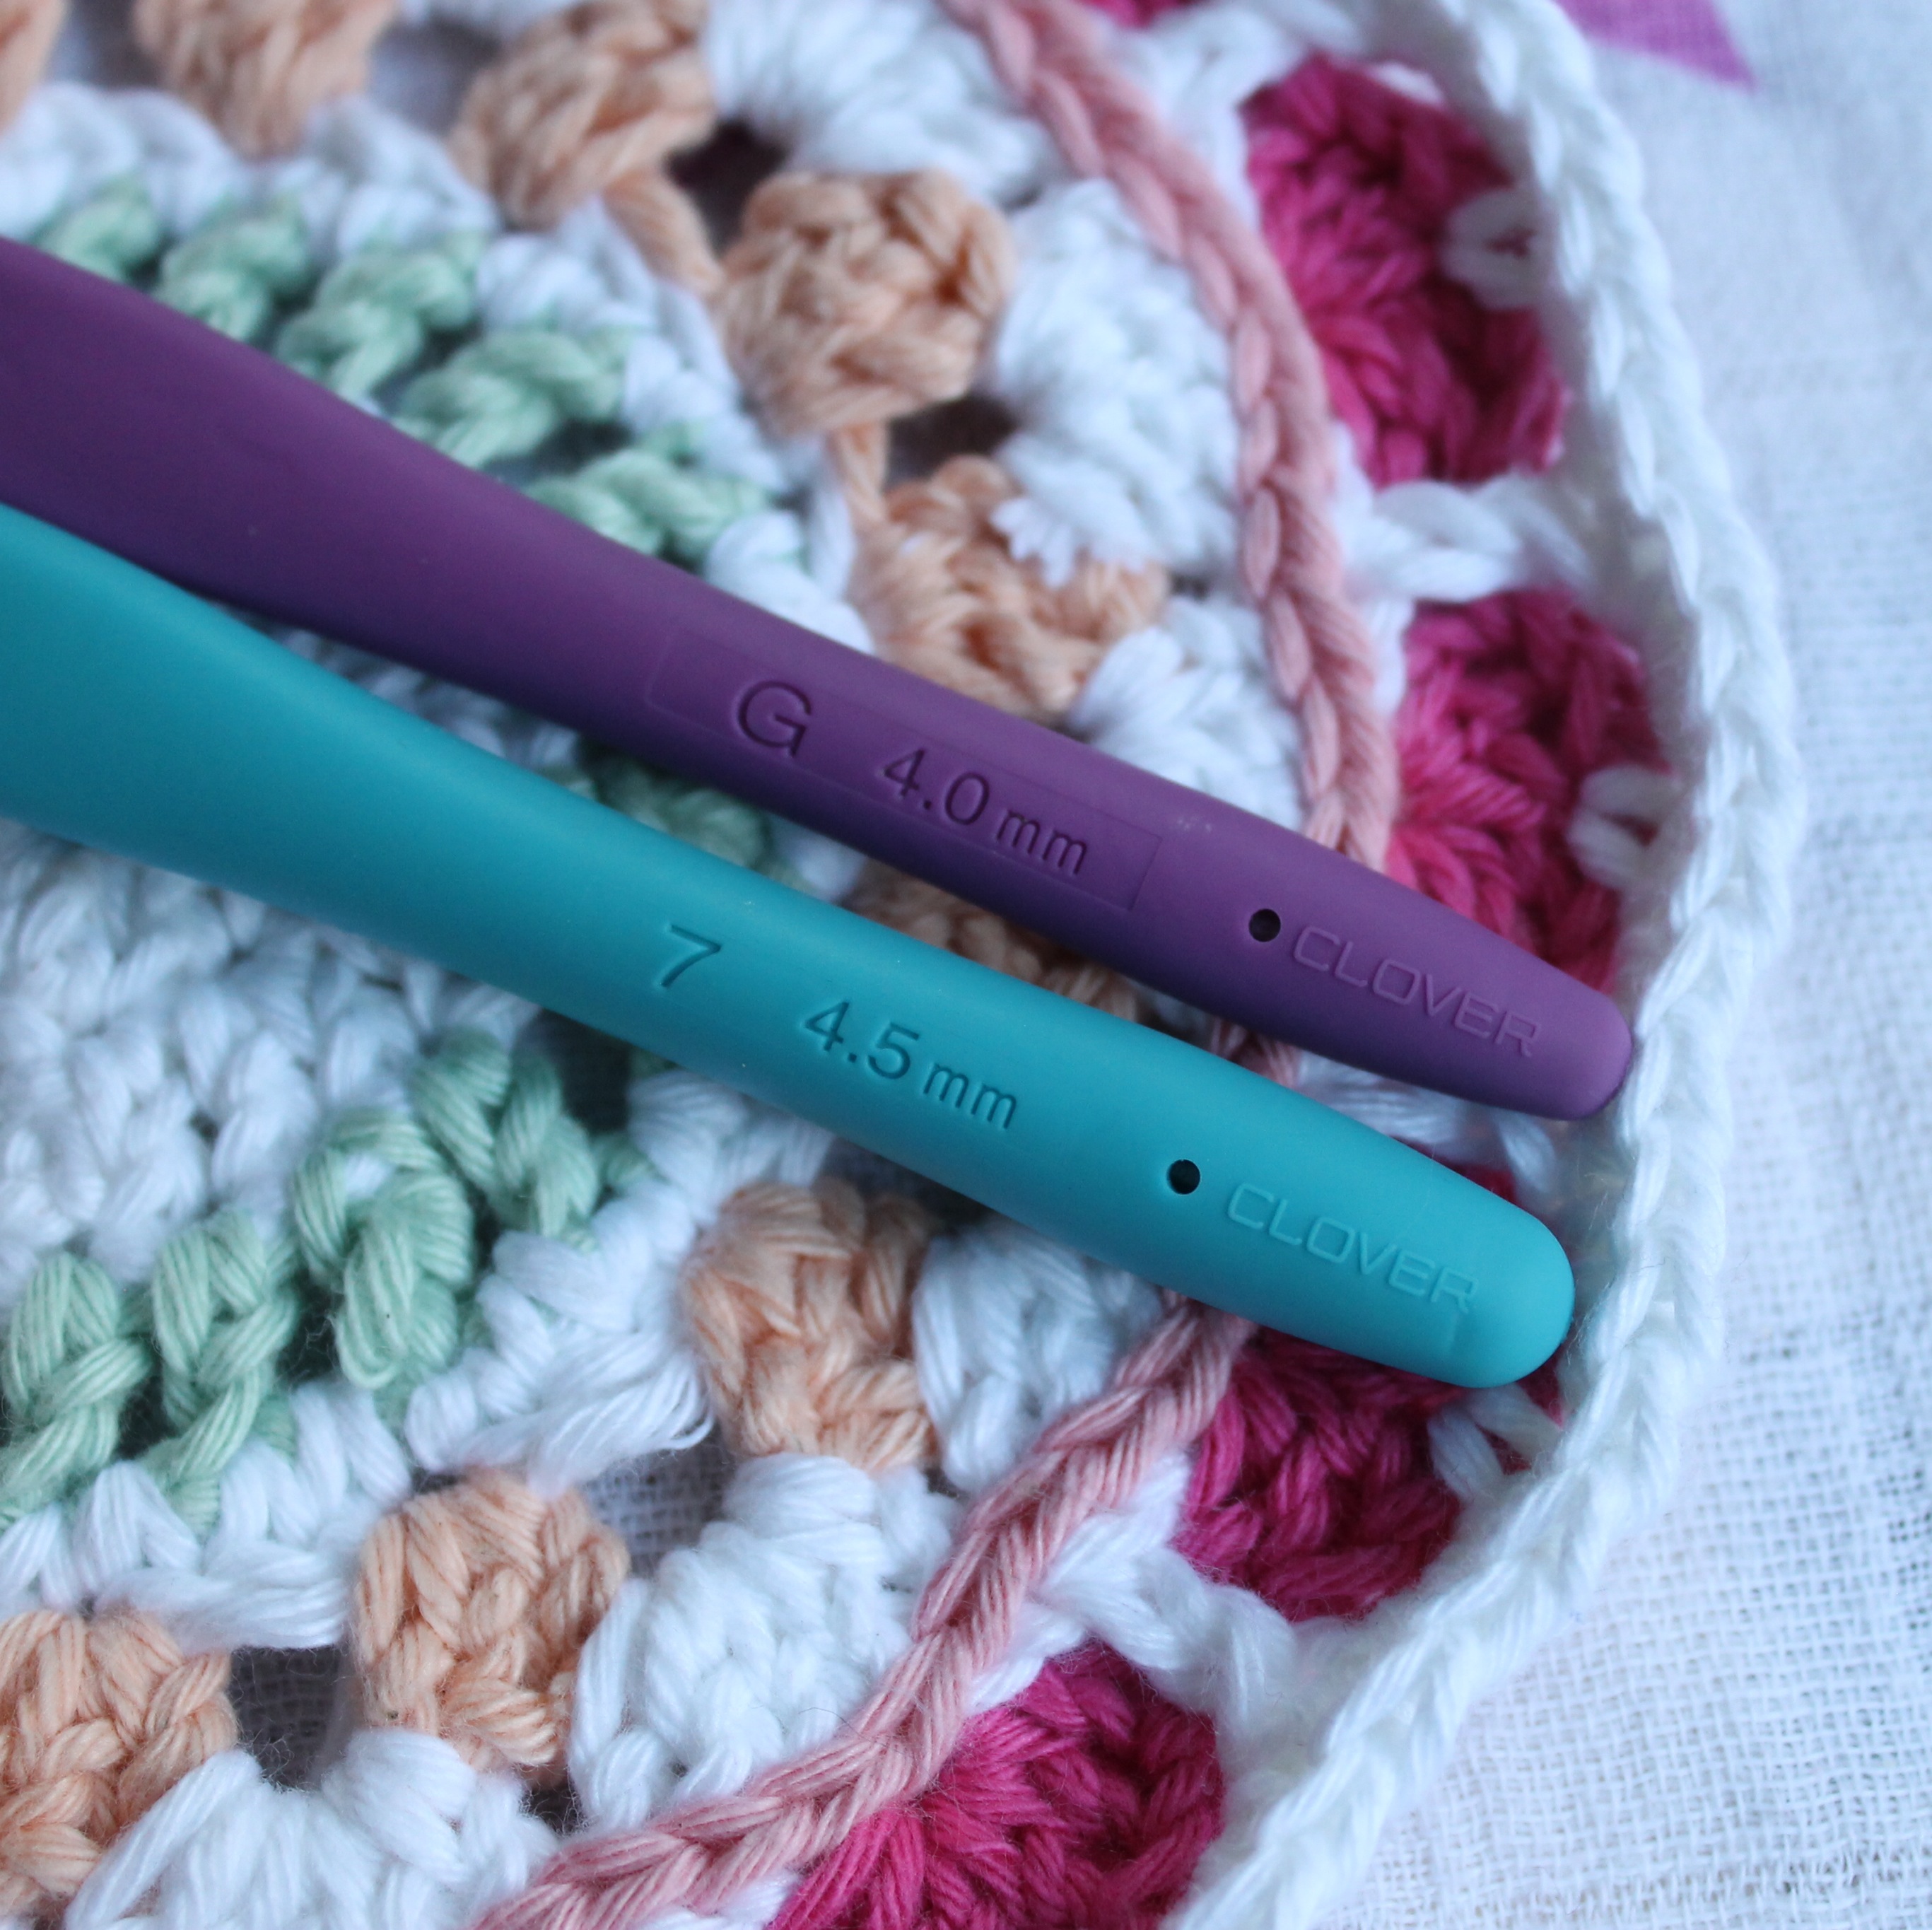
This project is worked in the round. You will also need to crochet your stitches very tightly to ensure that they keep the form of the beads. If you crochet loosely, use a smaller hook.
Don’t forget, I’m a leftie so you might have to flip the images in your mind. I like to keep the images for us lefties because there just aren’t that many left handed tutorials out there. If you need help, ping me using the contact page or on Facebook.
Make one ball in the darkest colour, two in the second darkest, two in the third darkest, and two in the lightest (the 25mm balls).

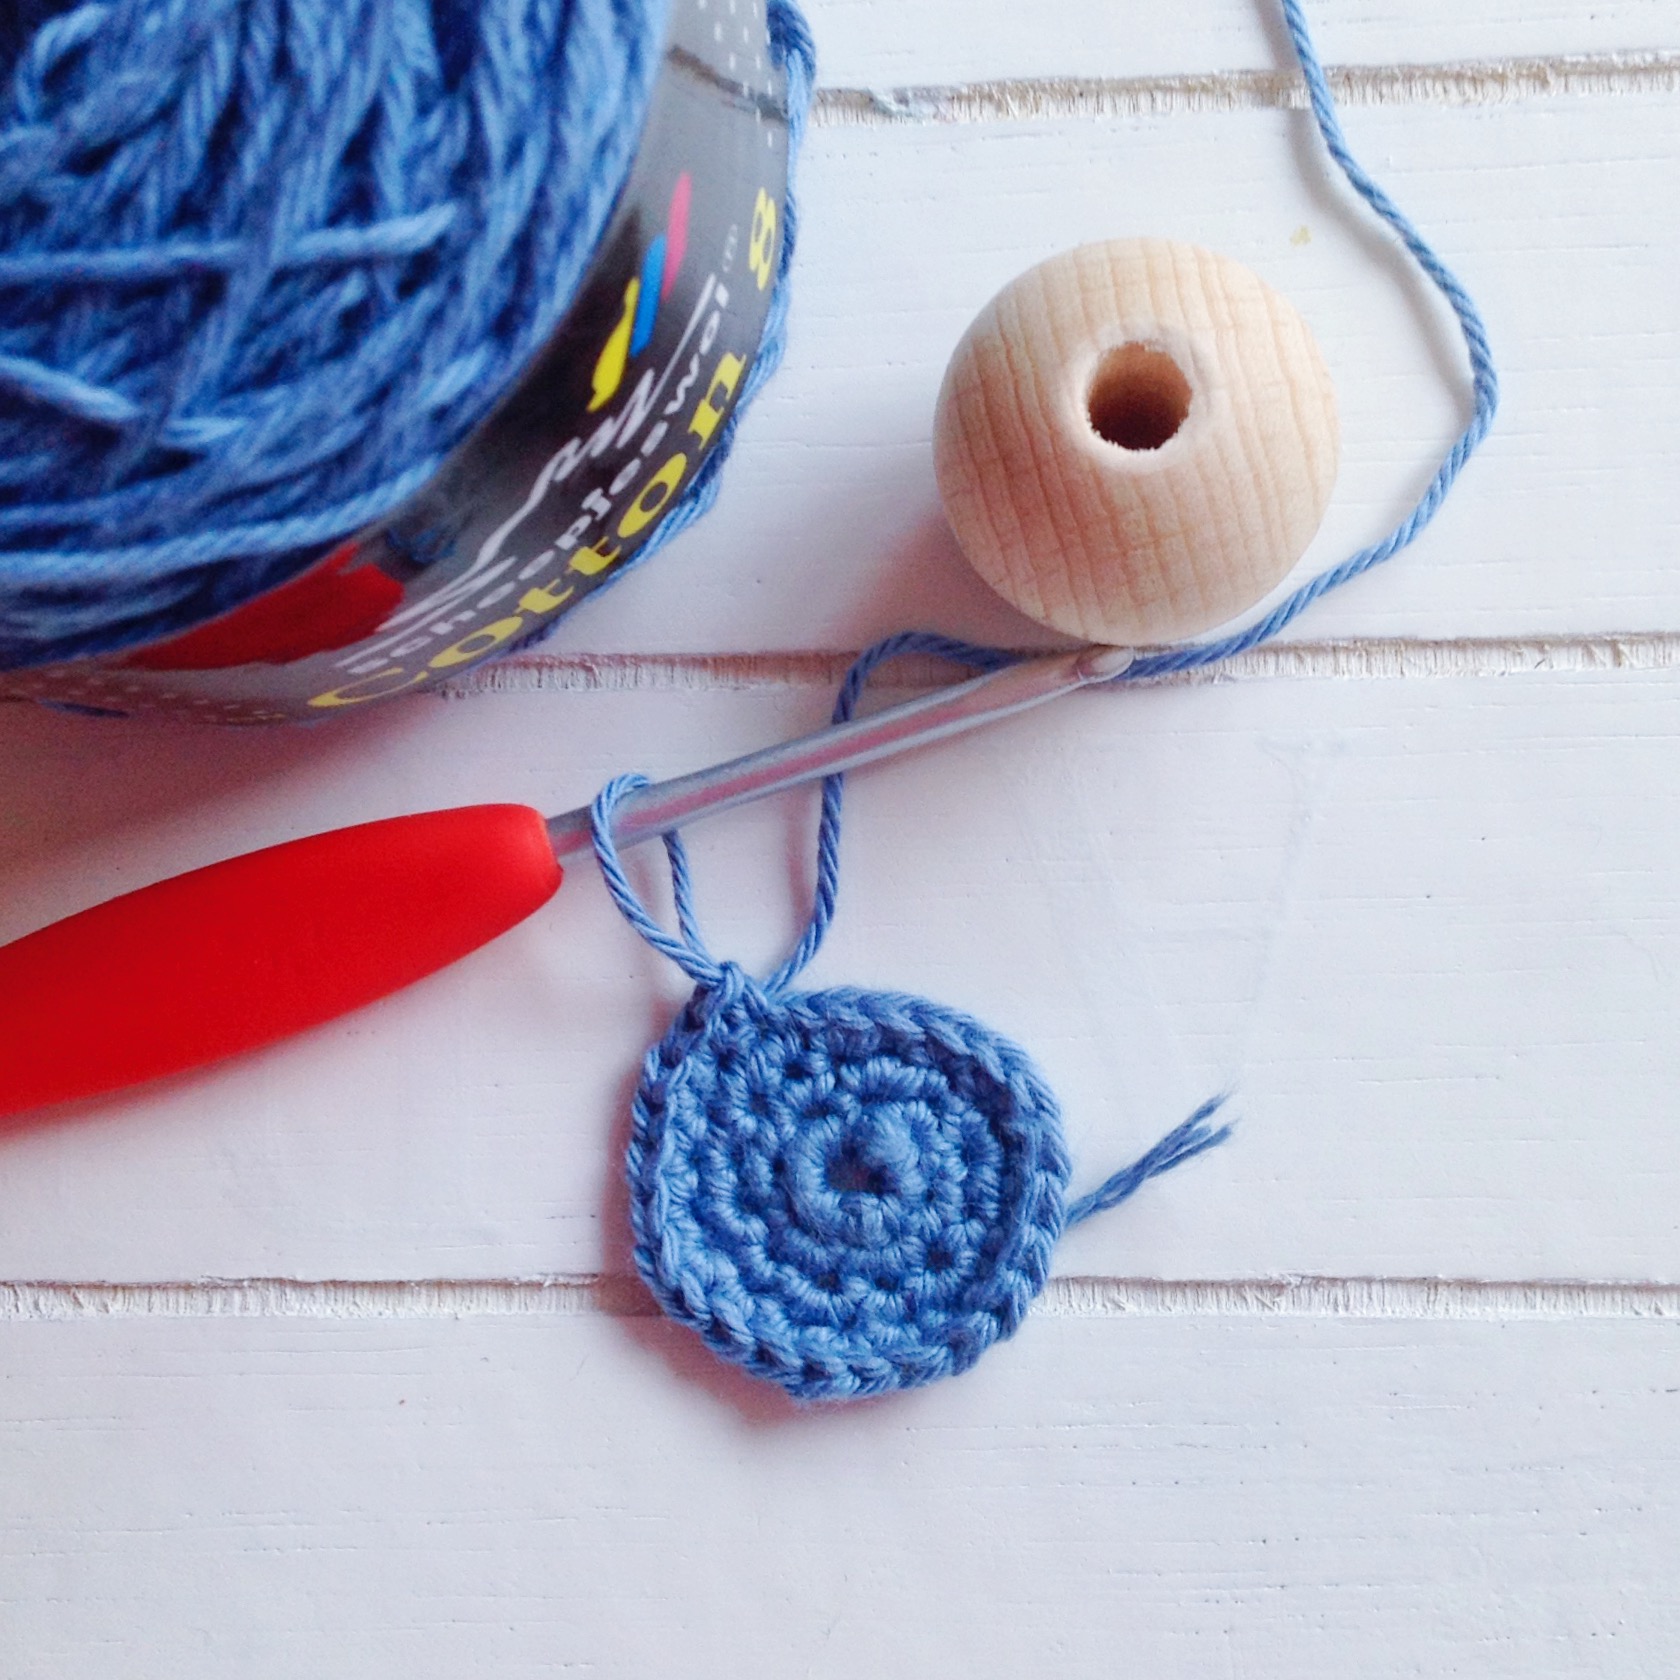
35mm Bead
Round 1
CH 5, close with a slip stitch, CH 1.
Round 2
SC x 6 into the ring (6 STS)
Round 3
INC in each stitch around (12 STS)
Round 4
(INC, 1 SC) x 6 (18 STS)
Round 5
(INC, 2 SC) x 6 (24 STS)
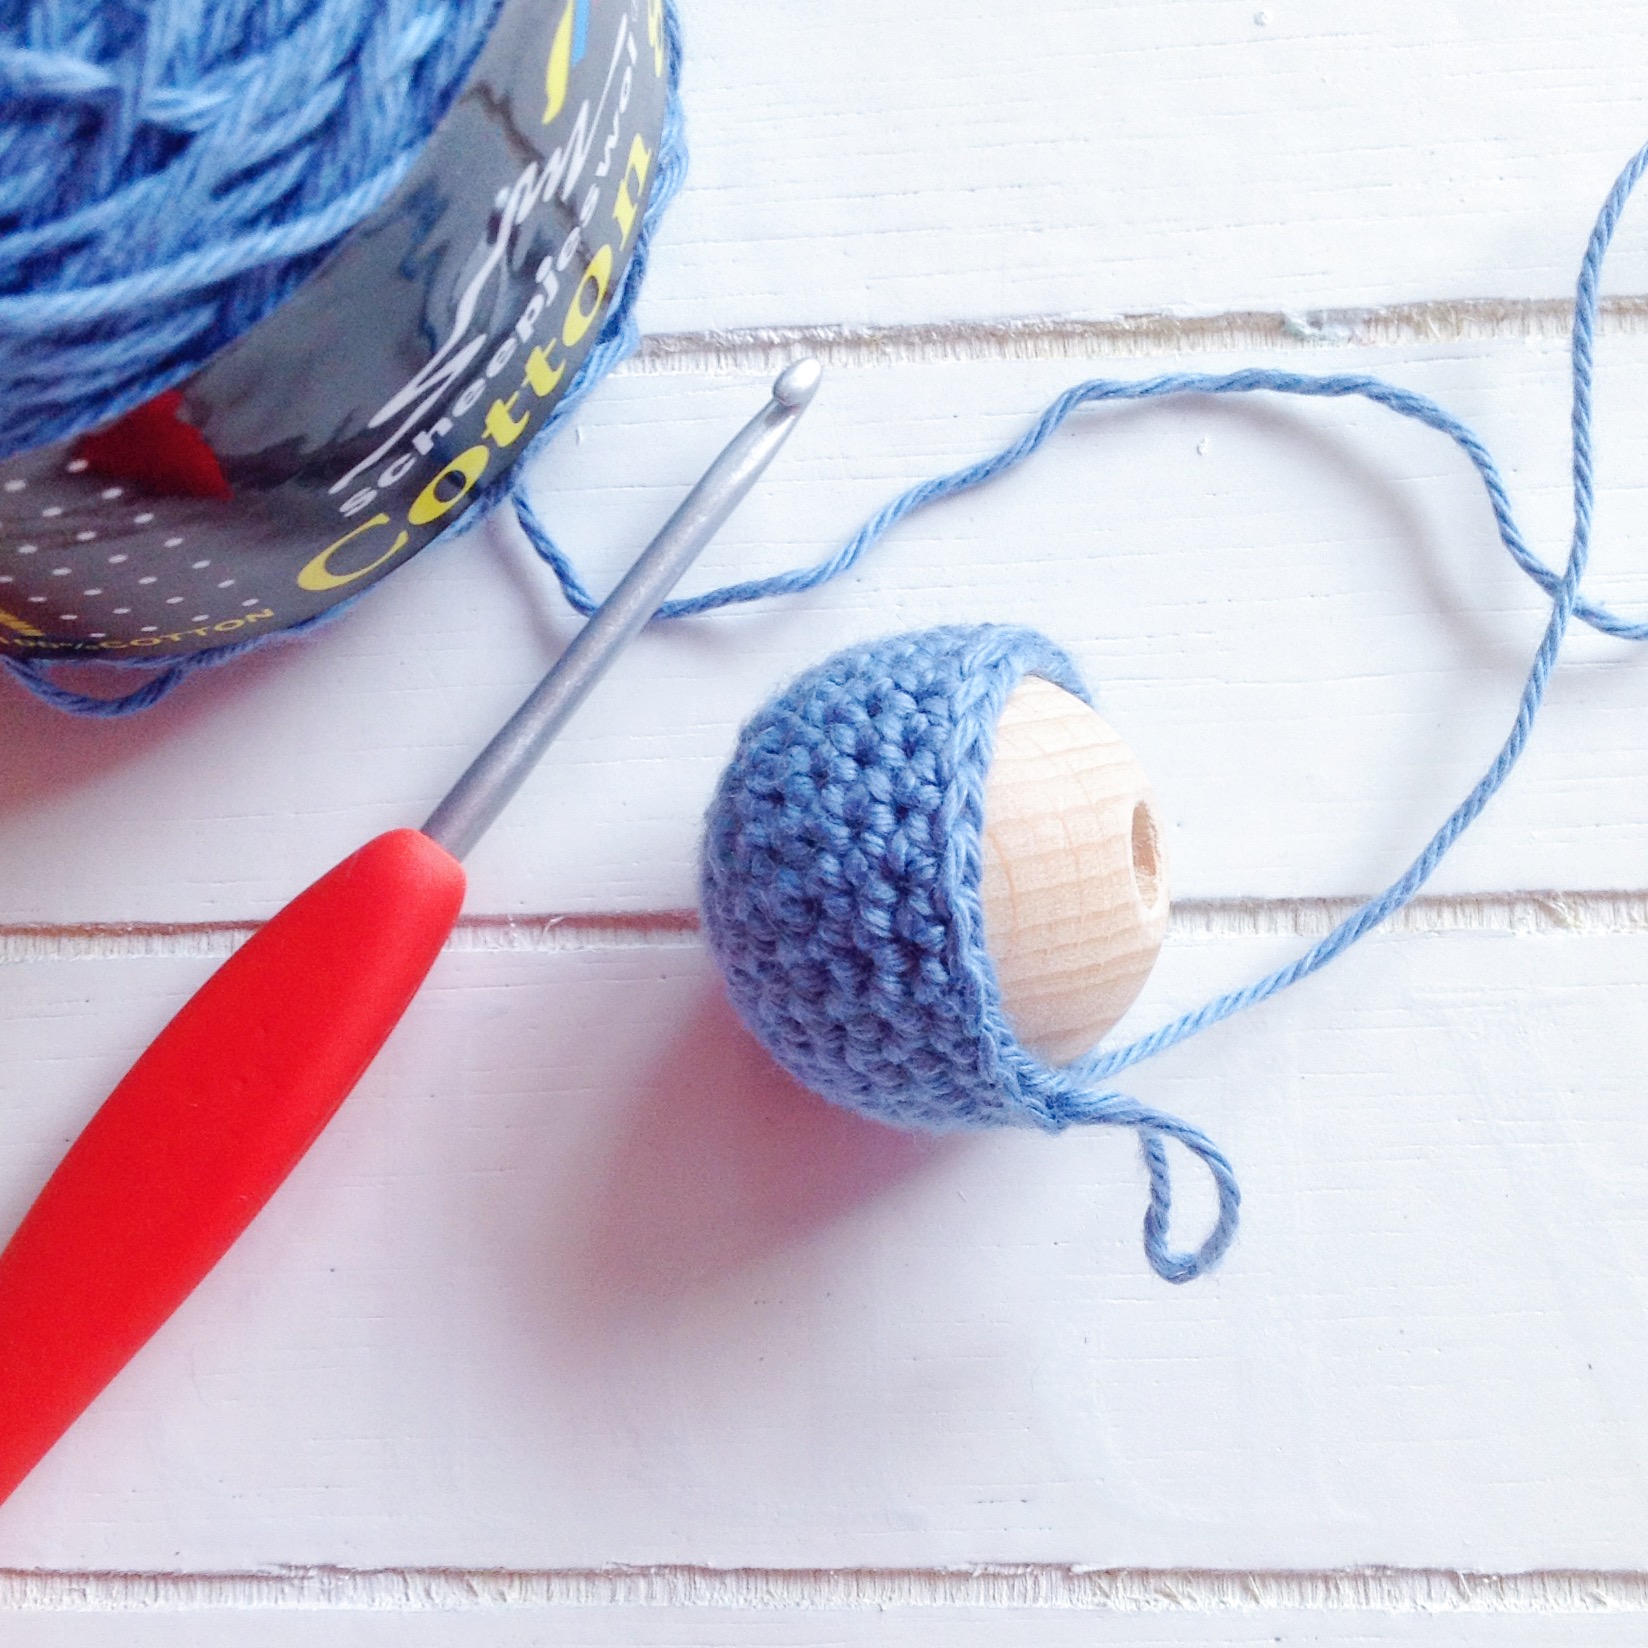
Round 6-10
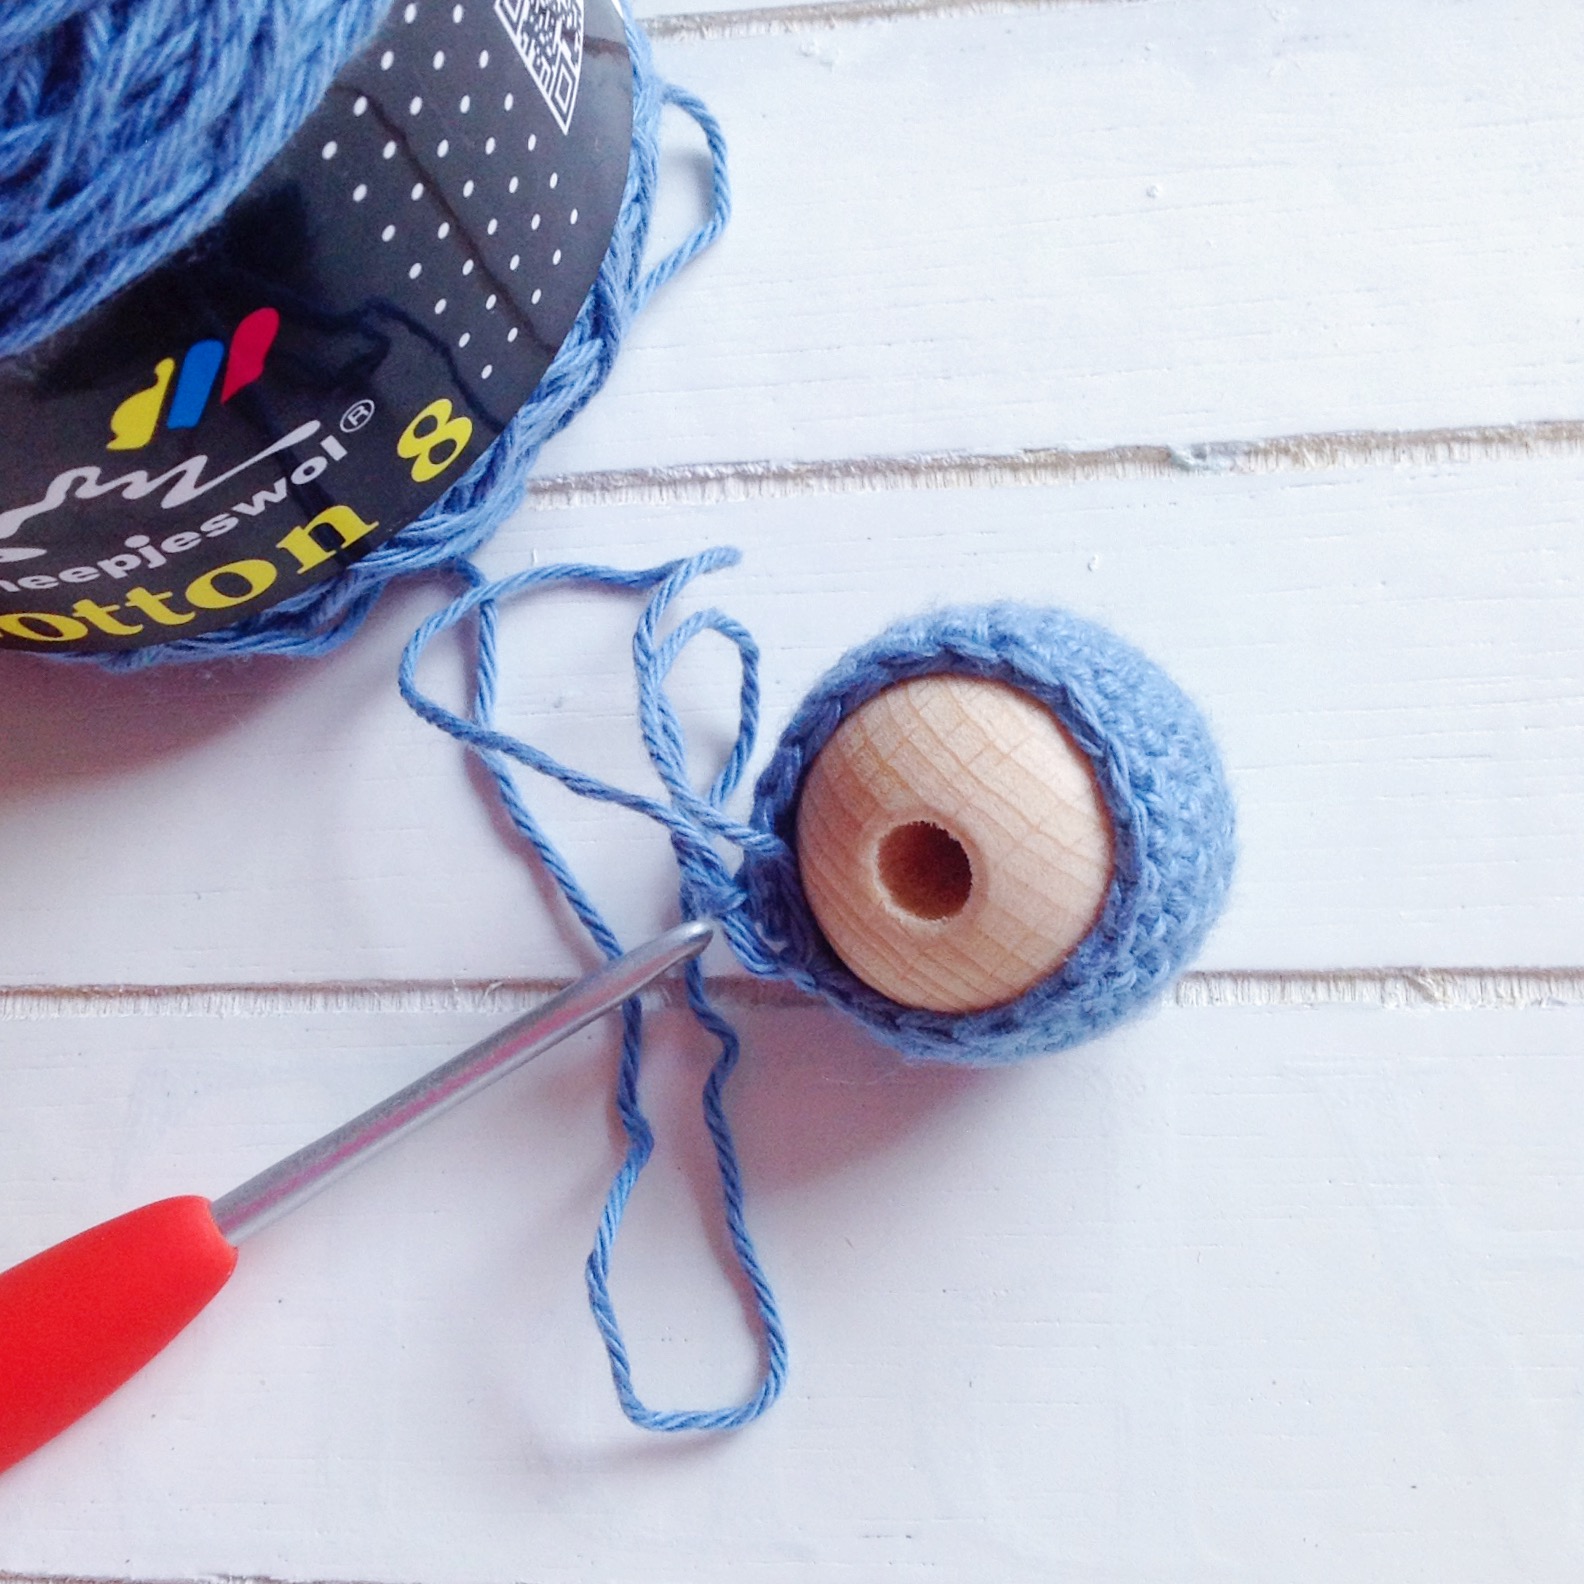
SC x 24 (24 STS). Insert the bead to measure how progress is going at each round.


Round 11
(DEC, 2 SC) x 6 (18 STS). Make sure the bead is inserted here and continue working around it.
Round 12
(DEC, 1 SC) x 6 (12 STS).

Round 13
DEC in each stitch around (6 STS)
Finish off and hide the tail.
For the 25mm bead, follow the same instructions, skipping round 5 (and round 11 as a consequence).
Once you’ve finished all five balls in the colour combination of your choice, it’s time to thread them onto a chain. First you need to make yourself one. I used the lightest shade and chained stitched until I had about 90 cm. This way the necklace would have plenty of room to become longer or shorter as necessary.
Thread the beads and tie the ends into a little knot and then together using a slip stitch so that one end can slip easily (but not too easily) to adjust the length of the necklace.

And you’re all done! Looks beautiful, doesn’t it?  I love seeing projects by others, so don’t forget to brag about what you’ve made on my Facebook page or upload to Pinterest, tagging me @missneriss. Don’t forget to follow me on Instagram while you’re at it!
*Affiliate link


