Tag Archives: chainless starting double crochet

It’s Yarn Day!

I love it when yarn arrives.  It’s like Christmas.  All year round.  I get really upset if I miss the postie and there are no neighbours around to take in my packages and I have to trek to the post office the next afternoon to pick it up.  The anticipation is just too much for me to bear.

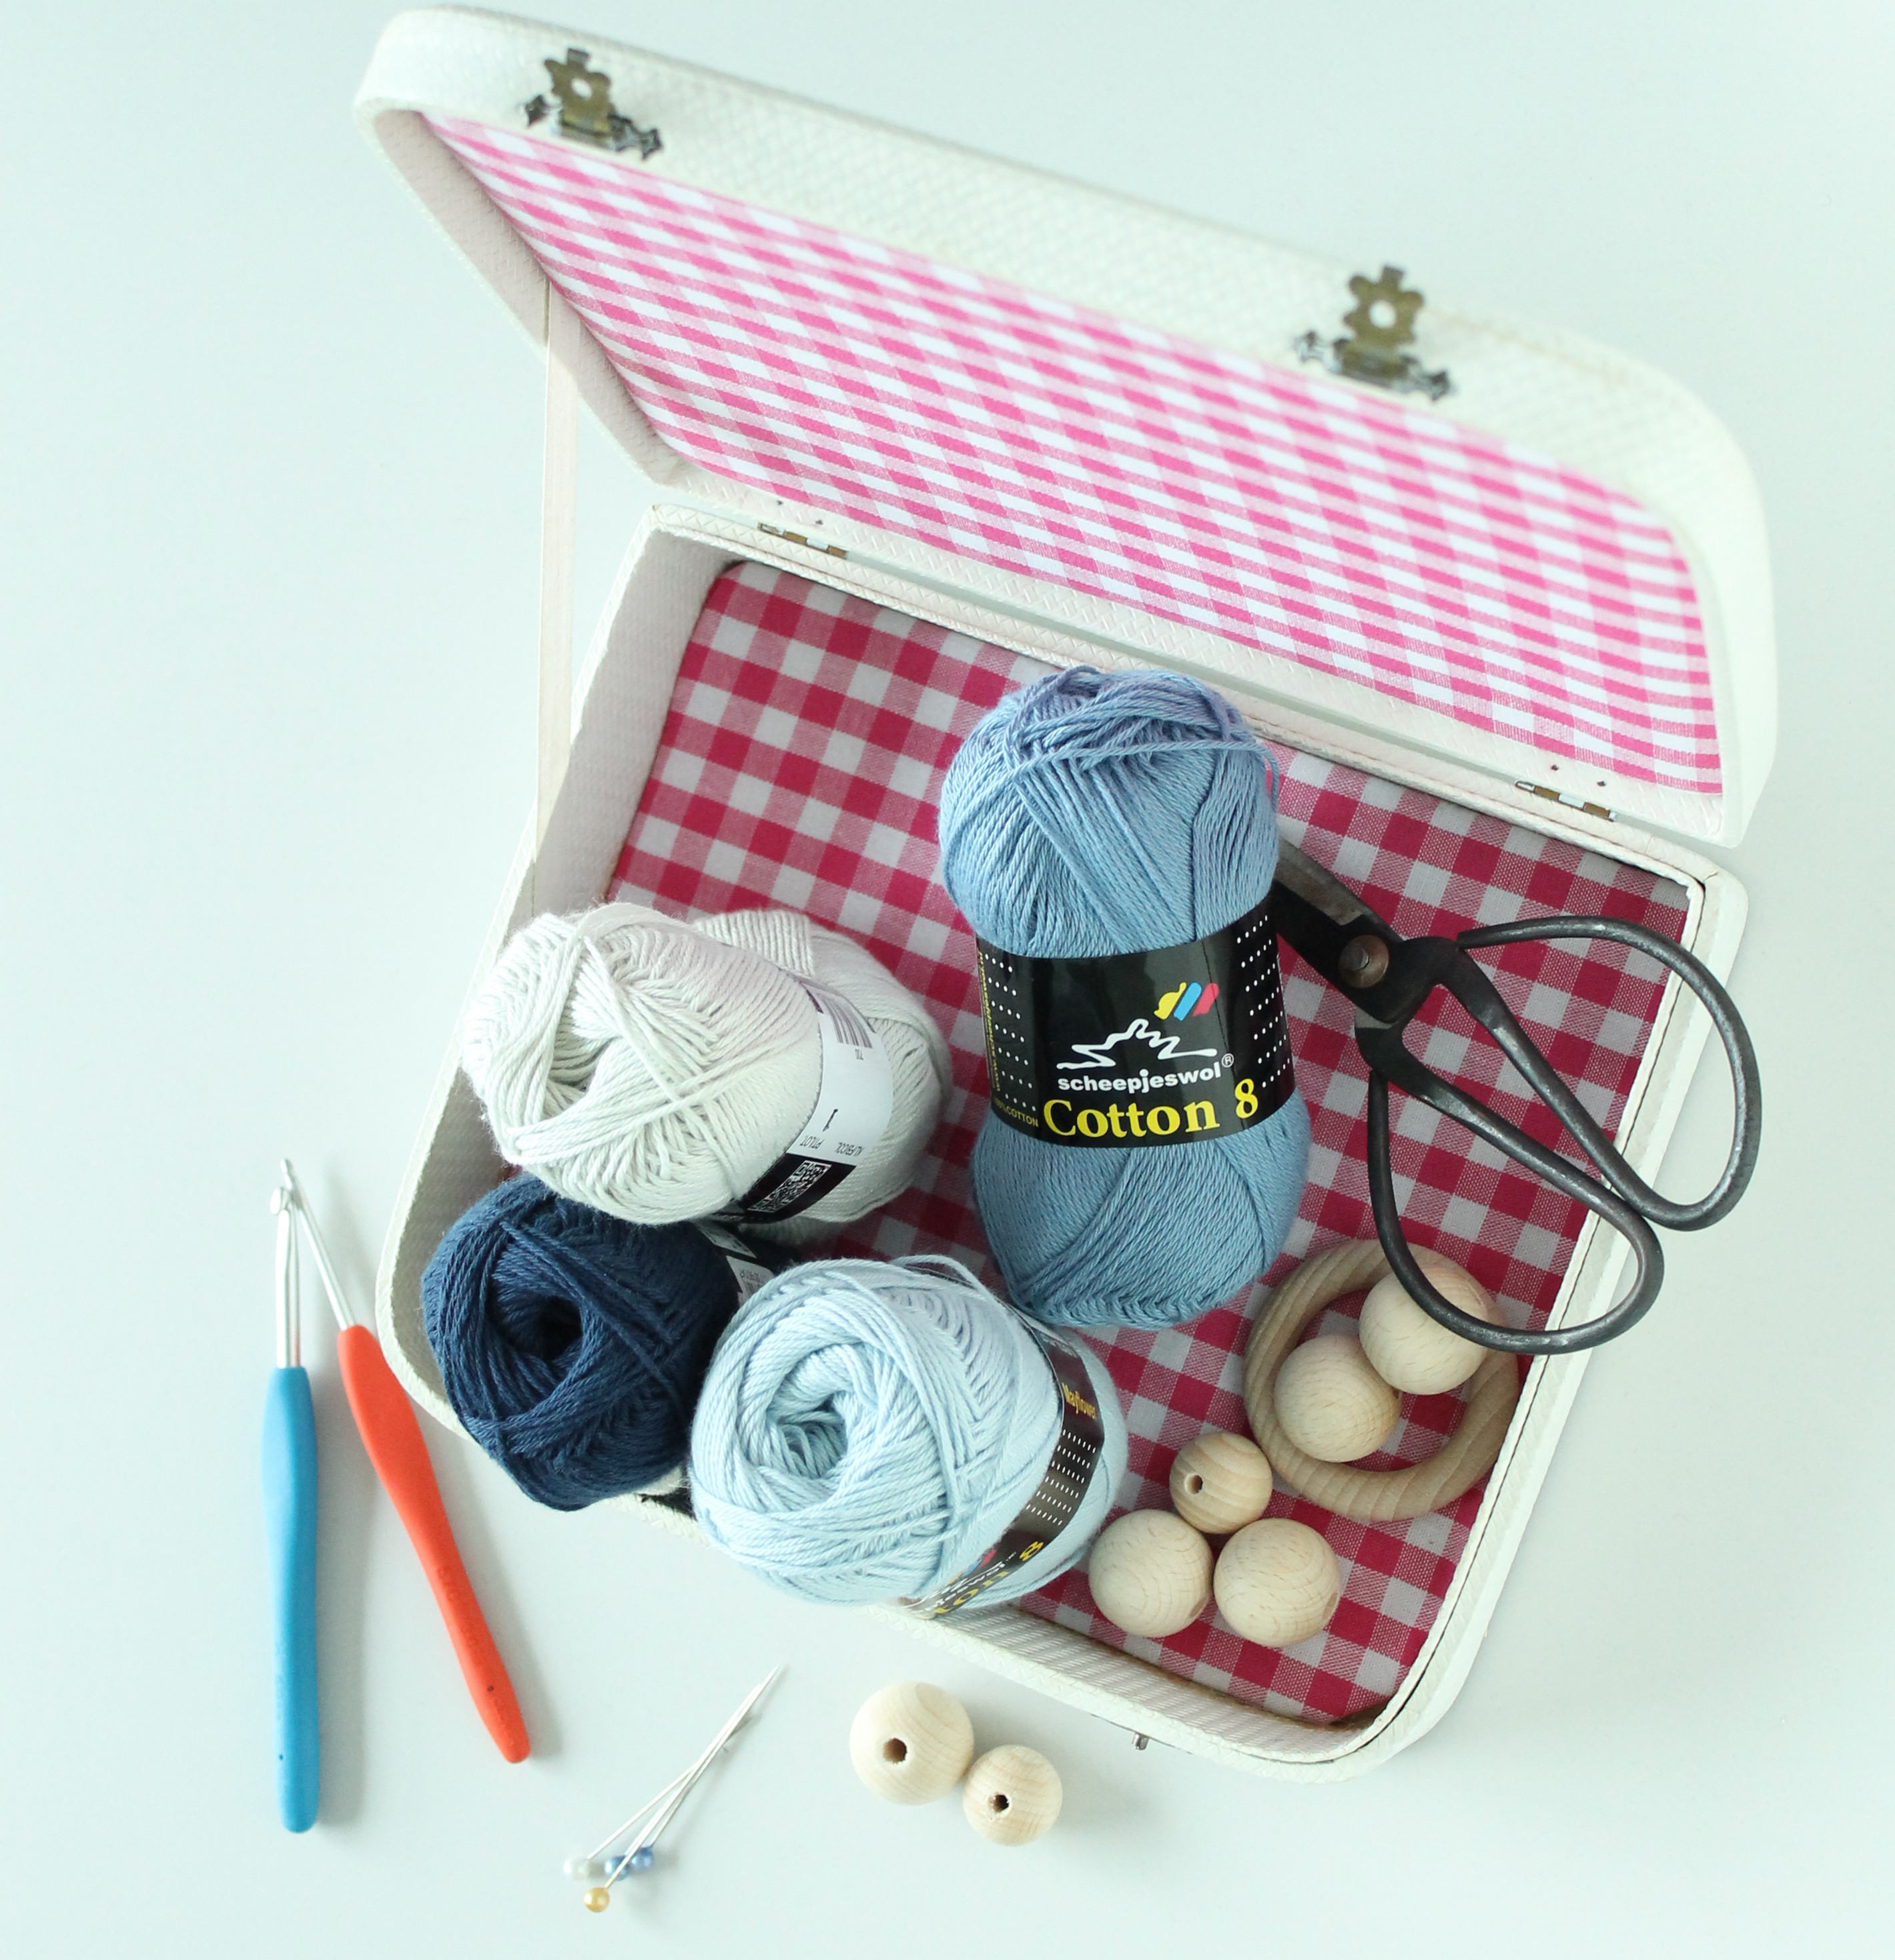
Here’s what’s arrived today.  More Scheepjes Cotton 8.  This time in blues instead of yellows.  Isn’t it beautiful?

The yarn matches my dress perfectly. #scheepjes #scheepjeswol #cotton8

I absolutely love this yarn.  It’s such a great cotton.  It’s soft and strong, and the perfect weight for baby projects.

Scheepjes cotton 8 waiting to be turned into something beautiful #scheepjes #scheepjeswol #cotton8

Scheepjes Cotton 8 #scheepjes #scheepjeswol #cotton8

So baby project it is!  But what?  You’ll just have to check back next week and see for yourself.  For now, the yarn has gone straight into my project box and to the top of the pile of my never-ending To Do list.

#Scheepjes #cotton8 yarn, straight into the project box.

Advertisement

Moogly’s Chainless Starting Double Crochet

While making my beautiful Candace Scarf in the last couple of weeks, I decided to incorporate this new technique that I learned from being a regular visitor to the Moogly Blog.

In pretty much every single pattern you read, when crocheting to the end of the row the instruction will be “Chain 2, turn,” which is a great, fast and simple way to keep going when making items that are worked in rows.  However, the down side is that there are always holes where the chain 2 is.  Now, this probably isn’t noticeable at all to the wearer, unless they crochet.  But to me it’s basically like a pair of dog’s bollocks.  Fairly obvious.

Here’s what the standard chain 2 turn begin looks like:

Big gap, using chain 2 begin to a rowAnd here’s how it looks when you use the Chainless Starting Double Crochet:

No gap, using chainless starting double crochet

And to compare:

The two methods side by side

For the instructions you can head over to Youtube and watch the tutorial made by Tamara from Moogly:

Or you can check out the photo tutorial here.  Obviously if you’re a lefty like me you have to flip everything over in your mind’s eye for it to make sense.

I love it when I come across these little hacks, so I’ll be sure to share more of them with you as I find them.