Tag Archives: moogly

Moogly’s Chainless Starting Double Crochet

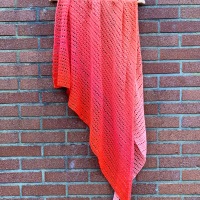
While making my beautiful Candace Scarf in the last couple of weeks, I decided to incorporate this new technique that I learned from being a regular visitor to the Moogly Blog.

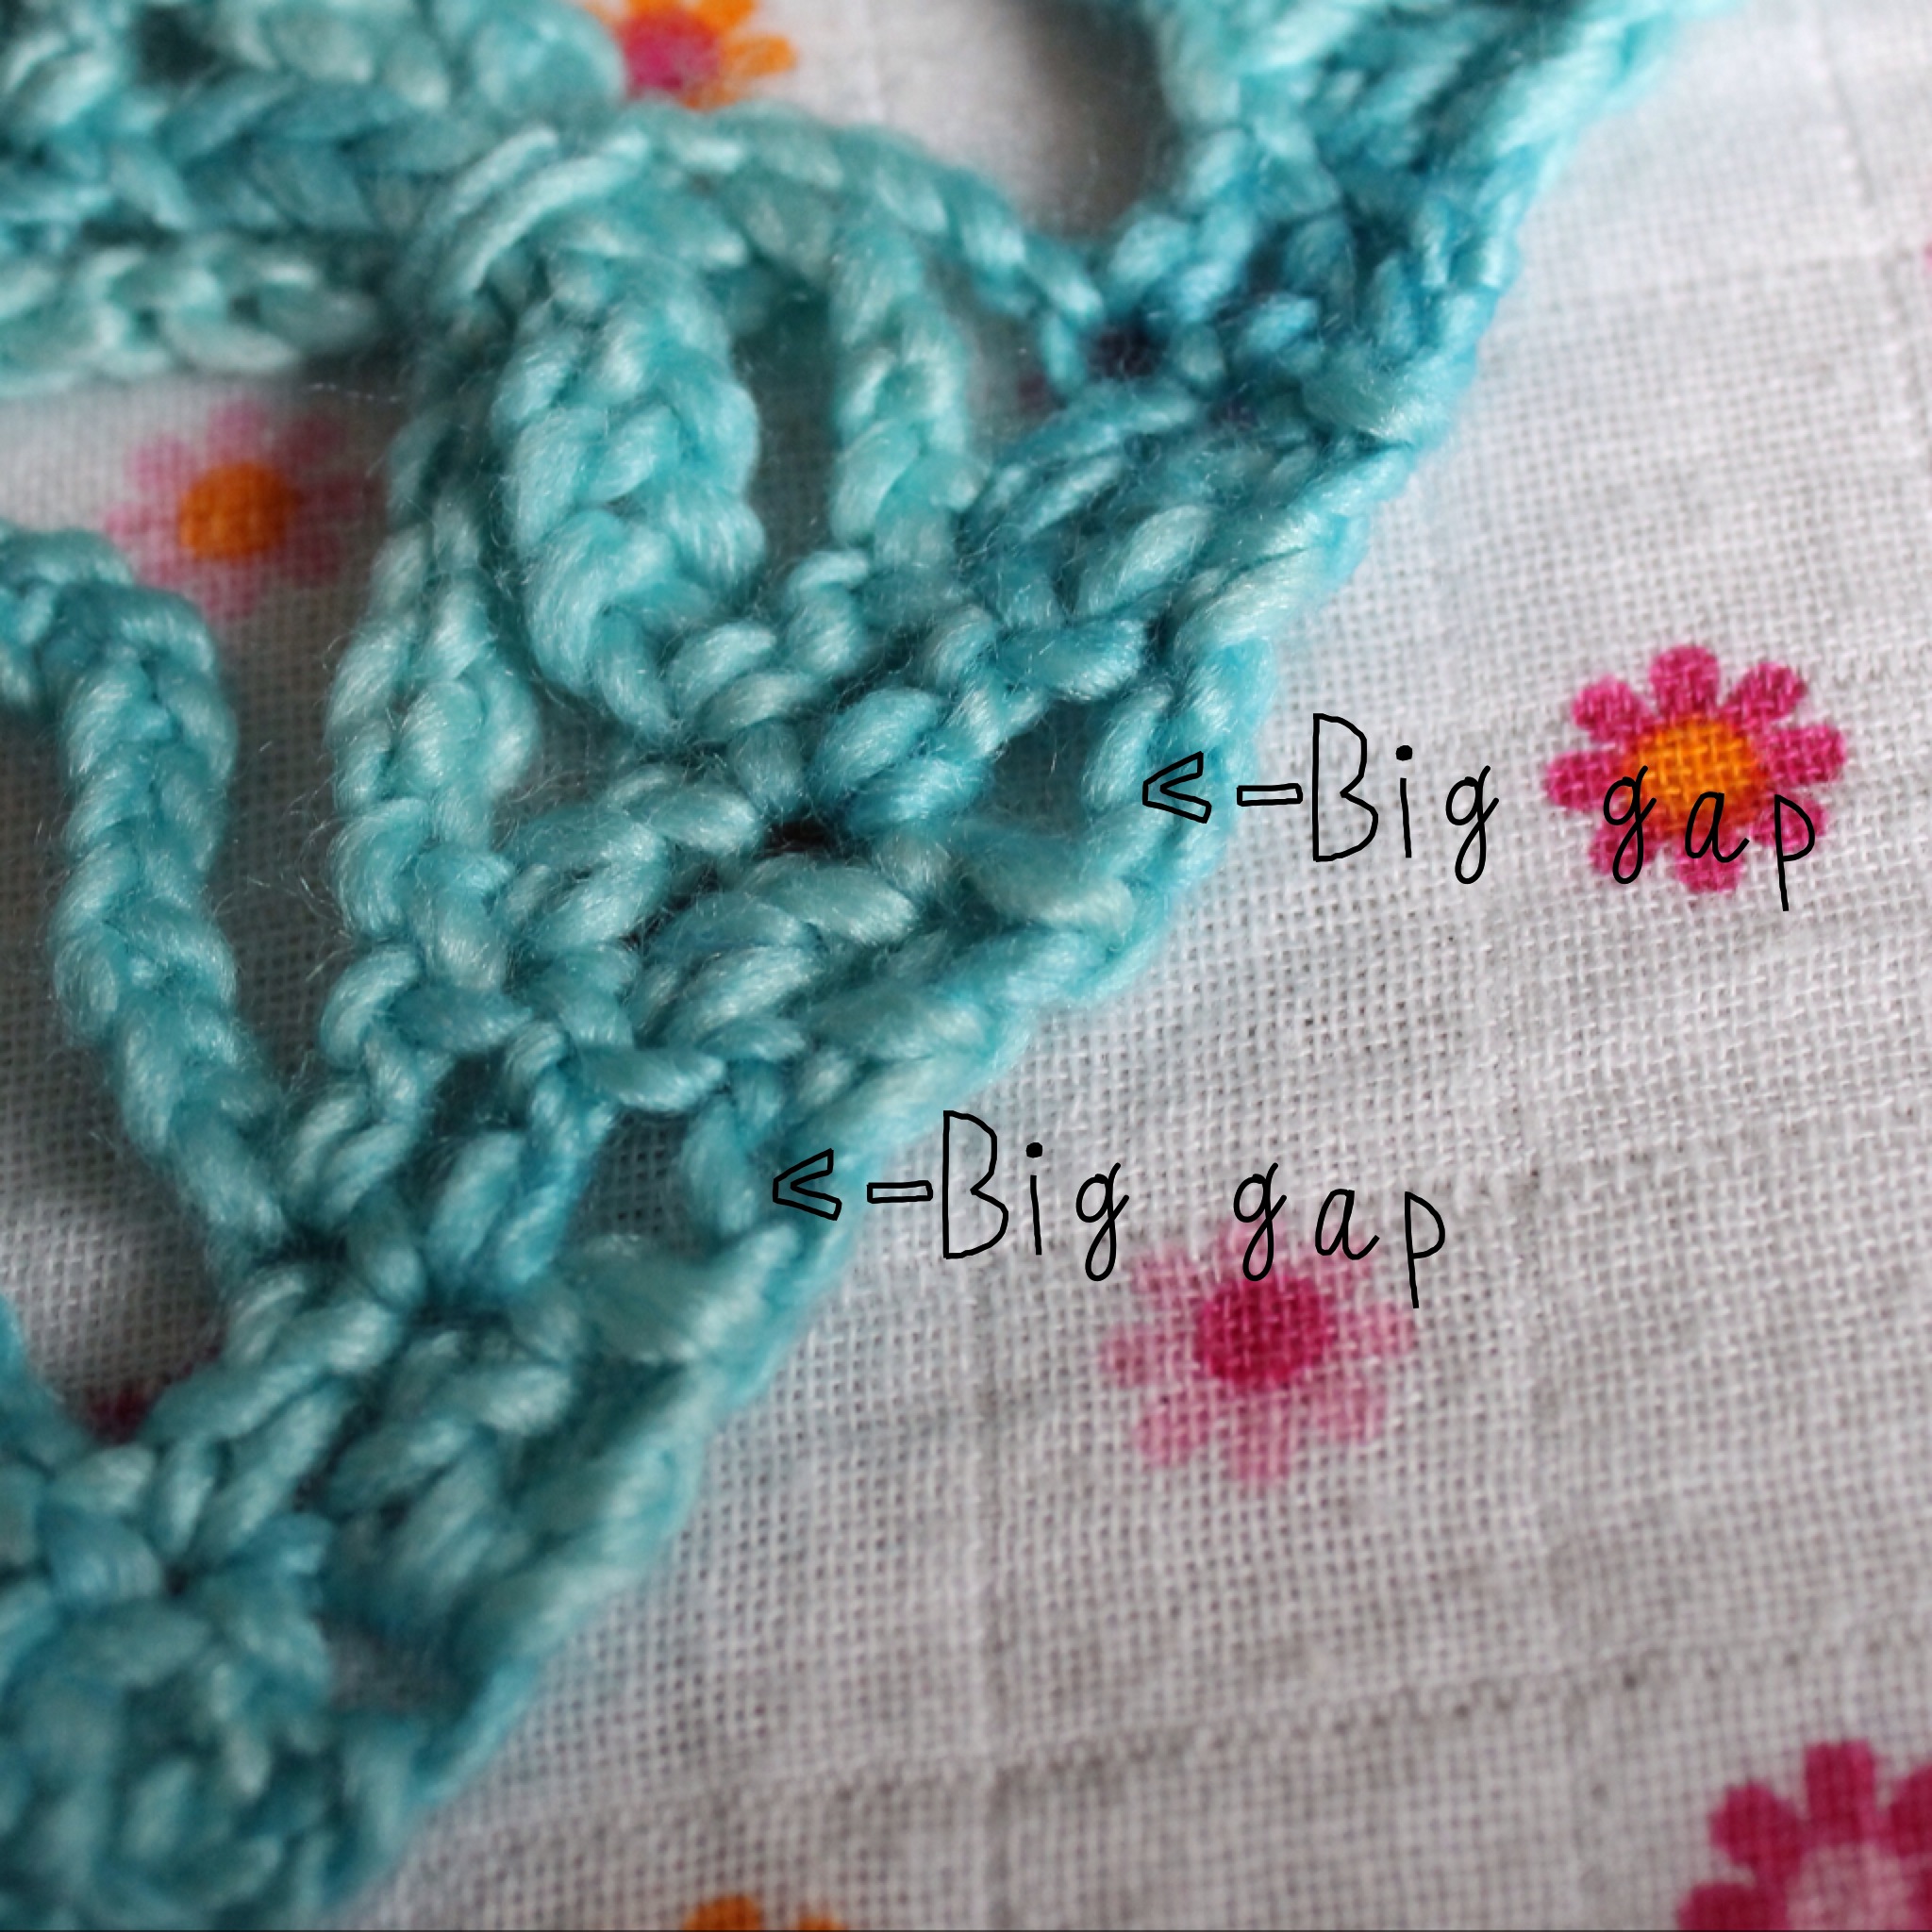
In pretty much every single pattern you read, when crocheting to the end of the row the instruction will be “Chain 2, turn,” which is a great, fast and simple way to keep going when making items that are worked in rows.  However, the down side is that there are always holes where the chain 2 is.  Now, this probably isn’t noticeable at all to the wearer, unless they crochet.  But to me it’s basically like a pair of dog’s bollocks.  Fairly obvious.

Here’s what the standard chain 2 turn begin looks like:

Big gap, using chain 2 begin to a row
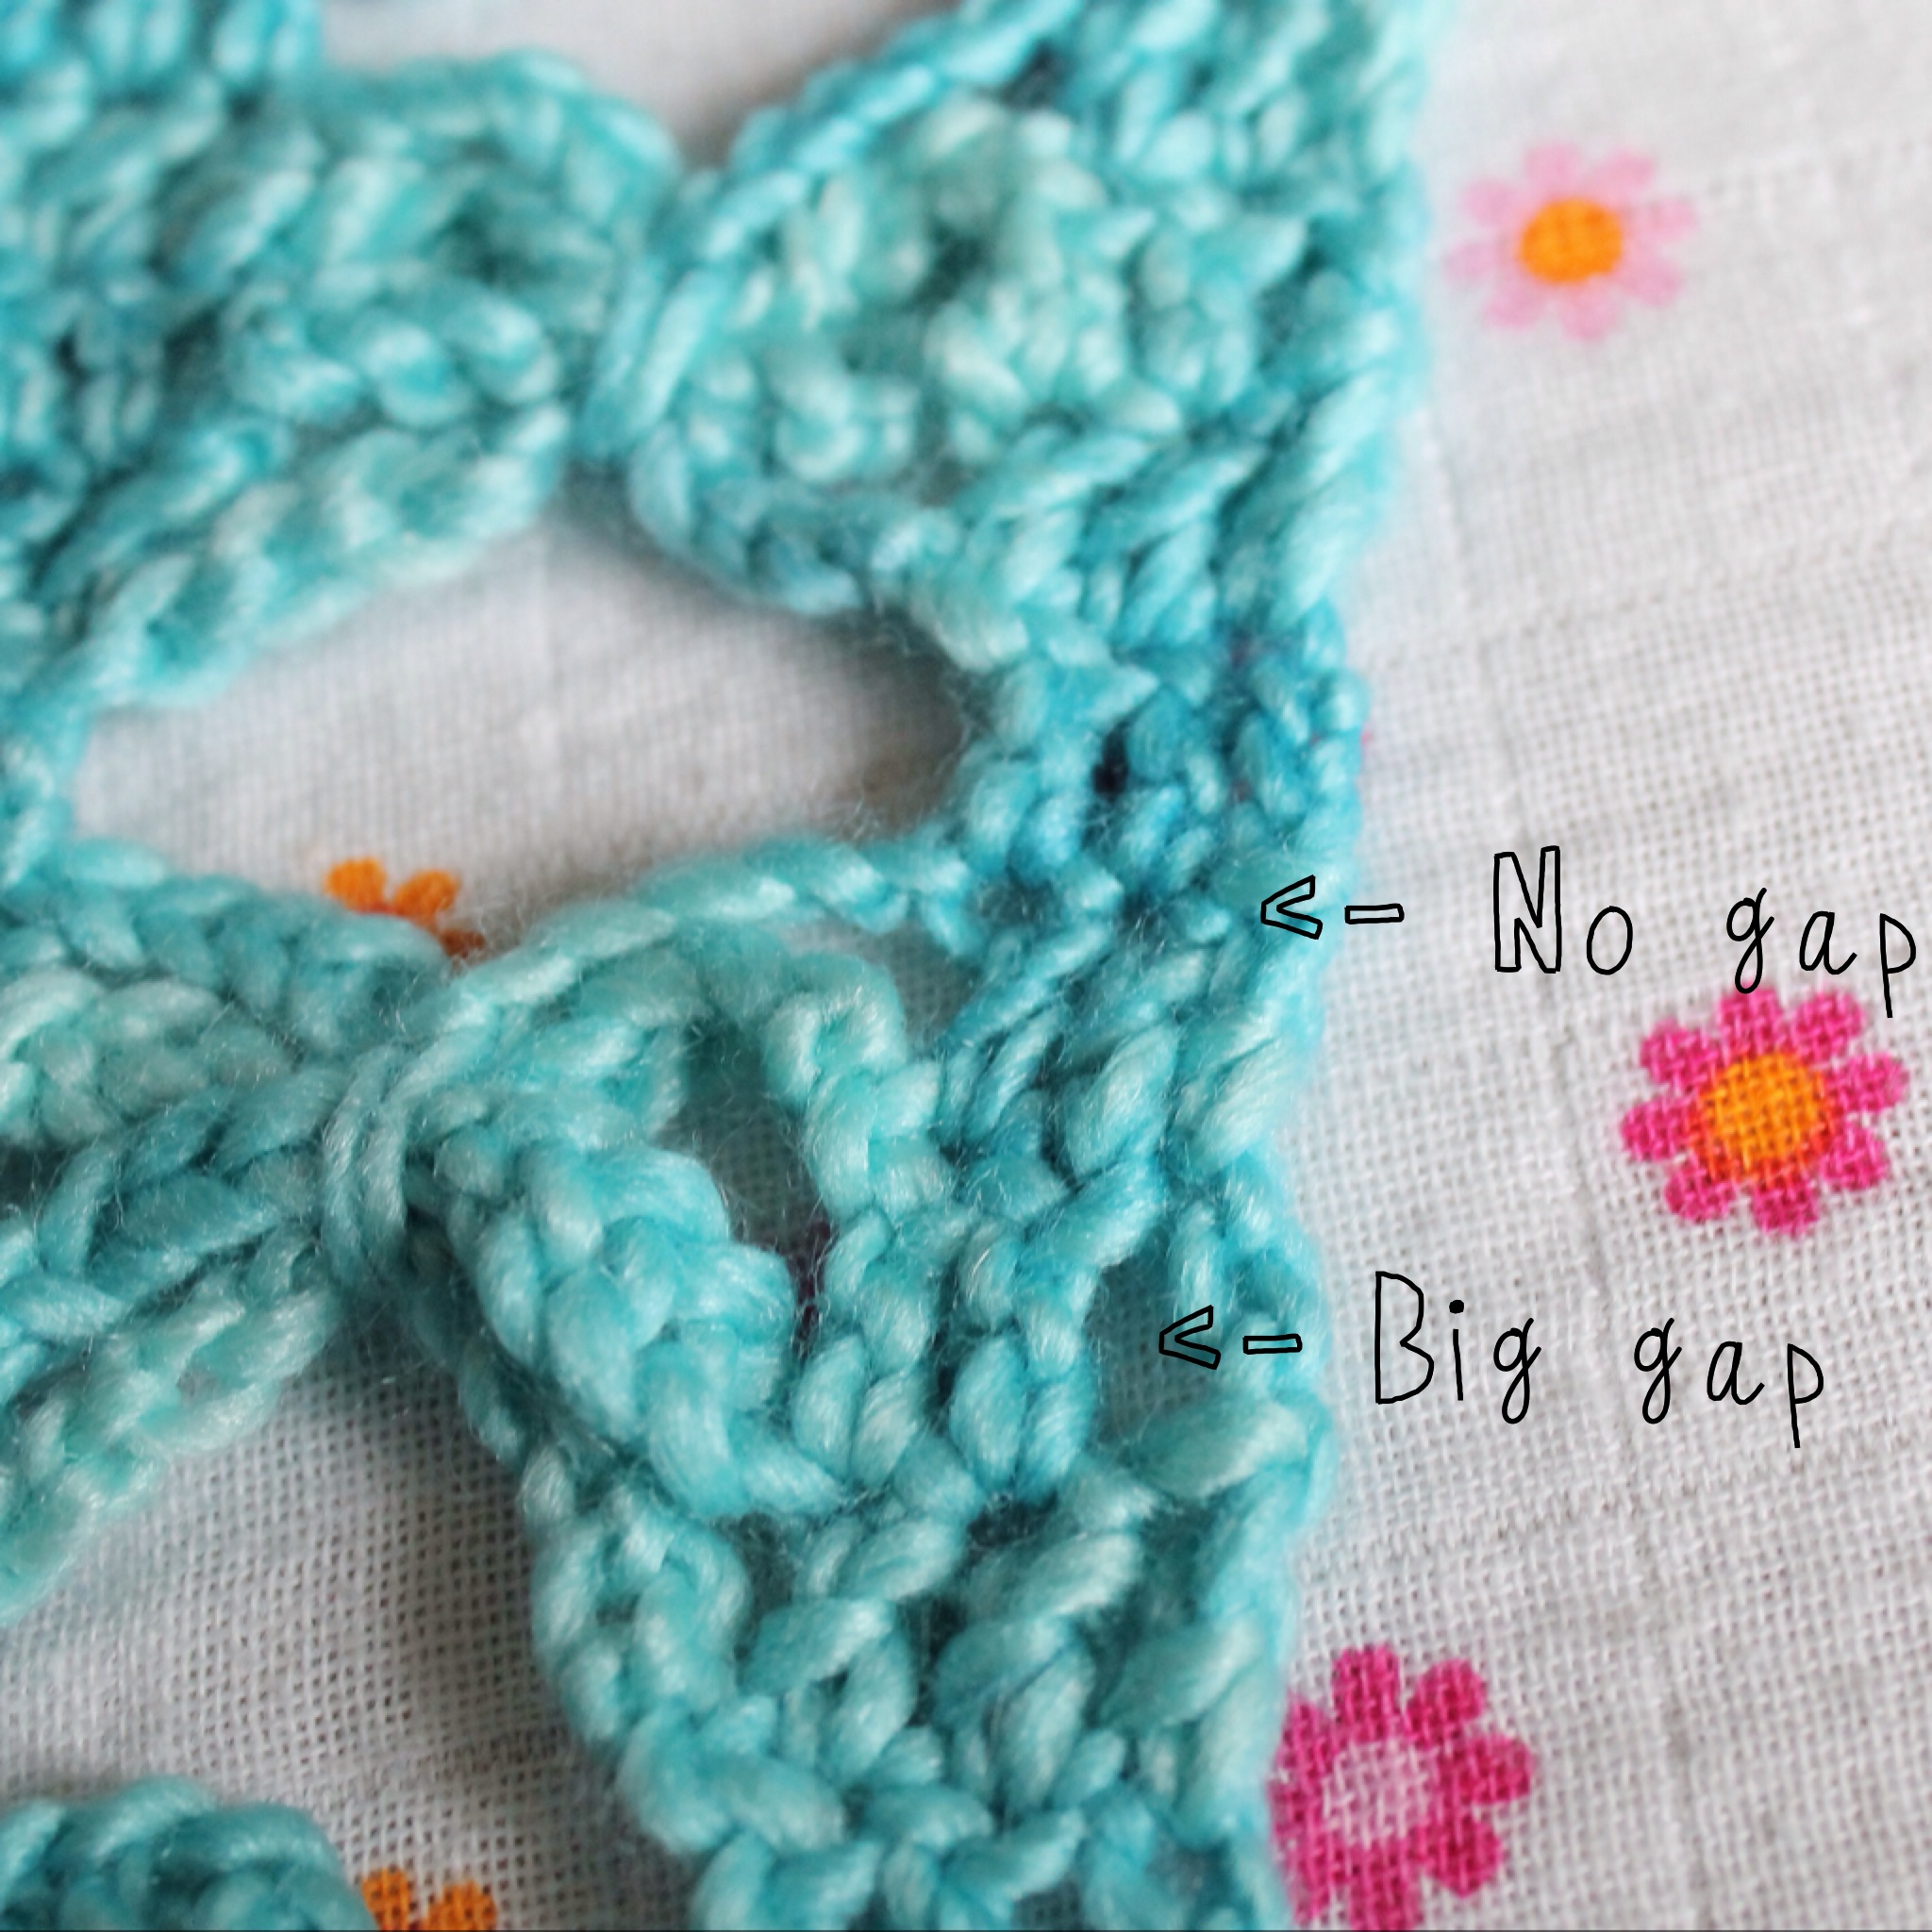
And here’s how it looks when you use the Chainless Starting Double Crochet:

No gap, using chainless starting double crochet

And to compare:

The two methods side by side

For the instructions you can head over to Youtube and watch the tutorial made by Tamara from Moogly:

Or you can check out the photo tutorial here.  Obviously if you’re a lefty like me you have to flip everything over in your mind’s eye for it to make sense.

I love it when I come across these little hacks, so I’ll be sure to share more of them with you as I find them.

Advertisement
Image

Bring on the Summer!

Bring on the Summer!

I made this lovely sun hat for the mother of a friend of mine and when I gave it to my friend, she loved it so much she has decided to keep it for herself and now I’m commissioned to make a second for her mum.

I found the inspiration on Pinterest (of course!) and it comes from the Japanese site for Pierrot Yarns.  The chart pattern left me scratching my head for a while, but I figured it out (mostly) in the end.

I only followed the pattern very loosely.  I used a bulkier yarn than the pattern called for and then when I was almost finished I realised it was too floppy and I hated it.  There was no way I could allow my friend to take it.  By this stage it had become a bit of a monster project.  Who knew so many single crochet stitches would take so long!

I kept pushing the project to the bottom of the pile to be looked at much, much later.  When I couldn’t put it off any longer I decided to re-evaluate.  My solution was to rip the entire brim out and start it again.

I’m so glad I did!  The second time around I just seemed to get how to do it. and make the brim lovely and firm.  I worked some leather chord into the last three or four rows to add just a little bit more strength, but I’m not sure if that really helped or not, but I like to think it will.

To finish off I added three flowers, which complement the hat perfectly.  I found the pattern for those on The Party Artisan and added beaded embellishments to the centre of each one.  It was pure luck that I had the same colour beads lying around.  It must be because I’m so in love with pink…

Here’s the hat with the edges rolled up.

Sunhat

Now I want one for myself, it’s one of the projects I’m the most happy with so far and one that will only improve the more I do it.

Materials used

Hat:  Drops Paris 26, 5mm hook for the hat and 4mm for the brim
Flowers: Drops Paris, 33, 59, 60, 5 mm hook
Leather chord from a craft store worked into the final three rounds for some added stiffness

Today I’m linking this post over at Hookin’ on Hump Day on Moogly and My Merry Messy Life, hosted by Tamara and Sara, go check out all the fabulous projects linked this week.

Moogly