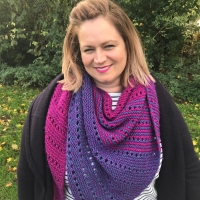
Recently I sat down with Matt from Scheepjes and shared all about my crafty journey, from my humble beginnings growing up on a farm in rural South Australia to world domination as a Scheepjes blogger! Well, not quite world domination, but you get my drift.
Check out the full interview here:
If you want to jump to some of the different topics we chat about, here is the list of chapters: 00:00 – Meeting Nerissa 07:42 – Becoming a Blogger and designer 11:08 – Favourite Scheepjes yarn? 12:58 – Designing own Colourway for Our Tribe 18:26 – Designs in YARN Bookazine 28:11 – The RainBOOM Make-A-Long 33:46 – My Agile Way of Working 38:20 – Size inclusive design, the Olaf Shrug 41:25 – What’s Next?
It was a joy to chat to Matt, and it was really fun to reflect on some of my favourite designs and my thought process when it comes to design.
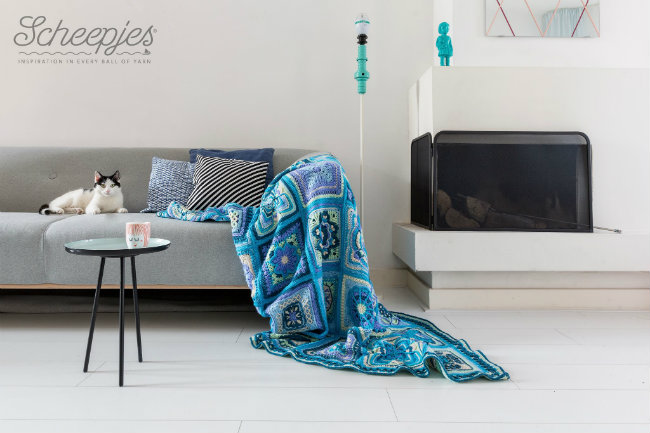
After being the voice we all hear behind some of the coolest CALs of recent years, including Sophie’s Universe, LDOTB and now the Hygge CAL, Esther from It’s All in a Nutshell is hosting her own CAL, named, you guessed it: Nuts About Squares!
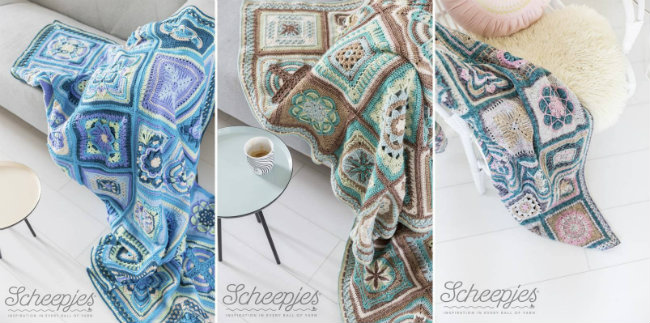
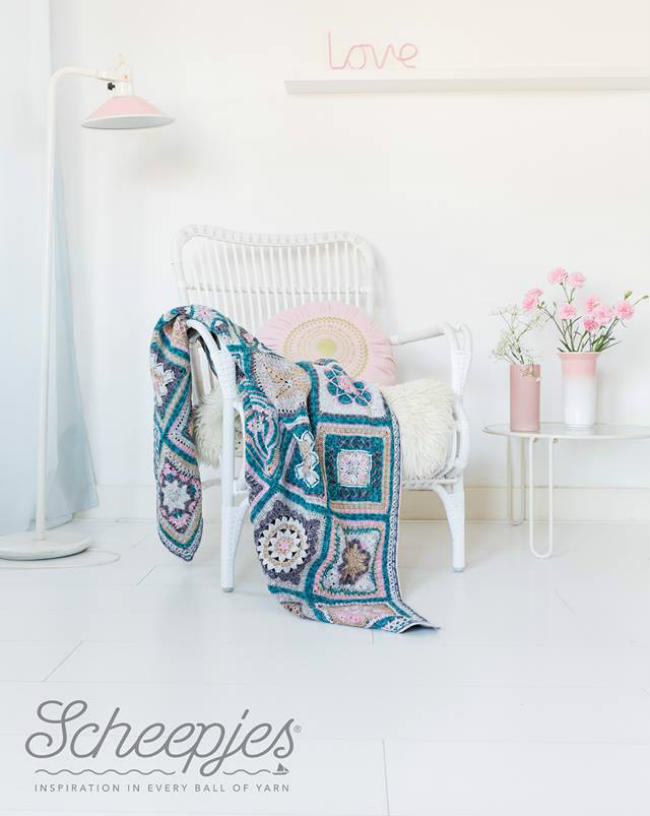
The CAL will kick off on Friday 31st of March, with a new square being released on Esther’s blog each week. There are 11 fabulous designers involved, including my dear friends Dedri and Tatsiana.
There are also three colour packs available, in Earth, Sea and Sky*. I think my favourite is Sea, but it’s a difficult decision!
Of course you can put your own colours together, here’s what Esther says:
“To make your own colorway, choose 6 colors you like and that work well together. Then determine which color you want to be color A, which color B, etc. Color A is used the most in the blanket and will be the main color. Colors E and F are accent colors and it works best if colors E and F are lighter or contrasting to color A. Colors B, C, and D are used about equally. Determine the yarn weight of the yarn that you are using to determine how much yarn you will need. The three kits give you yarn amounts for three different yarn weights.”
I’m really looking forward to watching this CAL week to week. I’d love to make the time to participate, so I’m going to see if I can fit it in to my schedule…
Pop on over to Esther’s blog and her Youtube channel, and make sure you hit Subscribe to keep up with the latest.
The yarn packs for this CAL will suit all budgets and are available from both Wool Warehouse* and from Scheepjes retailers such as Caro’s Atelier here in Almere (with European shipping).
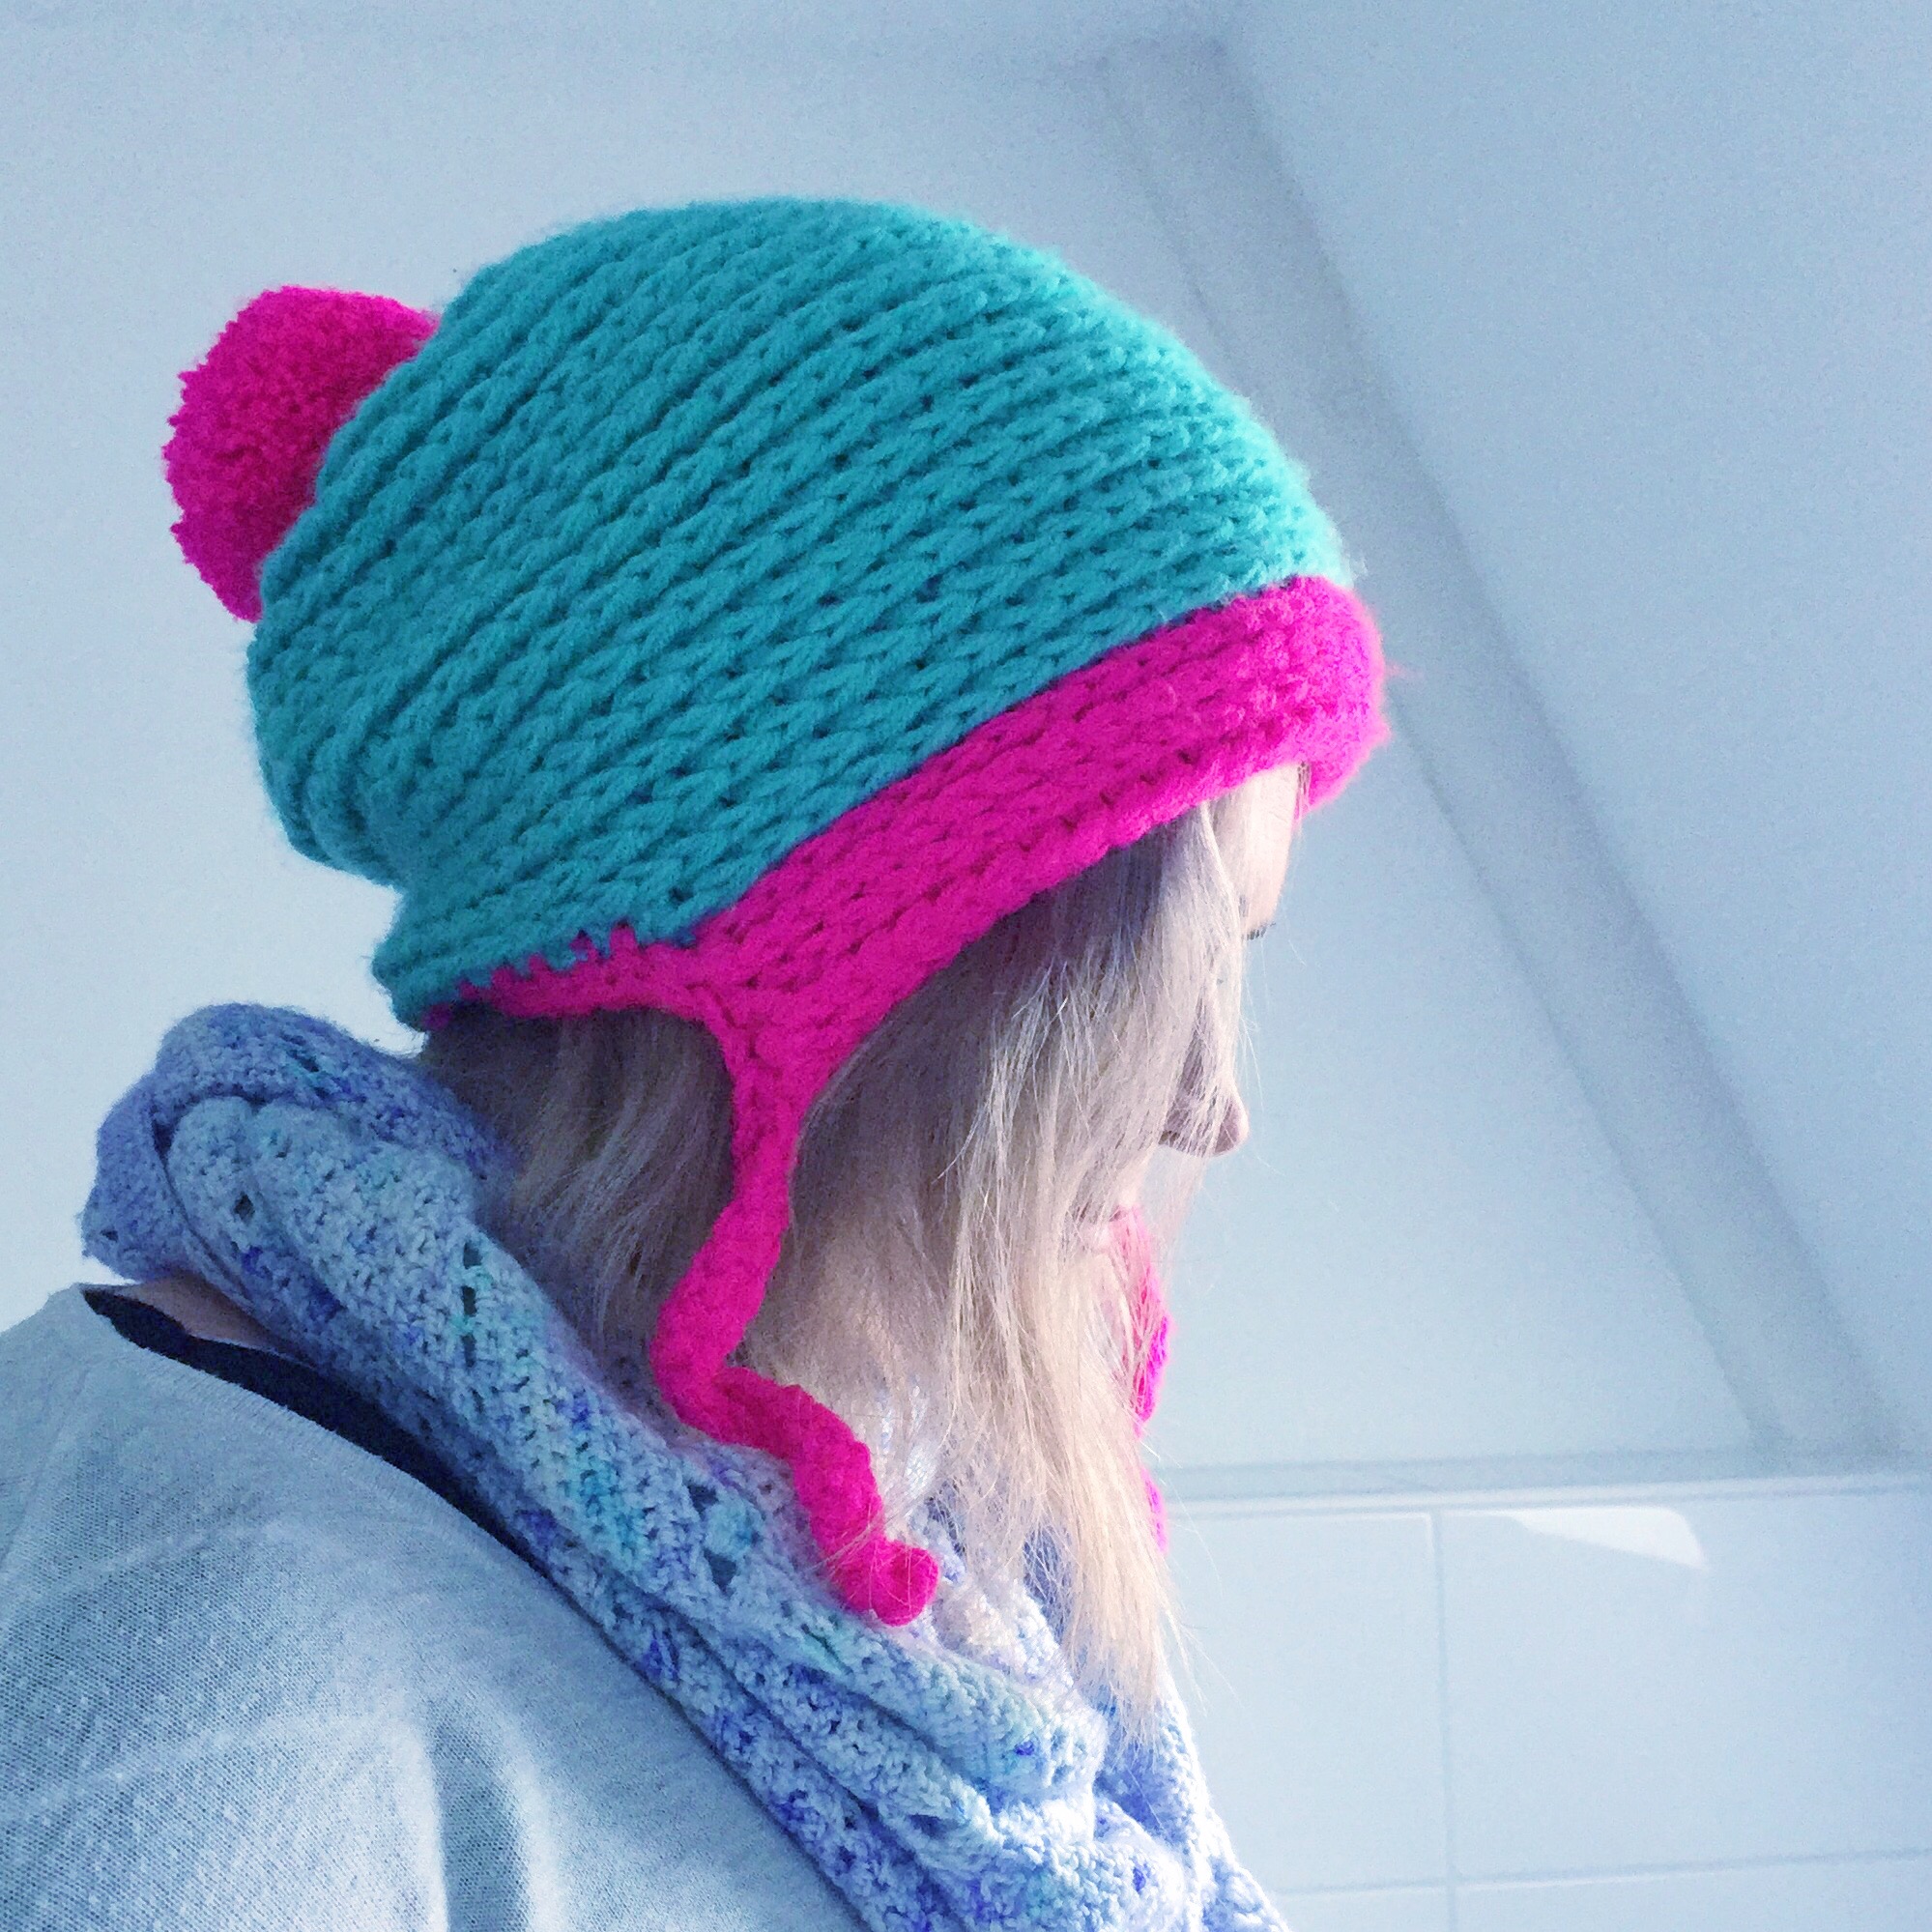
Here we go, it’s the pattern for the Camel Stitch hat that I’ve been sharing over the last few weeks.
I used the lovely Scheepjes Colour Crafter premium acrylic, which makes a wonderful hat. It’s soft, warm, hard wearing and comes in about a million colours.
Child: to fit from 4-10 years
Adult: to fit from 10 years
Abbreviations
(US Terms) ch chain st Hdc half double crochet Hdc3blo half double crochet in the third back loop only Hdc3flo half double crochet in the third front loop only Inc 2 half double crochet in one stitch Sc3blo single crochet in the third back loop only Sc3flo single crochet in the third front loop only ss slip stitch sts stitch(es)
Notes
This project is worked in the round, with no joining at the end of each round.
We will also be working with the yarn triple stranded. A video of the technique can be found here:
Instructions
Colour 1 Round 1 9 Hdc into a magic ring (9). Round 2 Inc in each stitch around (18). Round 3 *Inc in the first stitch, Hdc3blo in the next.* Repeat 8 times (27) Round 4 *Inc in the first stitch, Hdc3blo in the next 2 stitches.* Repeat 8 times (36) Round 5 *Inc in the first stitch, Hdc3blo in the next 8 stitches.* Repeat 3 times (40) Round 6 Child *Inc in the first stitch, Hdc3blo in the next 9 stitches.* Repeat 3 times (44) Round 6 Adult Hdc3blo in the next 5 stitches, *inc, Hdc3blo in the next 9 stitches.*Repeat 3 times, Inc, HDC3blo in the last 4 stitches. Round 7 *Inc in the first stitch, Hdc3blo in the next 10 stitches.* Repeat 3 times (48) For the child size, stop increasing here and skip to round 11. Round 8 Hdc3blo in the next 6 stitches, *Inc, Hdc3blo in the next 11 stitches.* Repeat 3 times, Hdc3blo in the last 5 stitches (52) Round 9 *Inc in the first stitch, Hdc3blo in the next 12 stitches.* Repeat 3 times (56) Round 10-19 Hdc3blo around (60). Attach colour 2 to continue around. For extra slouchiness, add a couple more rounds before starting the visor. However, for the adult size, there will be minimal yarn left, so feel free to just use it all and then start the visor.
Visor
Colour 2 Round 20 Sc3blo in the next 18 sts (the next 23 stitches for the adult size.). Hdc3blo in the around to where the sc round in colour 2 begins (the next 34). CH2, turn. Round 21 Hdc3flo in the first and next 33 sts (the HDC sts from the previous round). CH2, turn. Round 22 hdc3blo in the next 34 sts. CH2, turn. Round 23 hdc3flo in the next 34 sts. Round 24 CH20, Sc in the 2nd and next 17 CH sts. Continue Sc3flo in the next 34 sts. CH20. Sc in the 2nd and next 17 CH sts. Work 3 sc down the side of the visor and sc in each or the 18 Sc3blo sts from round 21. Work 3 sc into the side of the visor, and ss to join to base of the chain cord.
Assembly
Make the pompom and attach to the top of the hat.
Now, enjoy!
Do share your projects on Ravelry, your pictures on Instagram and tag me @miss__neriss (follow me while you’re at it) and pin the photos all over your Pinterest.