Monthly Archives: December 2016

Yarn Wrapped Christmas Bauble Lights – how to

I can’t help it.  The week leading up to Christmas is when I get all my inspiration.  Why can’t it come in November like everyone else?!

This one is really fun, and is a great craft to do with kids.  It’s how to make your very own yarn wrapped Christmas baubles.  You can hang them in the tree, or you can string them onto a set of lights, like I have (make sure you use LED lights which don’t heat up!).

img_0608

This took about an hour all up, and I left the baubles to dry overnight, although they were dry within a few hours.

img_0610

What you’ll need

  • Two balls of Scheepjes Maxi Bonbon in your chosen colours, available from Wool Warehouse*.  Hot pink and gold is my 2016 Christmas palette, but you can choose whichever colours you like.
  • White craft glue.  I used what I had on hand, which was Mod Podge.
  • Sponge or brush to apply the glue.
  • Water balloons.  If your summer was as good as hours, you’ll have plenty lying around unused.
  • Something to hang your baubles to dry – I used a coat hanger.
  • Battery operated LED fairy light string.

Instructions

  1. Take your balloons and blow them up to be about 6cm in diameter, and tie them off making sure they are as round as you can possibly make them.
  2. Take a little of the glue and dab it around the balloon.  This makes it a bit sticky so the yarn will stay put.
  3. Start wrapping the yarn.  Hold a long tail in your hand, and hold onto the knotted end of the balloon and slowly wind the yarn around the balloon as if you’re winding a skein of yarn.  Keep wrapping until you have good coverage, and still some space to allow light to shine through.  Two balls of Bonbon will make 10 baubles.
  4. Cut and tie the yarn off to the other end, leaving a long double stranded tail to hang up to dry later.
  5. Take the glue and start dabbing it all over the bauble, until the yarn is completely soaked.
  6. Hang them to dry overnight.
  7. When dry, pop the balloons and pull them out of the bauble – this can be a bit fiddly as water balloons are meant to break easily, remember.
  8. String them onto lights and hang as decoration.

img_0609

Alternative glue option: you can soak the yarn in the glue before you start winding onto the balloon, but this also causes more mess.  Which I don’t like.

img_0612

DIY Yarn wrapped Christmas bauble lights - last minute Christmas decoration ideas and tutorials from @missneriss #yarn #scheepjes #bonbon

DIY Christmas Bauble - a yarn wrapping tutorial by @MissNeriss

Merry Christmas!

*Affiliate link


Camel Stitch Hat – Free Crochet Pattern

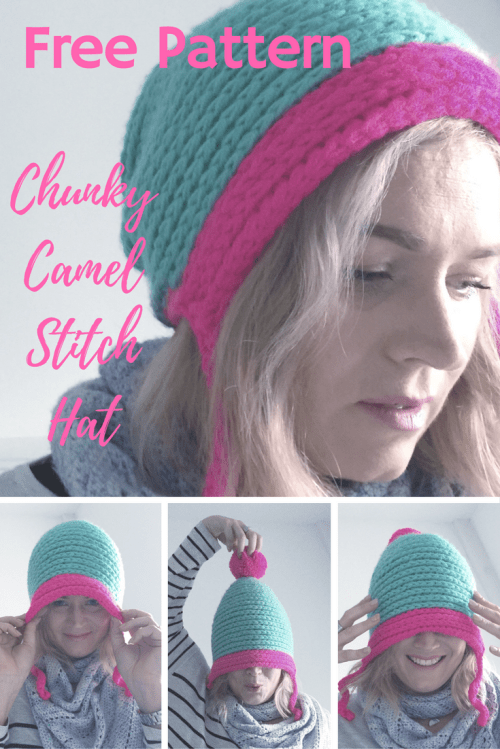
Here we go, it’s the pattern for the Camel Stitch hat that I’ve been sharing over the last few weeks.

I used the lovely Scheepjes Colour Crafter premium acrylic, which makes a wonderful hat.  It’s soft, warm, hard wearing and comes in about a million colours.

img_0577

Materials

Scheepjes Colour Crafter, 1 ball of lilac – 1082 Zwolle (colour 1)
Scheepjes Colour Crafter, 1 ball of neon pink – 1257 Hilversum (colour 2)
Large pompom maker (or cardboard rings cut to size)
8mm crochet hook

You’ll need to be able to get the yarn for this of course.  Depending on where you live there is a stockist for you.

In the Benelux, check this enormous list here.  Wool Warehouse* ships all over the planet.  In the US Deramores* and Paradise Fibers also have you covered and in South Africa go to my friends at Be Inspired.

Measurements

Child: to fit from 4-10 years
Adult: to fit from 10 years

Abbreviations

(US Terms)
ch chain st
Hdc half double crochet
Hdc3blo half double crochet in the third back loop only
Hdc3flo half double crochet in the third front loop only
Inc 2 half double crochet in one stitch
Sc3blo single crochet in the third back loop only
Sc3flo single crochet in the third front loop only
ss slip stitch
sts stitch(es)

Notes

This project is worked in the round, with no joining at the end of each round.
We will also be working with the yarn triple stranded.  A video of the technique can be found here:

Instructions

Colour 1
Round 1 9 Hdc into a magic ring (9).
Round 2 Inc in each stitch around (18).
Round 3 *Inc in the first stitch, Hdc3blo in the next.* Repeat 8 times (27)
Round 4 *Inc in the first stitch, Hdc3blo in the next 2 stitches.* Repeat 8 times (36)
Round 5 *Inc in the first stitch, Hdc3blo in the next 8 stitches.* Repeat 3 times (40)
Round 6 Child *Inc in the first stitch, Hdc3blo in the next 9 stitches.* Repeat 3 times (44)
Round 6 Adult Hdc3blo in the next 5 stitches, *inc, Hdc3blo in the next 9 stitches.*Repeat 3 times, Inc, HDC3blo in the last 4 stitches.
Round 7 *Inc in the first stitch, Hdc3blo in the next 10 stitches.* Repeat 3 times (48)
For the child size, stop increasing here and skip to round 11.
Round 8 Hdc3blo in the next 6 stitches, *Inc, Hdc3blo in the next 11 stitches.* Repeat 3 times, Hdc3blo in the last 5 stitches (52)
Round 9 *Inc in the first stitch, Hdc3blo in the next 12 stitches.* Repeat 3 times (56)
Round 10-19 Hdc3blo around (60). Attach colour 2 to continue around.
For extra slouchiness, add a couple more rounds before starting the visor.  However, for the adult size, there will be minimal yarn left, so feel free to just use it all and then start the visor.

img_0586

Visor

Colour 2
Round 20 Sc3blo in the next 18 sts (the next 23 stitches for the adult size.).  Hdc3blo in the around to where the sc round in colour 2 begins (the next 34). CH2, turn.
Round 21 Hdc3flo in the first and next 33 sts (the HDC sts from the previous round). CH2, turn.
Round 22 hdc3blo in the next 34 sts. CH2, turn.
Round 23 hdc3flo in the next 34 sts.
Round 24 CH20, Sc in the 2nd and next 17 CH sts.  Continue Sc3flo in the next 34 sts.  CH20. Sc in the 2nd and next 17 CH sts.  Work 3 sc down the side of the visor and sc in each or the 18 Sc3blo sts from round 21.  Work 3 sc into the side of the visor, and ss to join to base of the chain cord.

Assembly

Make the pompom and attach to the top of the hat.

Camel Stitch Hat, free crochet pattern by @missneriss

Now, enjoy!

Do share your projects on Ravelry, your pictures on Instagram and tag me @miss__neriss (follow me while you’re at it) and pin the photos all over your Pinterest.

Chunky Camel Stitch Hat Free pattern by @missneriss. Yarn: Scheepjes Colour Crafter, available from Wool Warehouse: http://shareasale.com/r.cfm?b=819303&m=63378&u=1168367&afftrack=cc&urllink=www%2Ewoolwarehouse%2Eco%2Euk%2Fyarn%2Fscheepjes-colour-crafter-all-colours&lplid=mkDktw%2BCcC9XnK7MrBr8Pw%3D%3D

Chunky Camel Stitch Hat – Reveal!

I have wanted to share photos of this hat for ages and ages, but I finally have it for you!

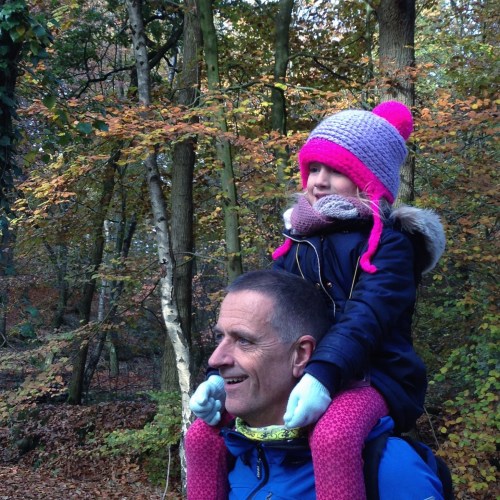
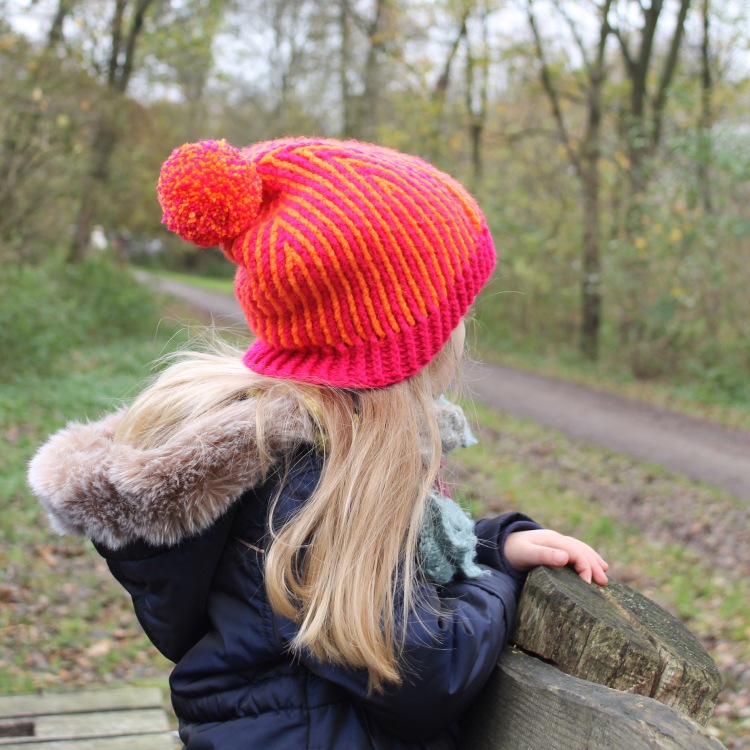
Chunky Camel Stitch Hat by MissNeriss

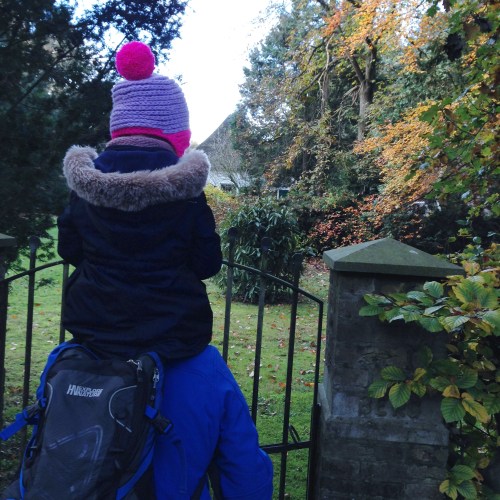
Chunky Camel Stitch Hat by MissNeriss

This is Raina with her Opa having the best time ever!  Seriously, don’t you miss being small enough to ride on shoulders?

I managed to bribe her to sit still long enough to take one photo on her own, but she was way too busy searching for chestnuts, acorns and toadstools to pay much attention to me.

pictapgo-image

In the end I decided: If you can’t beat them, join them and went foraging too.

pictapgo-image-2

Now, the pattern is ready for this, and I’m going to post it in a few days.  I’ll also have more pictures, this time in the adult size!

To get prepared and have the yarn ready, here’s where you can get hold of the yarn:

Globally: Wool Warehouse*
UK: Deramores*
US: Deramores*
Benelux retailers
South Africa: Be Inspired

You’ll need a ball of Hilversum and either Eelde or Zwolle (or both if you want to make two hats like I have).

*affiliate link