Tag Archives: scheepjes

Bloom Flip Flops Free Pattern

Being Australian Flip Flops are my national footwear.  Except, we don’t call them “flip flops” in Australia, but instead their real, actual scientific name – Thongs.

Back when I lived in Alice Springs I had thongs for every occasion.  I had going out thongs, nipping to the shops thongs, doing the gardening thongs, masseur thongs, beach thongs. Remember that scene from Forrest Gump where Bubba mentions all the different types of shrimp (which are actually prawns, btw)?  Well that’s me and thongs.

However, it’s taken me until now to actually make a pair for myself, and they’re crackers!Bloom Flip Flops, free pattern using Scheepjes BloomAnd not only did I make myself a pair, I created a pattern for them too!

You can check out the fast photo tutorial on Instagram here:

I created a handy PDF pattern as well, with step by step instructions and loads of photos.  Click the heading below:

Bloom Flip Flops

I used Scheepjes Bloom for the design, which is a great woven worsted weight yarn, and is slightly mercerised.  It’s just perfect for this sort of project.  It won’t discolour, and nor will it break easily.  Plus it’s available in about a million colours. (Well, almost 60.  Australians are also prone to exaggeration.)

You can pick up Scheepjes Bloom at any Scheepjes retailer, Caro’s Atelier* in NL or Wool WarehouseDeramores* internationally.

You can pick up the Scheepjes Flip Flop soles at Deramores* too.

One great retailer in NL is Pera and Pasha (and they stock the Bloom too, so two birds, one stone!).

Now, which occasion do you think I should use these for?  Picking up the kids thongs?Bloom Flip Flops, free pattern using Scheepjes BloomBloom Flip Flops, free pattern using Scheepjes Bloom

*Affiliate links.

WIP Wednesday

Last week I was showing off the beautiful colours that I received in the post from Scheepjes, and today I’m showing you my progress!

Scheepjes Catona Scheepjes Catona

Scheepjes Catona

It’s growing quickly.  The mesh stitch makes for fast crocheting!

The mercerised cotton that is Catona is a really easy yarn to work with.  Smooth and not splitty, and perfect on the 4mm hook I’m using here.

2015-06-30 13.05.47 2015-06-30 13.05.16-1 2015-07-11 10.57.23

I think next week you’ll be able to see the finished product, so stay tuned!

Never miss a post!

Enter your email address to subscribe to this blog and receive notifications of new posts by email.

My Favourite Day: Yarn Day!

As you will have seen last week I shared the pattern for my Flopsy Bunny using the Scheepjes Catona, and I enjoyed working with it so much I was struck with more ideas for cool designs, so I immediately jumped on the order machine (laptop) to pick out some colours.  I decided to go for two ranges – reds and greens.

Scheepjes Catona https://instagram.com/p/5XcCNPnWuN/?taken-by=miss__neriss2015-07-09 17.08.50-1

Scheepjes Catona https://instagram.com/p/5XcCNPnWuN/?taken-by=miss__nerissI’m thinking apples.  Red Delicious and Granny Smith.

Now, I’d best get cracking.

Never miss a post!

Enter your email address to subscribe to this blog and receive notifications of new posts by email.

The Flopsy Bunny Amigurumi Reveal and Free Crochet Pattern!

Well, Hello There!

Flop-Eared Bunny free pattern by @MissNeriss made with Scheepjes Catona mini-skeinsThe cutest little flop-eared bunny is ready to be shared with you, along with the instructions as to how to make him for yourself.

I’ve created the pattern as a handy pdf file which you can safely download from here and enjoy.  But before that, here are some more photos:

Flop-Eared Bunny free pattern by @MissNeriss made with Scheepjes Catona mini-skeinsFlop-Eared Bunny free pattern by @MissNeriss made with Scheepjes Catona mini-skeins Flop-Eared Bunny free pattern by @MissNeriss made with Scheepjes Catona mini-skeins Flop-Eared Bunny free pattern by @MissNeriss made with Scheepjes Catona mini-skeins

He’s right at home there amongst my daughter’s favourite stuffed animals, but sadly he can’t stay.  He’s about to be bundled up into luggage and sent of to Perth to a new home with the son of my oldest friend.  I know he’ll be well loved.

Right, so let’s get to it.  To start making your own bunny, click this PDF file:

Flopsy Bunny Pattern

Or, clicking on any of the images in this post will take you straight to the pattern too.  If you have any problems opening the pdf, shoot me a message via my Contact page.

Edited to add: I forgot to mention the size!  Flopsy bunny is about 20cm tall when finished.  A great size for toddler hands.

Don’t forget to share your finished bunnies on social media, you can tag and follow me just about everywhere: on Instagram, Pinterest, Ravelry and Facebook.  I love seeing your finished results!

Never miss a post!

Enter your email address to subscribe to this blog and receive notifications of new posts by email.

Happy crocheting!

Revisiting my First Love: Amigurumi. A Project begins…

It’s been ages since I made any Amigurumi.  There was a long time there where it was all I made.  I have a few favourite designers, including A Morning Cup of Jo Creations and Local Legend Dendennis.  I’ve also long been a fan of the Zoomigurumi books, with just about all of them in my collection.

But amigurumi and I have been on a break.  It was only recently when I posted a photo on Instagram for #ThrowbackThursday that the desire reignited.

So I got online and ordered myself a few of the brand new Scheepjes Catona minis so I could get cracking.

25g Mini Skeins of Scheepjes Catona - perfect size for amigurumi projects!

I ordered three, as usually one 50g skein of yarn is not quite enough and two is too many.  What a gap Scheepjes has managed to fill here, seriously!  I hate having leftovers.  I never use them and I always buy too many different types of yarn to be able to make a scrap project, so these mini skeins suit me right down to the ground.

I couldn’t wait to get started on my project, which is going to be a floppy-eared bunny.  I’ve already made loads of progress, with only the final touches to be made before I can show you the end result and share the pattern with you!

Ears, arms and legs for the flop-eared bunny made with Scheepjes Catona mini-skeins by MissNeriss

I’ve really struggled with the ears though.  I wanted them to be long and floppy, but not too wide and not too narrow.  I think I’ve finally nailed it (on the left).

Ears, arms and legs for the flop-eared bunny made with Scheepjes Catona mini-skeins by MissNerissAnd the assembly is easy, but sewing all the bits and pieces on takes the time and I have to be extra vigilant not to prick my finger and get blood all over the lovely vintage yellow.

Ears, arms and legs for the flop-eared bunny made with Scheepjes Catona mini-skeins by MissNeriss

So, wish me luck keeping my fingers prick-free, I’m off to sew him all together and makes sure the pattern makes sense for you in time to share this time next week!

If you want to pick up the Catona mini-skeins for yourselves, you can at your local retailer in NL and BE, or via Deramores.com, who ship worldwide.

The Colour Block Knitted Baby Blanket for Beginners – Free Pattern

Last week I showed you the Colour Block Knitted Baby Blanket, and today I have the instruction for you.

Colour Block Knit Blanket for Beginners using @Scheepjes Sunkissed by MissNeriss

Now, let me tell you, this is absolutely the simplest knitted design you’ve ever come across.  It is the perfect  beginner project, because let’s face it.  That’s precisely what I am!  So, if you’re looking for a simple project that looks fabulous and is not a scarf – I don’t know how many knit one purl one scarves I made as a kid – this one is perfect.  And best of all, it’s not expensive because all you need to complete this is four skeins of Scheepjes Sunkissed, and you’re going to use every metre of those skeins.

Sunkissed by Scheepjes

Scheepjes Sunkissed Knitted Baby Blanket

What You’ll need
Four skeins of Scheepjes Sunkissed in 3, 7, 9, 10
3.5mm needles (I used 80cm circulars)
A tapestry needle to weave in your ends
Blocking boards and wires (or pins)
Eucalan (because it softens everything and smells amazing)

The final measurement of this blanket will be about 60 x 85 cm, so it’s a good buggy size, or snuggly swaddle size.  It’s also lovely and stretchy, and the Sunkissed is soooooooft.

Let’s Go!

Cast on 150 stitches.  I like to use the Slingshot Long Tail Cast on.  When I was starting, I had no clue how to cast on, but my friend Tammy recommended this method and it’s very easy.

Once you’ve cast on your stitches, you need to start making the border.  The design of this blanket is a stockingette stitch body with a garter border.  Essentially a giant swatch!

Colour Block Knit Blanket for Beginners using @Scheepjes Sunkissed by MissNeriss

Rows 1-5 knit in the garter stitch (knit), then we will start with the body of the blanket.

The first and last five stitches of every row will be in garter stitch and the body (middle 140 stitches) are in stockingette stitch.

Row 6: knit 5, purl 140, knit 5

Row 7: knit 150

Repeat rows 6 and 7 until you’ve finished your first skein of yarn (or until you know you cannot finish another row with the remaining yarn).  Attach the second colour and continue the row 6 and 7 repeat through all four of the colours.

Colour Block Knit Blanket for Beginners using @Scheepjes Sunkissed by MissNeriss

Each colour block will measure about 21 cm, so when you get to about 19 cm of the final colour, you will need to start working on the top border.  The way I figured this out for myself was to fold the blanket with the join of the fourth colour matching up with the join of the first and second colour so I could see how far I had to go before I should start on the border.  This is because I’m not yet a great judge on how much yarn a row will use.

Knit the final 5 rows of the border, then cast off.  The feeling of accomplishment will be amazing, especially once you block it.

unnamed (11)

You can find the yarn at any great yarn store here in the Netherlands and Belgium, otherwise Deramores ships it world wide!

Colour Block Knit Blanket for Beginners using @Scheepjes Sunkissed by MissNeriss

I hope you enjoy making this, and do please share your projects on Ravelry, my Facebook page or on Instagram with hashtag #missneriss and #scheepjes

XN

The Colour Block Knitted Baby Blanket – Ta Da!!

Colour Block Knit Blanket for Beginners using @Scheepjes Sunkissed by MissNerissTa Da!!!!!

I seriously can’t believe that I can knit.  I just knitted a baby blanket!  And she’s a beauty.

Colour Block Knit Blanket for Beginners using @Scheepjes Sunkissed by MissNerissI used Scheepjes Sunkissed for this project in colours 3, 7, 9 and 10. (There are currently 11 colours available, but don’t be surprised if you see more coming soon!)

I can’t tell you how much I love working with this yarn. I love the texture of the cotton, I love the colourways, I love the drape.  For me it’s about as close to the perfect yarn as you can get.  Knitters, you’re going to make some beautiful clothes with this yarn, let me forewarn you.

Colour Block Knit Blanket for Beginners using @Scheepjes Sunkissed by MissNeriss


The finished blanket, at 60x85cm is just the perfect size for a cradle or buggy, and it’s exactly the right weight for this ridiculously cool summer that we’re “enjoying” here in Holland right now.

Colour Block Knit Blanket for Beginners using @Scheepjes Sunkissed by MissNeriss

Next week: the tutorial!


That Moment When You Find Your Crafty Blogger Tribe

This last weekend I had The Most Amazing Experience.

Myself, along with a group of absolutely fabulous yarny bloggers was invited to Yarn Paradise; AKA Scheepjes HQ in Tynaarlo.

I was lucky enough to be able to grab a ride with Gorgeous Atty and her mum as they whizzed past on their way from Amsterdam, and upon arrival it was all squeals and hugs and a bit of OTT carry on as we all caught up again or met for the first time in person.

First order of business was a tour of the warehouse.  Now, I’m lucky enough to have done this before, so I knew what a treat the others were in for.  They were all rolling their eyes at my anticipation of the buttons, but when they arrived in the first of the button aisles for themselves, finally they understood!

Buttons buttons and more buttons!  At @scheepjes HQ Buttons buttons and more buttons!  At @scheepjes HQSuddenly it was lunch time, so we all reluctantly dragged ourselves outside into the glorious sunshine.  But Oh Wow we were in for a treat!

Scheepjes Director of Design, Anita, put on the best spread you could imagine. Gluten free brownies that once you’ve eaten, you’ll never eat normal brownies again. Not to mention the Lemon Drizzle Cake.  I won’t lie, I did have one of each!

Lunch - gluten free brownies made by Scheepjes Design Director Anita

In the afternoon, Esther from Happy in Red hosted a terrifically insightful workshop into some of the nuts and bolts of blogging and we all chatted about how we could improve our blogs before we were able to finally talk about the elephant in the room that was all the new yarns!
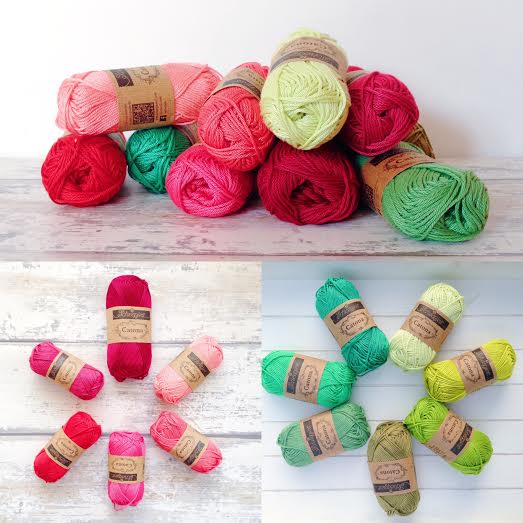
All the yarn!  I wanted to make Yarn Angels in it! At @Scheepjes HQ

Look at them!!

We could touch and smoosh and rub our faces on the yarn to our heart’s content.  You could feel the room crackling with the energy from the inspiration and ideas zooming around and bouncing off each other.  I came away with no less than three concrete design ideas, so there will be a lot of pretty impressive designs emerging with the new Linen Soft, Catona, Softfun Denim and new Stone Washed colours!

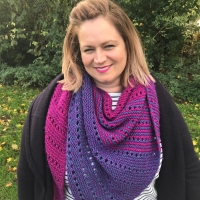
We finally managed to drag ourselves out of HQ where we all went out for dinner at a cute little restaurant in Assen and by the end of the evening I was just exhausted, and my face hurt from laughing so much.  By the end of the weekend my face was pretty much frozen in this position:

Smiles don't get much bigger than this. At the @scheepjes blogger event in Drenthe.

On day two, just when you think that all the highlights have passed, Dedri from Look What I Made cracked out her Sophie and I thought I might faint from the excitement.  Seeing her in the flesh, wow.  She has changed the crochet universe. (See what I did there?)

Sophie's Universe by Dedri of Look What I Made

We spent the day enjoying a high tea while crocheting and chatting, and filming Carmen’s Jean Luc the fox devouring one of her Blue Tits in super slow-mo.  Let’s just say, you probably had to be there…

All in all, I had the most wonderful time, and can’t wait to spend more time in real life with the wonderful group of bloggers that came along.  Thanks so much to Anita and Job at Scheepjes for being the best hosts you could imagine, and be sure to visit all the amazing bloggers.  You won’t regret it.

All the highlights from the @scheepjes blogger weekend in Tynaarlo

Kirsten at Haak Maar Raak
Annelies at Vicarno
Jellina at Jellina’s Creations
Carmen at Crafty Queens
Maria at 50 Shades of 4Ply
Atty at Atty’s
Dedri at Look What I Made
Esther at Happy in Red
Heike at Made With Loops
Sarah at Crafts From the Cwtch

And an honourable mention for Tammy and Wink, who couldn’t make it.  You were missed girls!!
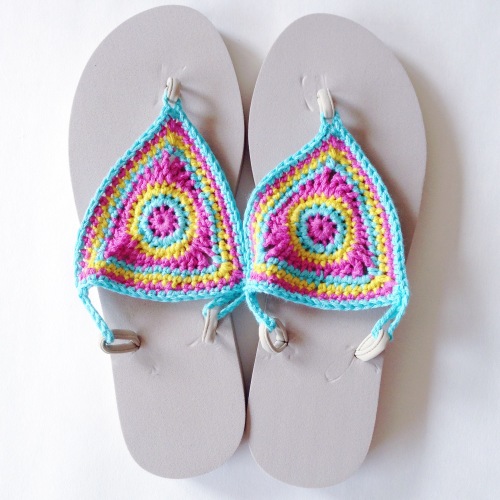
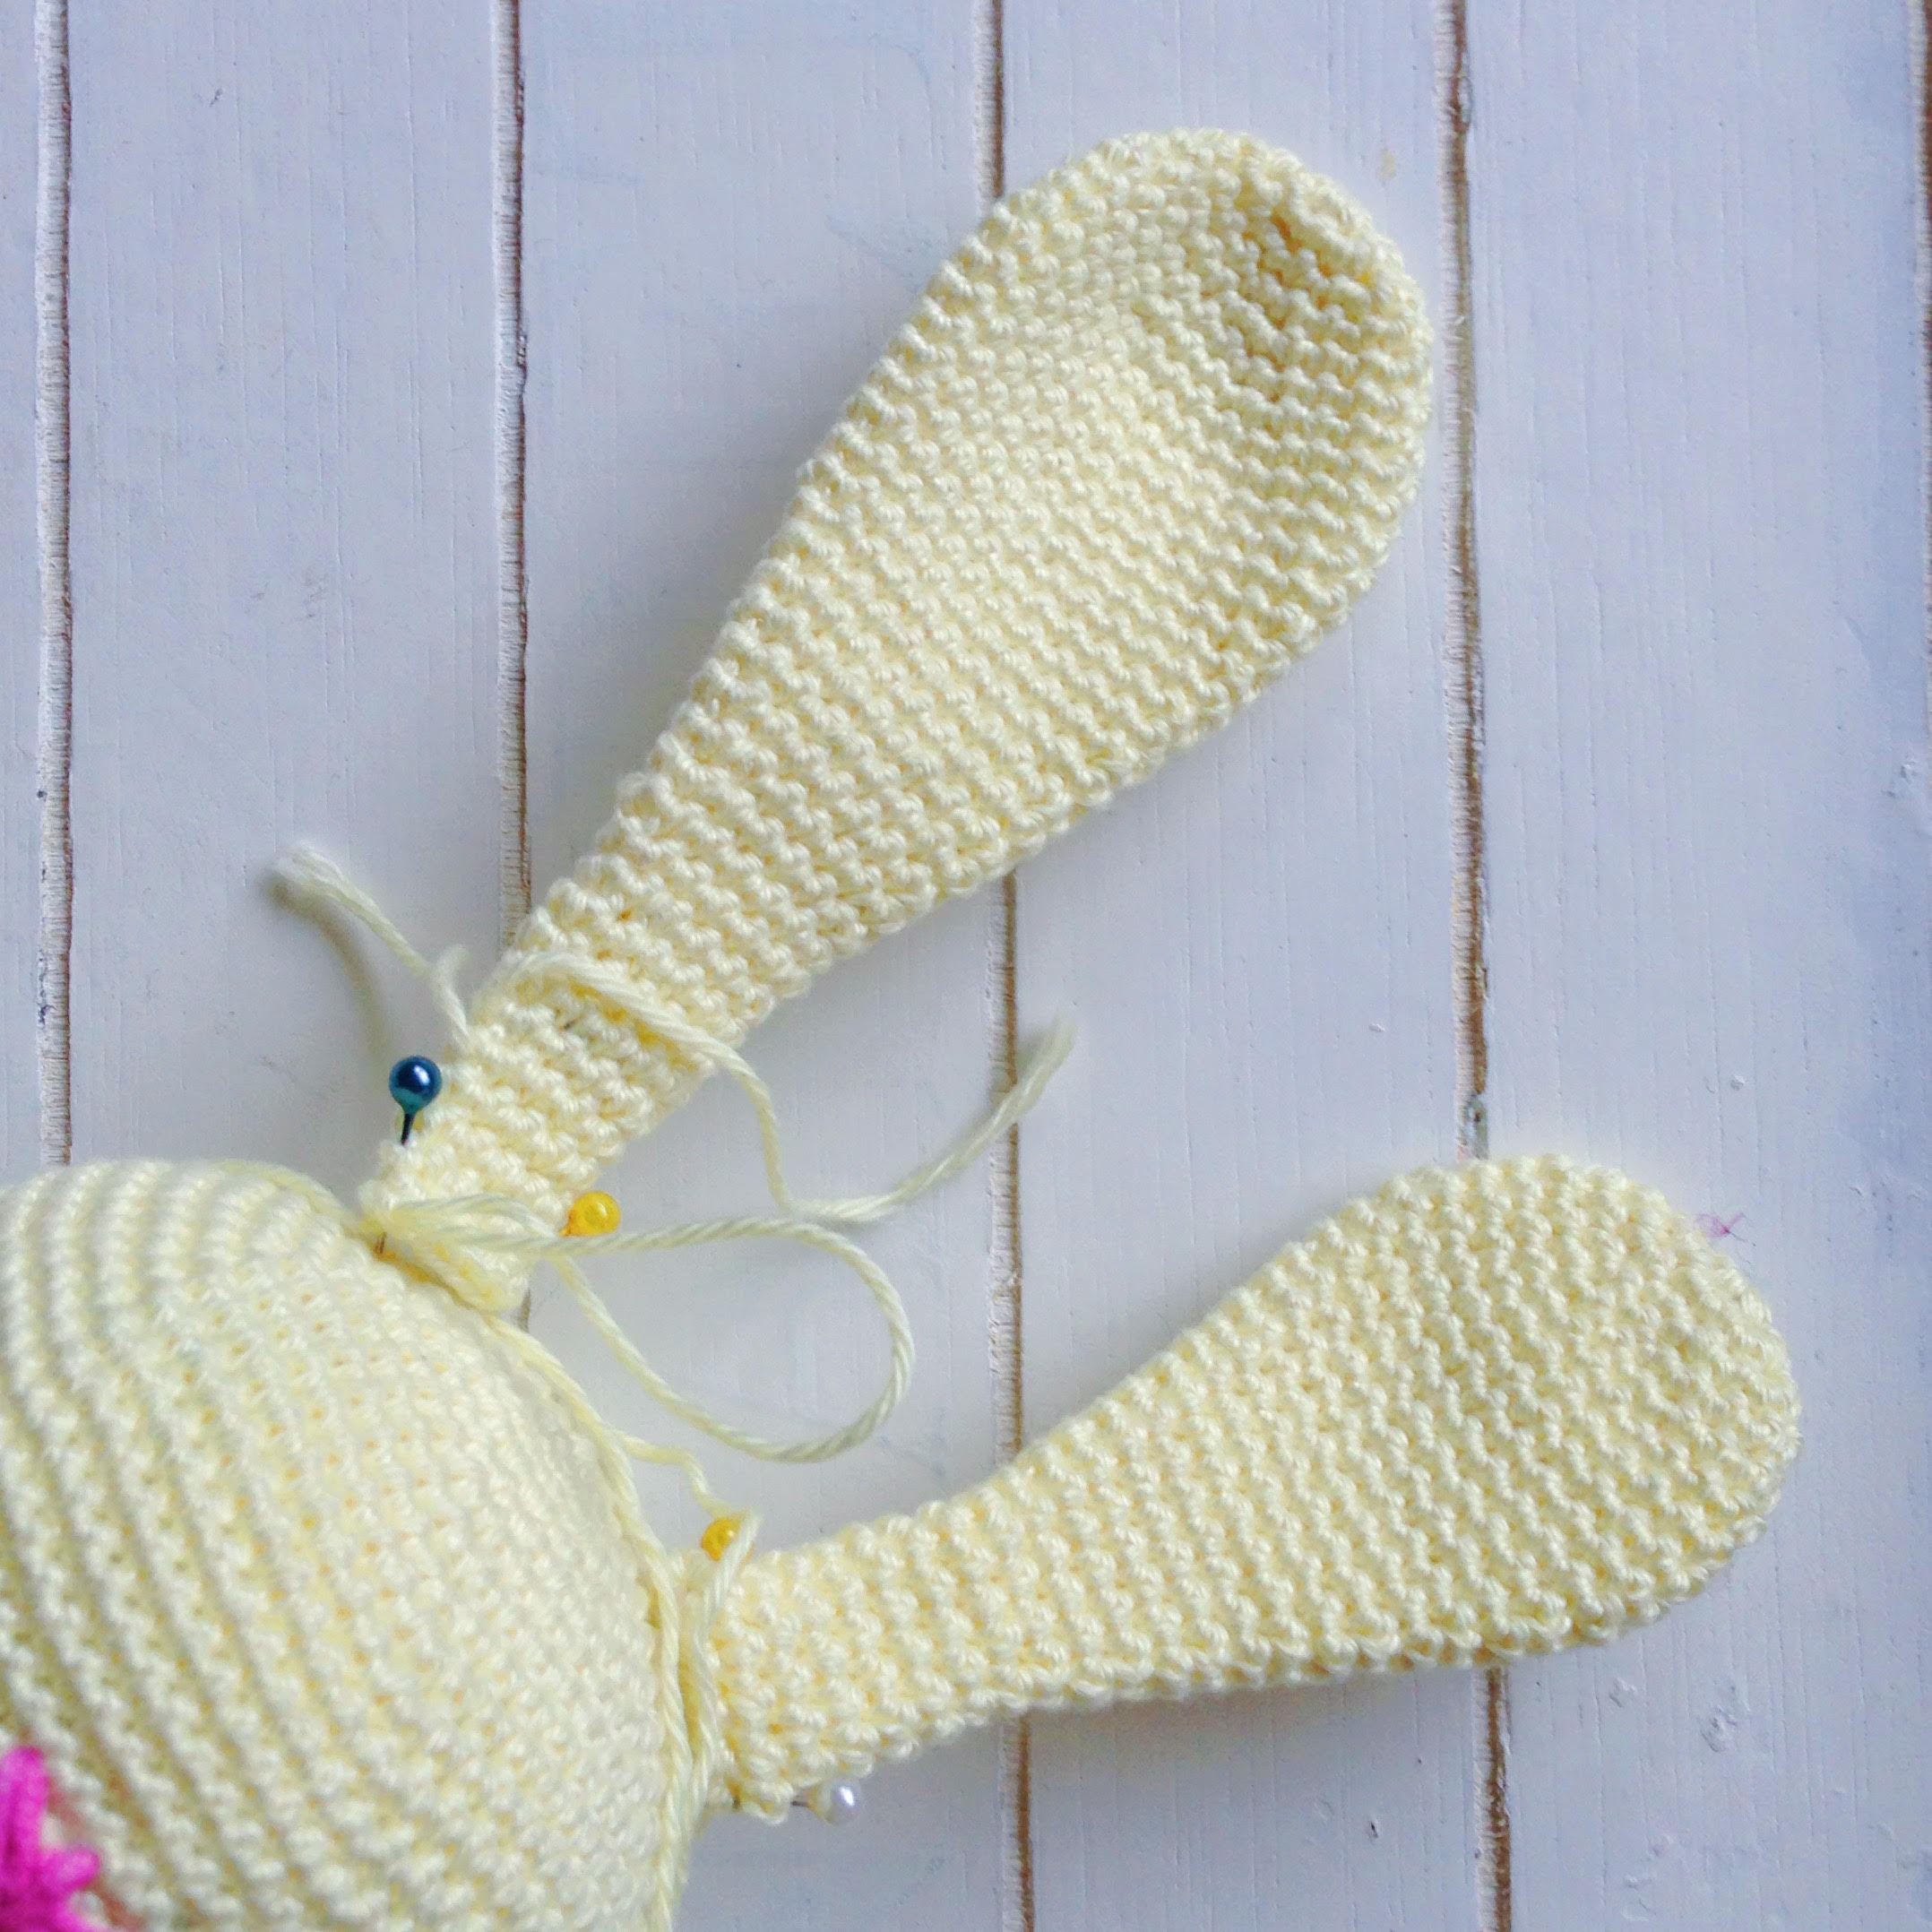
Enter your email address to subscribe to this blog and receive notifications of new posts by email.

Pinterest Loves The Peek-a-Boo!

Crikey, look at the repins on this baby!

In only a few short weeks it’s been pinned more than 1200 times! I’ve had a couple of other images that have been pinned a lot, but they took months and months to get to hit 1000, not a month!

Can you see me doing the happy dance over here?

Meanwhile I’m very busy dreaming up new projects and searching for the right yarns, alongside working on a couple of WIPs, including this gorgeous design which will become a cushion very soon:

Alize Bamboo cushion

I love the changing colours and the pixel effect that the tiny blocks have.  I’m using the Alize Bamboo which I LOVE.  Bamboo is without a doubt my favourite fibre to work with.  It’s so soft and so light, and can fold up to almost nothing.  AND best of all, it’s completely sustainable!  What’s not to love?

What are you working on?

Sunkissed Knitted Project, Status Update

A super quick post today, I just want to update you on where I’m at with my knitting project.

I’ve used all three colours that I had chosen for this project, and I definitely needed one more colour block.  I really wanted to use a yellow shade, which would have been the perfect spring colour, but it’s not (yet) available from Scheepjes so instead I chose purple (10), which is just as lovely.

Scheepjes Sunkissed Knitted Baby Blanket
Don’t you love my little yarn cake? I was attempting a centre pull but had a major Yarn Vomit, so made it into a cake. I love making yarn cakes almost as much as I love working with yarn!

Now I really have the hang of knitting, I’ve managed to work up the purple fairly quickly, and I’ve managed to finish it off and it’s on the blocking board right now.  Thankfully there has been some warm weather so it hasn’t taken long to dry.

Scheepjes Sunkissed Knitted Baby Blanket

I can’t wait to show you the finished product, I really can’t.  I’m so impressed with my ability to knit when only a few months ago I wouldn’t have even attempted a simple garter stitch scarf.  Now I’m lusting after knit patterns on Ravelry like nobody’s business!

Do you have a favourite knitting project you can recommend to slake my thirst?