Tag Archives: haken

Project Pile: Scalloped Neckline Lace Dress

A couple of weeks ago I decided that I wanted to crochet a dress for my daughter.  I haven’t made a lot of clothing, but the few pieces I have made are wonderful.  They’re so much fun, and give such a feeling of accomplishment.  So when I came across this pattern, I knew it was the right one.

Crochet Scalloped Neckline Lace dress

I especially loved the texture and the romantic neckline, but had to find the perfect yarn.

Eventually I settled on using Scheepjes Softfun, a yarn that I’ve heard so much about, but hadn’t had the opportunity to use yet.

But before I could begin, I had to check a few projects off the list.  I had to finish a scarf, a couple of amigurumi projects, and finalise the Bucketful of Sunshine pattern, but once they were all out the way, it was all systems go!

I just love the neckline on this pattern, it’s just so beautiful.

The project was surprisingly easy.  It took me a few swatches to get the gauge right, as I crochet much tighter than the average designer, it seems.  In the end I had to upsize to a 4.5mm hook (the pattern calls for a 3.5mm hook) which seems to be about the norm for me now.

Here is the end result.  I’m so happy with the outfit, my daughter looks so cute!

Thanks to Carrie for this photo, taken at the weekend:

http://instagram.com/p/osnnHEB5-S/

And here she is, with her first love: Peppa Pig.

Crochet scallope neckline lace dress

Now I’m hoping for a long, hot summer so we can wear the dress every day!


I saw This on Pinterest Today

How to: Double Crochet a better square.
I saw this on the mamachee blog today, it is an amazing hack that shows a method to creating a straight edge when crocheting rows of double crochets! In the past I was using Moogly’s Chainless starting double crochet, but this one is even straighter, I just love it!
What do you think?

Scheepjes Bucketful of Sunshine Hat – Tutorial (Toddler)

Here it is, the tutorial for my Bucketful of Sunshine Hat!  My daughter absolutely loves it, and so do I.  And it’s ready, just in time for the glorious weather in the Netherlands.

Enjoying the weather and the Bucketful of Sunshine hat on missneriss.com #scheepjes #scheepjeswol #cotton8 #crochet

Let’s get started, shall we?  This tutorial will show you how to make a hat to fit a toddler/preschooler.  My daughter has a small head for her age (it’s a family thing, so does my husband), so if your toddler’s a bit bigger, go up half a hook size, it won’t matter.

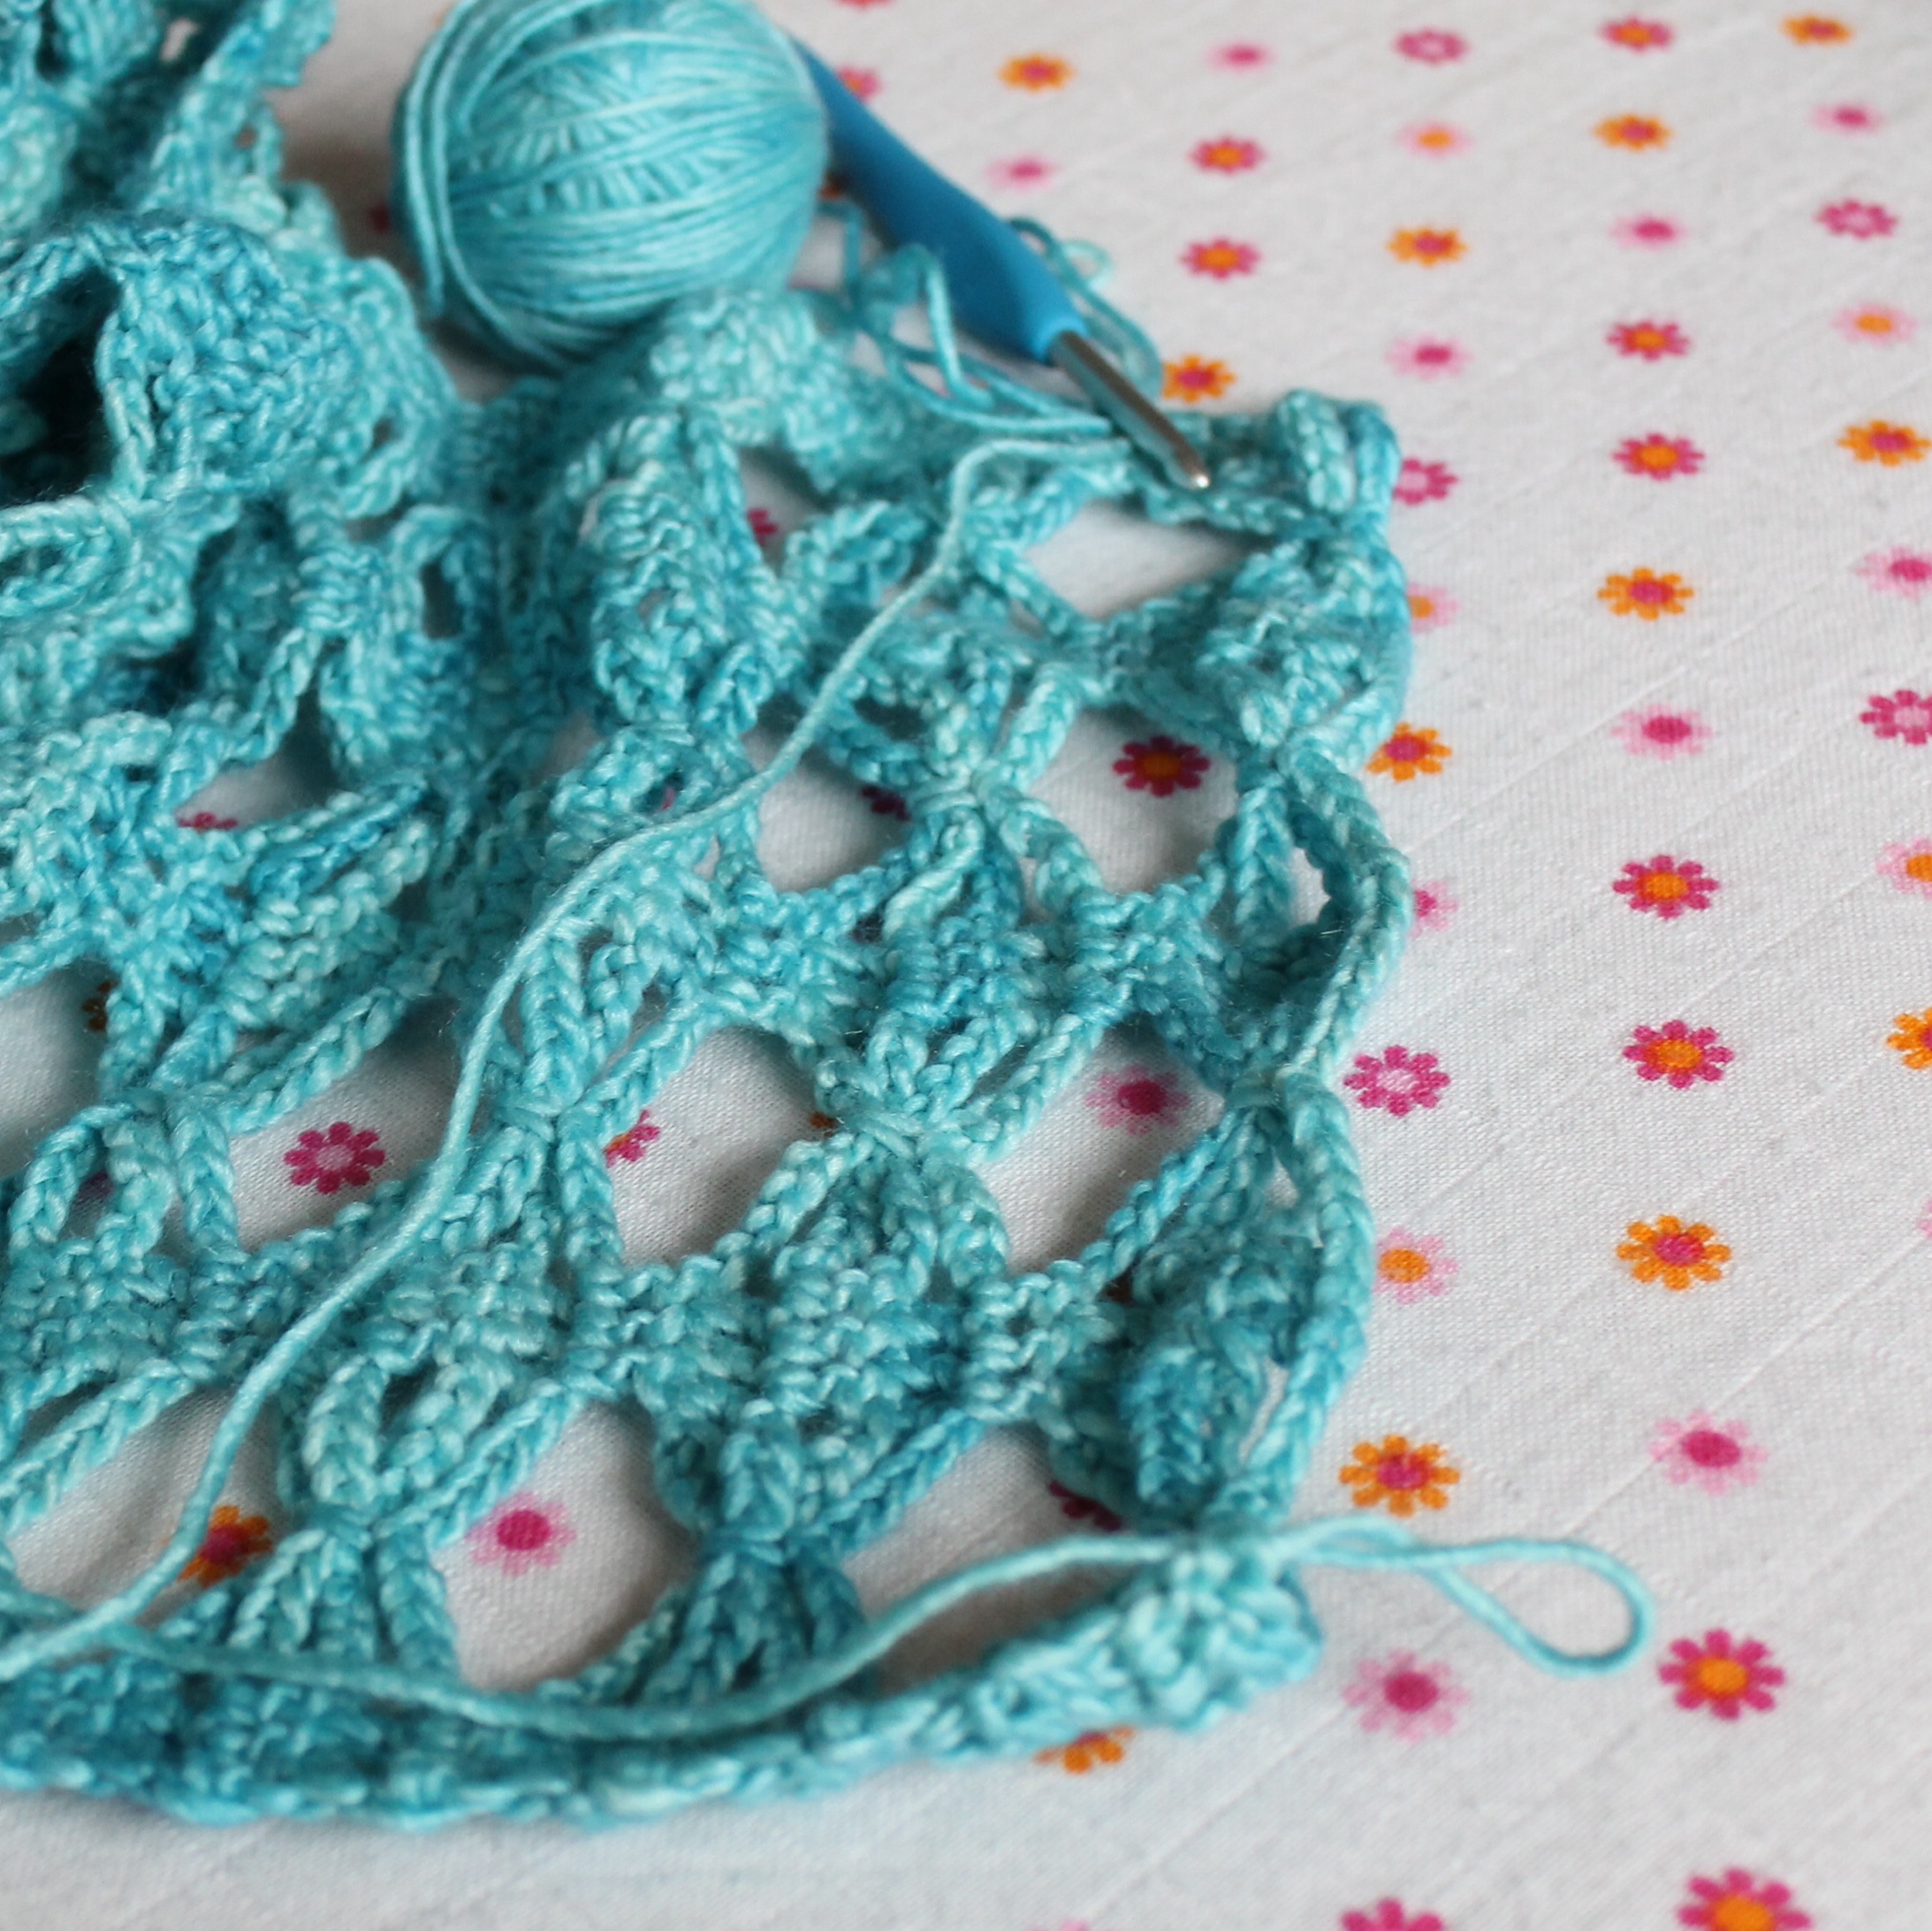
This hat is made using the V-Stitch and the Half V-Stitch.  The half V-stitch may well be a made up term, but it’s essentially the same stitch as a normal V-Stitch, but using the half double crochet instead of a double crochet.  You can V-Stitch using whatever height stitch you like really, but Google wouldn’t tell me the official name, so I’ve assigned one to it.

The V-Stitch

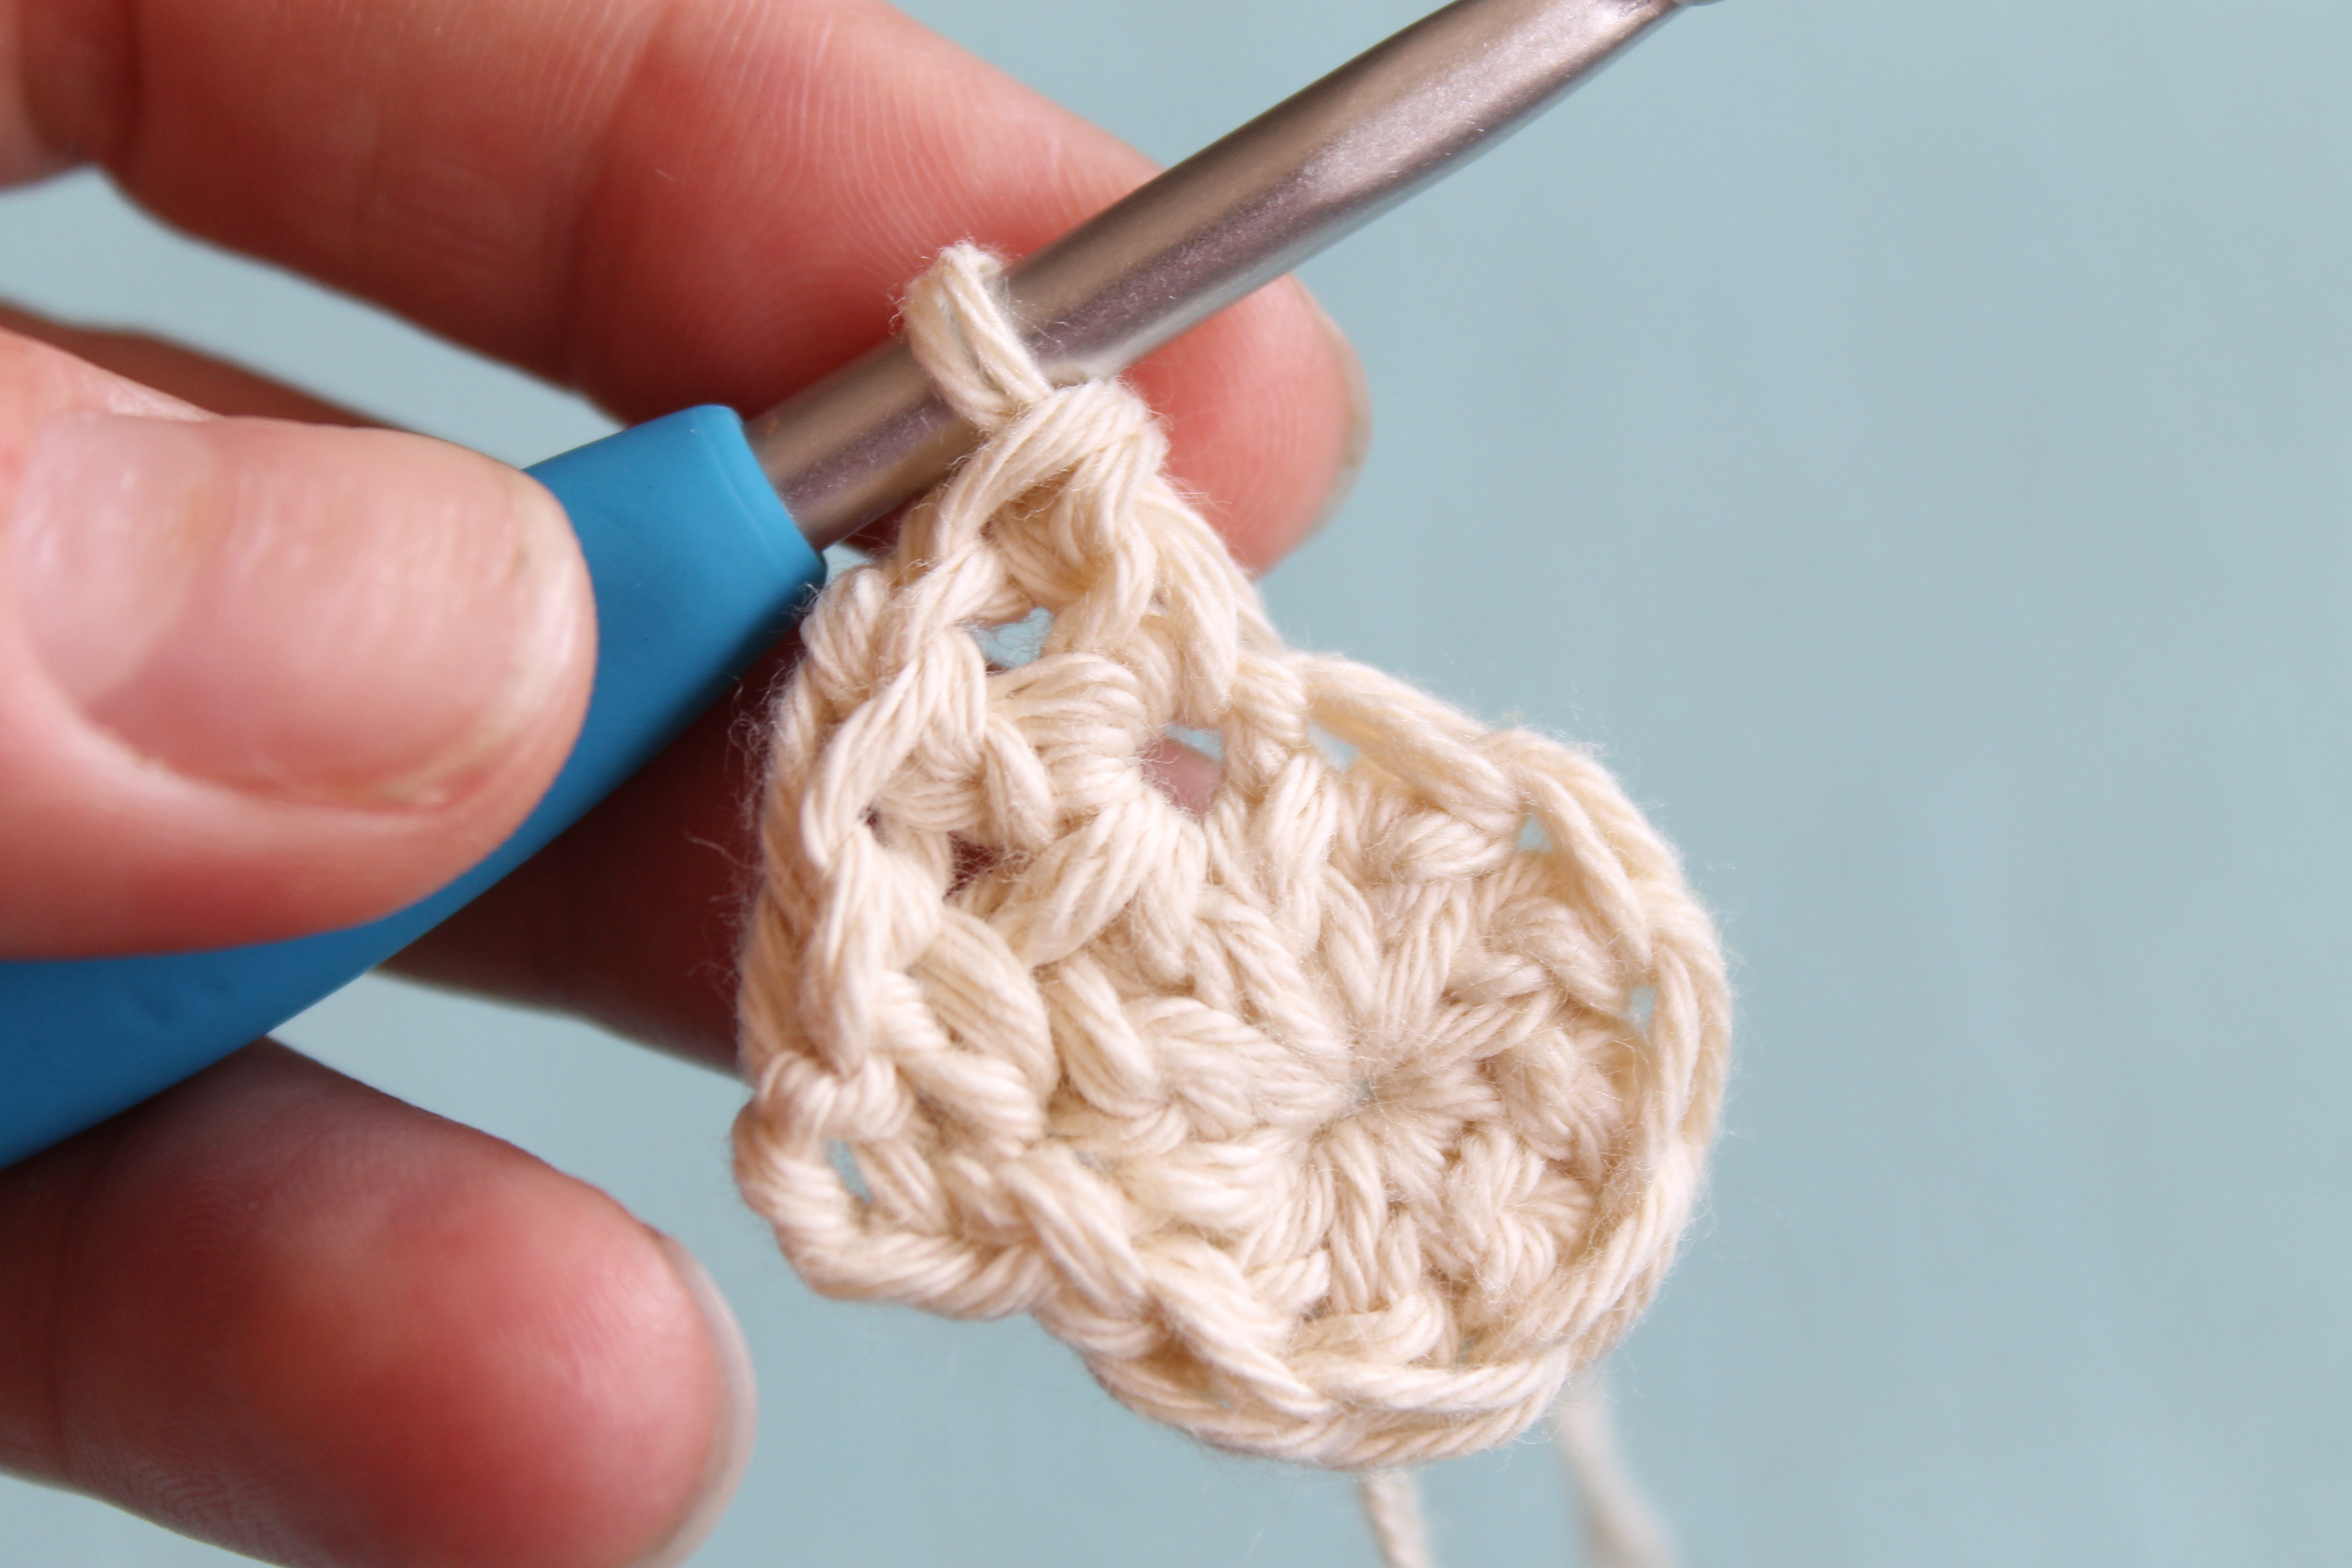
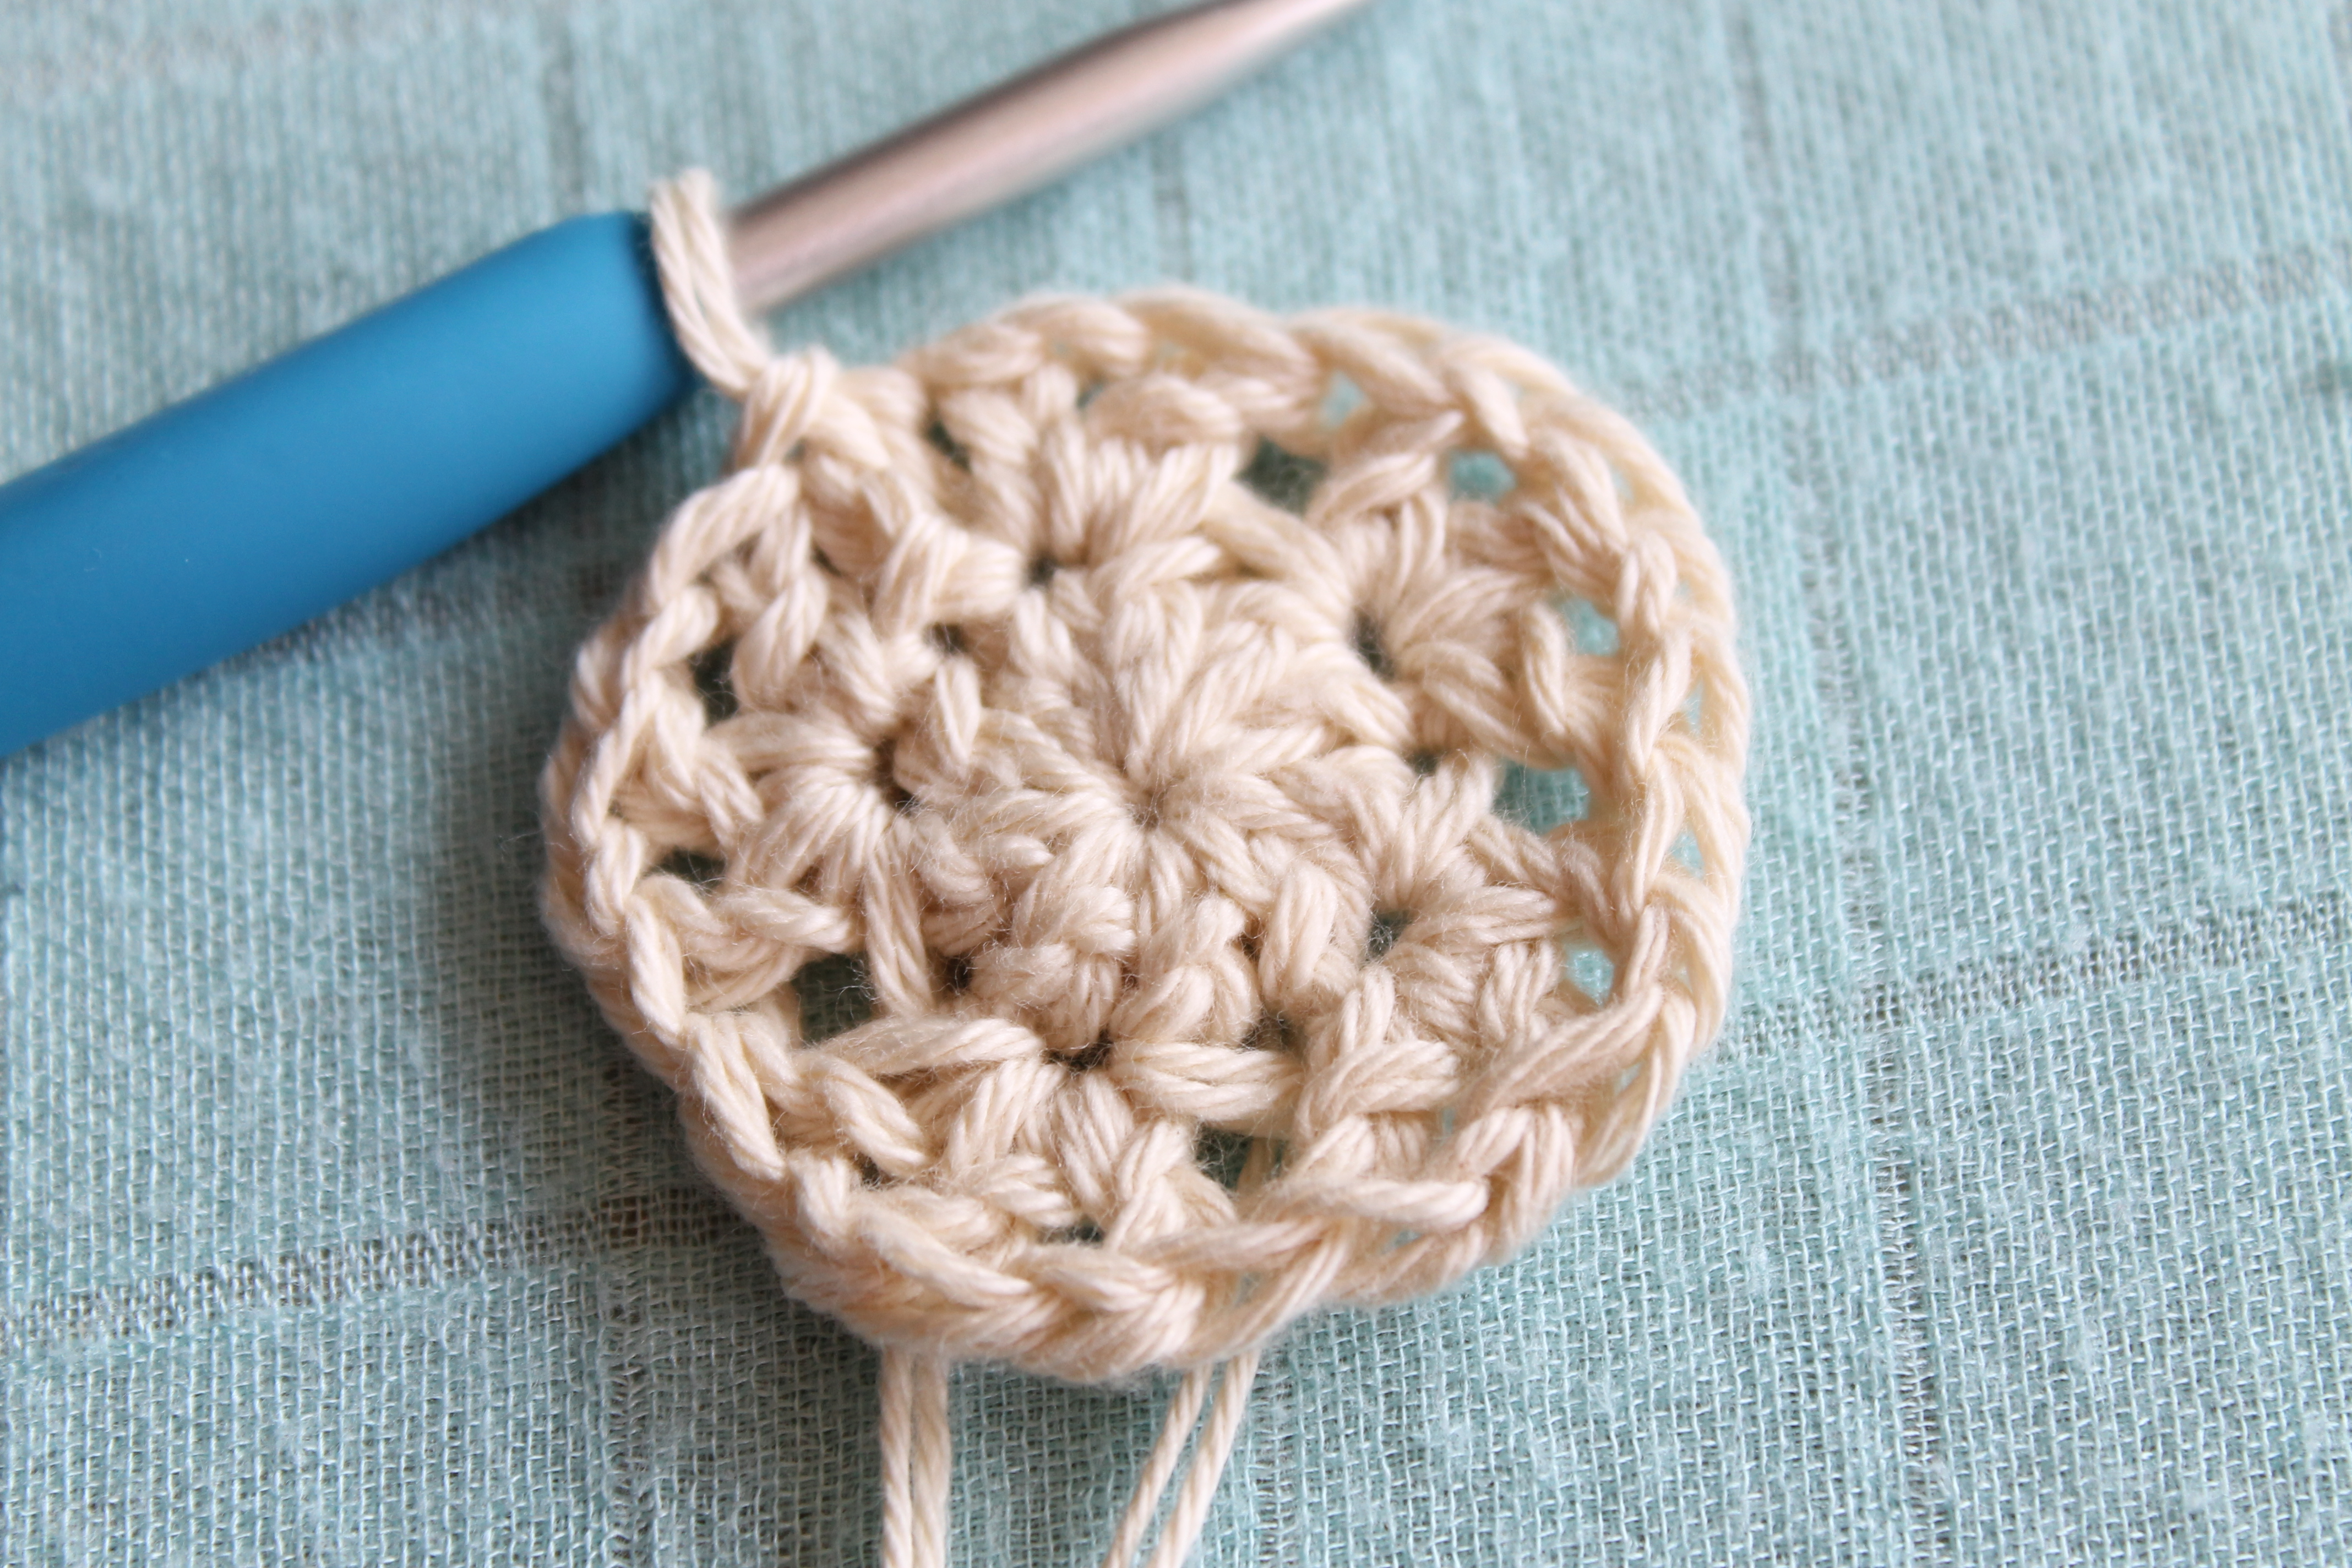
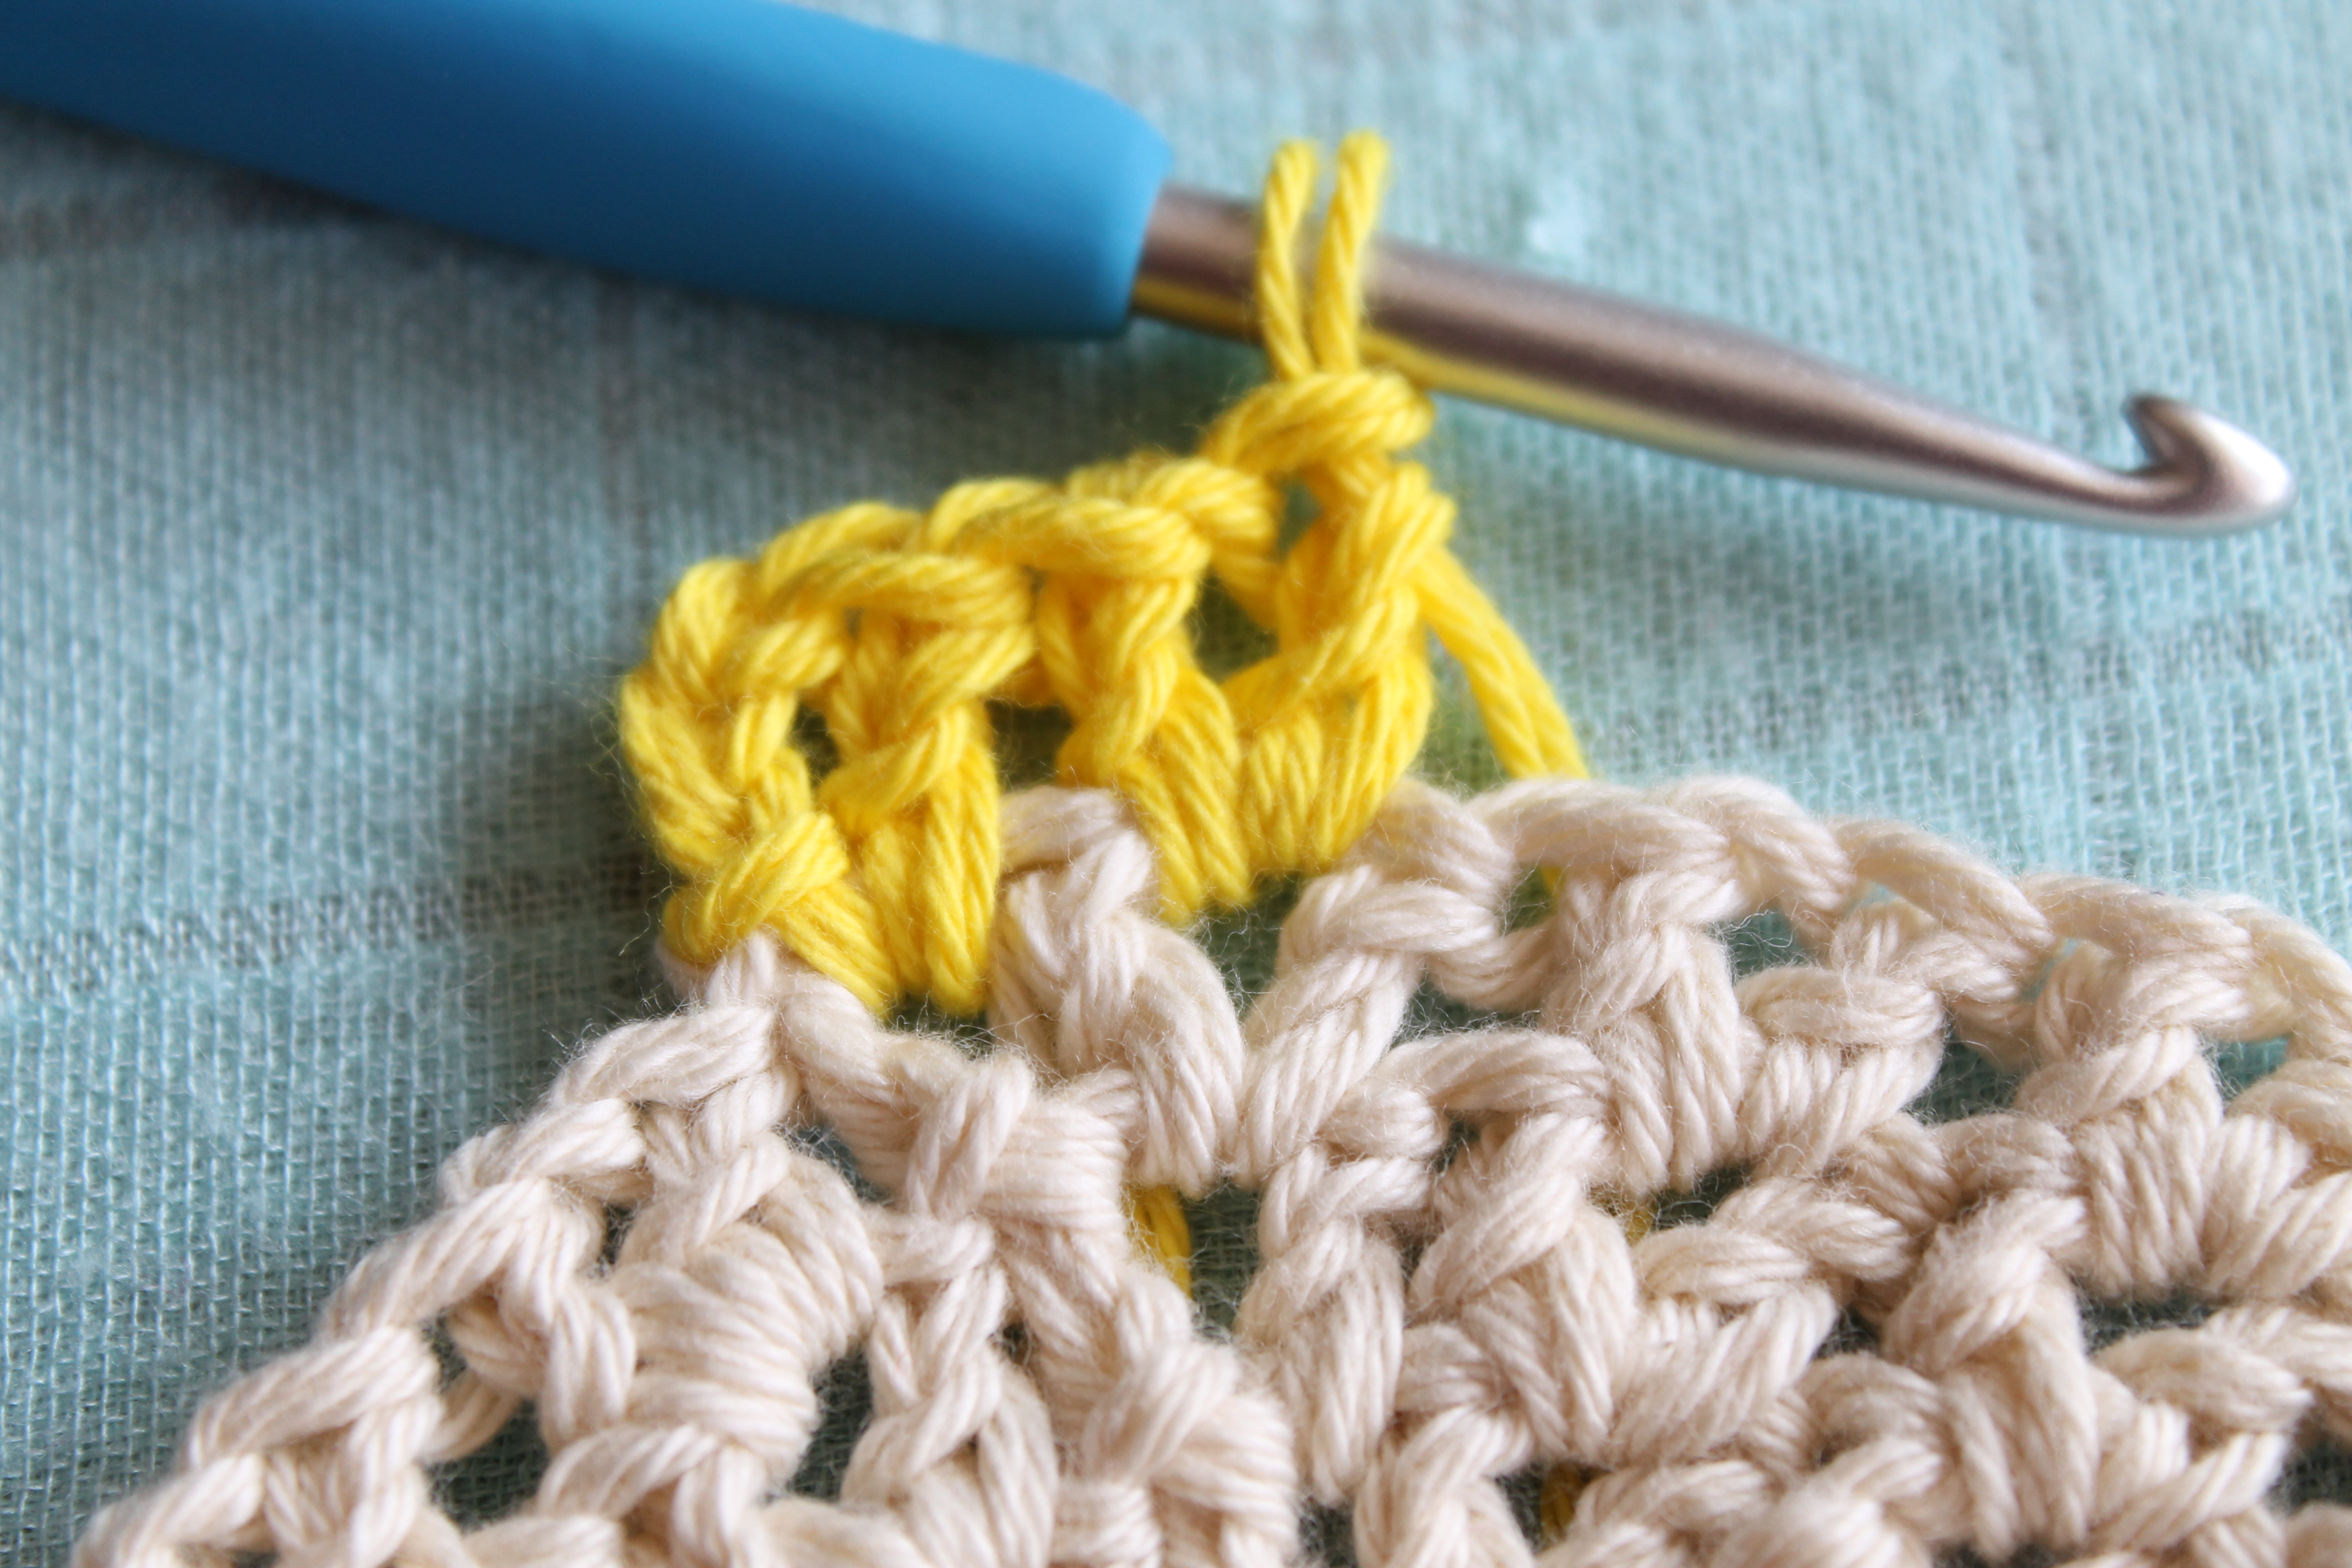
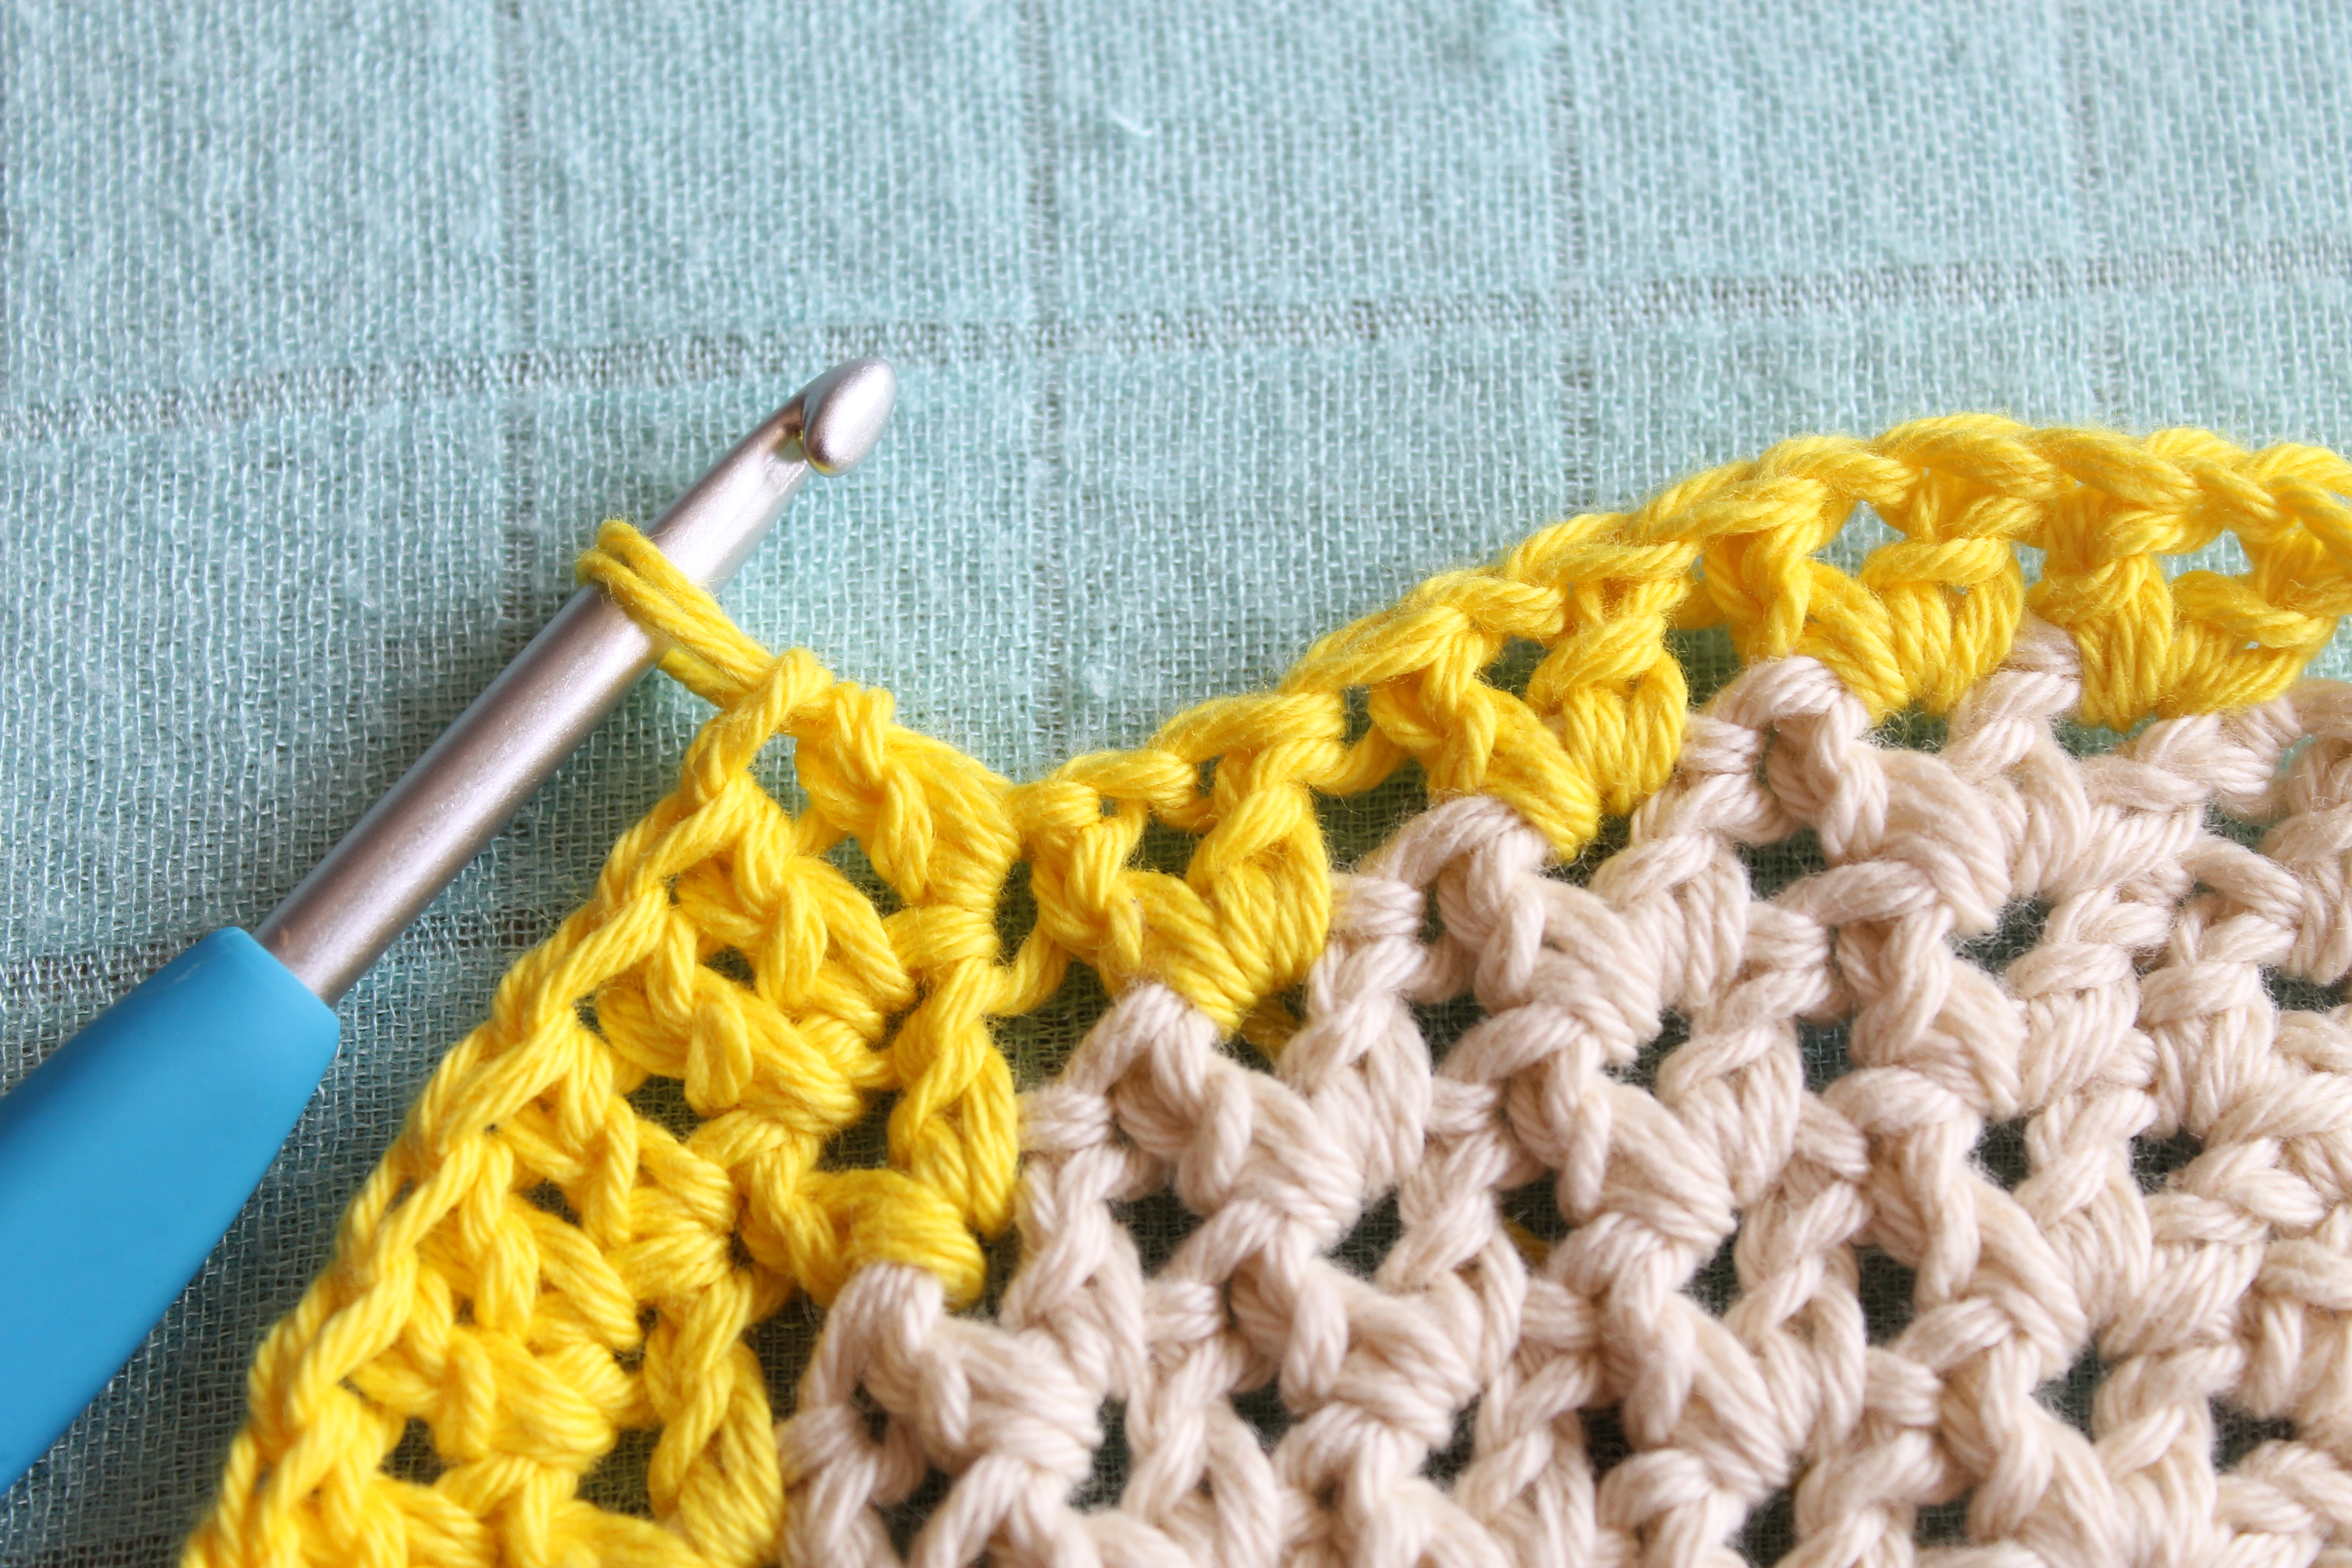
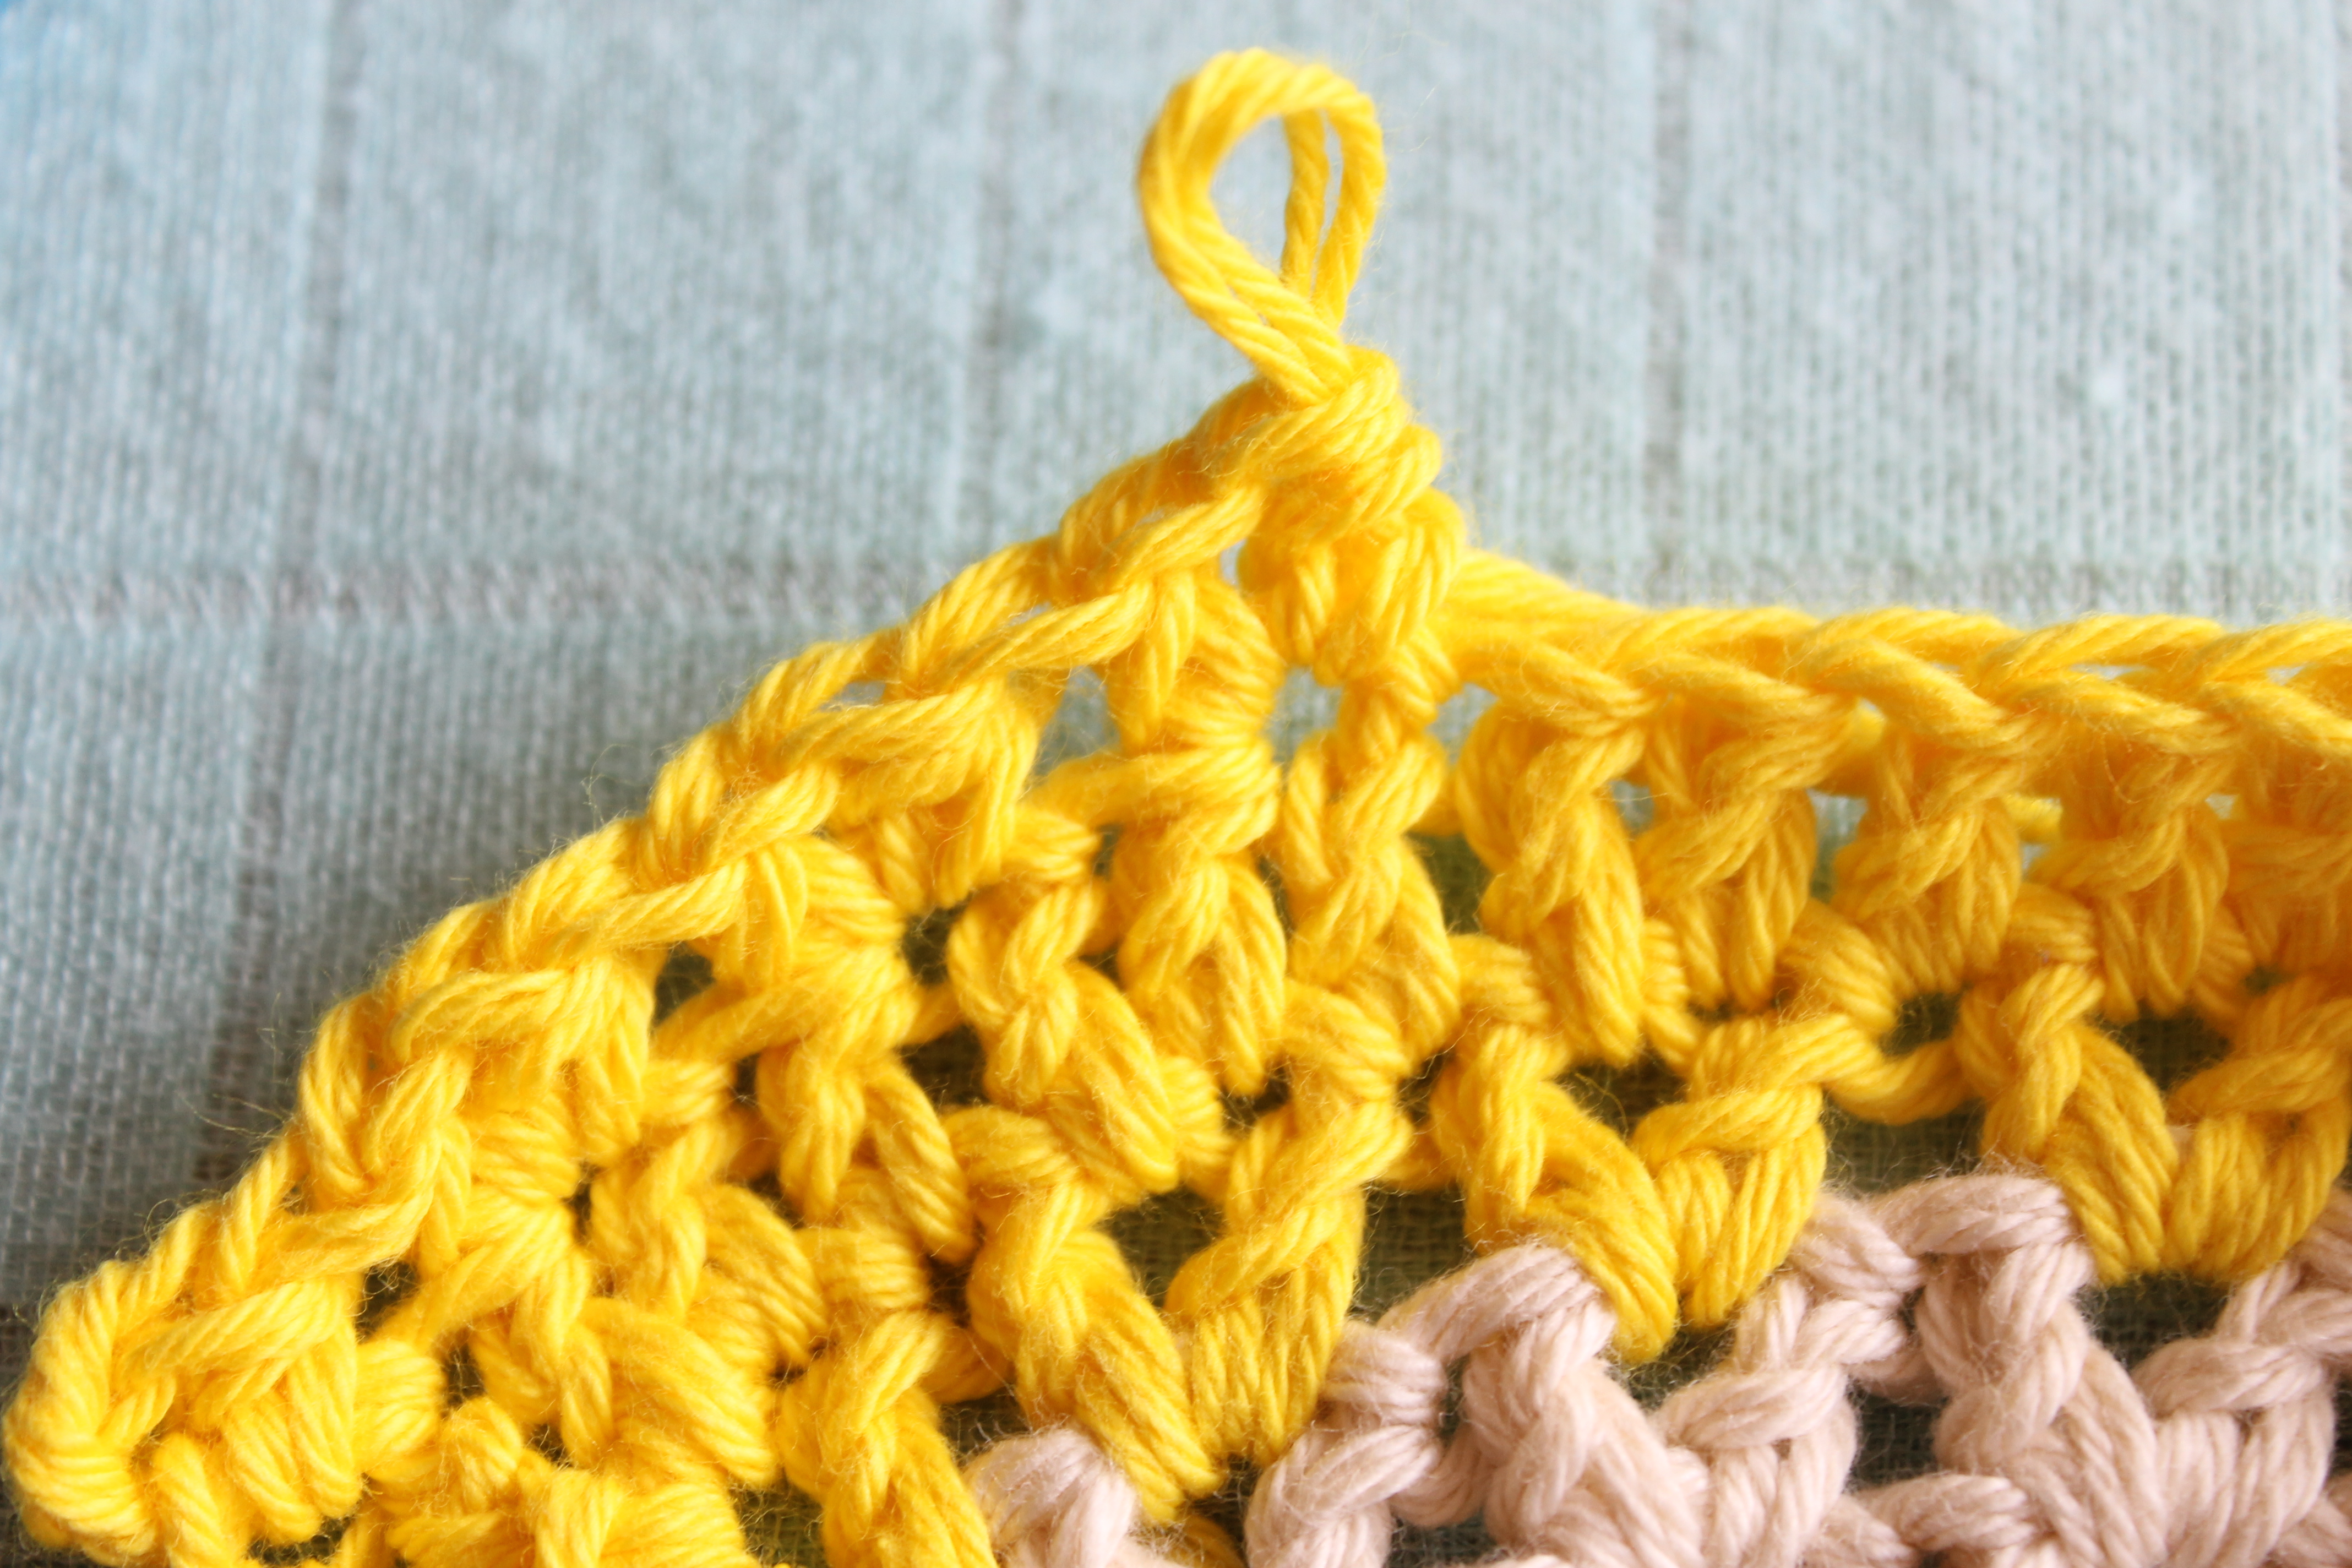
The V-Stitch is a very easy stitch to master, it is essentially a double crochet, chain 1 and double crochet in the same stitch.  Then you skip a stitch and repeat in the next.  When it comes to the next row, instead of doing the V-Stitch into the double crochet stitch, you do it into the chain 1 space.

A bit like this:

V-Stitch step 1, chain 3

V-Stitch step 1, chain 3

V-Stitch Step 2 - DC into same stitch

V-Stitch Step 2 – DC into same stitch

V-Stitch step 3 - skip 1 stitch, DC into the next stitch

V-Stitch step 3 – skip 1 stitch, DC into the next stitch

V-Stitch Step4 - Chain 1

V-Stitch Step4 – Chain 1

V-Stitch step 5 - DC into the same stitch

V-Stitch step 5 – DC into the same stitch

And there you have it!  The V-Stitch

And there you have it! The V-Stitch

The Half V-Stitch is the same process, using a half double crochet instead.

What you’ll need

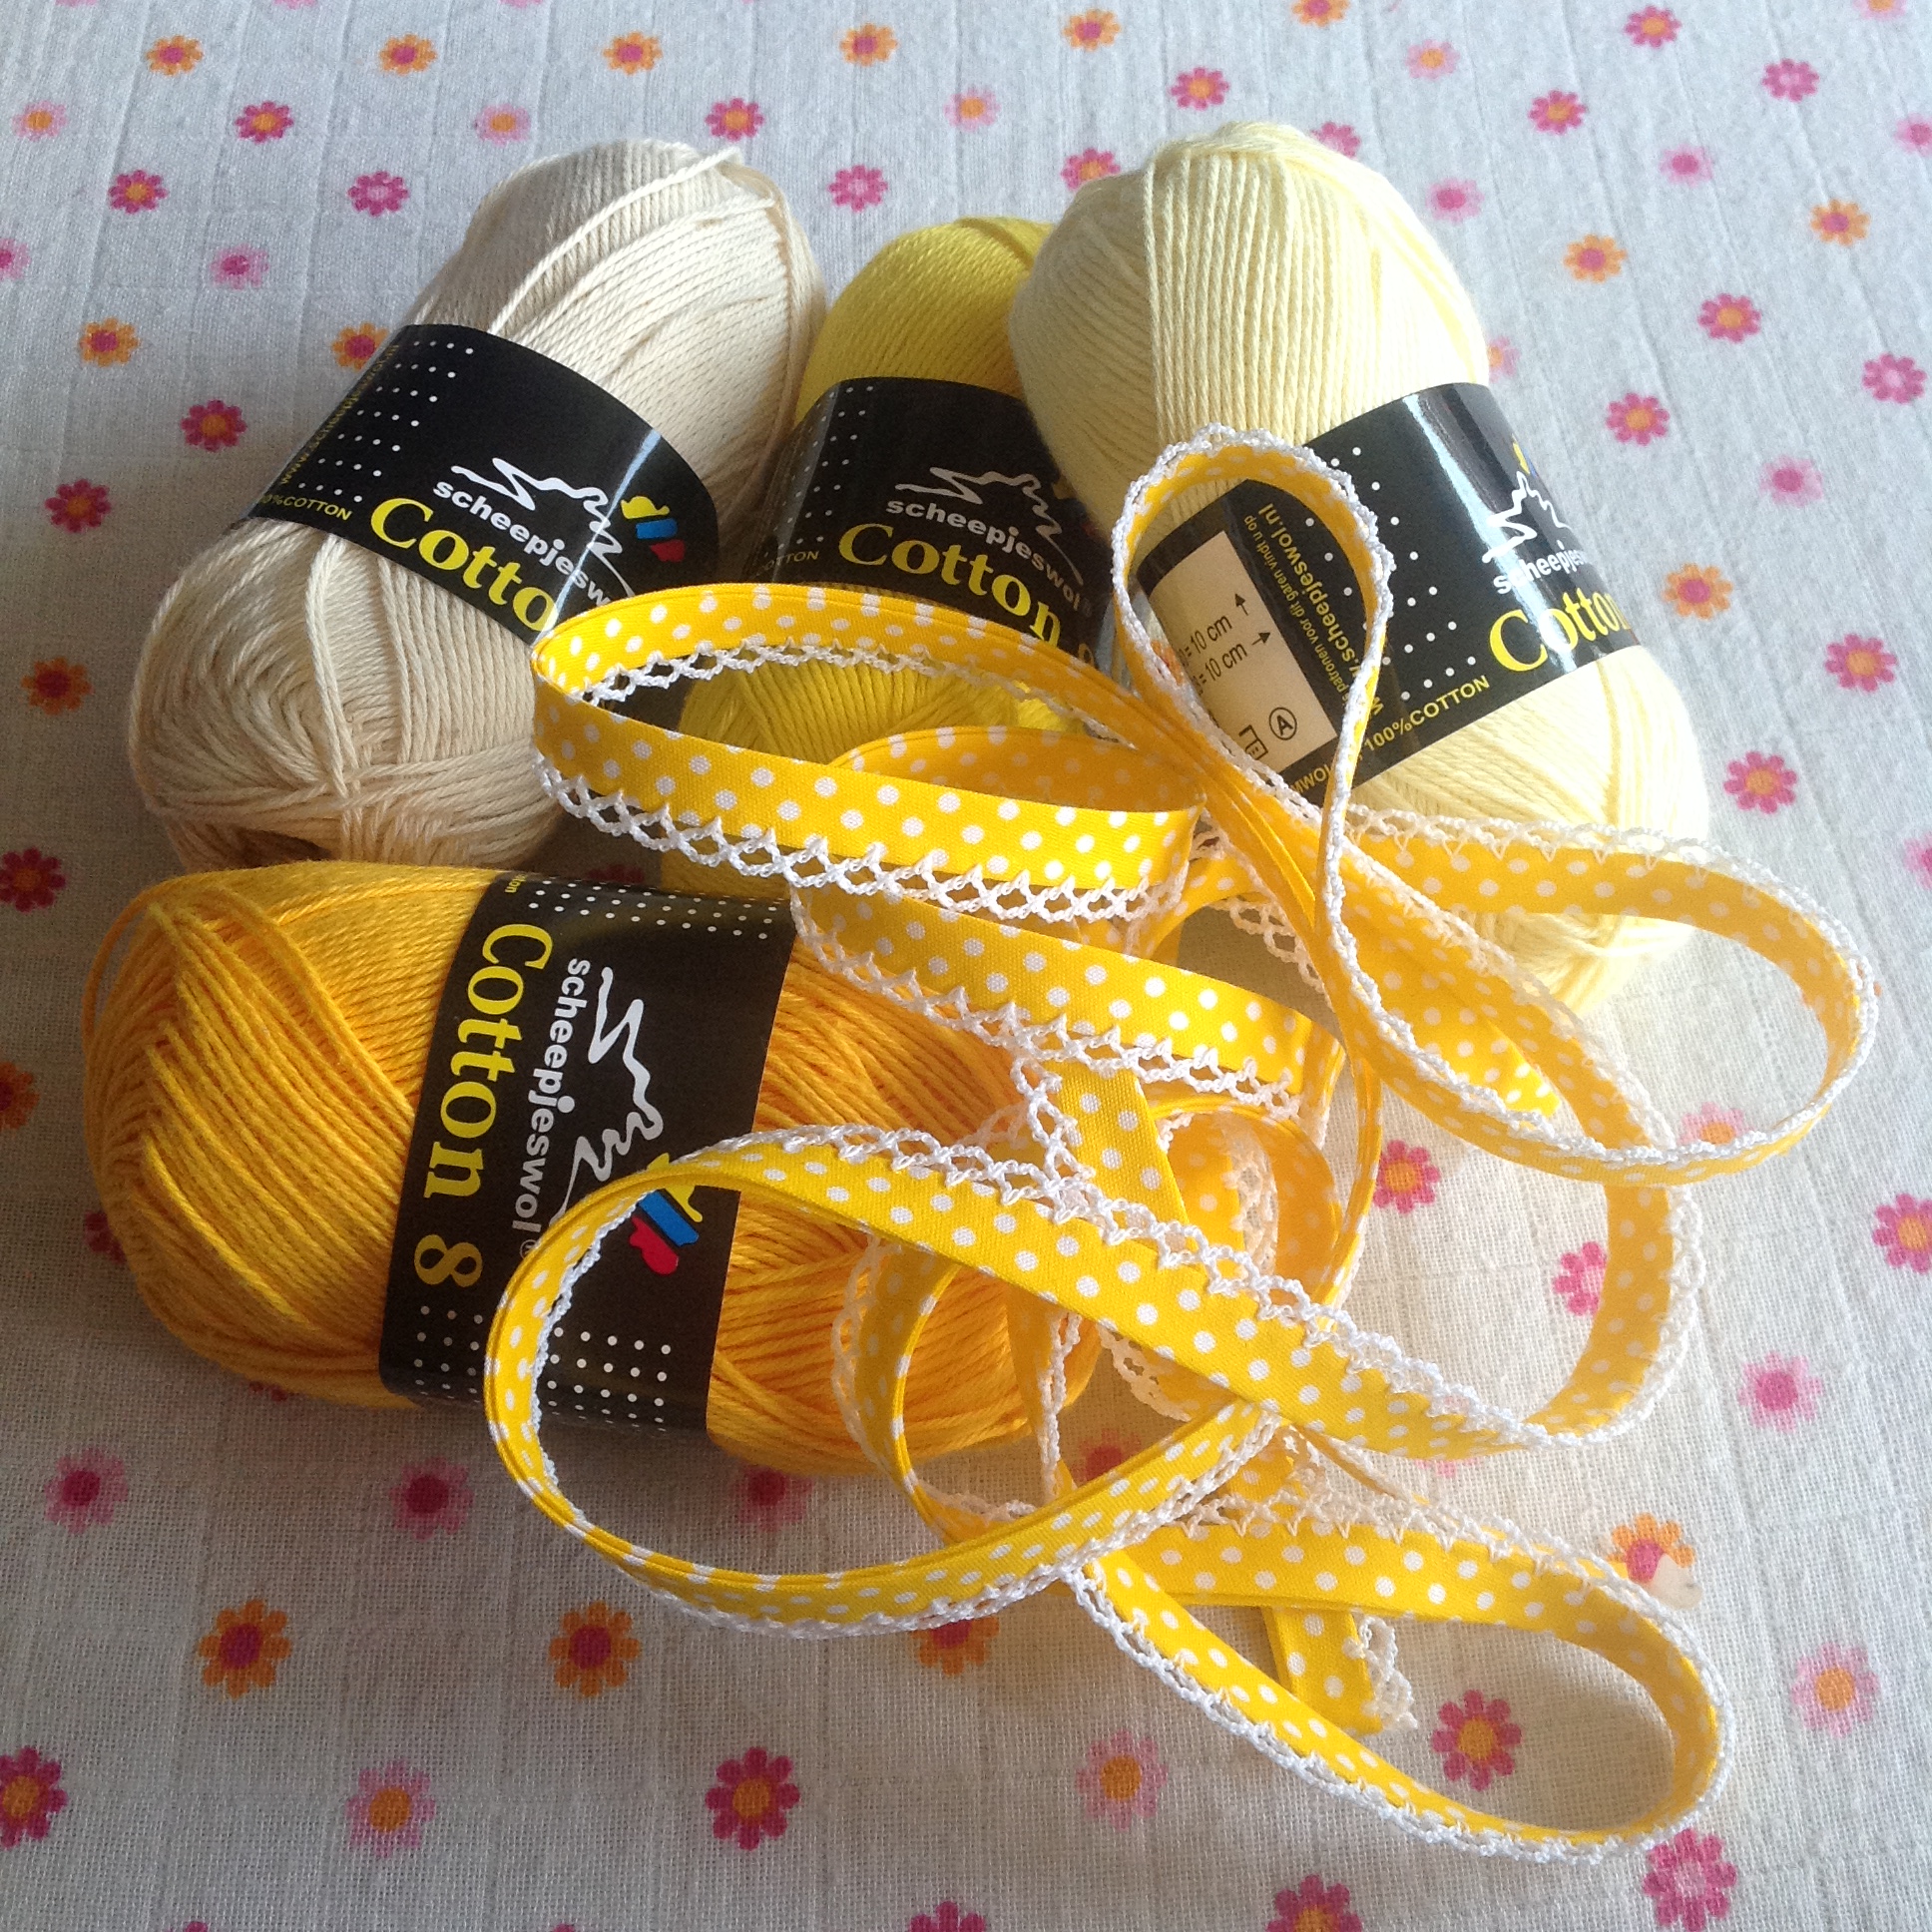
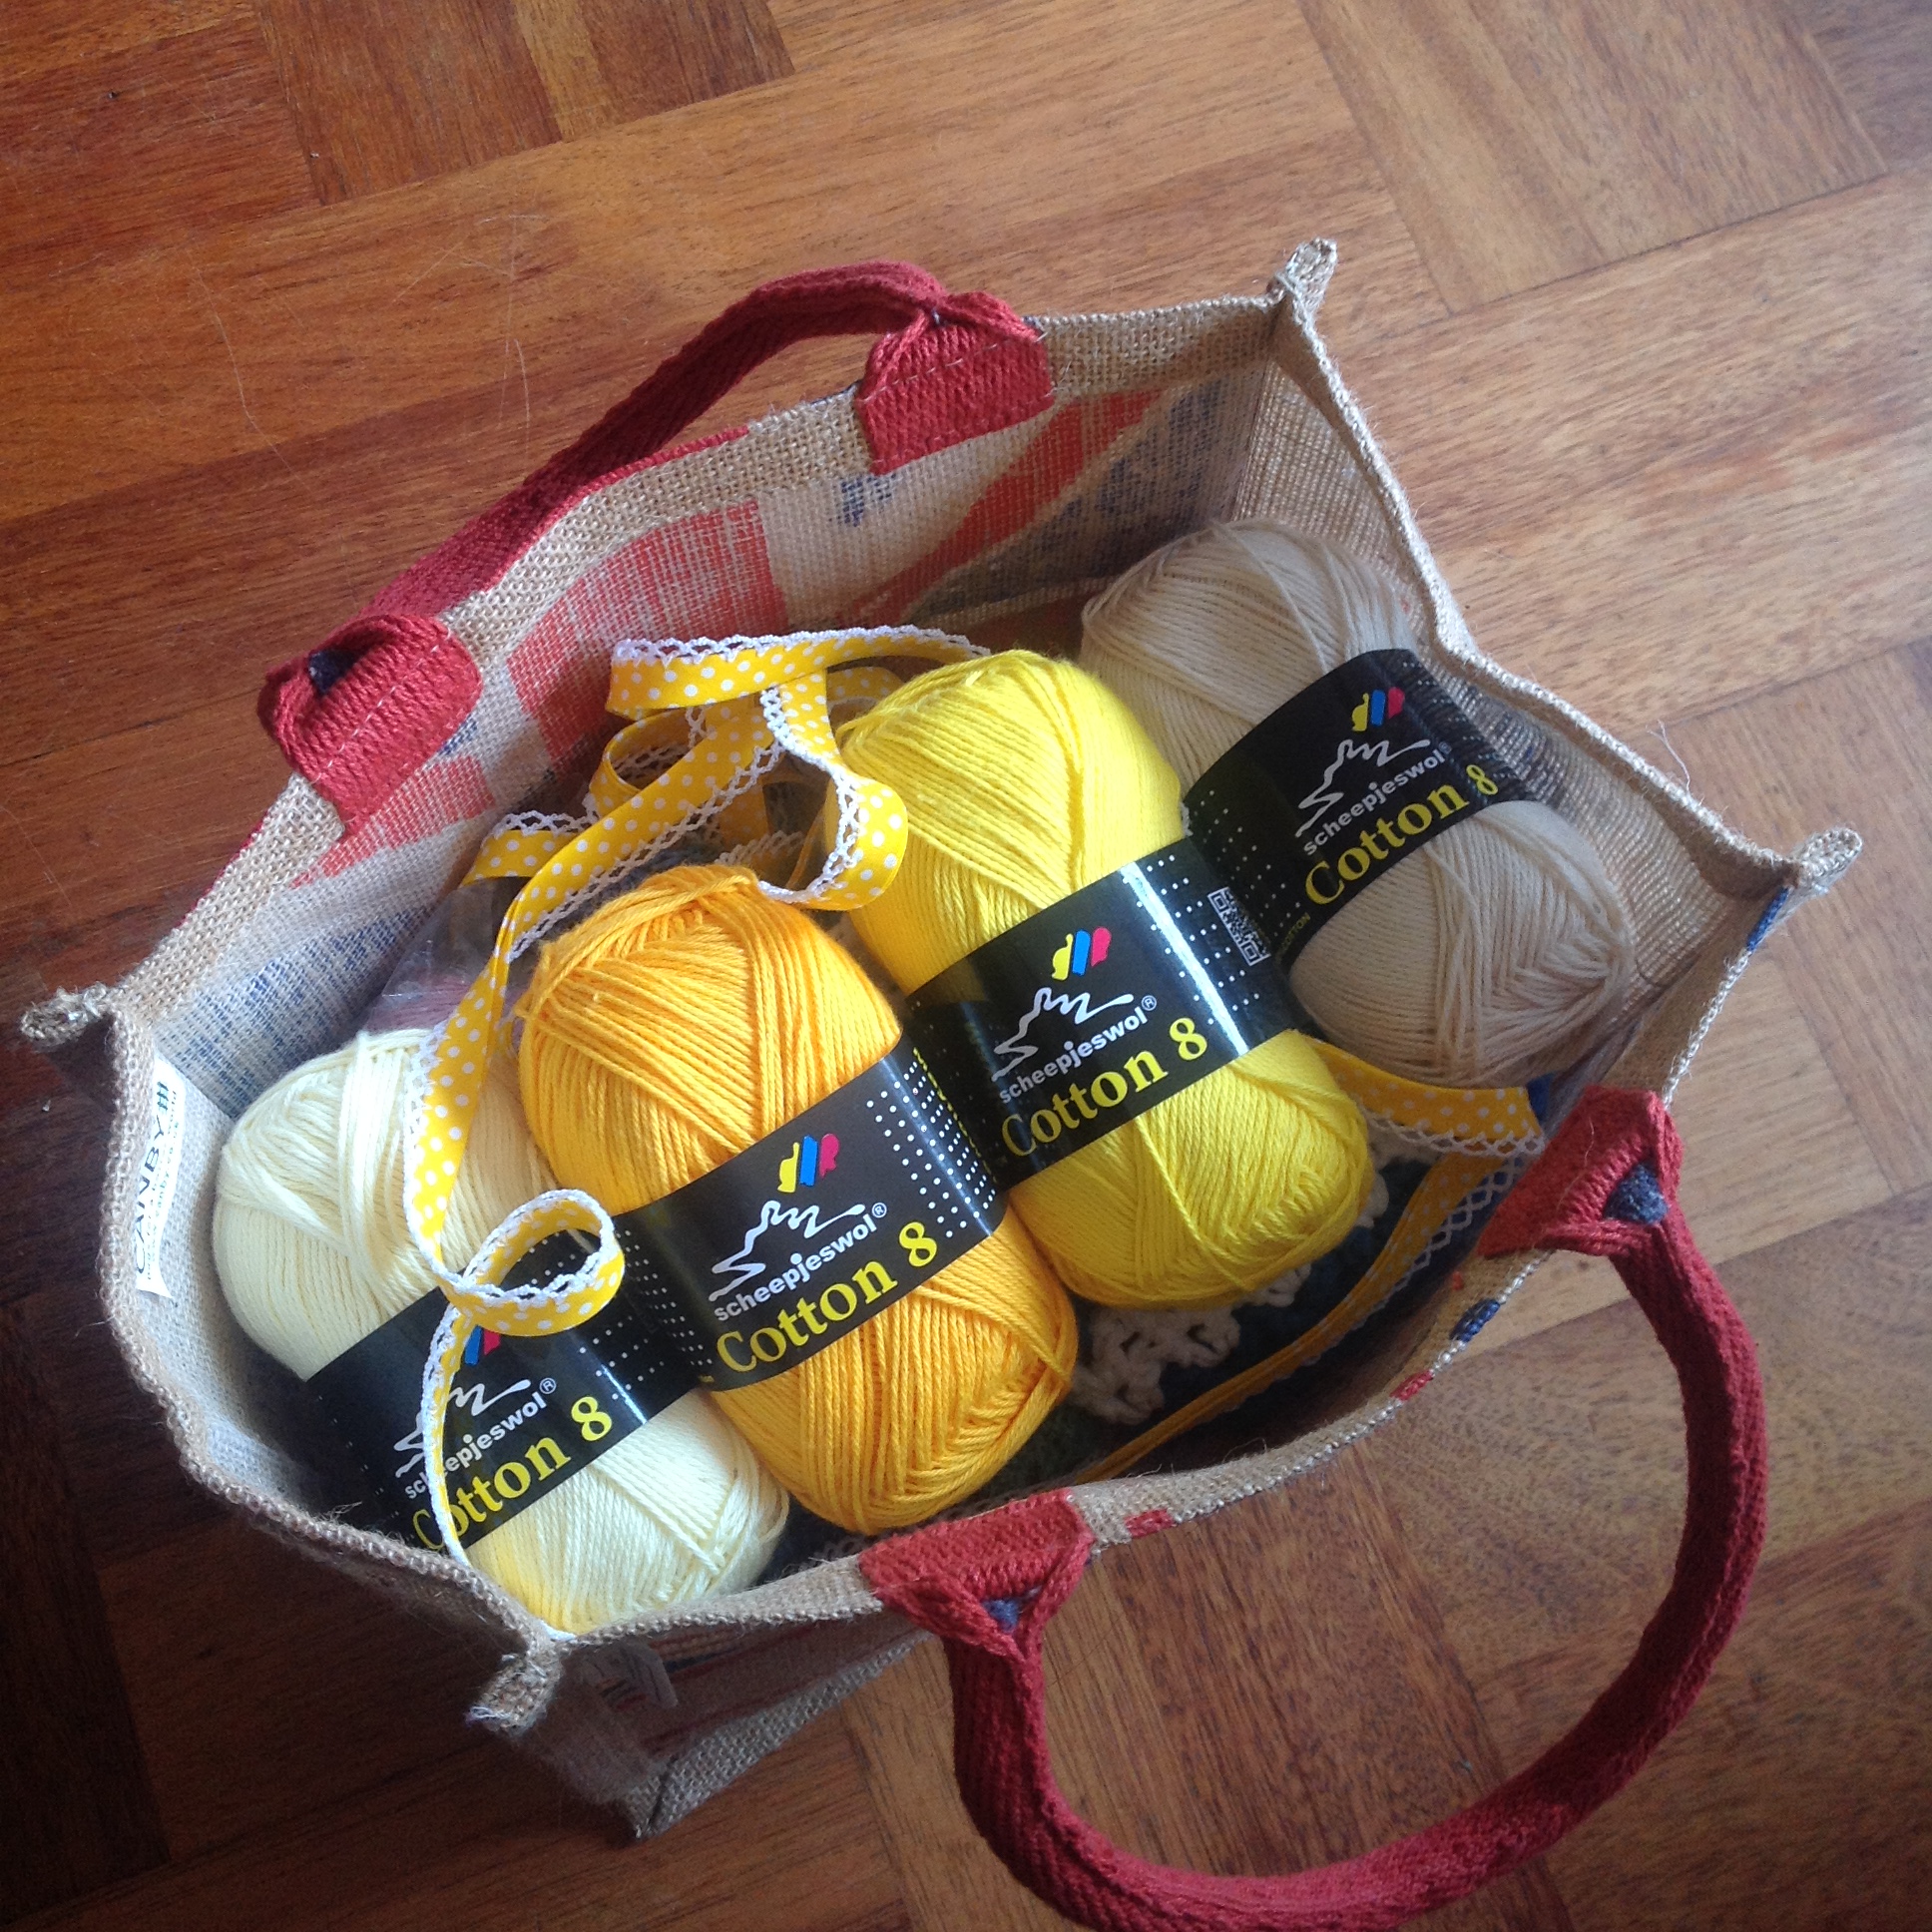
Scheepjeswol Cotton 8 in three shades of the same colour.  I used yellow (508, 551, and 655). The best thing you can do is cake the yarn so you can pull from both ends, because for this project we’re using two strands together.

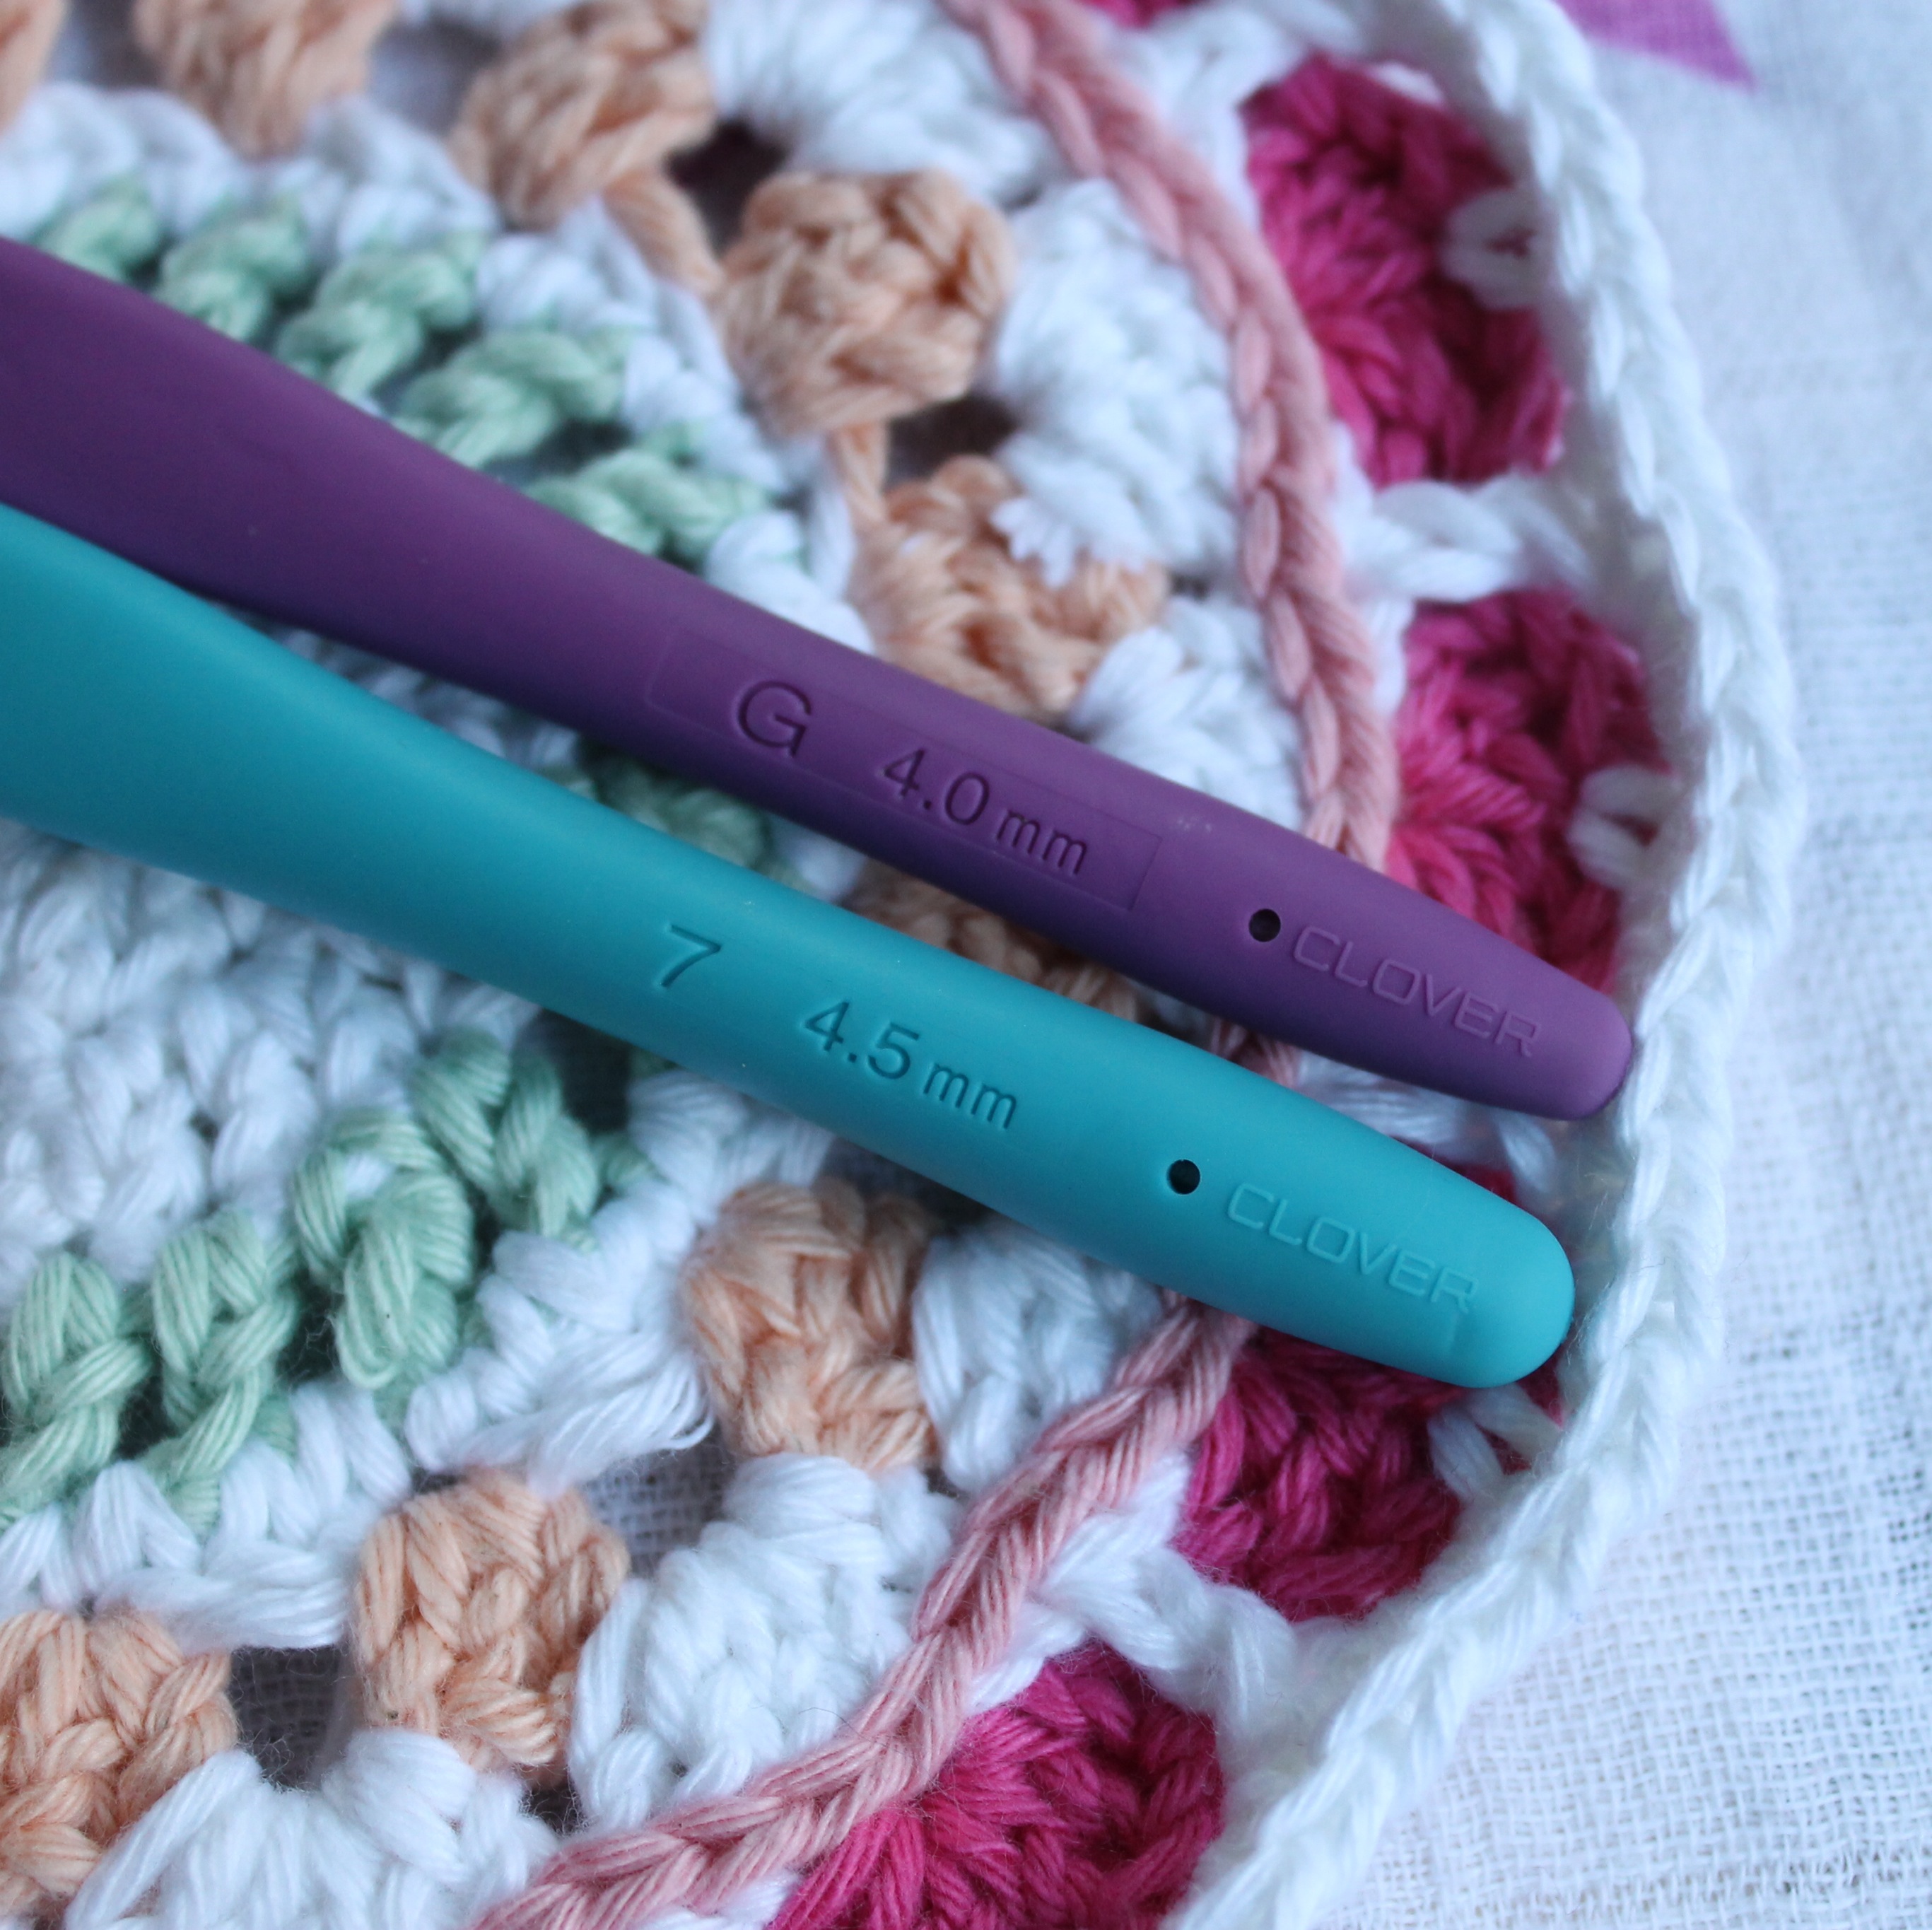
You’ll also need a 5mm crochet hook. scissors and a tapestry needle.

Abbreviations

(American terms)

MR – Magic Ring

DC – Double Crochet

VS – V-Stitch

HVS – Half V-Stitch

Inc – Increase

STS – Stitches (stitch count)

Notes

The beginning of each row begins with a CH3, which counts as the first DC and CH 1 to start your first V-Stitch of the row.  Below I will just use VS, but assume unless described otherwise that the first V-Stitch is a CH3, DC.  Always join into the chain space of the first V-Stitch.

When working the Half V-Stitch, still chain 3 at the beginning of the each row.

Oh, and did I mention that I’m a leftie?

Round 1

Start with a Magic Ring, chain 3 and work 9 DC into the ring, pulling it tight.  You’ll have 10 double crochets for your foundation.

10 DC into a magic ring

Round 2

VS Inc x5.  SLS into the first VS to join = 15 STS

To crochet a V-Stitch Increase, follow the instructions for a normal V-Stitch, but instead add a third V.  So, DC, CH1, DC into the same stitch, CH1, DC into the same stitch again.  Skip 1 stitch and either repeat the increase (as is needed in Round 2) or work an ordinary V-Stitch.

V-Stitch Increase - CH3, DC, CH1 DC, skip 1 stitch, V-Stitch in the next

V-Stitch Increase round

Round 3

(VS Inc, VS) x 5.  SLS into the first VS to join = 25 STS

INC, VS x 5 round

 Round 4

(VS Inc, 2 x VS) x 5.  SLS into the first VS to join = 35 STS

INC, 2VS x 5 Round

Round 5

VS x 20.  SLS into the first VS to join = 40 STS

VS x 20 Round

Round 6

(VS Inc, 3 x VS) x 5.  SLS into the first VS to join = 45 STS

Round 7

VS x 25.  SLS into the first VS to join = 50 STS

Round 8-12

VS x 25.  SLS into the first VS to join = 50 STS

Change colour

Change Colour

Round 13-15

VS x 25.  SLS into the first VS to join = 50 STS

Change Colour
Round 16

VS x 25.  SLS into the first VS to join = 50

Round 17

In this row we start making the brim.  We will count the CH 1 space in the V-Stitch as a stitch.  We will also be adding a few increases to widen the brim.

CH2, (2DC in the next stitch, which is the 1st CH space, then DC in the next 14 Stitches.  Repeat this 4 times and slip stitch to the first CH2 of the round. = 80 STS

DC in each stitch around, adding increases every 14 stitches

Round 18

HVS x 40 = 80 STS

Half VS around

Round 19

HVS x 40 = 80 STS

Finish off and weave in the ends.
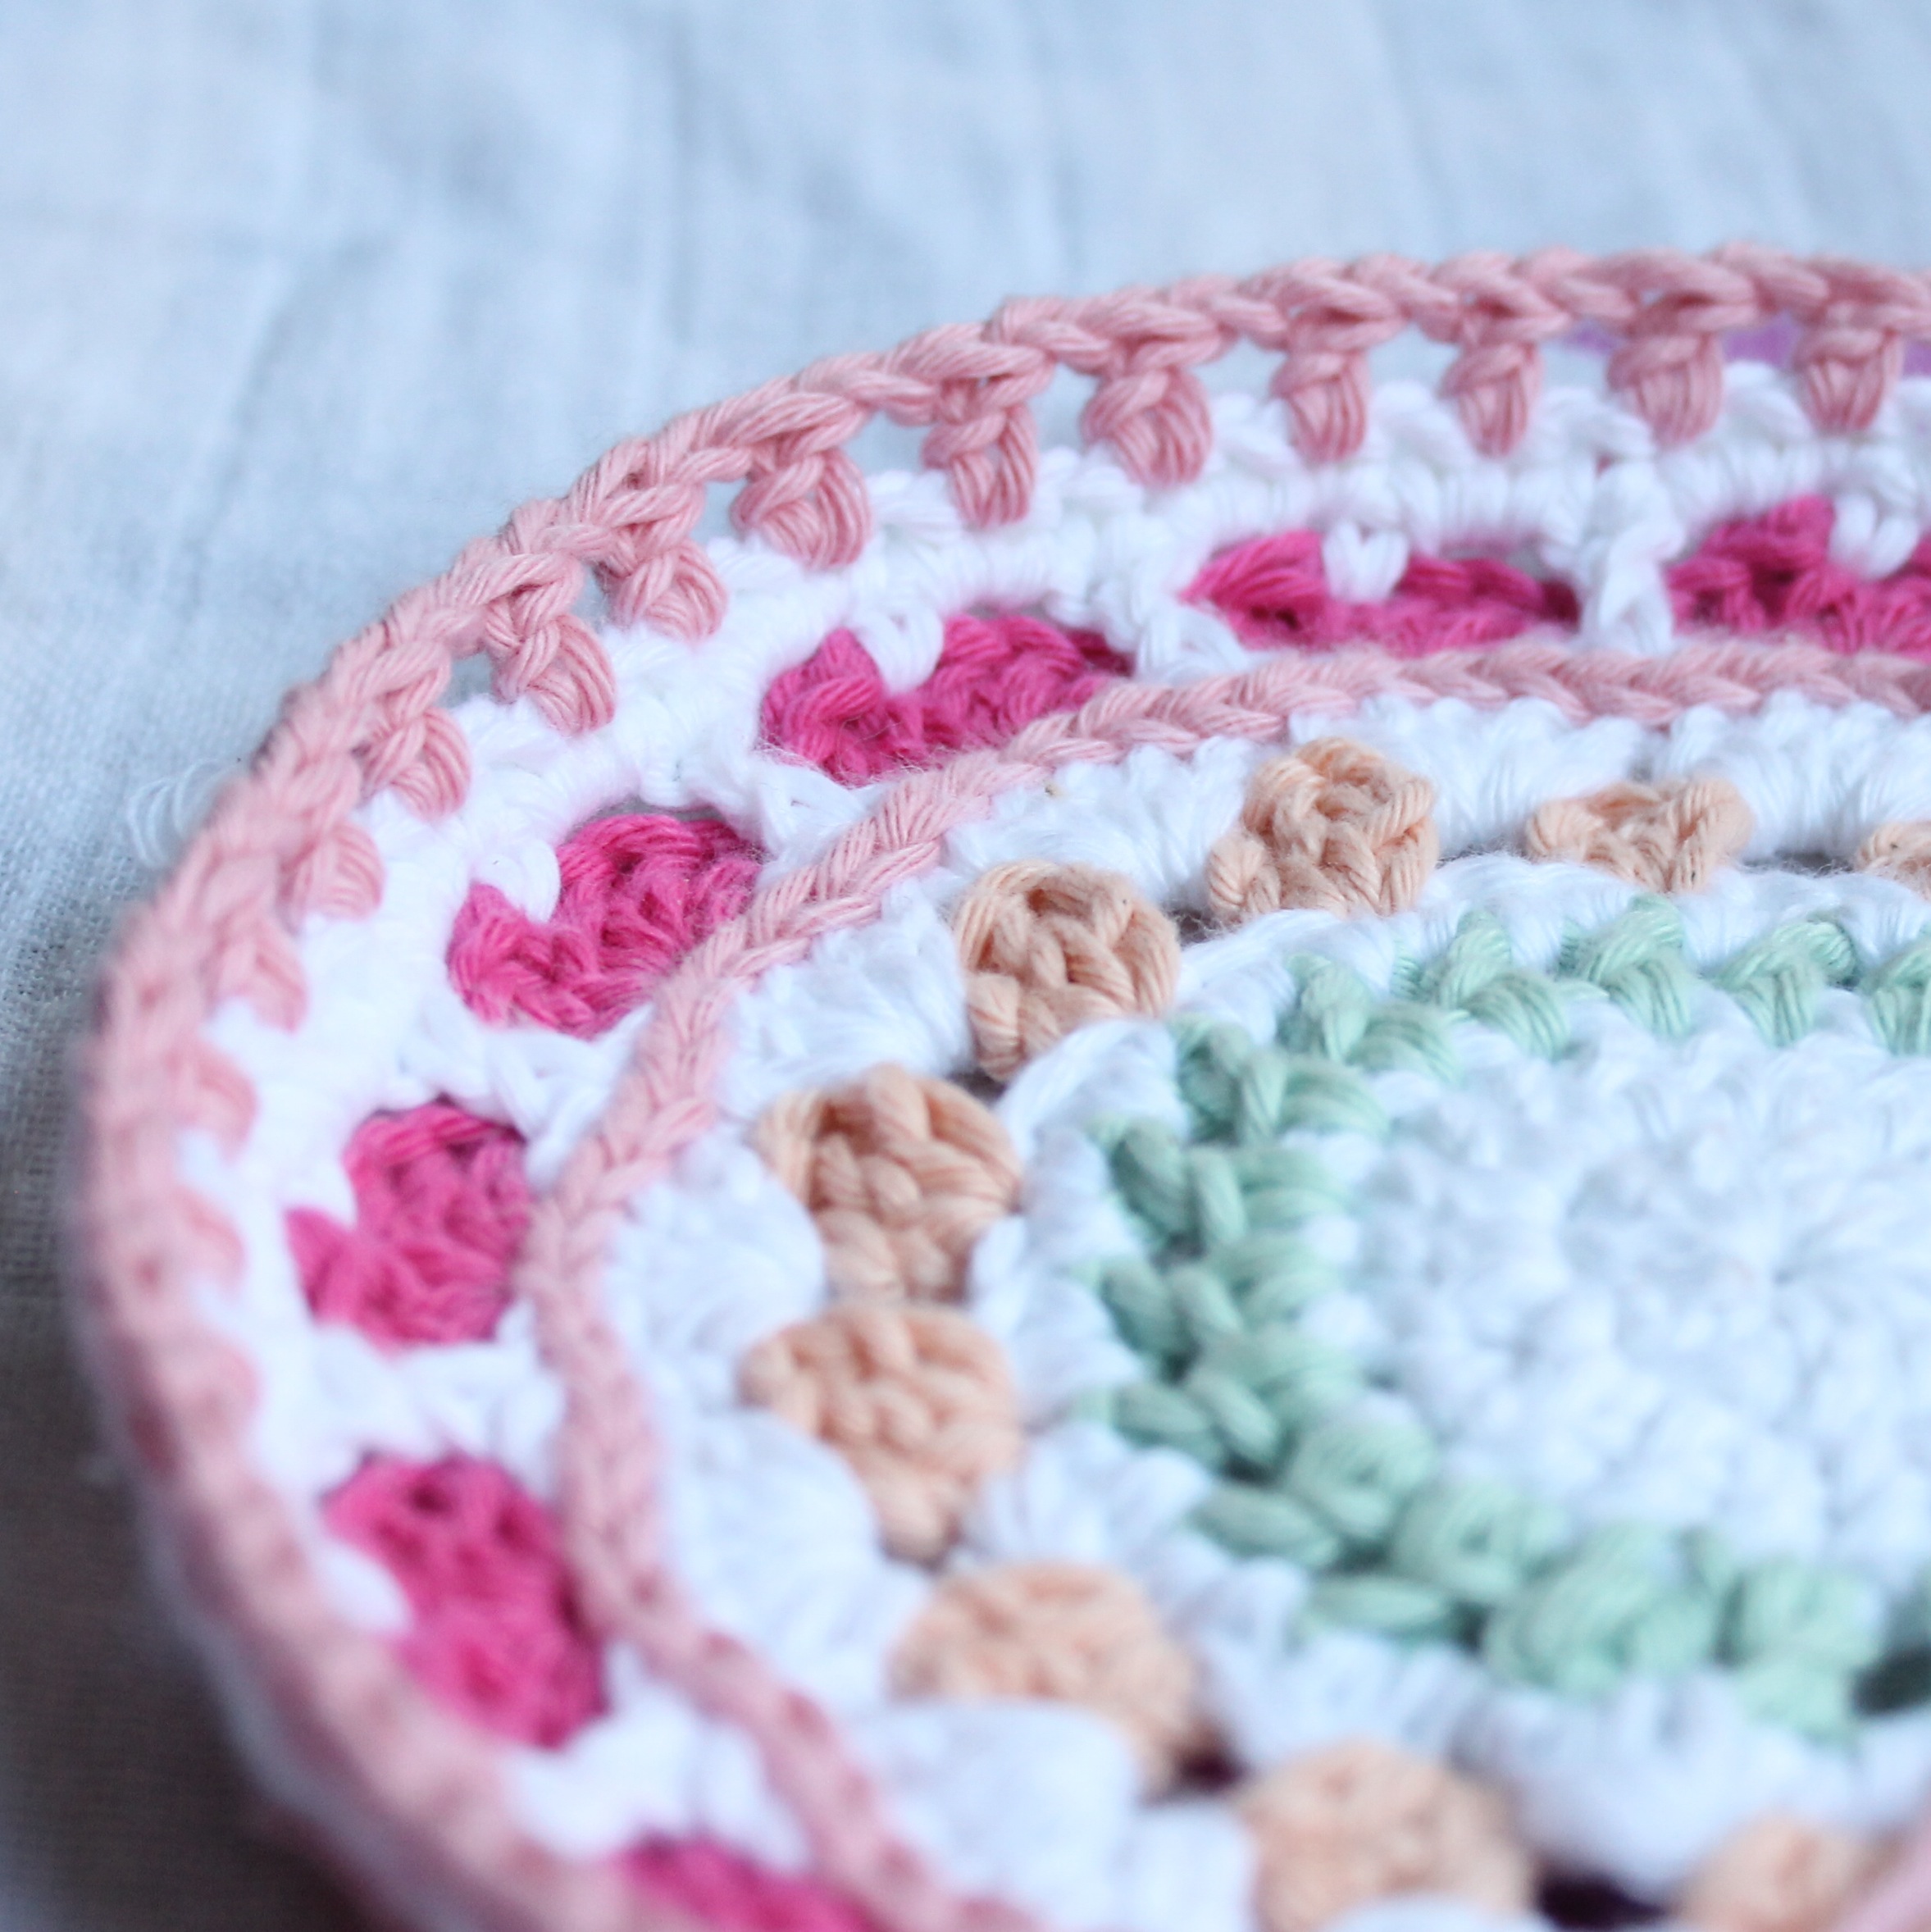
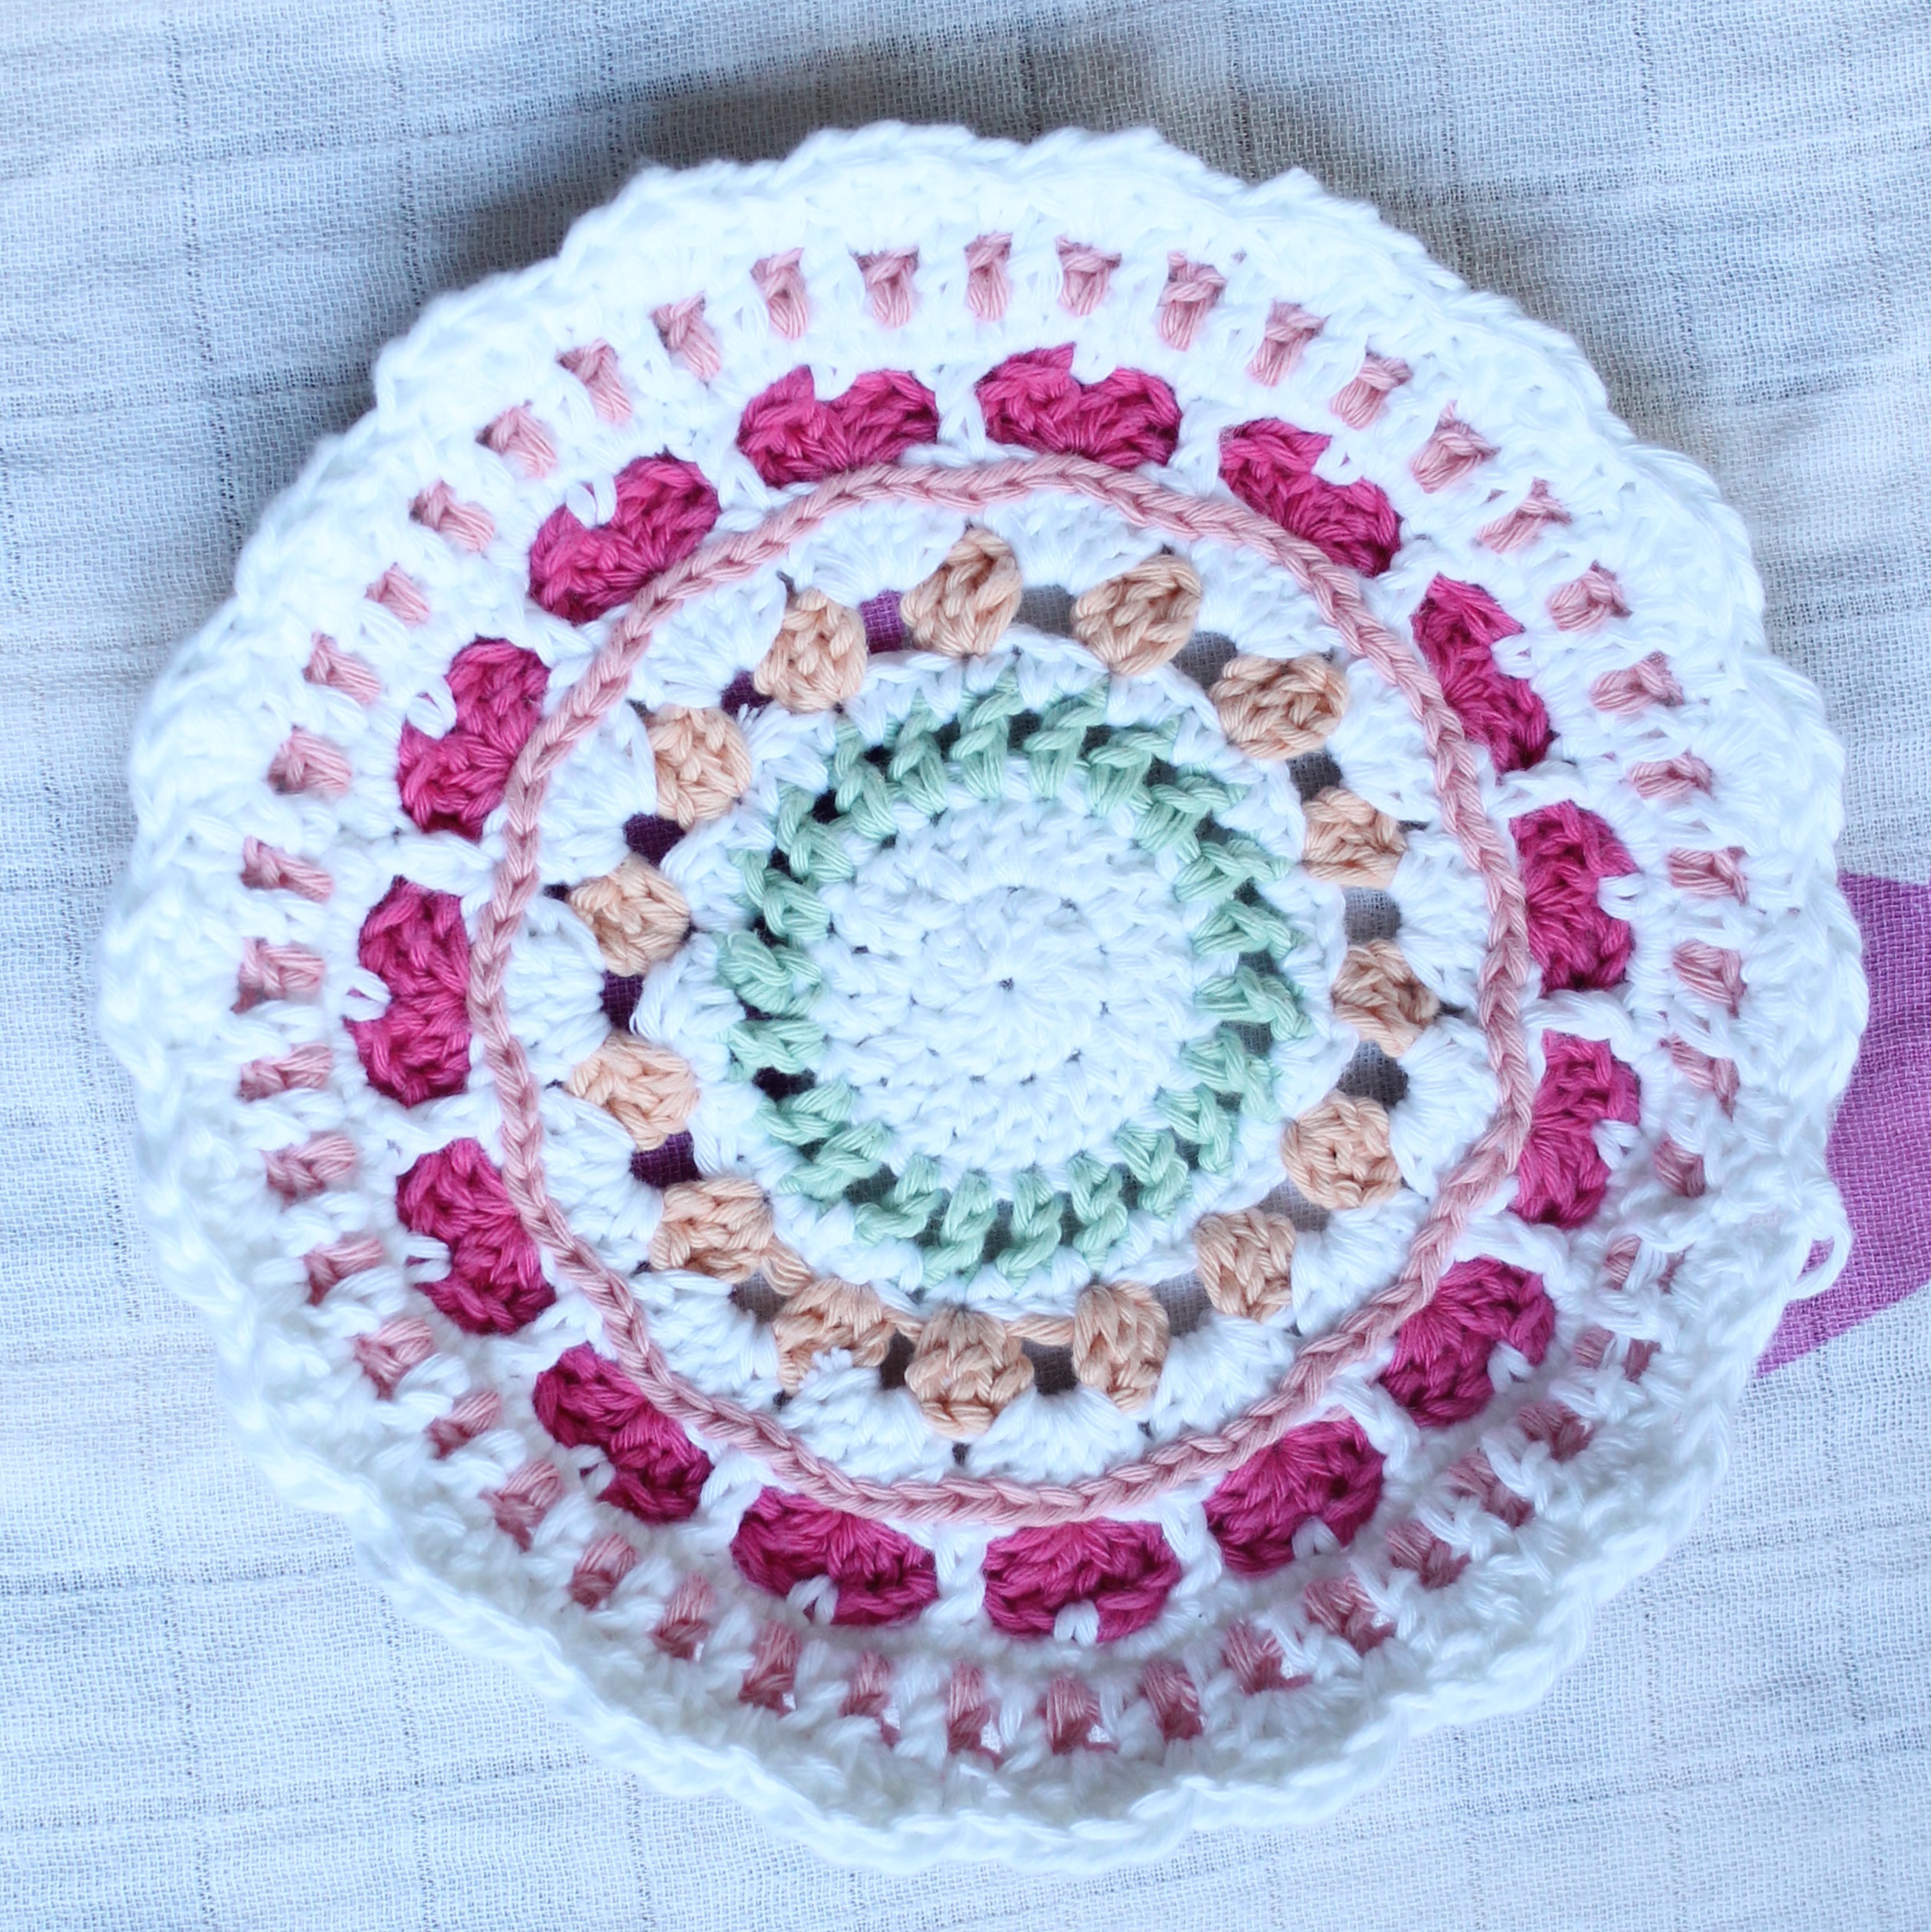
Sunburst

To make the sunburst, I experimented with lots of different flowers and picots and nothing really seemed to be right.  So, when I came across this scrubby pattern on Petals to Picots, I realised it would be perfect.  I just grew the sunburst with each colour instead of crocheting the entire base in one go.  Then I just tacked it onto the hat in the right spot.  You can pick up the pattern for free here.

Sunburst attached to Bucketful of Sunshine hat


Here’s the finished hat, modelled on my super-cute (just recovering from chicken pox) daughter:

Bucketful of Sunshine hat on missneriss.com - free pattern #scheepjes #scheepjeswol #cotton8 #crochet #freepattern Bucketful of Sunshine hat on missneriss.com, made with Scheepjeswol Cotton 8. #scheepjeswol #cotton8 #scheepjes

You’ve made it to the end, way to go!  I hope you enjoy making this adorable hat as much as I’ve enjoyed designing it.

Watch this space, coming soon are other sizes, including the 3-6 month old which is up next!

For updates and cute photos in the mean time, do follow me on both Facebook and Instagram, and I would be so excited if you would share your own projects with me!

https://www.facebook.com/madebyMissNerisshttp://instagram.com/miss__neriss


Spring Shawl – It’s Huge!

Finished.  After a month of picking it up and putting it down, it’s finally done.  And much more beautiful, and bigger, than I could have anticipated.

Spring Shawl made with Malabrigo Silky Merino on missneriss.com #crochet #yarn

It took a good day to block and dry, and was too big for my blocking board, so I had to break out the yoga mat so it would fit!

I’m just in love with it.  The colour, the texture, how soft it is, it’s a complete package.

Spring Shawl in Malabrigo Silky Merino on missneriss.com #crochet #yarn

Spring Shawl in Malabrigo Silky Merino on missneriss.com #crochet #yarn

And here’s the cutest little photo bomber ever:

Photo bombing

I used Malabrigo Silky Merino in Madre Perla (four skeins) that I picked up from houseofyarn.nl.  This shade is sold out, but there are lots of other beautiful ones to choose from.

I used the Spring Shawl pattern that I posted here and added a row of double crochets and picots for the edging because I found the original pattern finally!!!!

Yarn Love

Look what arrived for me this week!  The postman is already one of my good friends, but this may well have elevated him to BFF status.

Scheepjeswol Cotton 8 #cotton8 #scheepjes #ombre

It went straight into my project bag, and to the top of the project queue.

Scheepjeswol Cotton 8 in my favourite project bag #cotton8 #scheepjes

This last Saturday was King’s Day here in the Netherlands.  The first King’s Day ever I think.  We haven’t had a king here since the end of the 1800s, but for the longest time we’ve always celebrated Queen’s Day with fabulous national holiday and one of the biggest parties on the entire planet.

King's Day in Amsterdam, photo by Caitlyn from olympicwanderings.com

King’s Day in Amsterdam, photo by Caitlyn from olympicwanderings.com

My favourite part of King’s Day is the free market.  Everybody pours out onto the streets and sets up their own little stall, selling all their old stuff.  It usually starts the night before, with the really serious sellers and buyers camping out over night to get the best bargains and make the biggest profits.  Most of it is junk though.  We come across the same woman selling the same Disney videos (that’s right, videos) every year, so she’s obviously not in it for the money!

Speaking of junk, one man’s trash is another woman’s treasure, as they say.  We bought loads of cool things, including a brand new rain coat for our daughter, lots of picture books and I even found a loom!  However, this was my number one score for the weekend:

Originally this case housed massage machine from an era long past, but was only interested in the packaging.  A quick spray with some paint and gingham lining and I have myself the cutest little project case in the world!

Scheepjeswol Cotton 8 in my new pimped project case#cotton8 #scheepjes

Scheepjeswol Cotton 8 is a yarn that I haven’t had the chance to work with yet, but I know for sure that it will be a perfect fit for me.  Its vibrant colours are perfect for summer and it’s so, so soft.  It will be brilliant for amigurumi.

But that’s not the destiny of this batch.  Instead I have another project in mind.  Something beautiful for warm summer days.

Stay tuned and there’ll be a pattern in it for you….

I saw This on Pinterest Today

Crochet Teething Bead Necklace

When asked to make a teething necklace by a friend, I couldn’t get to my my local craft quick enough. I was on my bike before the request was even in.

Here’s what I came out with:

Yarn and beads to make the teething necklace

The idea behind the teething necklace is to give a baby a safe and interesting distraction while breastfeeding.  The baby can play with the balls and feel the different textures instead of digging their sharp little fingernails into already sensitive and tender skin.  I wish I’d thought of it when I was breastfeeding.

I wasn’t really sure what I was going to do, and how I was going to do it, but I decided to wing it and see what evolved.  And here’s what did:

Crochet teething necklace on missneriss.com #baby #crochet #teething

Crochet teething necklace on missneriss.com #baby #crochet #teethingI made it as simple as I possibly could, and also so that the beads could be taken off and rearranged into what ever style or colour combo that takes your fancy.  I love it.  The next one will be a rainbow coloured one.  Just need more beads!

Wink’s Summer Hearts Mandala

If you only follow one new blog this year, you must make sure it is A Creative Being.  Everything about Wink’s blog is beautiful.  The projects, the colours, the photography, everything.  It’s just one amazing package of crochet goodness. I have a few of her patterns, including the Design Wars shortlisted entry Dancing Hearts Wrap and most recently, the Summer Hearts Mandala which is gorgeous, gorgeous, gorgeous! I wanted to create the mandala in line with the Crochet Collective’s Mandala Crochet Along, but I’m just useless at sticking with timelines, my life is just too busy, plus I really wanted to make this mandala as my first, and it wasn’t on their schedule (but there are some extraordinary ones, so check it out). So, I decided to sit down one night and smash it out.  And smash it out I did.  It’s a seriously fast pattern to work up, and it looks amazing.  I had the yarn and colours that Wink used (or close enough to) on hand and I couldn’t imagine using anything else. The finished mandala with the tension being too tight But I had a problem.  It’s difficult to see above, but instead of lying flat, the mandala has curled edges.  See what I mean? Mandala, tension too tight on missneriss.comSo I decided to leave it for the night as it was late and I was tired, and I wanted to fix it in the morning when I was feeling fresh again. The problem I have is that although I was using the exact same yarn, and the exact same hook as the pattern, my tension is far tighter than Winks, so the edges curled up on me.  This is a result of all the amigurumi projects I’ve been focusing on – you have to crochet tight so as to keep the stitches close together (I usually use at least one hook size down than what the yarn calls for). Here’s how I hold my yarn, how do you hold yours?  See how tightly wrapped around my little finger it is? Here's how I hold my yarn, super tight tension after so many amigurumi projects.But instead of frogging the entire project, I decided to just rip out the last couple of rows, to where it started to curl. The offending rowThis is the row that was causing the problem, before that I was progressing beautifully. I decided that because it’s difficult for me to loosen my tension (old habits die hard, right?), I would go up half a hook size and try my best. Changing from a 4mm to a 4.5mm hook to complete the projectI love my Clover hooks, they are the single best crochet related purchase I’ve made so far. And here we go!  The finished mandala! Summer Hearts Mandala by A Creative Being on missneriss.comSee how beautifully flat it lies now? It has a slight curve, a bit like a saucer, but I think that’s the intention, and I love it. See how it lies flat?  Perfect Summer Hearts Mandala on missneriss.comThe Summer Hearts Mandala was a beautiful project to make, I’m definitely going to be making more, and will experiment with different colours. Would you like me to make you one? By all means feel free to get in contact, I’d be honoured. Have you made any mandalas?  Which pattern is your favourite? There are so many to choose from and they’re all beautiful.

Candace Scarf Pattern

Remember a couple of weeks ago when I shared the Candace Scarf that I made for my mum?  Well, in that post I promised a pattern, but of course I completely forgot to follow up until I was reminded at the weekend.  Thanks for that Anke!

You can find the pattern in the description of this pin:

I also promised to tell you how I hacked the pattern as it just didn’t seem to be correct, and I also made it more fluid, so you don’t have to cut and join, which I hate doing!

Below is how the beginning rows of the scarf look:

The beginning rows of the Candace ScarfWhen it comes to joining, the pattern asks you to complete the trim, fasten off, and join at the other side.  I decided to leave the trim out entirely, but you can keep it in if you like.  I just found it unnecessary for my tastes. (I think initially I had run out of yarn, so that was the decider for me.)

So, in the pattern, row four instructs you to make the bows, but instead I completely skipped that row and went on to the next set, because I planned to make the bows using my joining row at the end.  Here’s the last row, waiting to be joined:

The last rows before joiningInstead of sewing the ends together as the pattern instructed me, holding both ends of the scarf together and working through four loops at once (both stitches), I single crocheted in the first three stitches (of both ends), chained 5, single crocheted around the three chains, from the beginning end of the scarf to make a bow, then chained 5 again, single crocheting in the next three stitches (all loops, joining both ends of the scarf).  I repeated this to the end, fastened off and was done.

Candace Scarf on missneriss.com #malabrigo

For me, it just made for a tidier join and also means less ends to weave in!  We all hate weaving in ends, right?

If you want to retain the trim, you can use this method still, by doing the trim down one side, joining across, then going down the other side. Still no need to fasten off and join to continue, so you should be able to make the scarf in one long piece (except when you run out of yarn and have to rejoin).

I made my latest Candace Scarf using Malabrigo Silky Merino, which I picked up from houseofyarn.nl here in the Netherlands.  It is such a gorgeous yarn, I promptly bought half a dozen more skeins.  I have an order to make a black version, and am now on a mission to find the “perfect black”.

Any tips for a simply gorgeous yarn that is hand dyed to show variation and is merino based? (I’m dedicated to merino, having grown up on a merino sheep farm.)

Minion 2.0

My love for minions never ends.  A couple of weeks ago I shared with you a new minion in progress here, and now he’s finished and has relocated to his new Gru!

Minion Madness, found on missneriss.com

I’m so happy with the way he turned out, I think he’s even better than the first one I made.  The next phase is to write a pattern for him so I can share the minion goodness with everyone!

Hello Minion! Found on missneriss.com


He’s much bigger than other minions I’ve made, and quite a bit fatter.  He’s the perfect size for a toddler to play with, and sturdy enough that he doesn’t have to sit on a shelf out of reach.  He’s a real toy.

I used Drops Paris in yellow and denim and some scrap in white, grey and black for the detailing.  I used felt for the mouth and a 10mm safety eye.


You can also see more pics, and follow me, on Instagram: