I want one (all) of these so badly!
Candy Shop Crochet Hooks: Choose from Sizes F, G, H, I, J, K and L


You know how much I love a good crochet hack. I love a good foundation single crochet, and I LOVE Moogly’s Chainless Starting Double Crochet so much that I use it exclusively. Well, I did. Now I have a new love. It’s Mamachee’s Double Crochet Hack! Seriously, this hack has revolutionised my crochet style! Let me show you some examples.
I’ve been working on this Convergence top for about a month now, and for the first half of the back side, I used Moogly’s version, but on the top half I started using Mamachee’s. Can you spot the difference?
Both are excellent methods, but you can see the edging to the right is almost perfectly straight. And firm. It’s going to be excellent when the time comes (in another month or so?) to sew the sides together.
You can really see the difference on the feature rows of the top. Here’s the Moogly version:
And here’s the Mamachee version:
Great, isn’t it!
Want the hack? Get it here:

Image from mamachee.com
Posted in Crochet Hacks, Tutorials
Tagged craft, crochet, crochet hack, crochet pattern, DIY, double crochet, haken, handcrafted, handmade, MissNeriss, straight double crochet, tutorial
Why, yes it is!

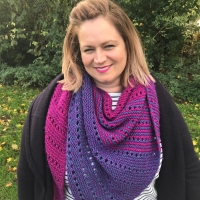
This is a scarf I made for a family friend, and it flew off to Australia with my brother when he went home last week.
This time I used Malabrigo Worsted in Lettuce that I picked up from wolwereld.nl and I also decided to add a border which worked very well too.
 Instead of using a particular stitch count, what I did was line my stitches up with the middle of the bows and the mid-point of the space between.
5DC in the same stitch, SC in the mid-stitch between the bows, then 5DC in the middle stitch of the bow. This ensured that I didn’t have any left over stitches from mis-counting (which can easily happen when you have a long project to border) and it looks great.
I also used the wonderful hack that I found on Mamachee, so I saved a lot of yarn by not having to do a SC round first. More on that hack in a post coming soon!
Want the pattern? Grab it here: The Candace Scarf.
Tagged chunky yarn, craft, crochet, crochet pattern, free pattern, haken, hand crafted, handcrafted, handmade, malabrigo, projects, yarn
How’s this for cool?
My friend Tammy, who incidentally is one of the first bloggers I found when I moved to the Netherlands, is an amazingly gifted crafter. She can crochet like nobody’s business, and man, the girl can knit! She just whipped up some of the most beautiful outfits you could imagine and I’m in absolute awe of her skills!
It was Tammy who gave me the inspiration to make the Convergence top (which is still a WIP), and her result is so beautiful that EVERYONE wants to get their hands on it! Just today, Tammy has been featured on the front page of Ravelry. If you don’t know, Ravelry is about the largest fibre arts database on the planet!
Here she is, isn’t she beautiful?
http://instagram.com/p/o0Qbs0NB1G/
You should go and check out what Tammy’s been doing on her blog. She’s been neglecting it for ages, and has just started posting again (yay!), so get amongst it!
Posted in Off Topic
A couple of weeks ago I decided that I wanted to crochet a dress for my daughter. I haven’t made a lot of clothing, but the few pieces I have made are wonderful. They’re so much fun, and give such a feeling of accomplishment. So when I came across this pattern, I knew it was the right one.

I especially loved the texture and the romantic neckline, but had to find the perfect yarn.
Eventually I settled on using Scheepjes Softfun, a yarn that I’ve heard so much about, but hadn’t had the opportunity to use yet.
But before I could begin, I had to check a few projects off the list. I had to finish a scarf, a couple of amigurumi projects, and finalise the Bucketful of Sunshine pattern, but once they were all out the way, it was all systems go!
I just love the neckline on this pattern, it’s just so beautiful.
The project was surprisingly easy. It took me a few swatches to get the gauge right, as I crochet much tighter than the average designer, it seems. In the end I had to upsize to a 4.5mm hook (the pattern calls for a 3.5mm hook) which seems to be about the norm for me now.
Here is the end result. I’m so happy with the outfit, my daughter looks so cute!
Thanks to Carrie for this photo, taken at the weekend:
http://instagram.com/p/osnnHEB5-S/
And here she is, with her first love: Peppa Pig.

Now I’m hoping for a long, hot summer so we can wear the dress every day!
Posted in Etsy, Pattern, Patterns, Projects, Scheepjes, Scheepjeswol
Tagged craft, crochet, crochet dress, crochet pattern, dress, etsy, haken, MissNeriss, pattern, project, scheepjes, scheepjeswol, softfun, summer, yarn

Here it is, the tutorial for my Bucketful of Sunshine Hat! My daughter absolutely loves it, and so do I. And it’s ready, just in time for the glorious weather in the Netherlands.

Let’s get started, shall we? This tutorial will show you how to make a hat to fit a toddler/preschooler. My daughter has a small head for her age (it’s a family thing, so does my husband), so if your toddler’s a bit bigger, go up half a hook size, it won’t matter.
This hat is made using the V-Stitch and the Half V-Stitch. The half V-stitch may well be a made up term, but it’s essentially the same stitch as a normal V-Stitch, but using the half double crochet instead of a double crochet. You can V-Stitch using whatever height stitch you like really, but Google wouldn’t tell me the official name, so I’ve assigned one to it.
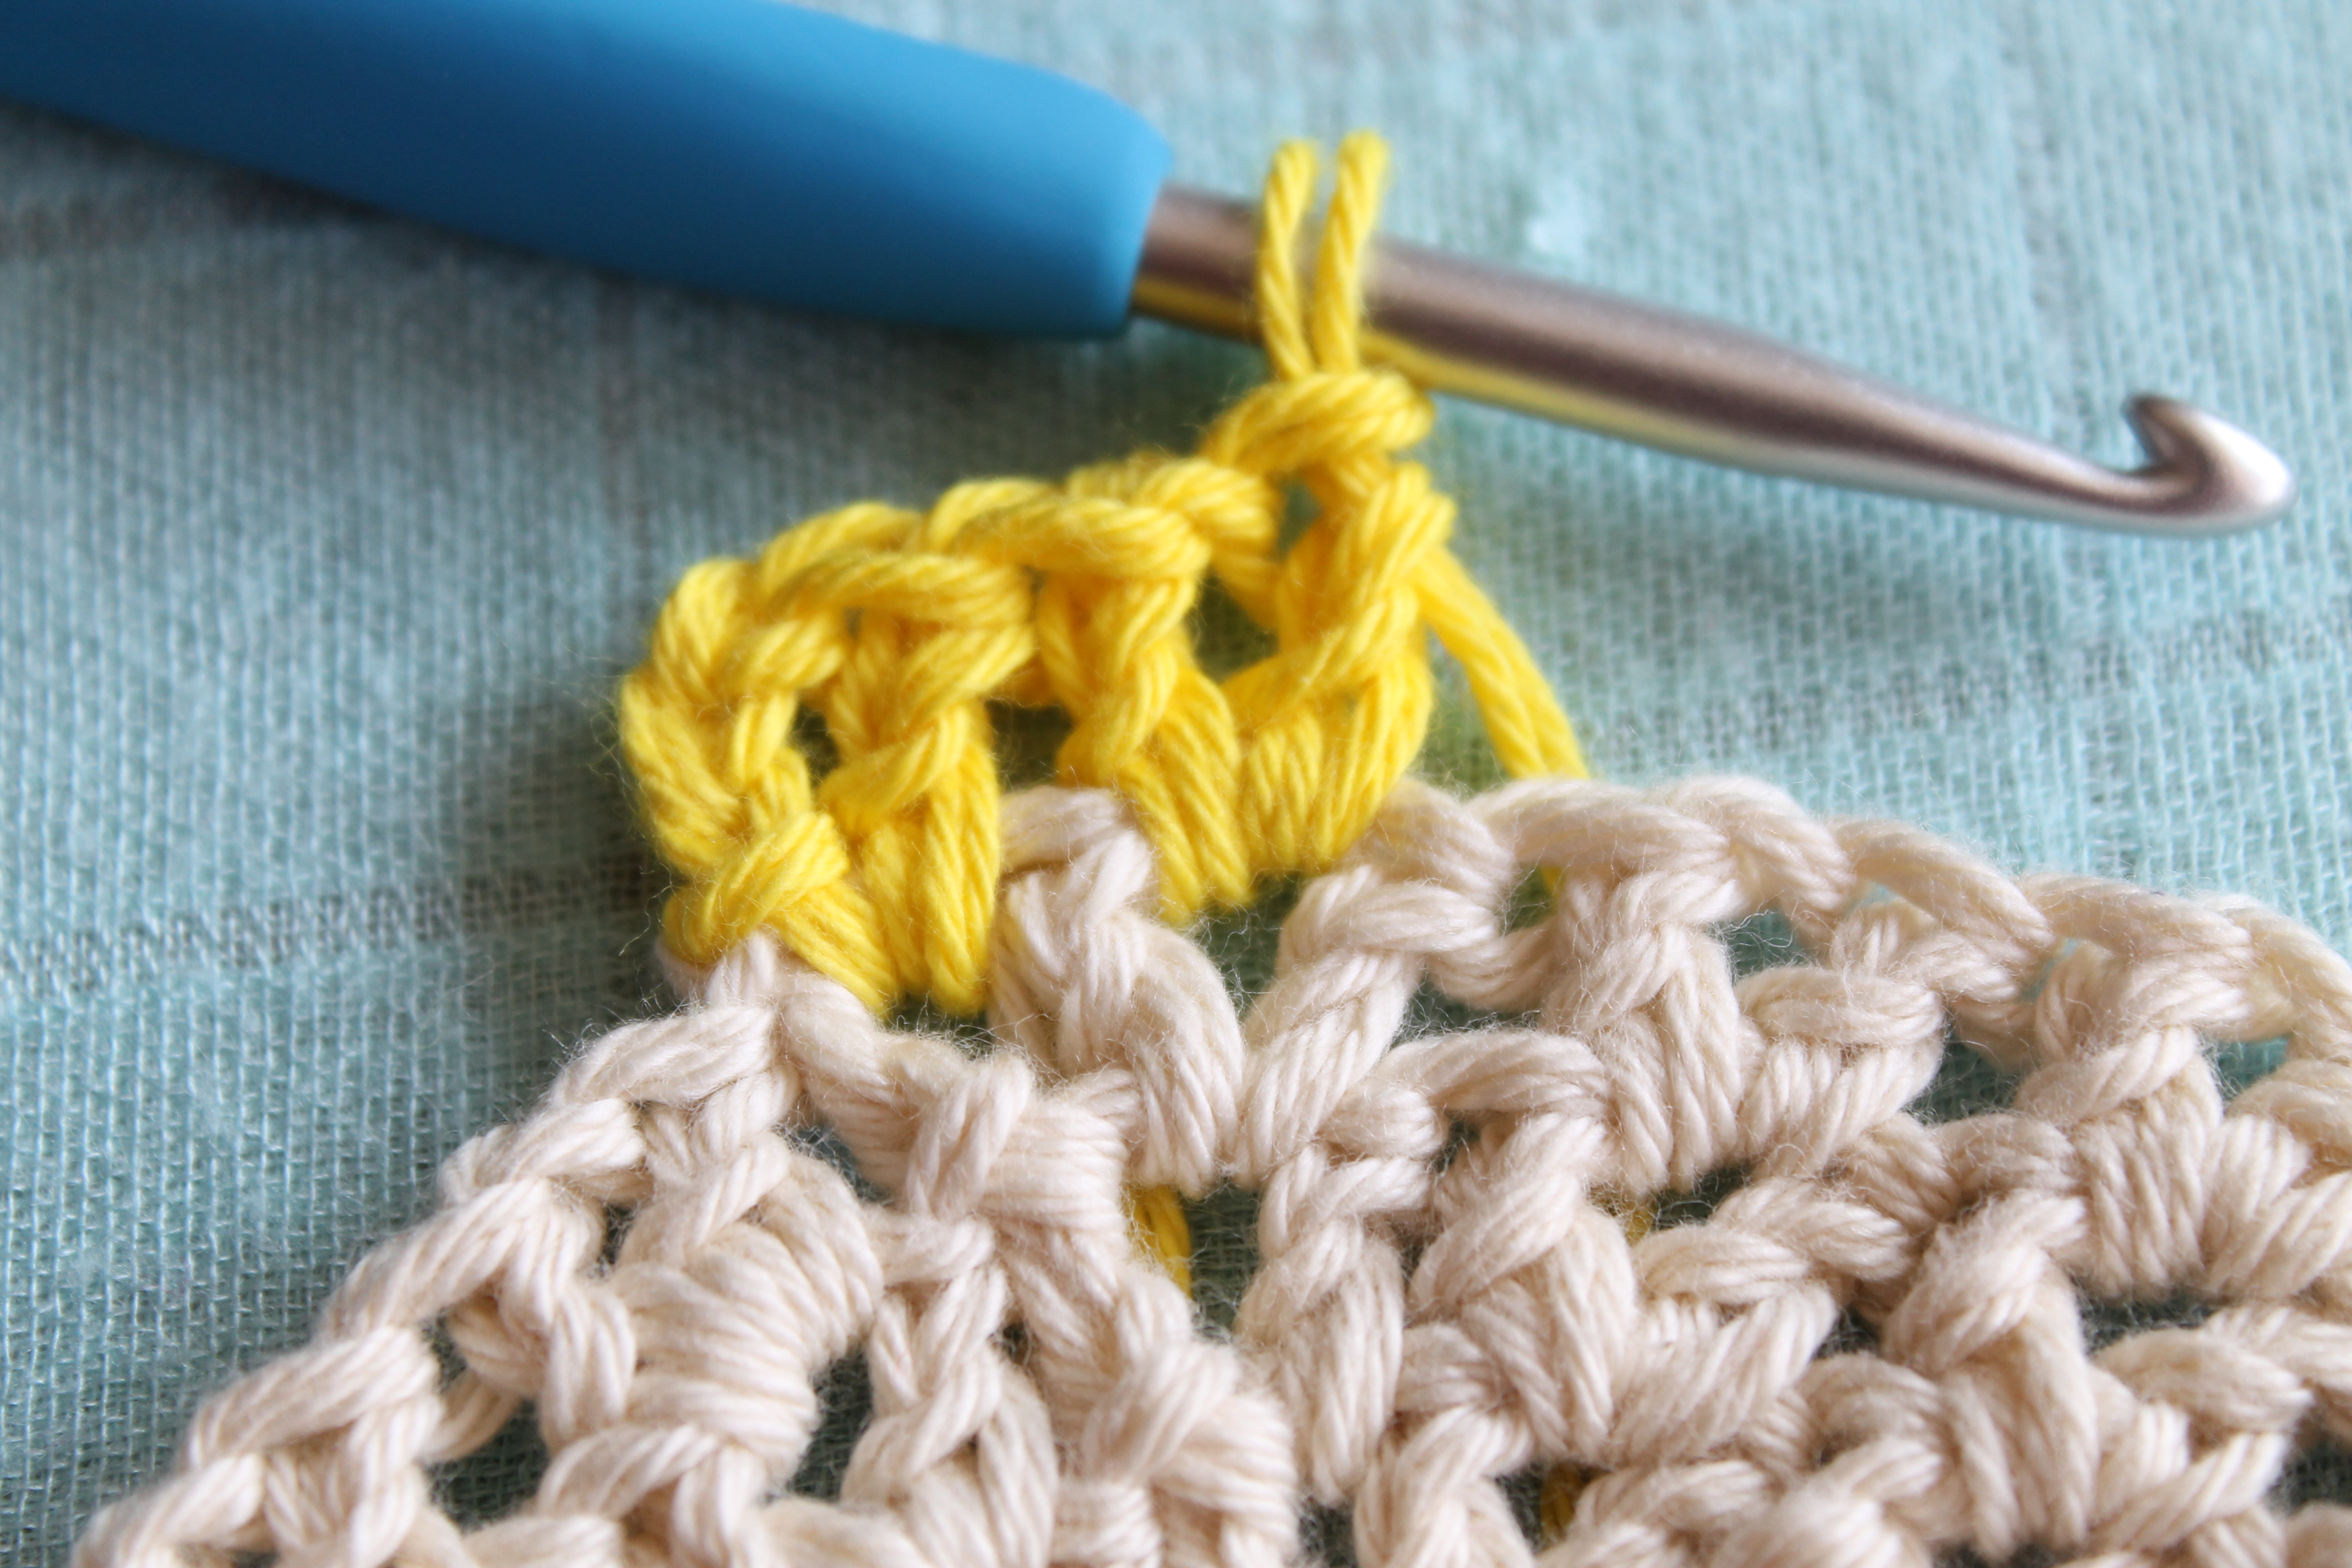
The V-Stitch is a very easy stitch to master, it is essentially a double crochet, chain 1 and double crochet in the same stitch. Then you skip a stitch and repeat in the next. When it comes to the next row, instead of doing the V-Stitch into the double crochet stitch, you do it into the chain 1 space.
A bit like this:

V-Stitch step 1, chain 3

V-Stitch Step 2 – DC into same stitch

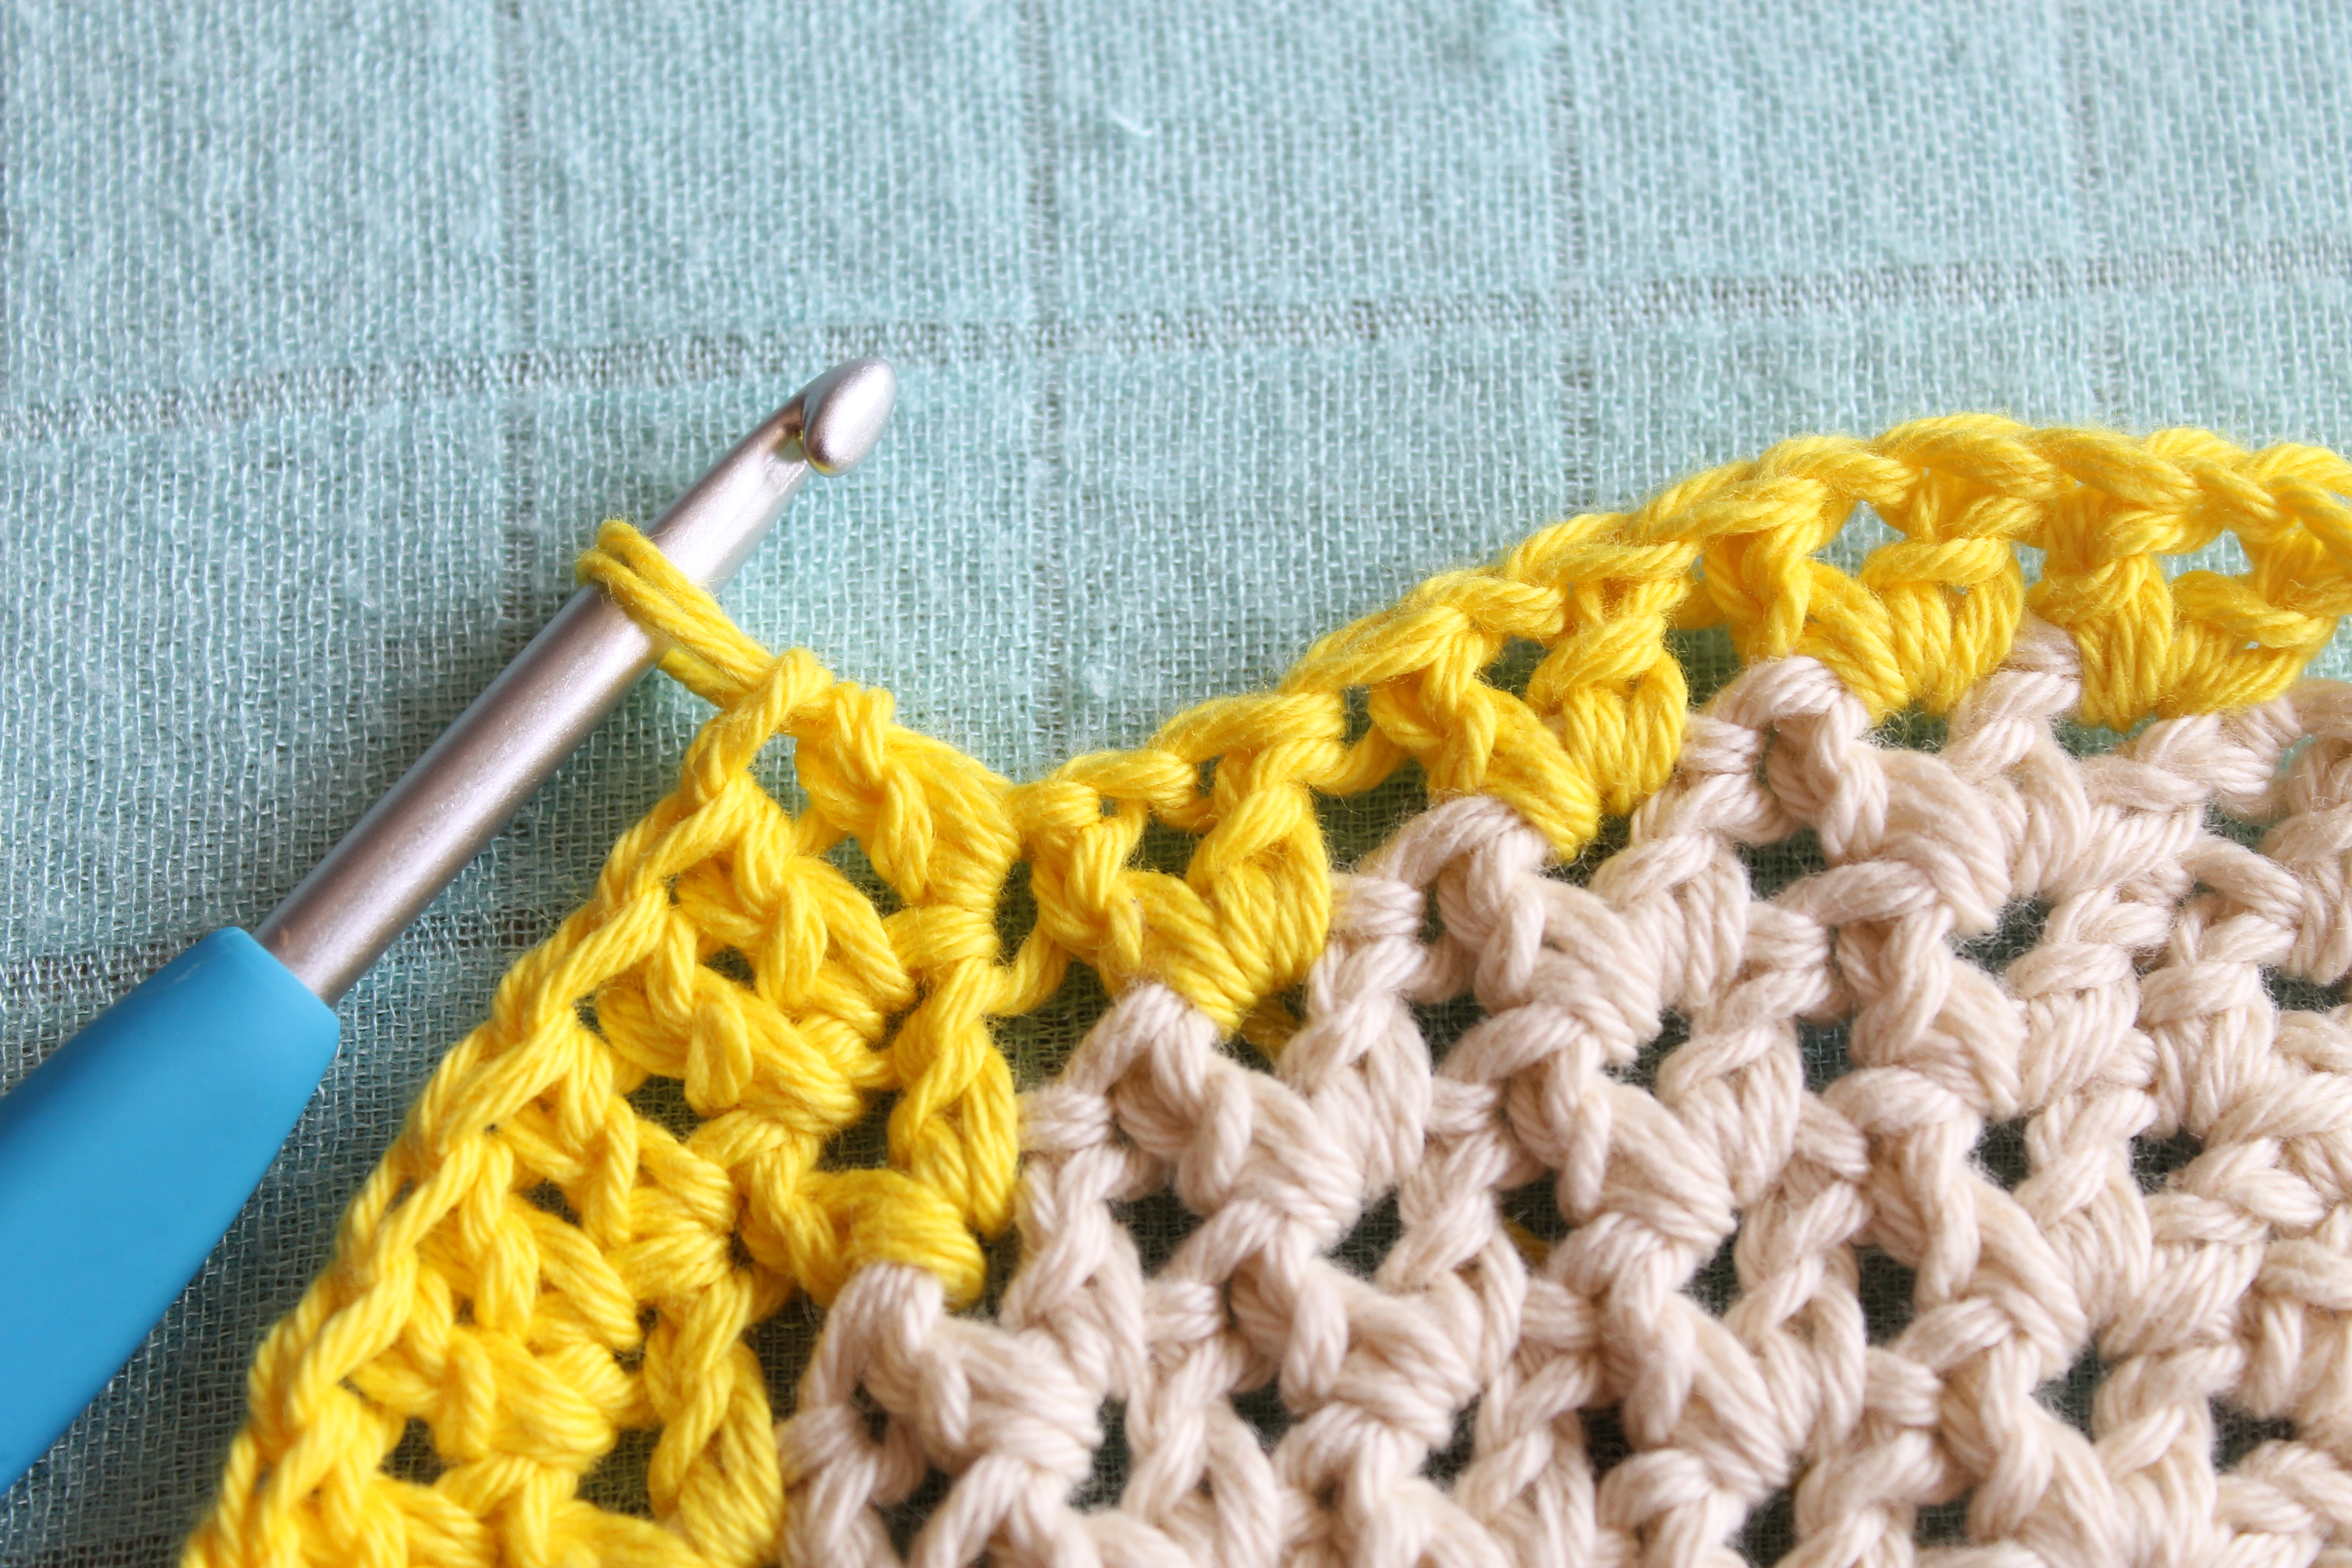
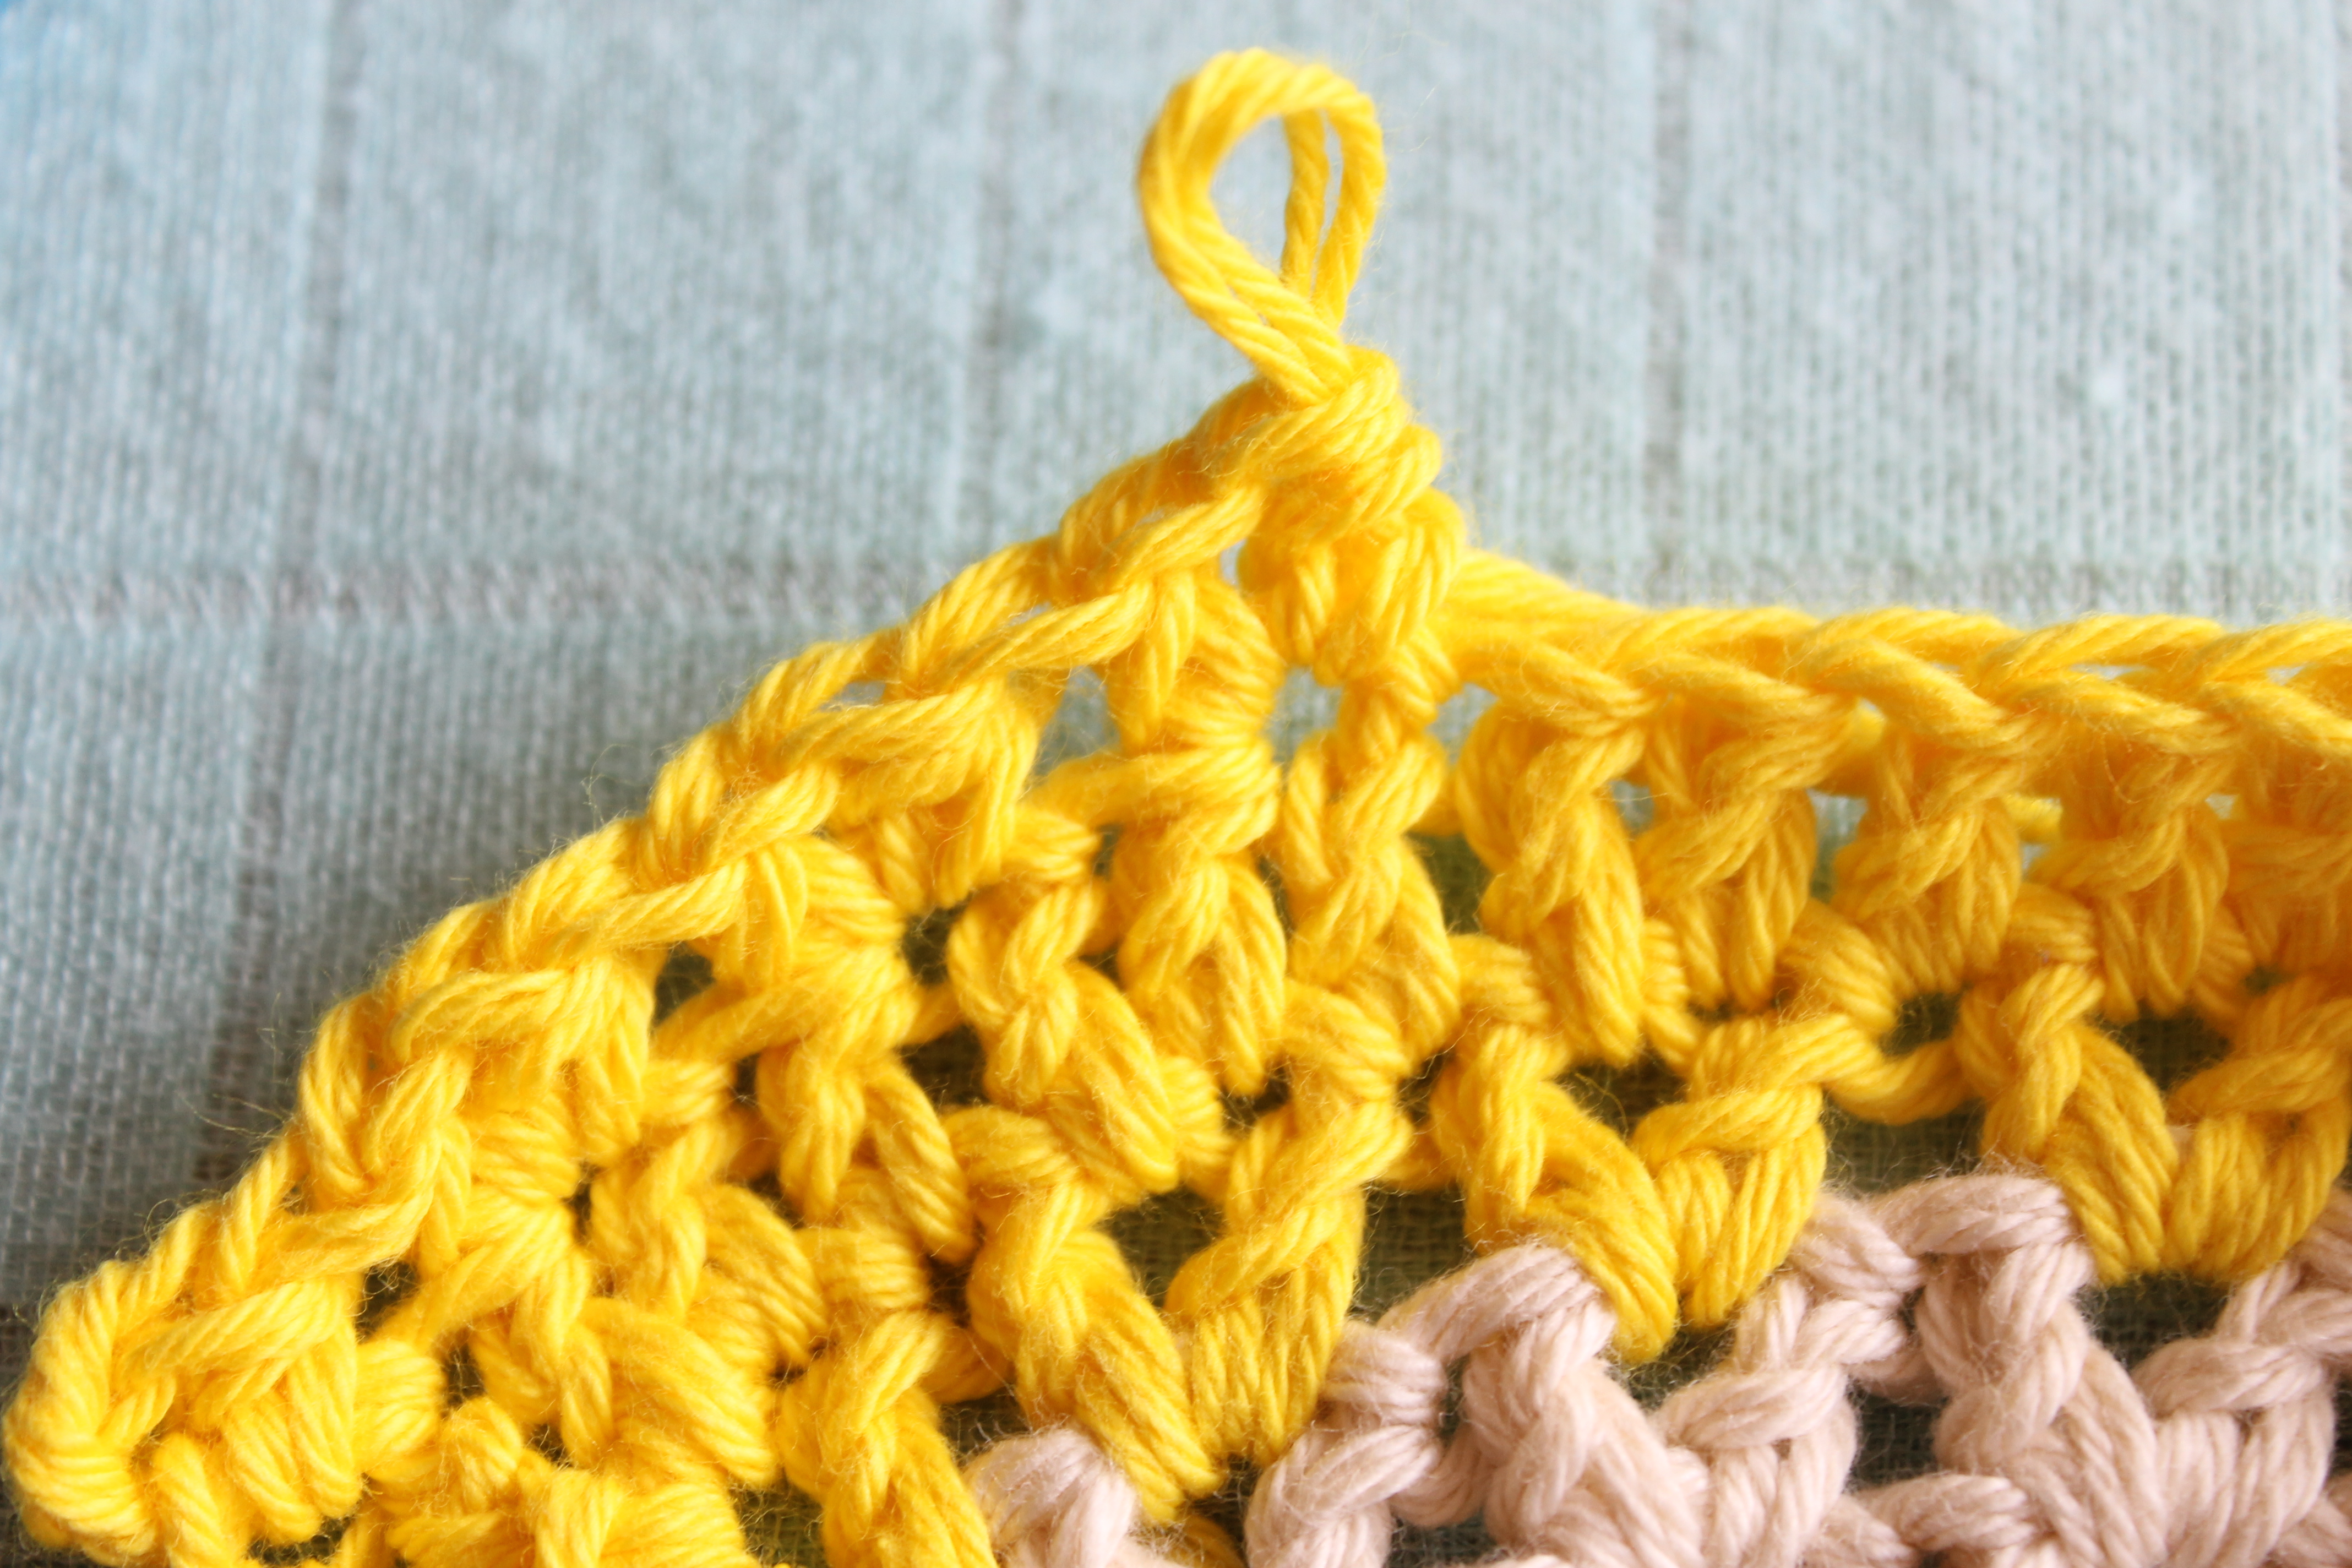
V-Stitch step 3 – skip 1 stitch, DC into the next stitch

V-Stitch Step4 – Chain 1

V-Stitch step 5 – DC into the same stitch
And there you have it! The V-Stitch
The Half V-Stitch is the same process, using a half double crochet instead.
Scheepjeswol Cotton 8 in three shades of the same colour. I used yellow (508, 551, and 655). The best thing you can do is cake the yarn so you can pull from both ends, because for this project we’re using two strands together.
You’ll also need a 5mm crochet hook. scissors and a tapestry needle.
(American terms)
MR – Magic Ring
DC – Double Crochet
VS – V-Stitch
HVS – Half V-Stitch
Inc – Increase
STS – Stitches (stitch count)
The beginning of each row begins with a CH3, which counts as the first DC and CH 1 to start your first V-Stitch of the row. Below I will just use VS, but assume unless described otherwise that the first V-Stitch is a CH3, DC. Always join into the chain space of the first V-Stitch.
When working the Half V-Stitch, still chain 3 at the beginning of the each row.
Oh, and did I mention that I’m a leftie?
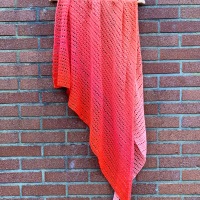
Start with a Magic Ring, chain 3 and work 9 DC into the ring, pulling it tight. You’ll have 10 double crochets for your foundation.

VS Inc x5. SLS into the first VS to join = 15 STS
To crochet a V-Stitch Increase, follow the instructions for a normal V-Stitch, but instead add a third V. So, DC, CH1, DC into the same stitch, CH1, DC into the same stitch again. Skip 1 stitch and either repeat the increase (as is needed in Round 2) or work an ordinary V-Stitch.

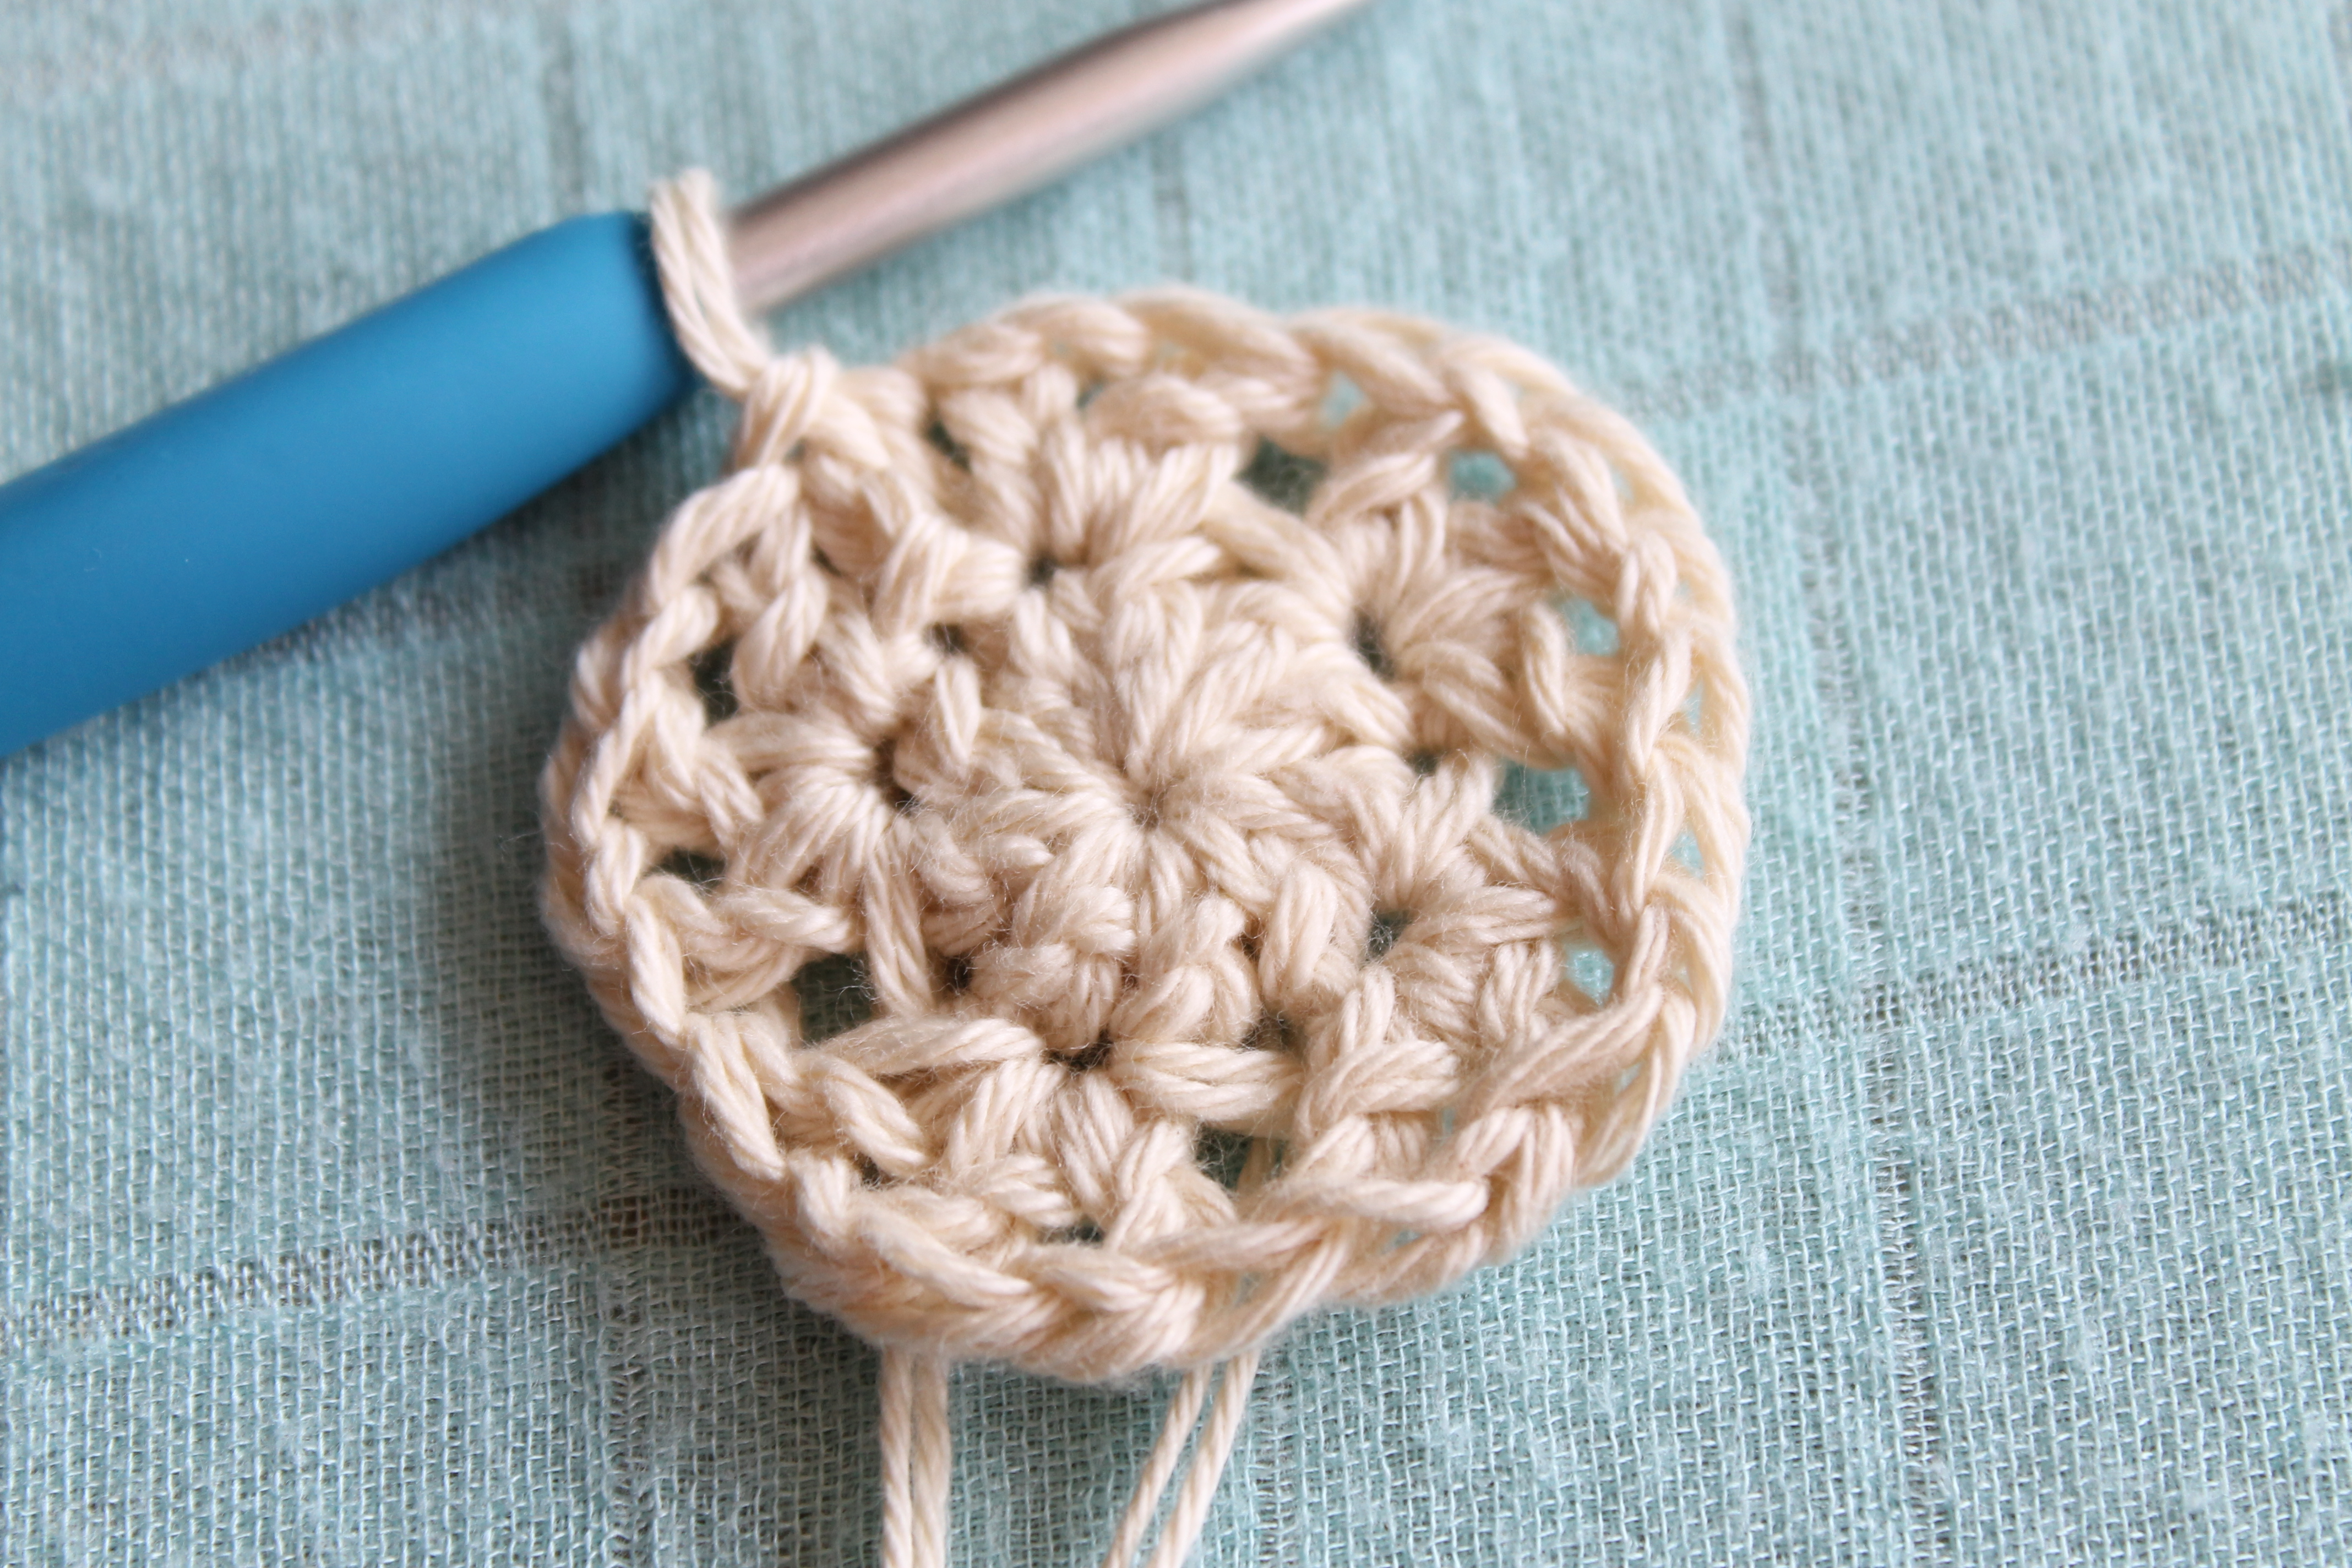
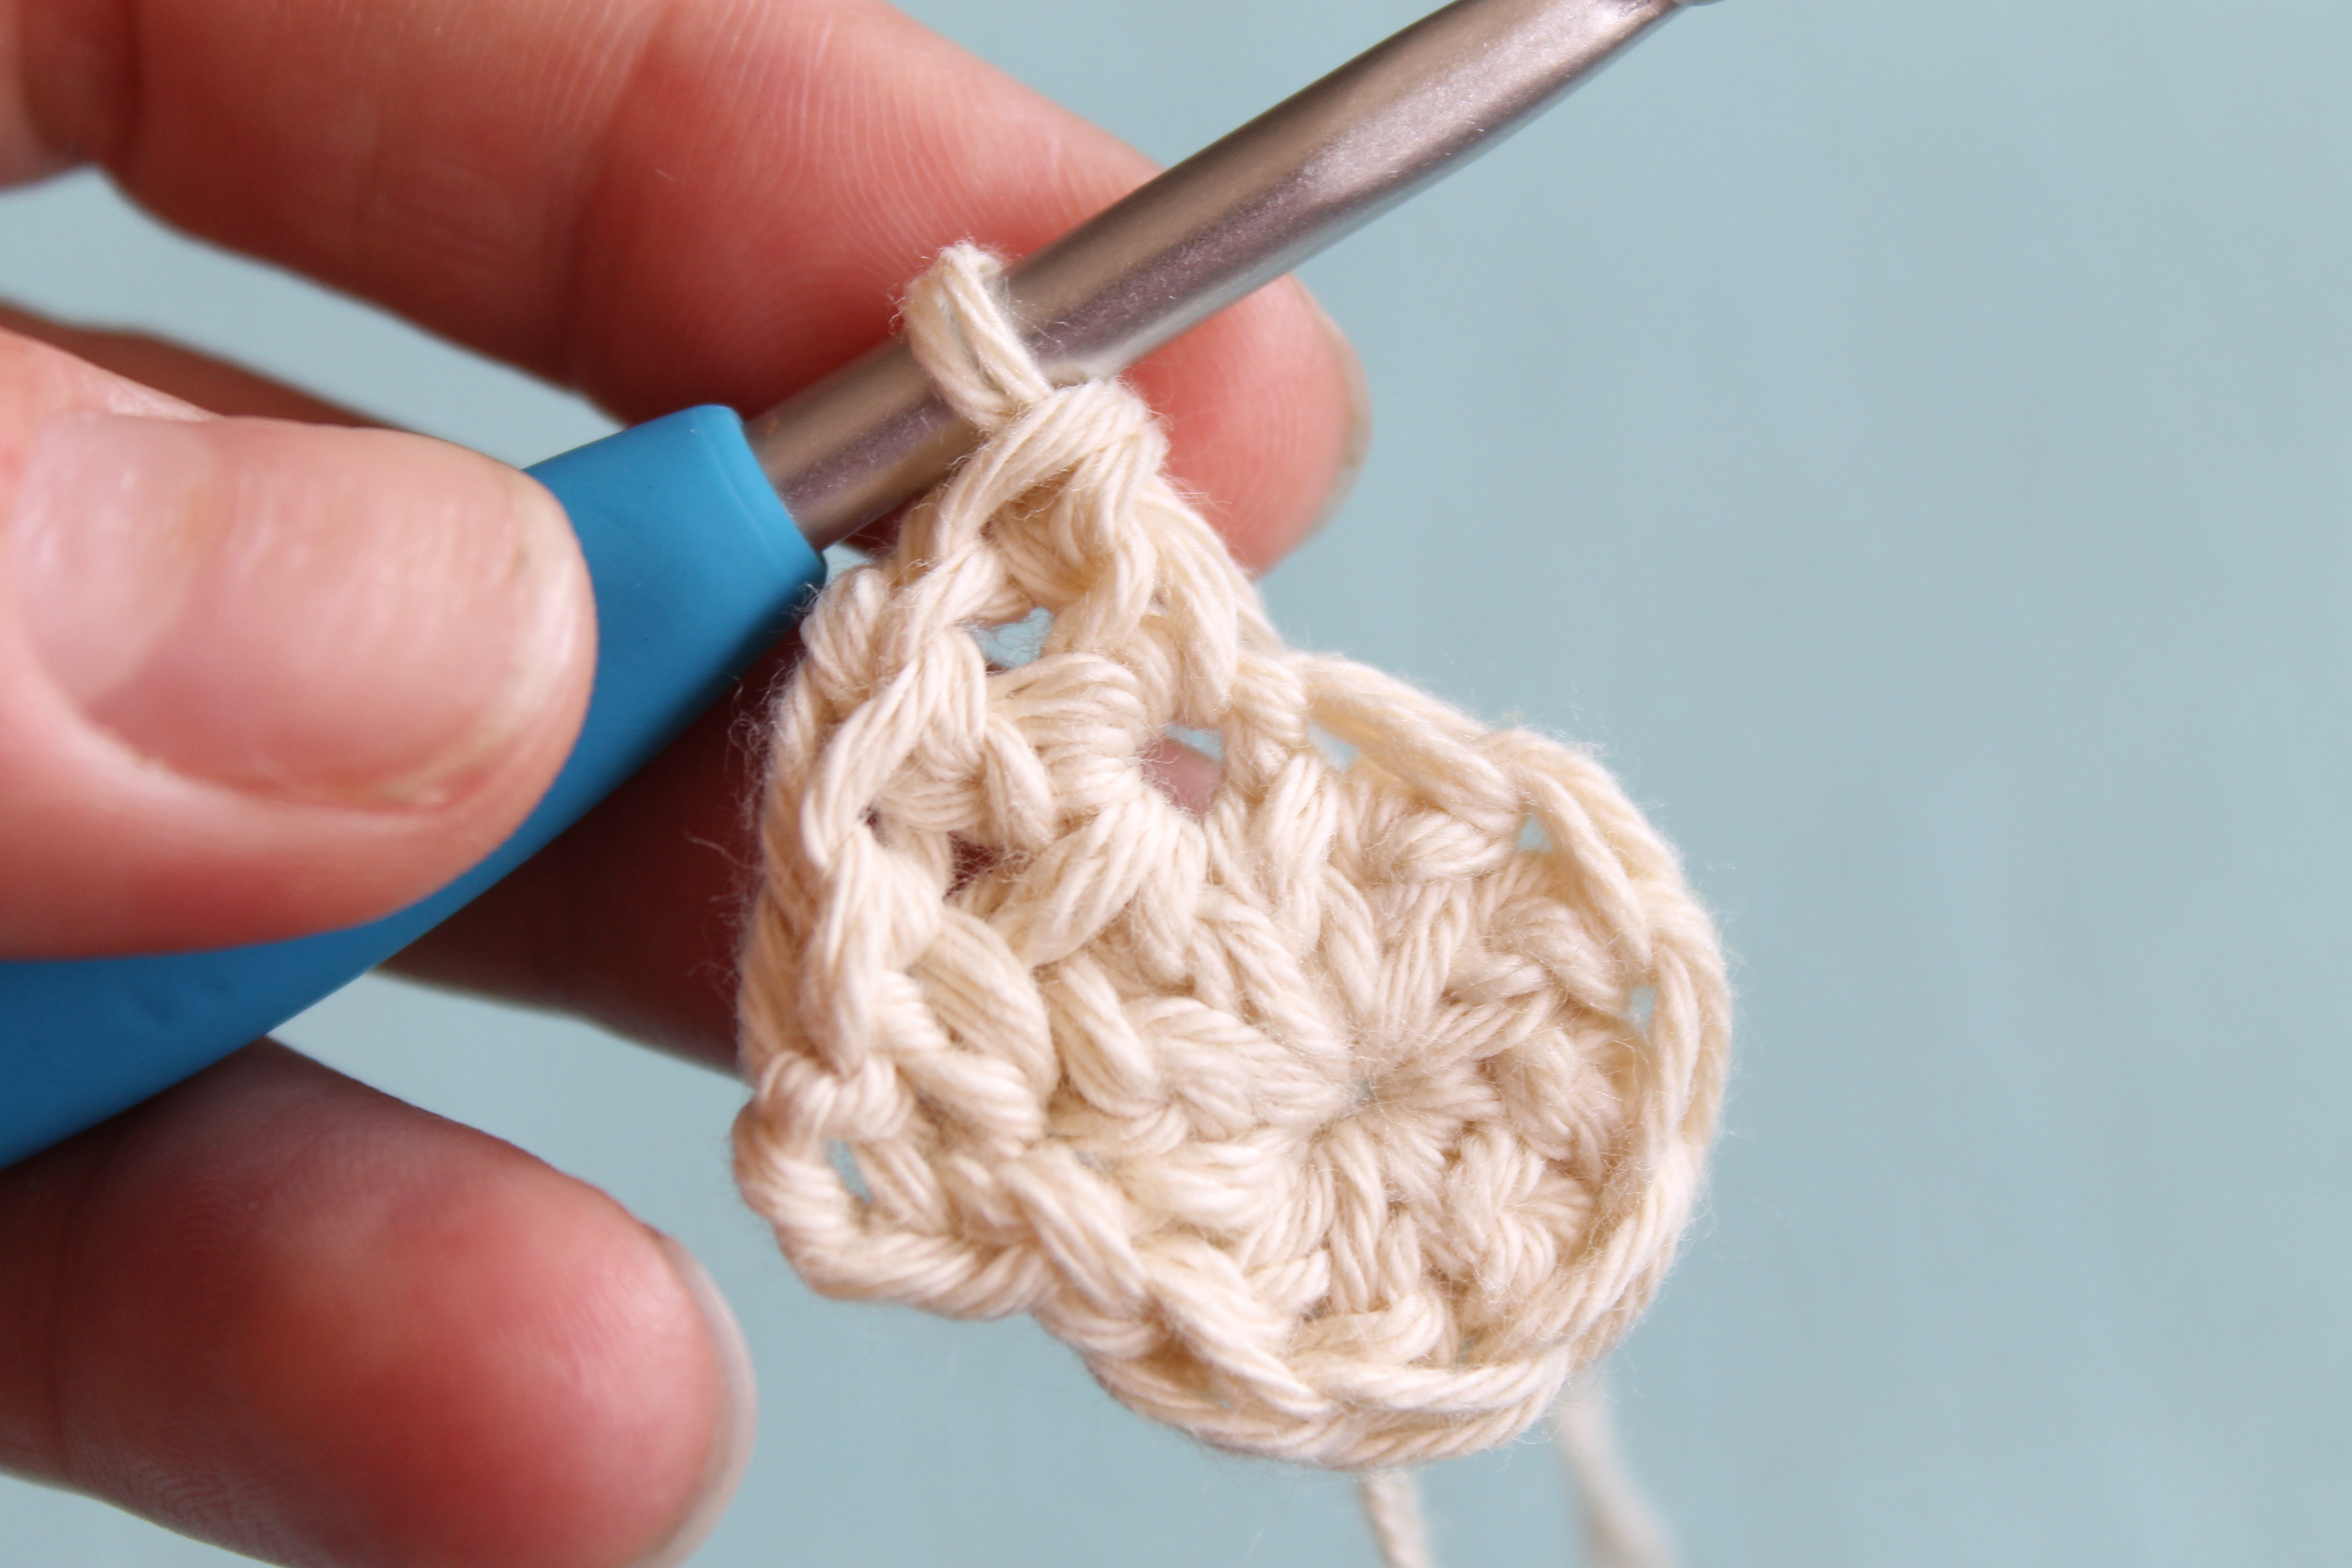
(VS Inc, VS) x 5. SLS into the first VS to join = 25 STS

(VS Inc, 2 x VS) x 5. SLS into the first VS to join = 35 STS

VS x 20. SLS into the first VS to join = 40 STS

(VS Inc, 3 x VS) x 5. SLS into the first VS to join = 45 STS
VS x 25. SLS into the first VS to join = 50 STS
VS x 25. SLS into the first VS to join = 50 STS
VS x 25. SLS into the first VS to join = 50 STS
VS x 25. SLS into the first VS to join = 50
In this row we start making the brim. We will count the CH 1 space in the V-Stitch as a stitch. We will also be adding a few increases to widen the brim.
CH2, (2DC in the next stitch, which is the 1st CH space, then DC in the next 14 Stitches. Repeat this 4 times and slip stitch to the first CH2 of the round. = 80 STS
HVS x 40 = 80 STS
HVS x 40 = 80 STS
Finish off and weave in the ends.
To make the sunburst, I experimented with lots of different flowers and picots and nothing really seemed to be right. So, when I came across this scrubby pattern on Petals to Picots, I realised it would be perfect. I just grew the sunburst with each colour instead of crocheting the entire base in one go. Then I just tacked it onto the hat in the right spot. You can pick up the pattern for free here.

Here’s the finished hat, modelled on my super-cute (just recovering from chicken pox) daughter:


You’ve made it to the end, way to go! I hope you enjoy making this adorable hat as much as I’ve enjoyed designing it.
Watch this space, coming soon are other sizes, including the 3-6 month old which is up next!
For updates and cute photos in the mean time, do follow me on both Facebook and Instagram, and I would be so excited if you would share your own projects with me!


Posted in Pattern, Patterns, Projects, Scheepjes, Scheepjeswol, Tutorials
Tagged cotton 8, craft, crochet, crochet pattern, DIY, free pattern, haken, hat, left crochet tutorial, left handed, left handed crochet, MissNeriss, pattern, photo tutorial, scheepjes, scheepjeswol, summer, v-stitch left
I’m on a self-imposed yarn buying freeze, but I’ve been lusting after this beautiful Limited By yarn from Wol Cafe ever since I saw it at Breidag in March.
I couldn’t make up mind on the day which colour combination I wanted, plus it’s quite pricey, but life’s too short for bad yarn, right? Plus, ever since I saw Wink’s Shawl Wars posts about the colours she has, it has been niggling and niggling at me. That little voice telling me to just get it.
I really need a project in mind so I can justify it. Help me!