
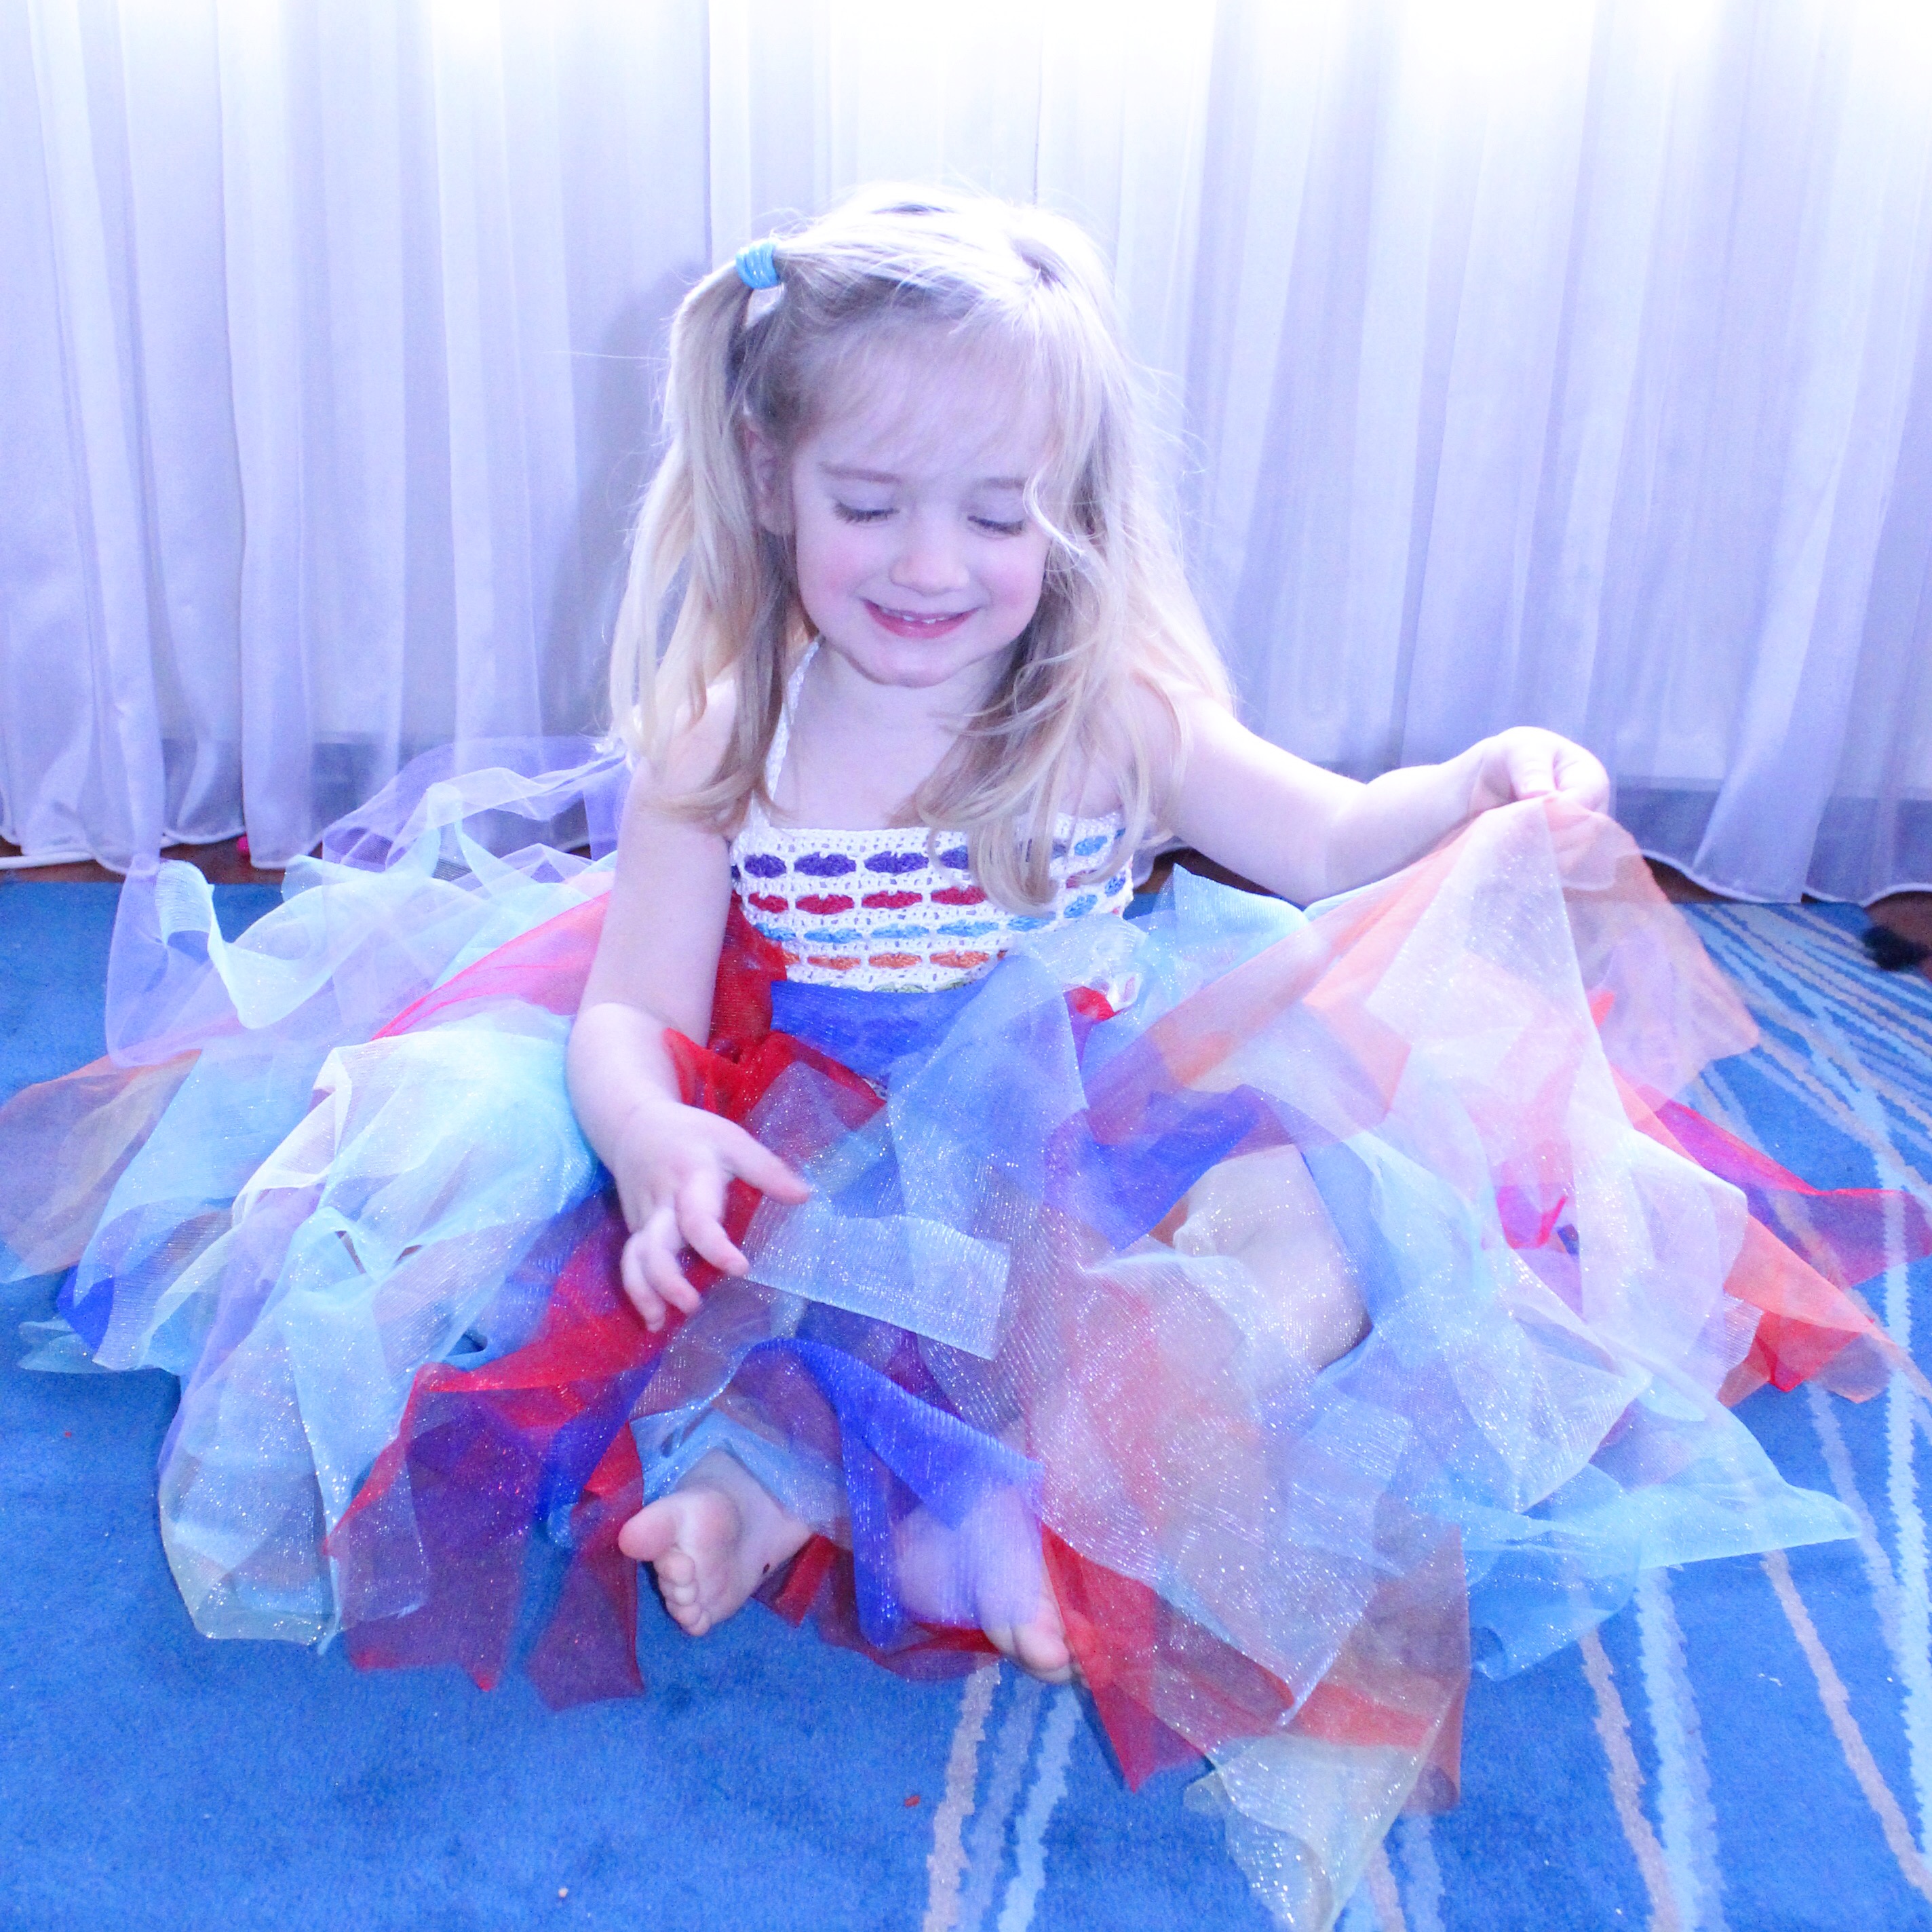
Here it is! I’ve created the tutorial for the Rainbow Hearts Tutu!

I’ve created this in multiple sizes, but please do bear in mind that I’ve based the sizes on Crochet Maths. That’s a technical term that involves quite a bit of finger in the air guestimation. The numbers are sound, but if your child is larger or smaller than the standard clothing sizes, do take that into account.
Please do also note that I have created this tutorial for you completely free of charge. Please do not pass this design off as your own, and please do not sell the pattern as if it were your own. Do by all means feel free to sell items that you make from this tutorial, but do also be so kind as to send me photos, tag me on FB or Instagram, create projects in Ravelry or even link to this post. Thanks for being cool about this!
Let’s get to it, shall we?
Rainbow Heart Top
What You’ll Need
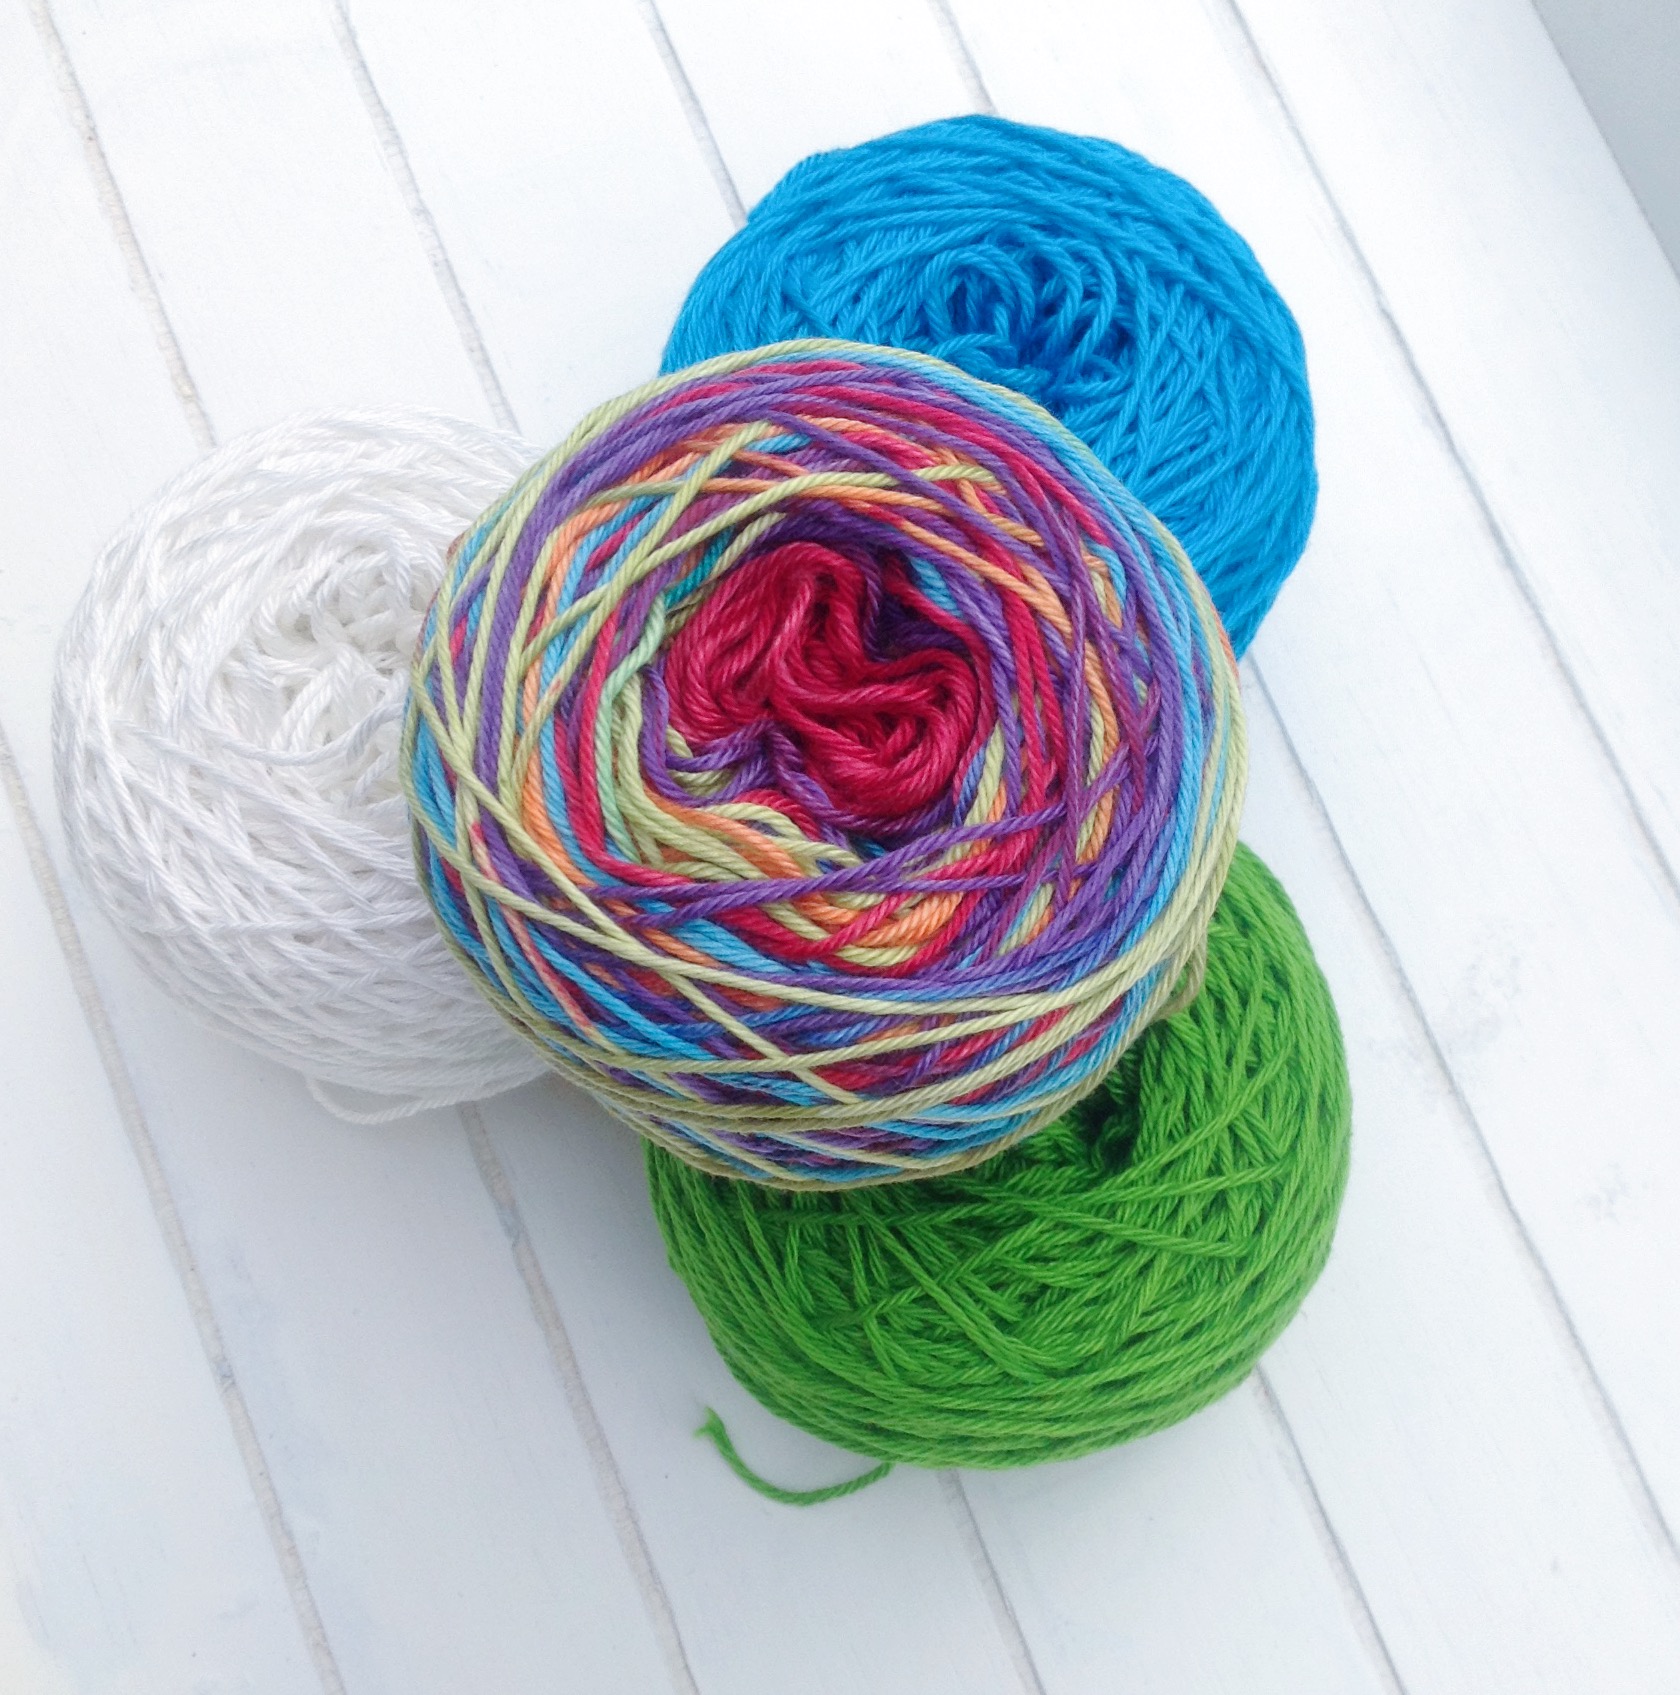
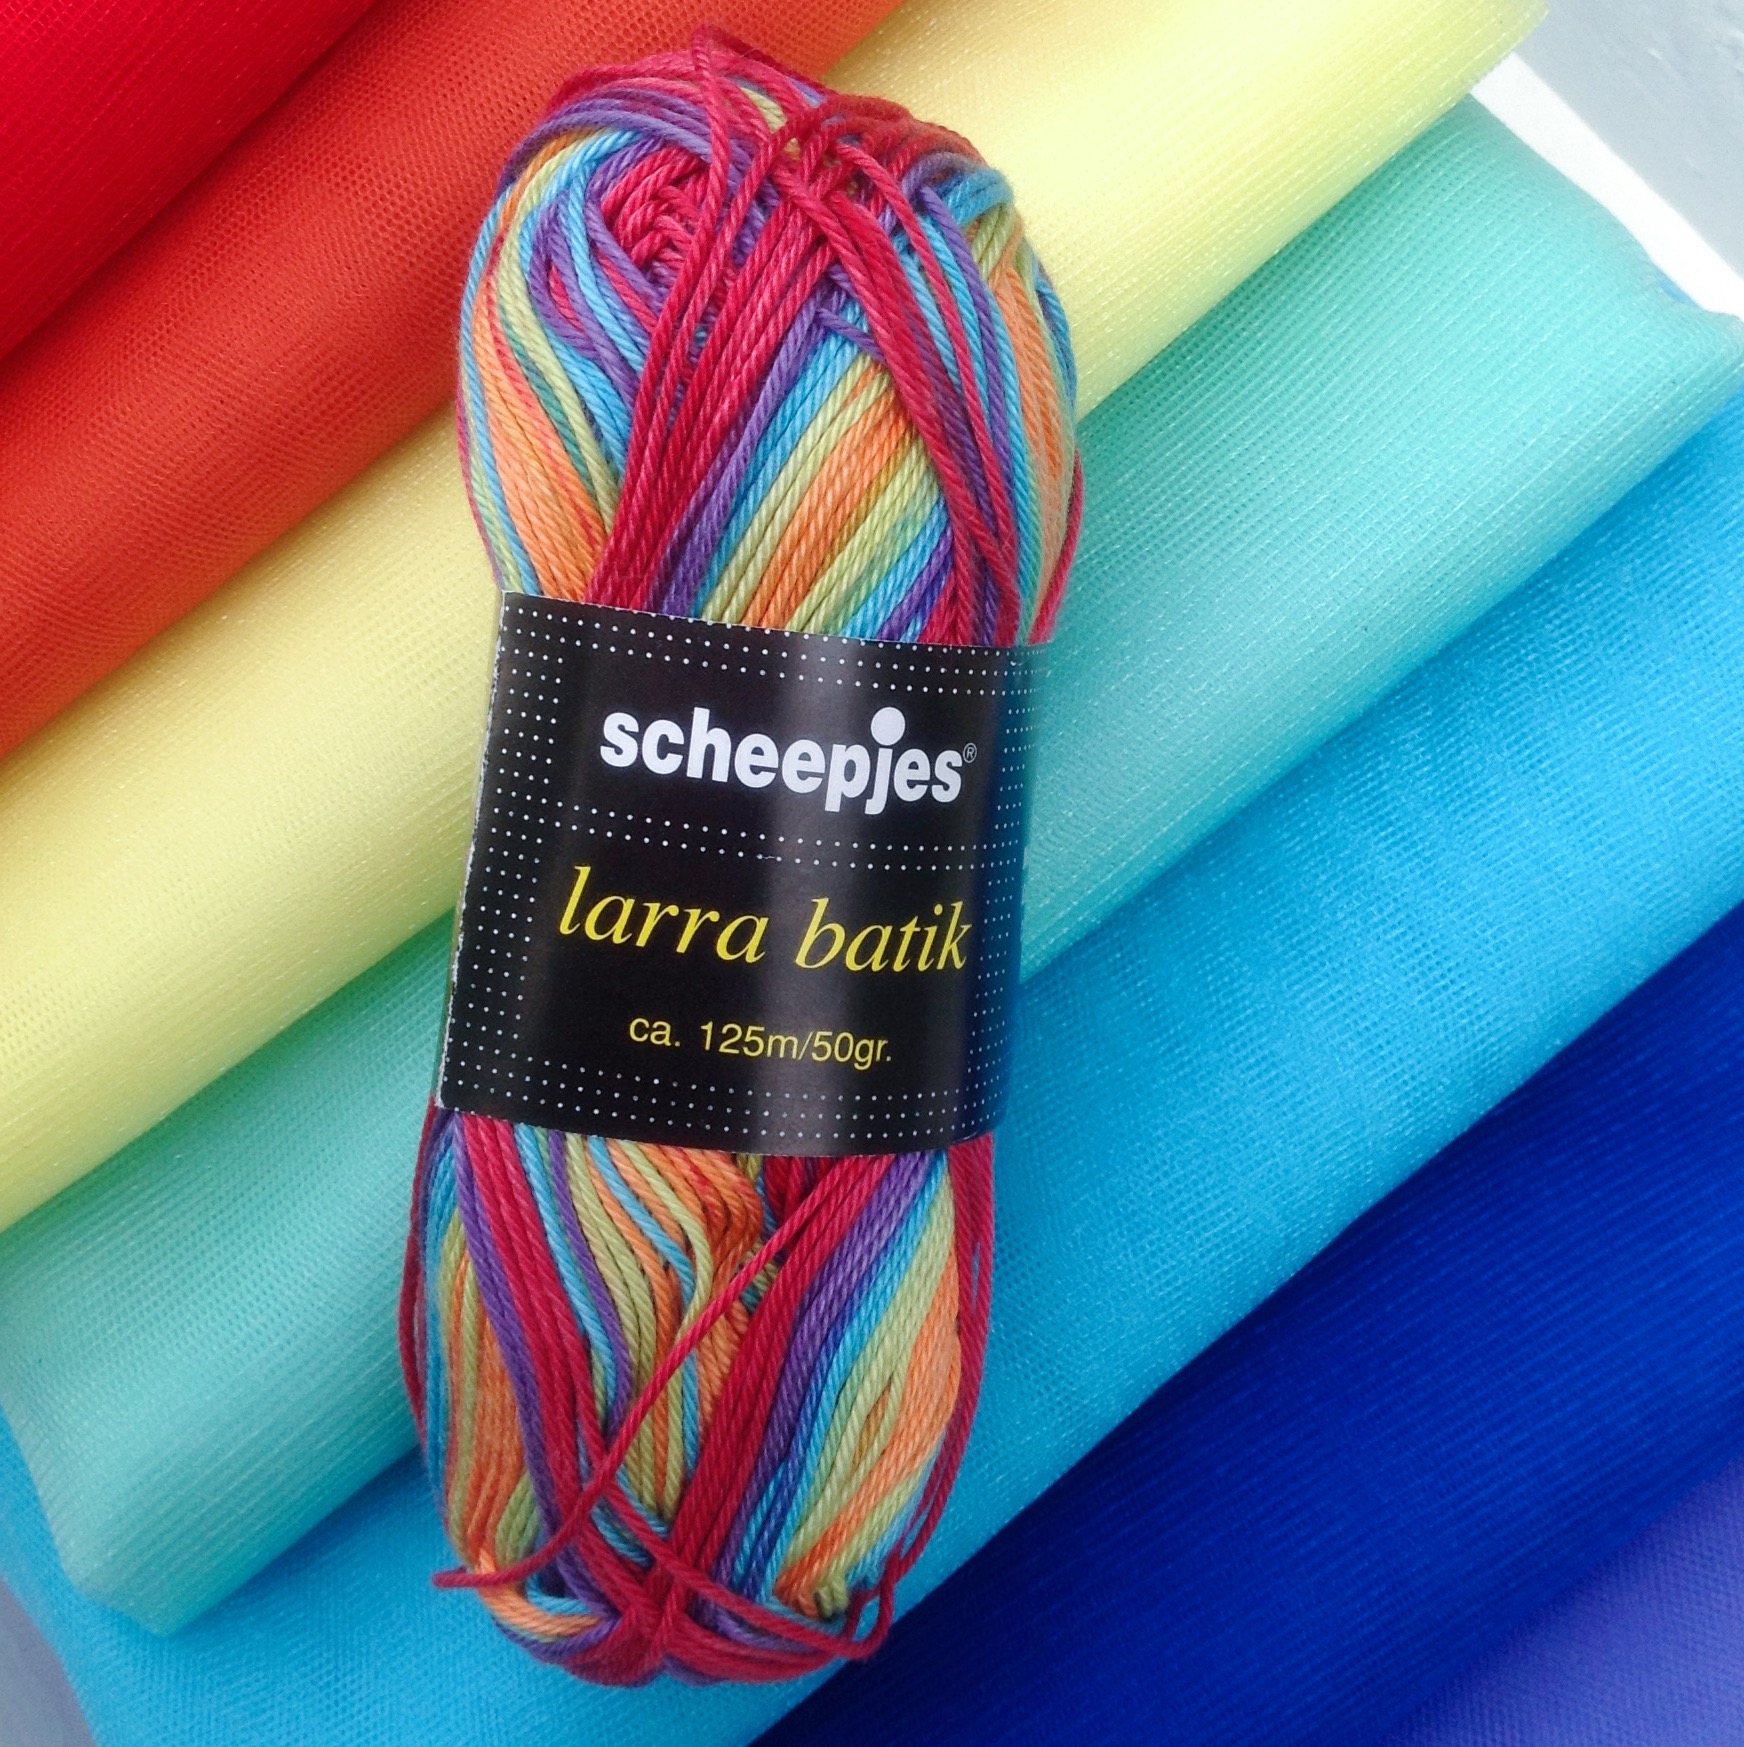
- Two balls of colour 1 – Scheepjes Larra in off-white (7326) and one ball of colour 2- Larra Batik in Rainbow (7503)
- 3.5 and 4 mm crochet hooks (or sizes to obtain gauge)
- Measuring tape
- Scissors
- Tapestry needle
Gauge
Two hearts across = 5cm
Two hearts high = 6cm


Stitches and Abbreviations Used
DC (Double Crochet
FDC (Foundation Double Crochet)
CH (Chain)
SS (Slipstitch)
SC (Single Crochet)
Notes
This tutorial has been created using sizing for a 3 year old child. A size chart has been created if you wish to make this top for a smaller or larger child. This chart is based on standard clothing sizes, so if the child is small large for her age, do bear that in mind when starting.
Step by Step

(left-handed chart)
Row 1: Using colour 1 and the 3.5mm hook, FDC x 114, join with a SS, ensuring that the work does not become twisted.
Row 2: CH2 (counts as 1st stitch), DC x 113, SS to join.
Row 3: Attach colour 2 at the top of the SS from the previous row, but do not cut colour 1 as you’ll be using it again in Row 4. Skip 2 stitches, 3 x DC into the next stitch, CH 1, 3 x DC into the same stitch (this creates the heart), CH 1, skip the next 5 stitches, 3 x DC into the next stitch, CH1, 3 x DC into the same stitch. Repeat around, SS into the SS from your colour join (total of 19 hearts). Do not cut the yarn, you will carry it up and use it again in row 6, 9, 12 etc.
Row 4: Change to the 4mm hook (you can stick to the smaller hook if you crochet loosely) and switch back to colour 1. CH 4, SC into the CH 1 space at the top o the heart from the previous round. CH 2, DC into the DC that is direclty underneath the chain between hearts, making sure you stitch in front of the chain – you need to hide that chain for the heart effect to work. CH 2, SC into the CH 1 space at the top of the next heart. Repeat around, join with a SS to the 2nd chain from the beginning of the row.
Row 5: Switch back to the 3.5mm hook. CH 2, 2 x DC into the CH 2 space from the previous round, DC into the CH1 stitch, 2 x DC into the next CH 2 space, DC into the next DC, repeat around, join with a SS.
Row 6: Switch back to colour 2 and repeat row 3.
Continue to repeat rows 3, 4 and 5 until you have a total of 15 hearts.
Row 46: Repeat row 4.
Row 47: Repeat row 5.
Row 48: CH 1, SC into each stitch around, join with a SS, tie off and weave in the ends.

Heart stitch from the front – see the DC between the hearts is in front?
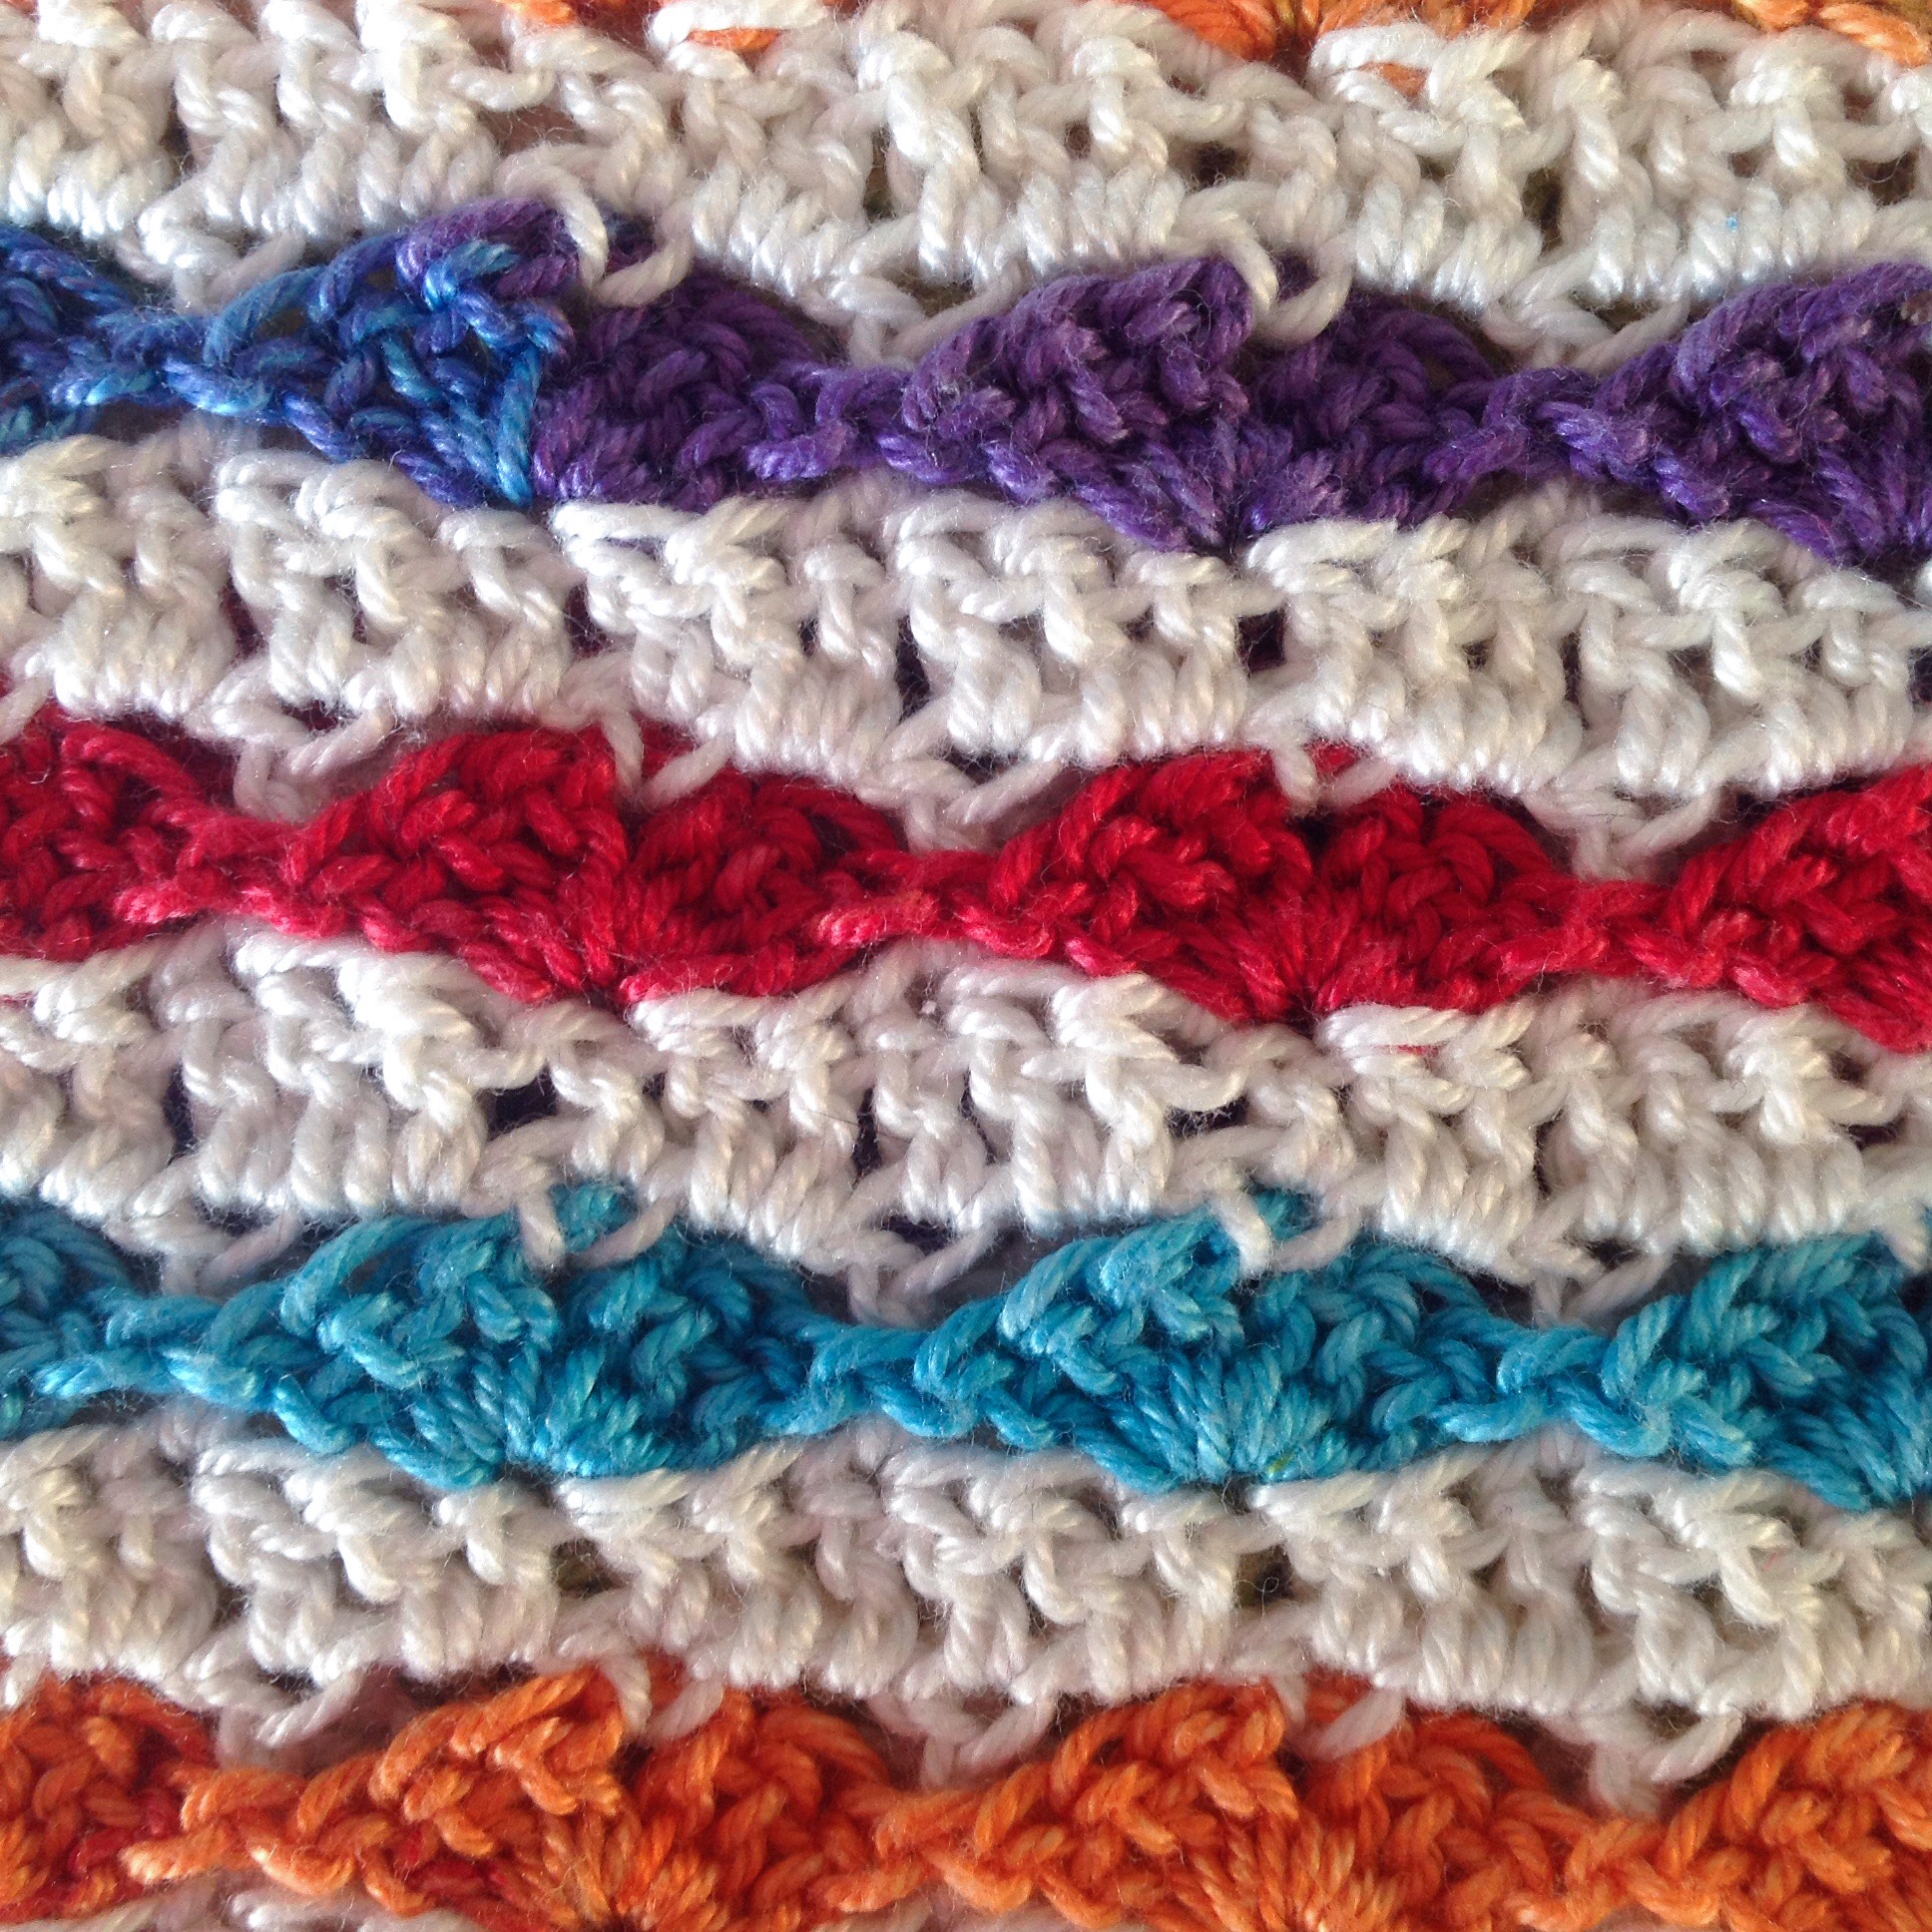
Heart Stitch from behind. See the hearts are all in a row, the DC in between hides this from the front.
Straps
Make two, using the 3.5mm hook and colour 1. Gauge is 13 stitches per 5 cm. Increase or decrease this amount as needed for your required length.
Row 1: CH 67 – loosely.
Row 2: SC into the 3rd stitch from the hook, CH1, Skip 1, SC into the next. Repeat all the way to the end, turn.
Row 3: CH 1, SC into the CH 1 space. CH1, SC into the next CH 1 space. Repeat across, turn.
Row 4: Repeat row 3.
Assembly
Ensure that the seam will be under the arm. Attach the straps above the 3rd heart from each side and when attaching the other ends, cross the straps so they will be attached to the opposite side.

Size Chart
| Age | Waist | Hearts | FDC count | Rows of Hearts |
| 12-18 months | 50 cm | 16 | 94 | 9 |
| 1 ½ – 2 years | 51 cm | 17 | 102 | 11 |
| 2-3 years | 52 cm | 18 | 108 | 13 |
| 3-4 years | 53 cm | 19 | 114 | 15 |
| 5-6 years | 55 cm | 20 | 120 | 17 |
| 7-8 years | 58 cm | 21/22 hearts | 126/132 | 19 |
| 9-10 years | 61 cm | 23/24 | 138/144 | 21 |
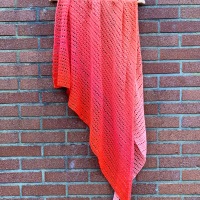
Tutu
What You’ll Need
- 8-12 metres of tulle (one metre of each, cut into 10cm wide strips)
- Chord (make a chain from your contrasting heart colour that is 80-100cm long
- Fabric Scissors
- Tape measure
Step by Step
- Take your tulle and fold it so it is double (the tulle will probably be sold to you folded double anyway) and cut it to the length that you want. I wanted a floor length ballgown style tutu, and cut it to 70 cm. Repeat this for each colour. Depending on the size of your child’s waist you’ll need more or less fabric. I used approximately 120 cm of each colour (I bought in 150 cm lengths).
- Once your colours are all cut, lie them on top of one another in the correct order (colours of the rainbow) and cut them all at once to be 10 cm widths (I had 12 strips of each colour in total). It doesn’t have to be perfect, or even straight. We’re not striving for clear straight lines with this project. Stack all the sections and set them aside.
- Now make the chord. You can use normal chord that you might have lying around if you like, but I decided to make a chain in the same yarn that I used for my hearts. This makes a pretty and sturdy little chord, perfect for tying at the waist. Make this to be between 80 and 100 cm long. My daughter’s waist is just over 50 cm, so I made mine to be 80 cm – plenty of length to tie a tight bow.
- Once you have the chord and the tulle, it’s time to start assembling the skirt. Take the folded end of each length and slip it around the chord leaving about 15-30 cm of chord at one end (this will be so you can tie the bow, then thread the two open ends through to make a slip knot. Pull this very tight and make the knot as small as possible. Repeat for each colour until you use all your fabric, or reach the required length. Try to make sure you use a full spectrum so the join is invisible. Also try to make sure the knots are as close together as possible. This adds a lot of pouf to your skirt, making it a real princess ballgown.

Make sure you keep fitting your ballerina as you go, because if the skirt is too long, you won’t be able to tie it tight enough when finished, and if it’s too short you’ll have a gap.
There you have it! An easy tutorial to make the Rainbow Tutu outfit of your dreams!

(I’ve also added this to the latest Hookin on Hump Day link up.)


