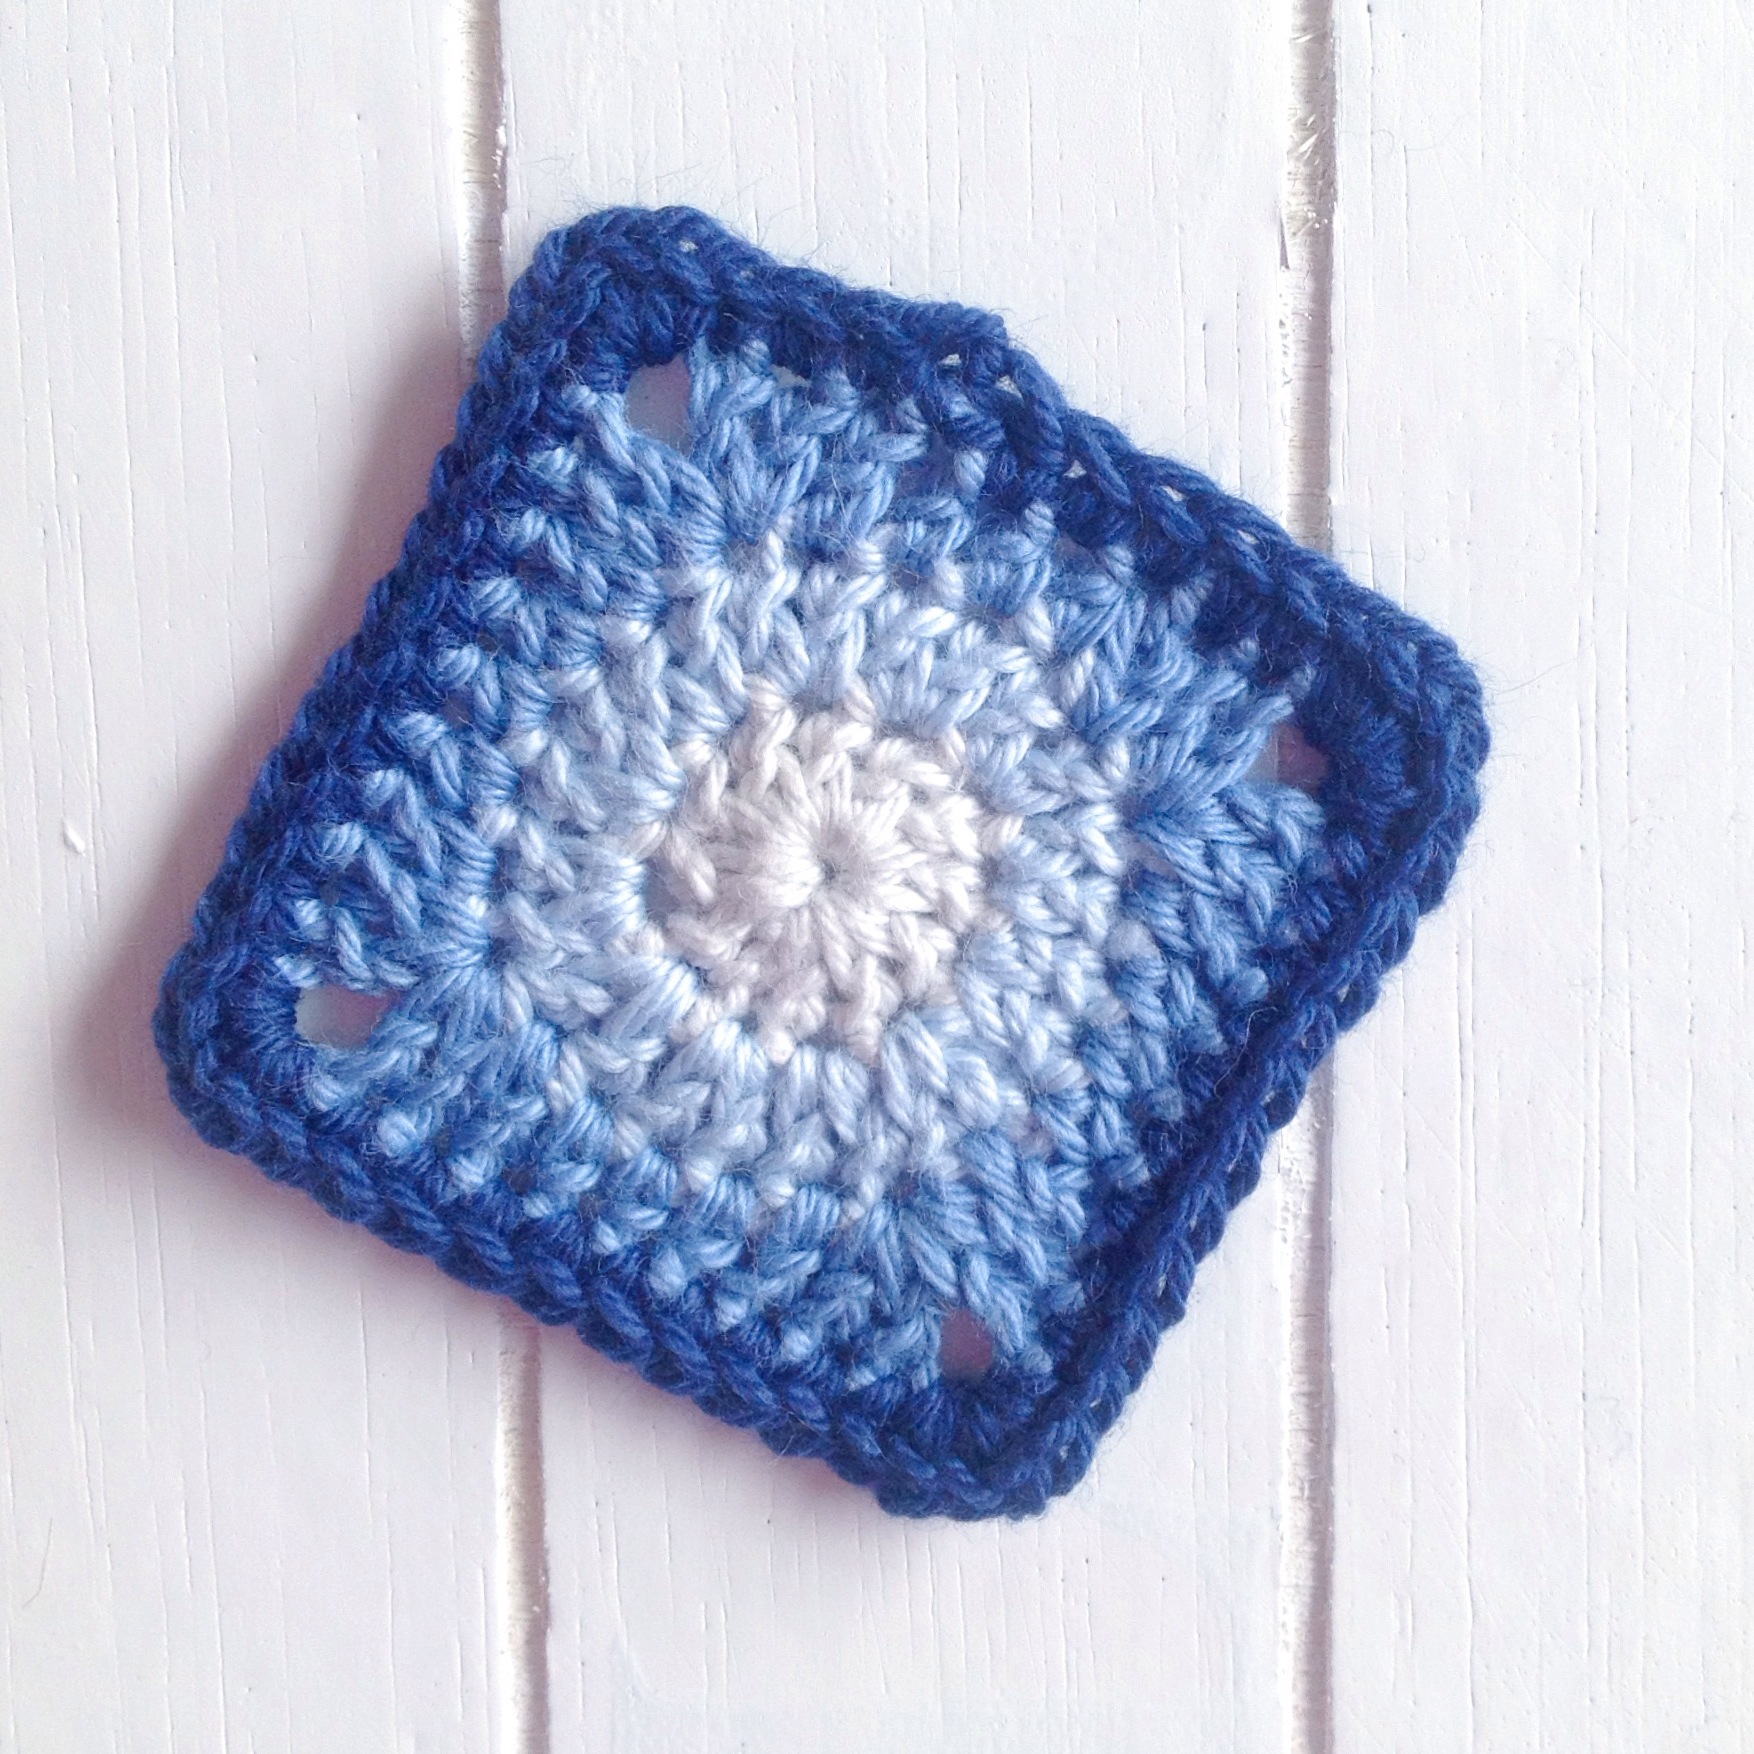
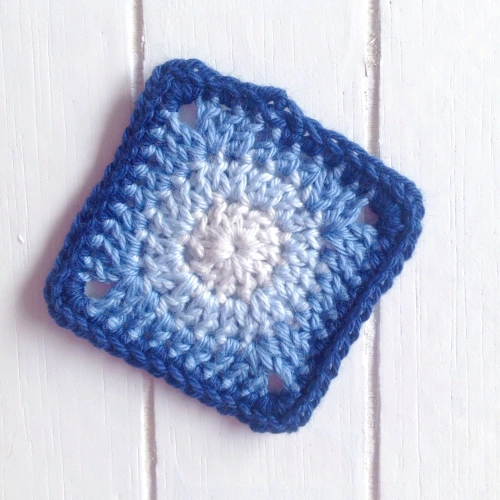
And now for the tutorial I promised of the granny I created while on holiday recently.
It’s really so simple, you will be whipping these up in no time!
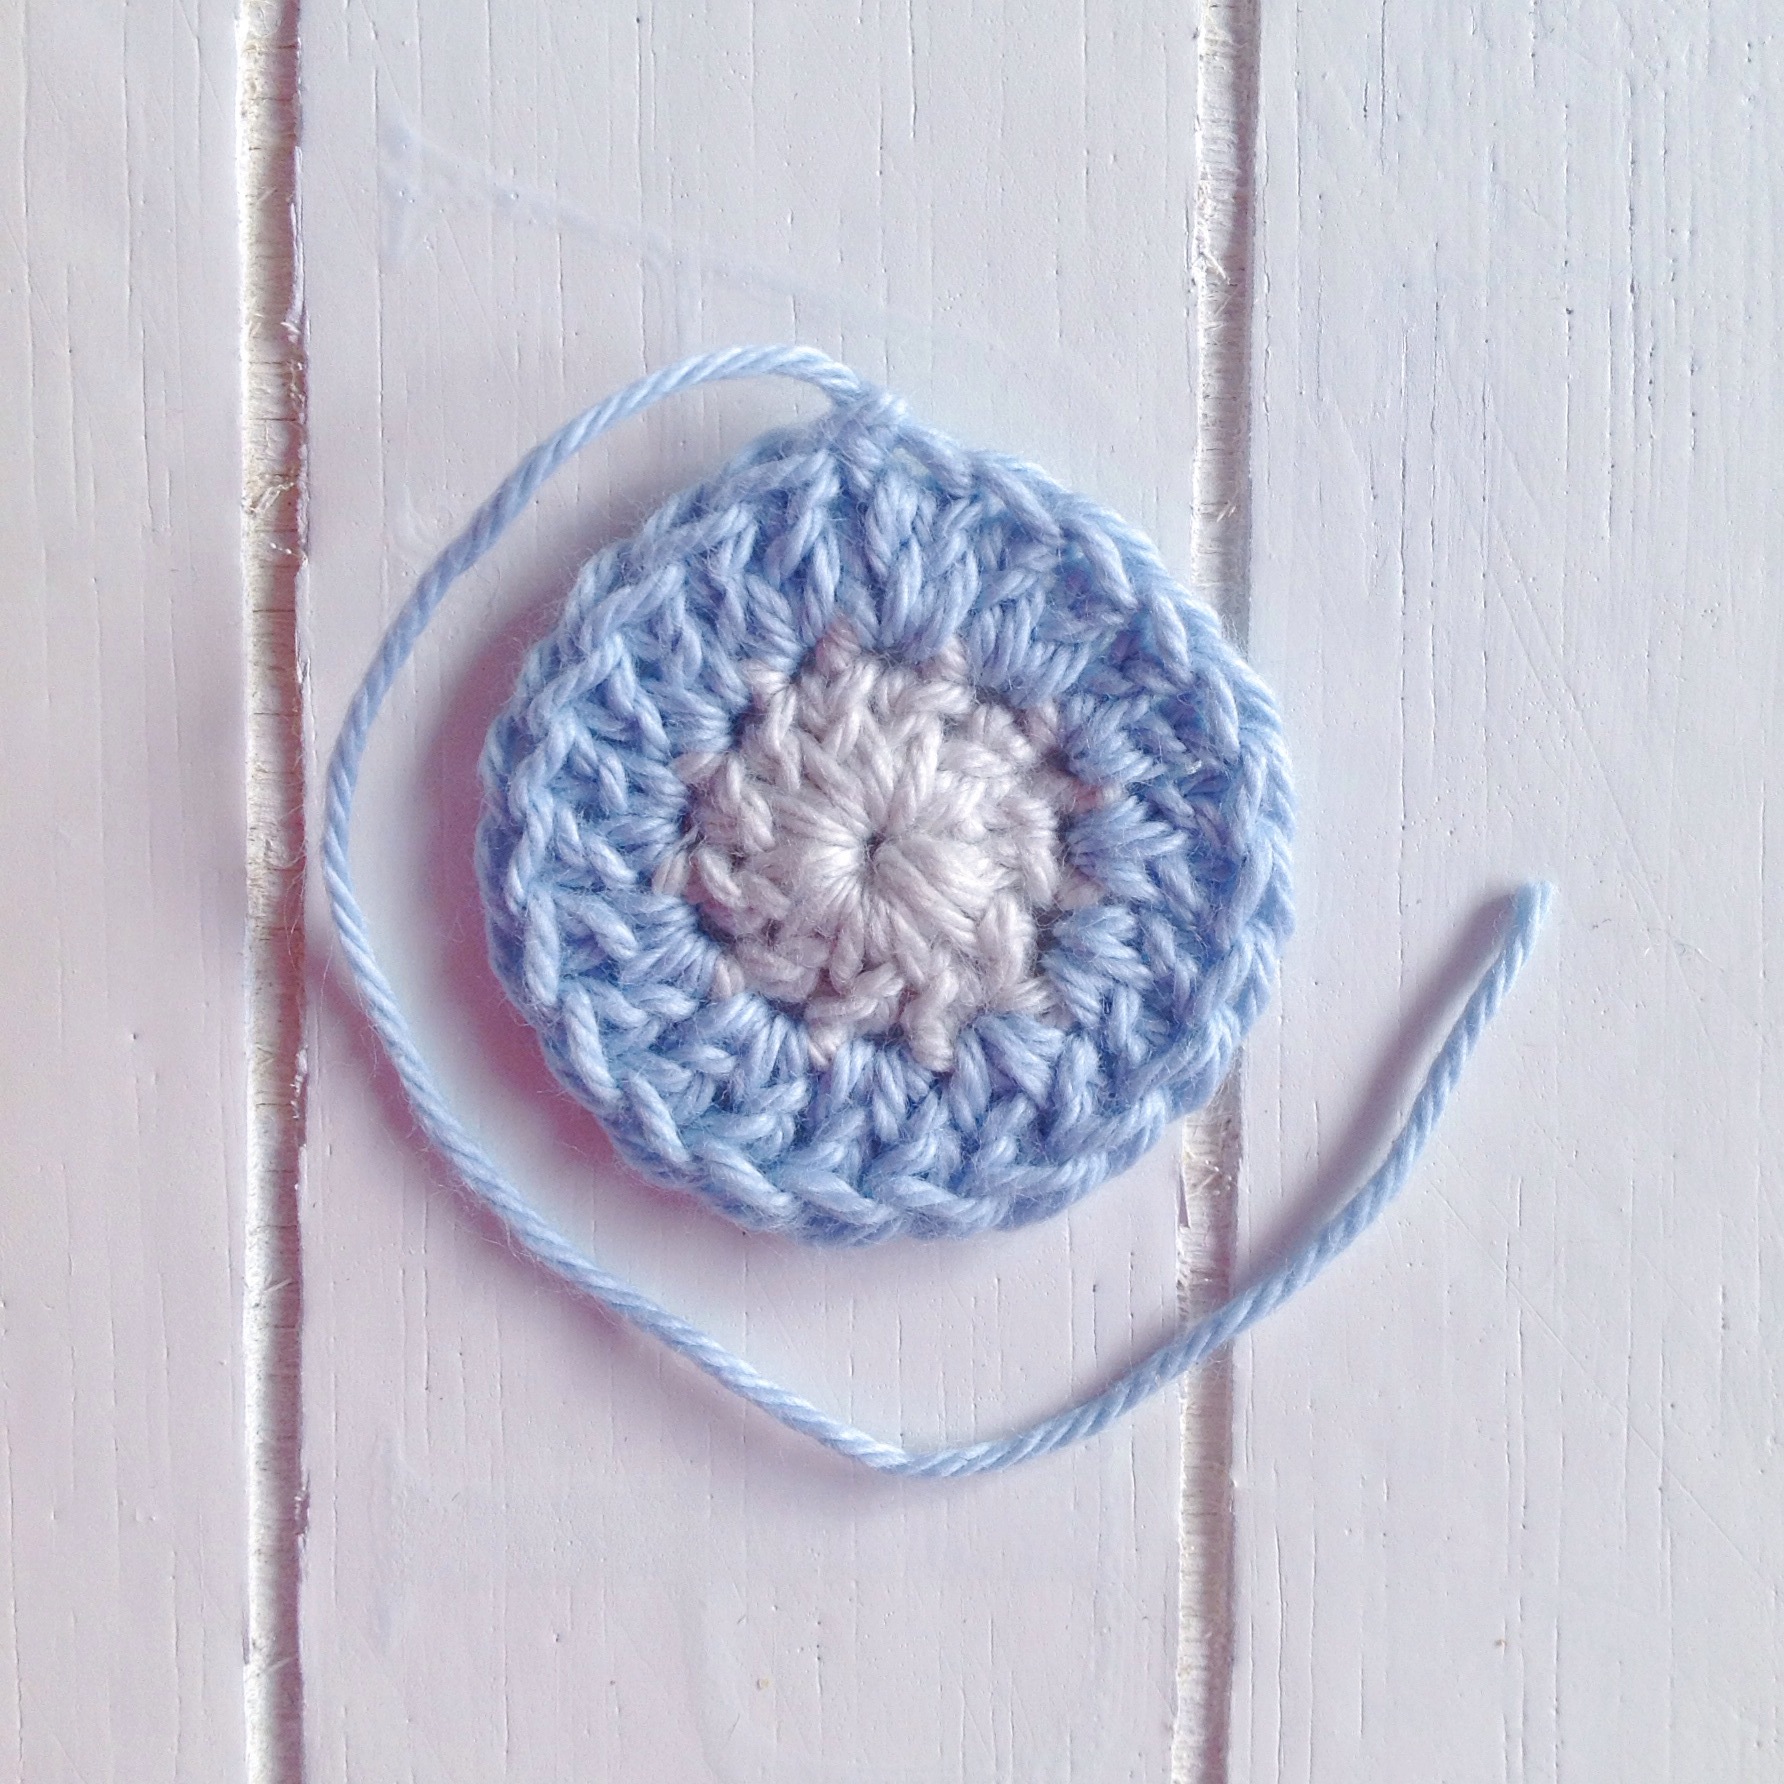
First of all, I’ll share a quick step by step photo to show you how it grows, then below I’ll give you the row by row.
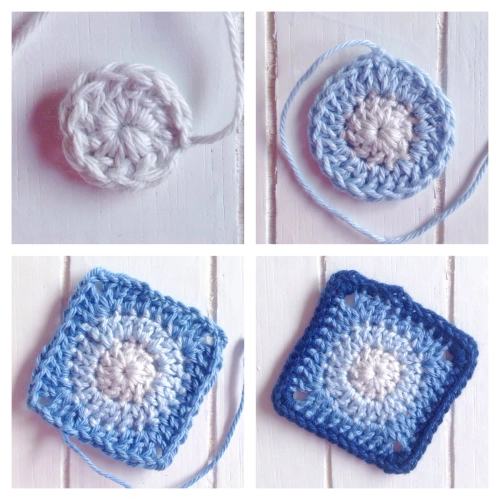
Simple, right? Now, let’s go.
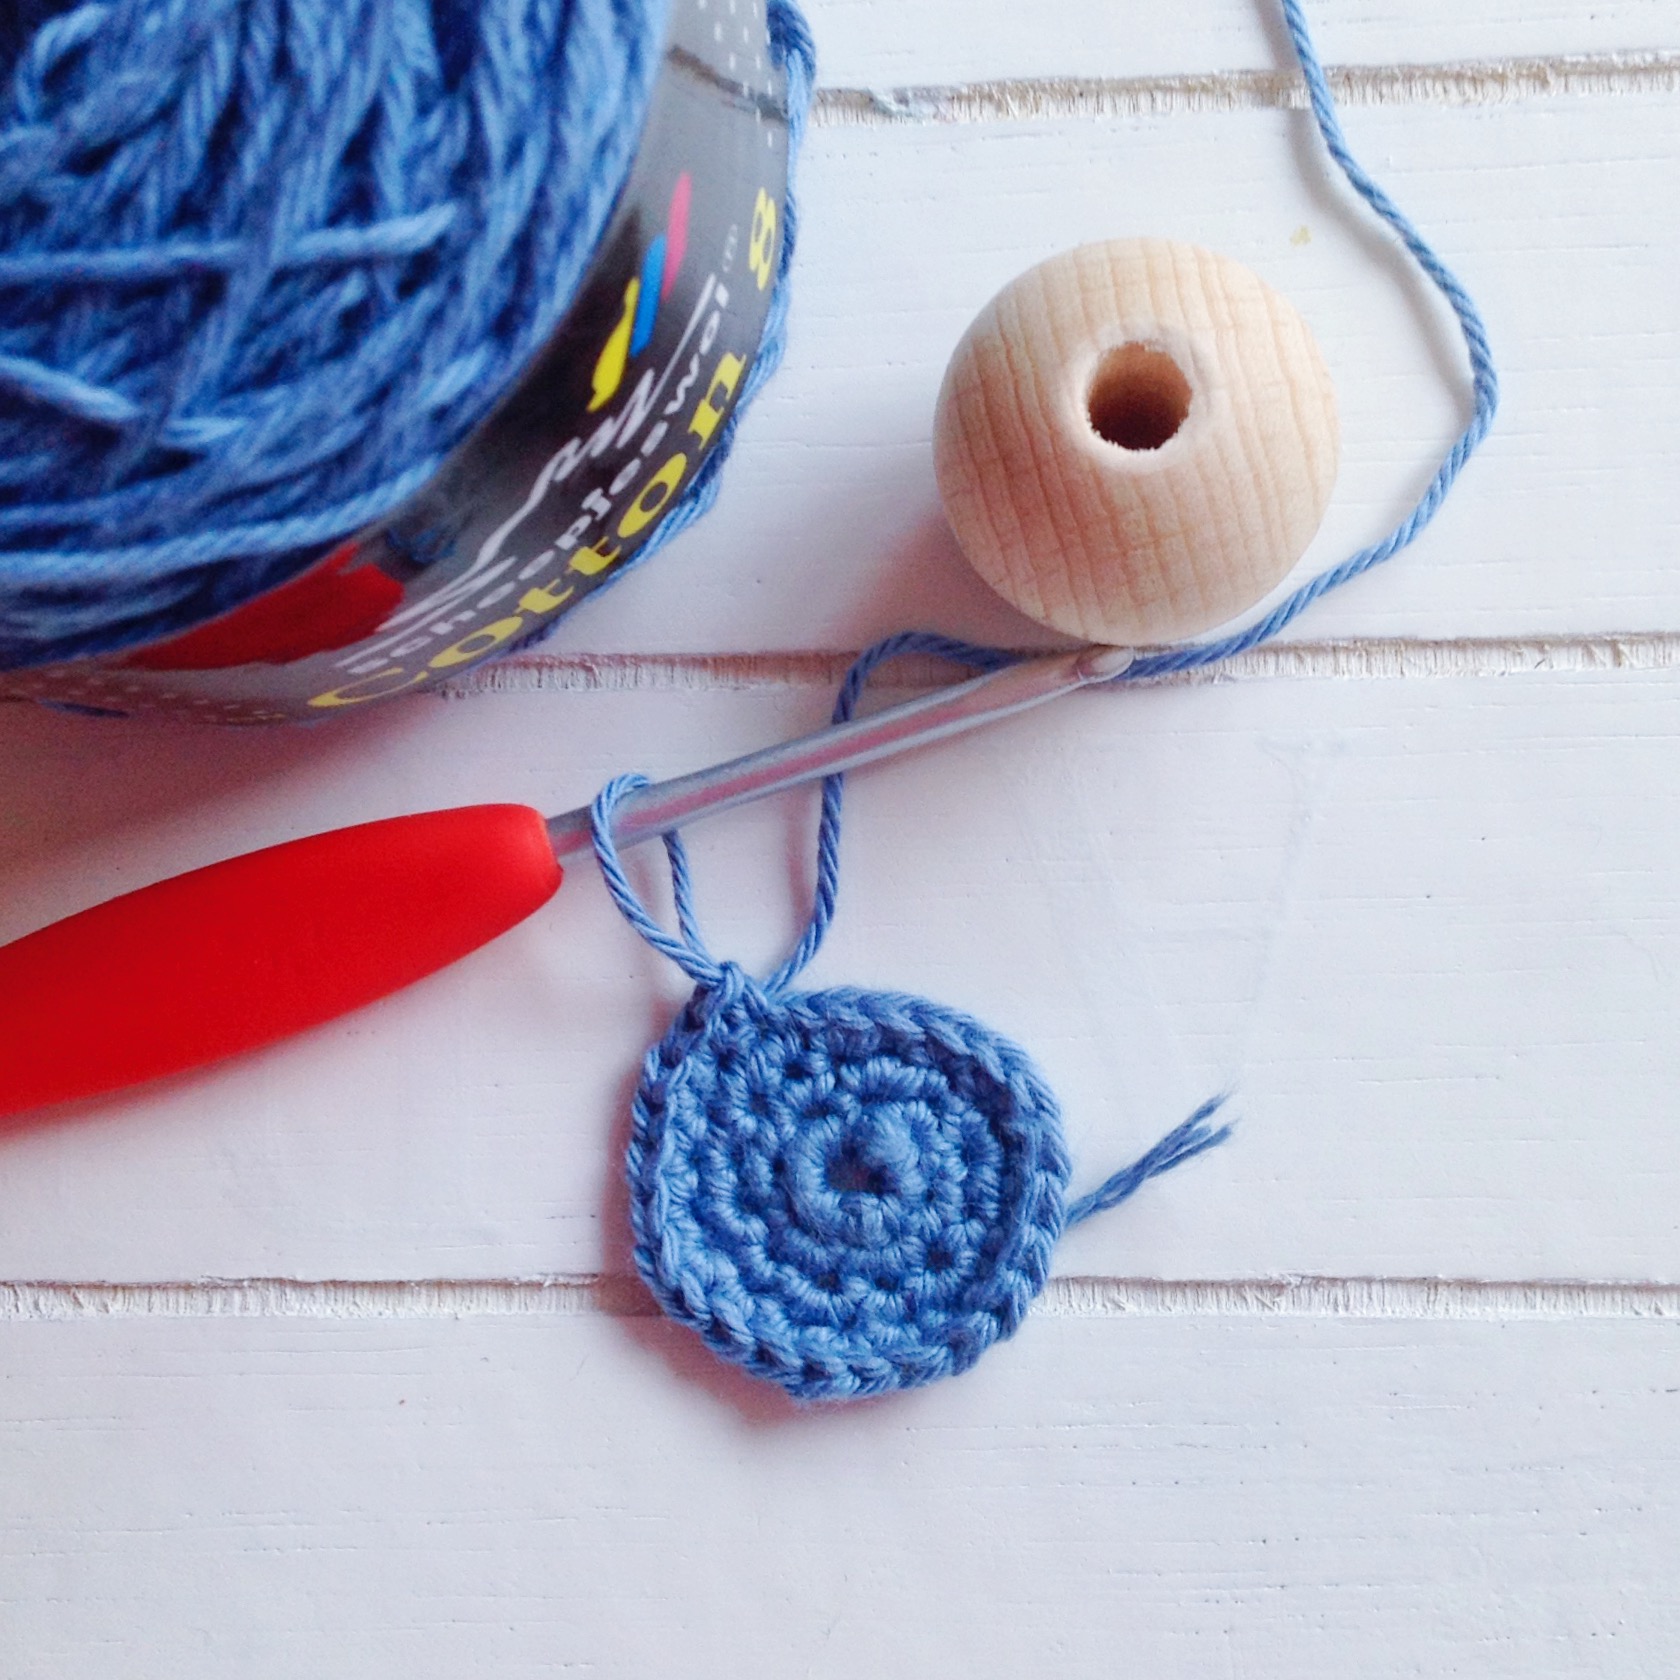
For this project I used Scheepjeswol Cotton 8*. It’s a sport weight yarn and I used a 3mm hook. You can use whatever yarn you like, and the hook to match. Gauge isn’t important in this one. If you use my recommended yarn and hook, your finished square should measure 5.5 x 5.5 cm.
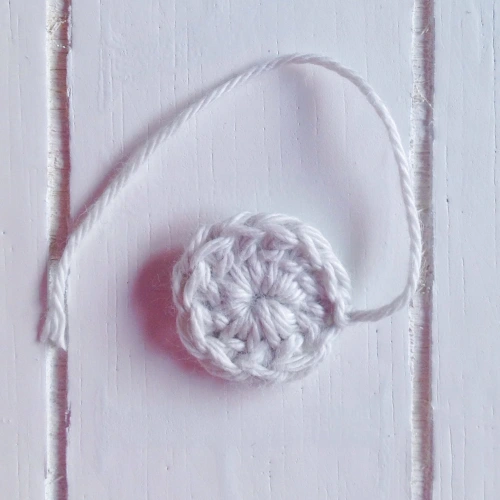
First of all, chain 4 and join with a slip stitch. Usually I prefer a magic ring because I like the centre to be as tight as possible, but in this case it doesn’t matter. There are a lot of stitches into the ring, so the chain 4 foundation will have a nice tight circle anyway.
Now, for row 2 (I’m counting the ring as the first row), chain 2 and double crochet 11 times into the ring, joining with a slip stitch to finish with 12 stitches into your ring. This is because we want to make a square eventually, so need a total that is divisible by 4. Finally, almost 20 years after I left school I’m using maths!
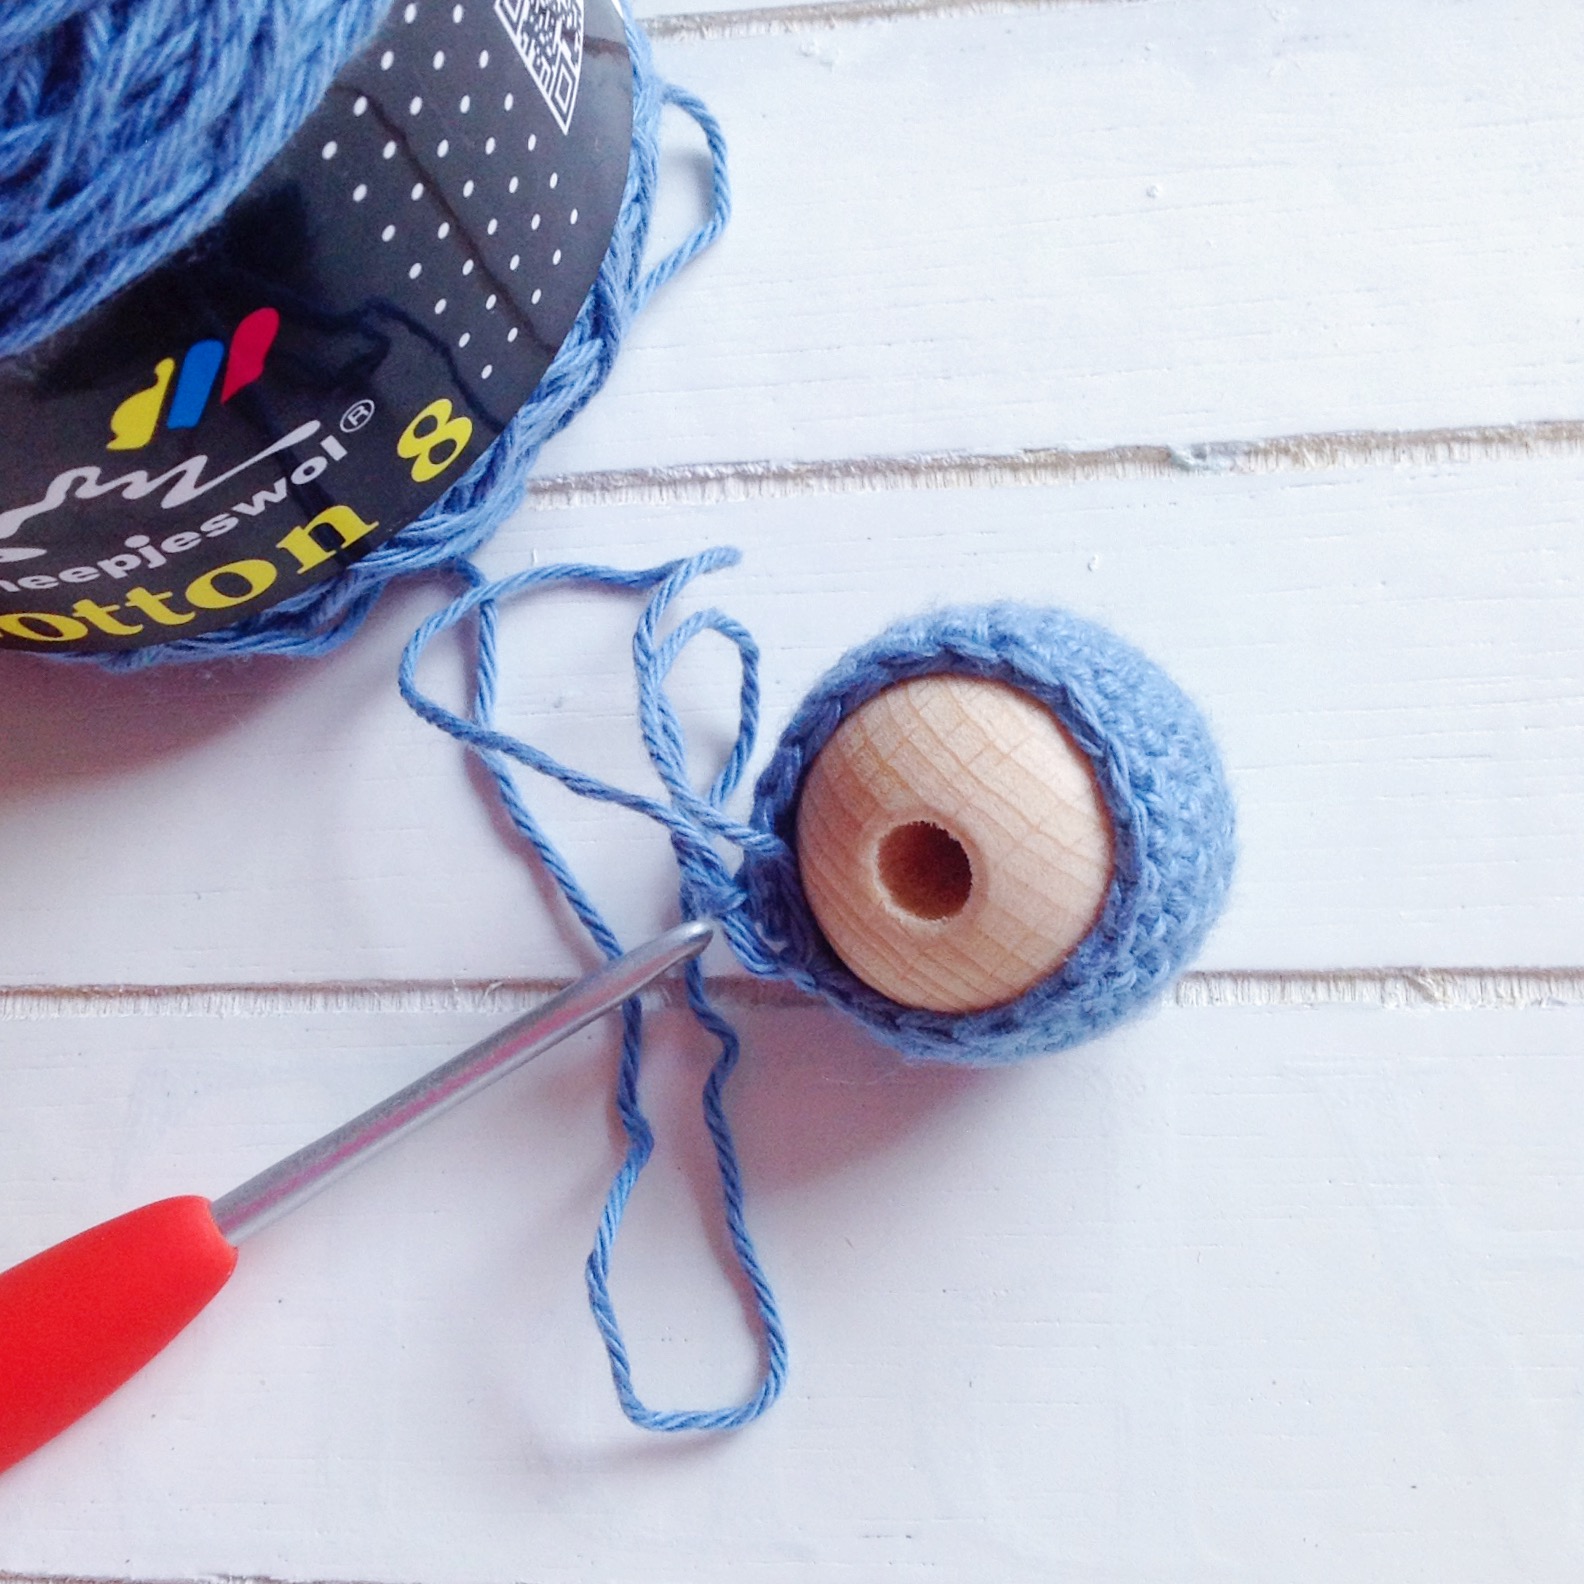
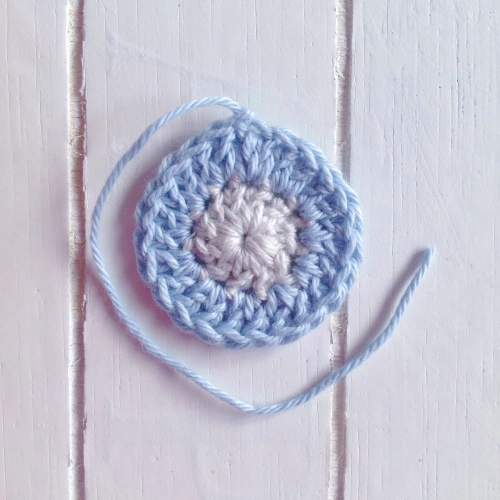
If you’re changing colours after each row, you’ll want to cut and tie off your yarn, leaving a tail to weave in. I like to work the ends in as I go, to minimise the amount of weaving in at the end – I hate weaving in ends, have I mentioned that?
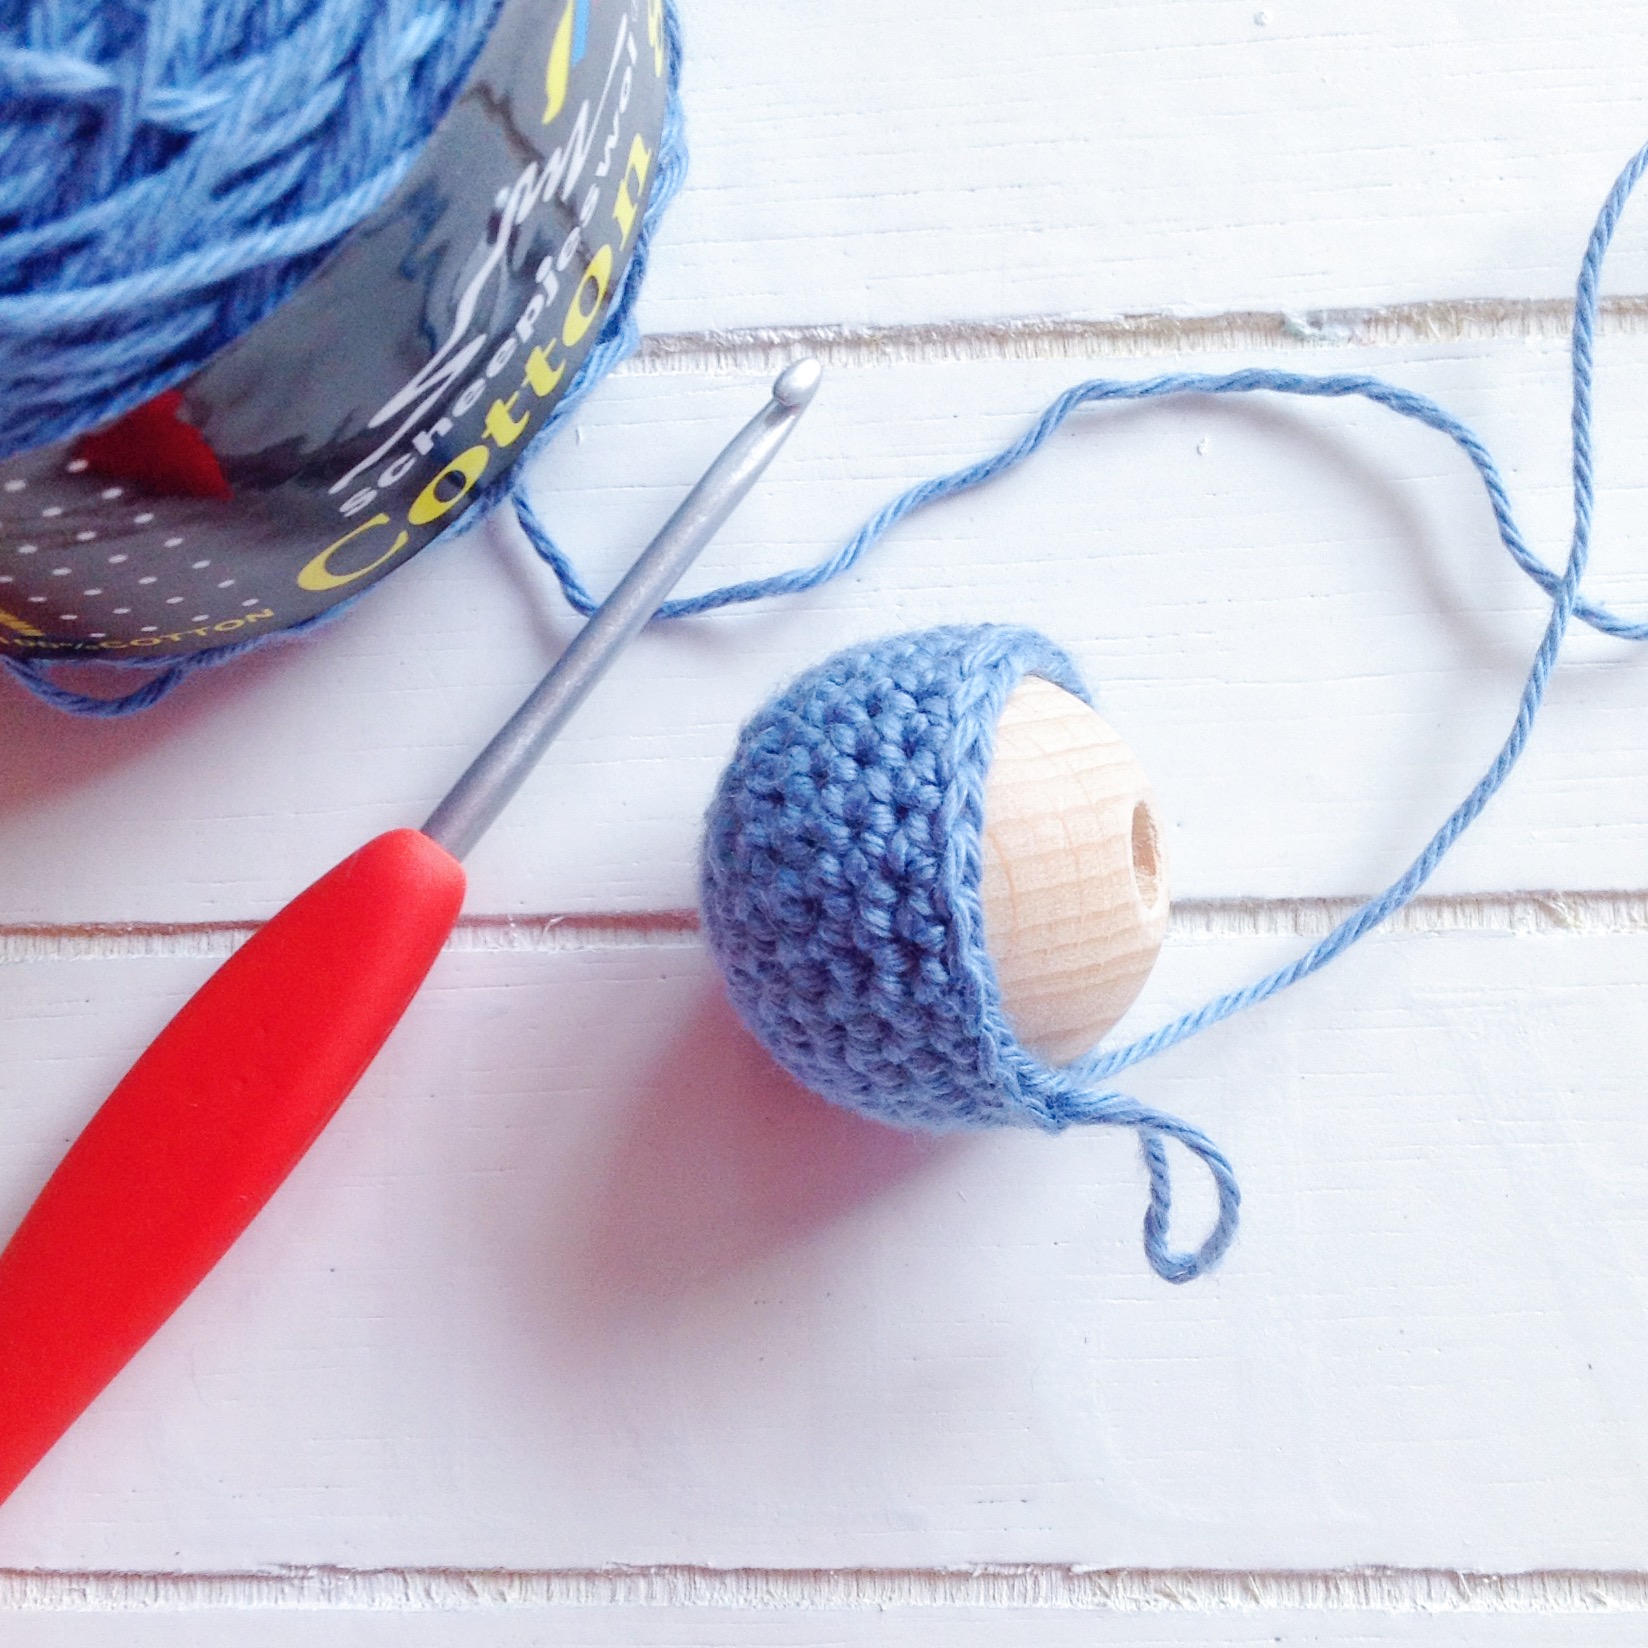
Row 3 – chain 2, double crochet into the same stitch so you have two double crochets in one stitch and stitch two double crochets into each stitch around, leaving you with 24 stitches once you slip stitch to join. If you’re not changing colours, chain 2, stitch two double crochets into the next stitch and each stitch around, with one into the last stitch, which is the same stitch that your starting chain came from.
Row 4 – here we create the square. Chain 3, two double crochet stitches into the next stitch, chain 2, and two more double crochets into the same stitch. This creates the corner. Double crochet into the next, half double crochet into the next three stitches and then double crochet into the next. Now comes the time to repeat the corner stitch (two double crochets, chain 2, two double crochets into the same stitch), then repeat the row (DC, 3xHDC, DC) until you come back round to the start. Slip stitch into the top of the chain of the first stitch.

Row 5 – Single crochet in each stitch around, with two stitches, a chain 1 and two more stitches into each corner, and you’re done!

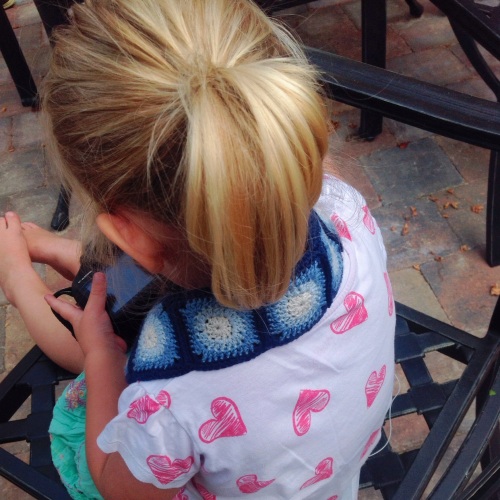
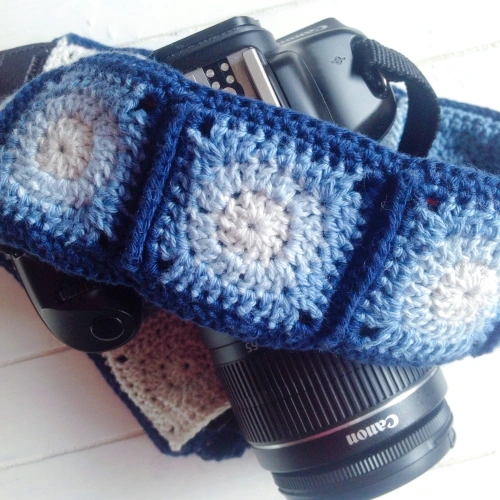
I joined the top side of my camera strap using single crochets, and the back side with a whip stitch so that it would sit flat and not annoy my husband’s neck, but you can use your favourite joining method. Once I had made enough squares to cover the entire length of the camera strap (13 in my case) I joined the two sides together with a single crochet into each corresponding stitch up each side, leaving the ends open so you can feed the strap through once you’re finished. This size granny is a perfect size for a camera strap, and it looks fantastic!
*Affiliate link

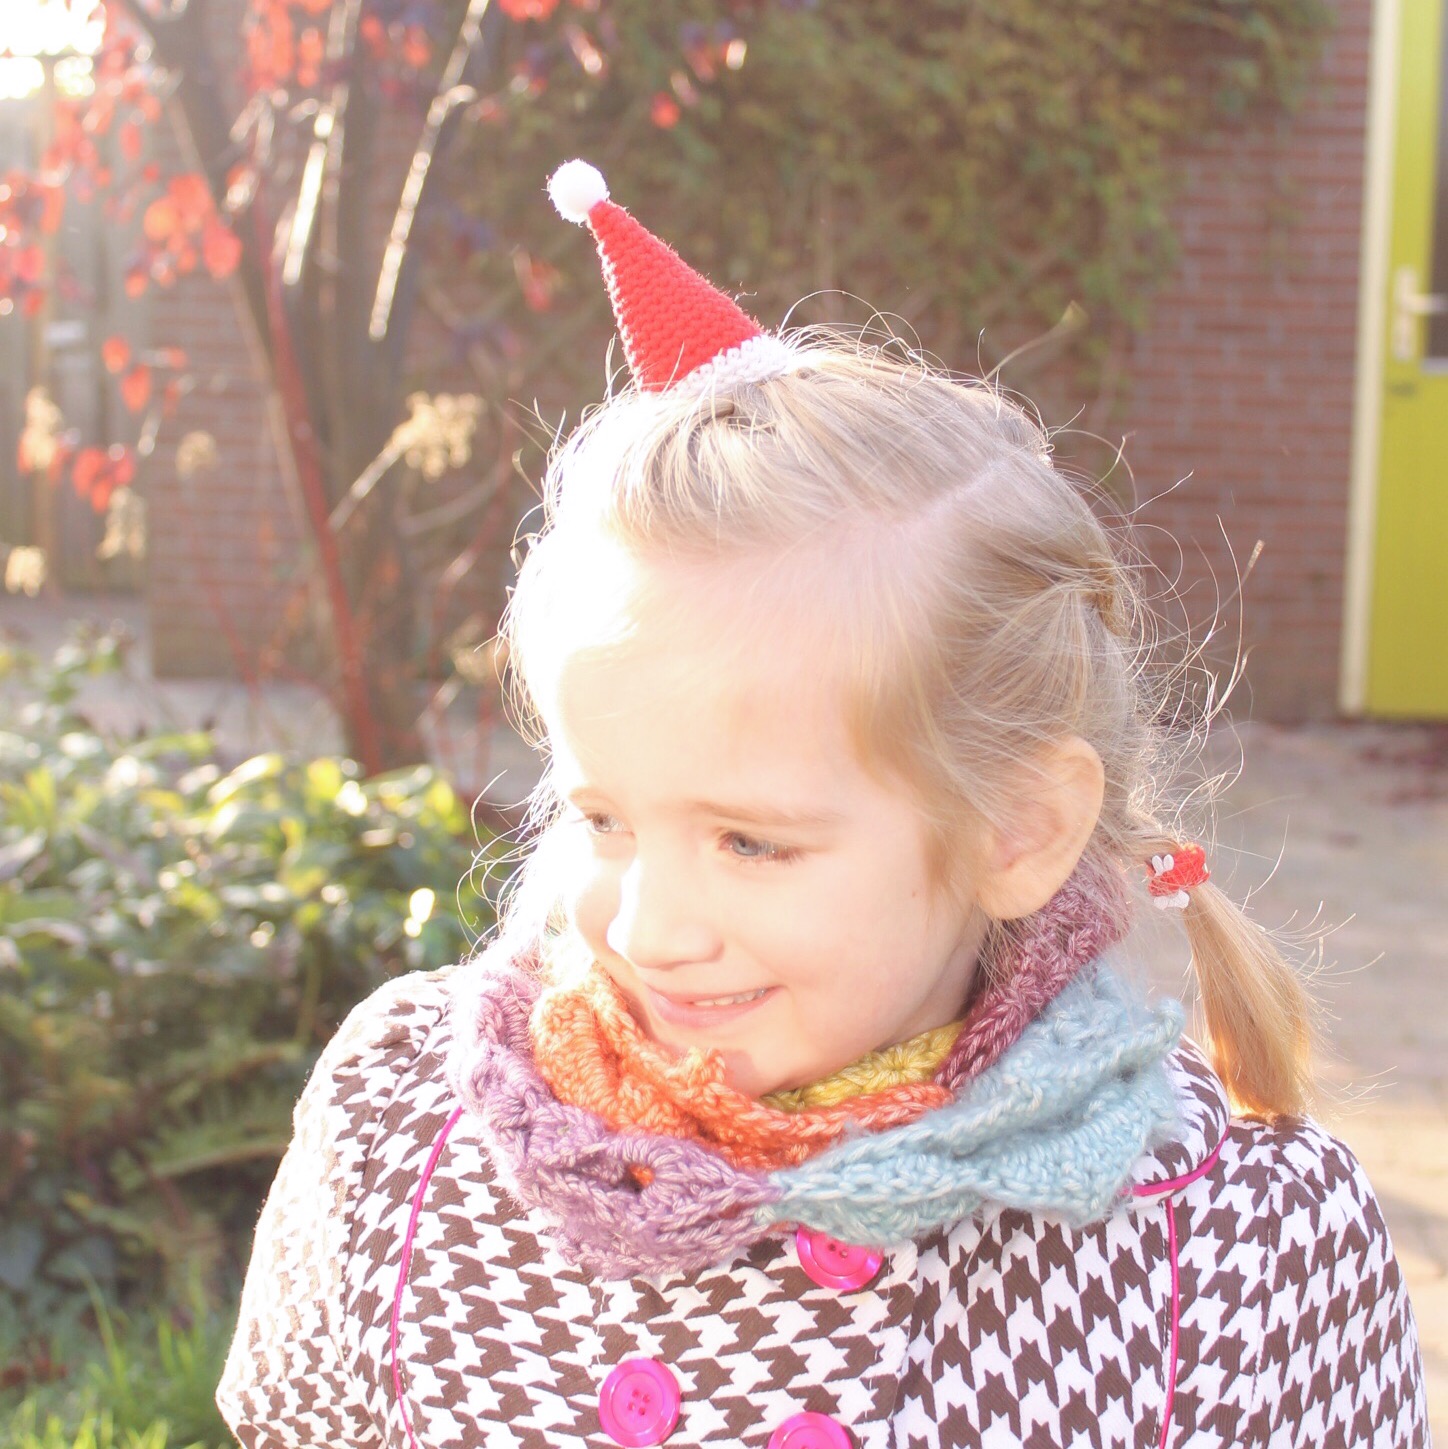
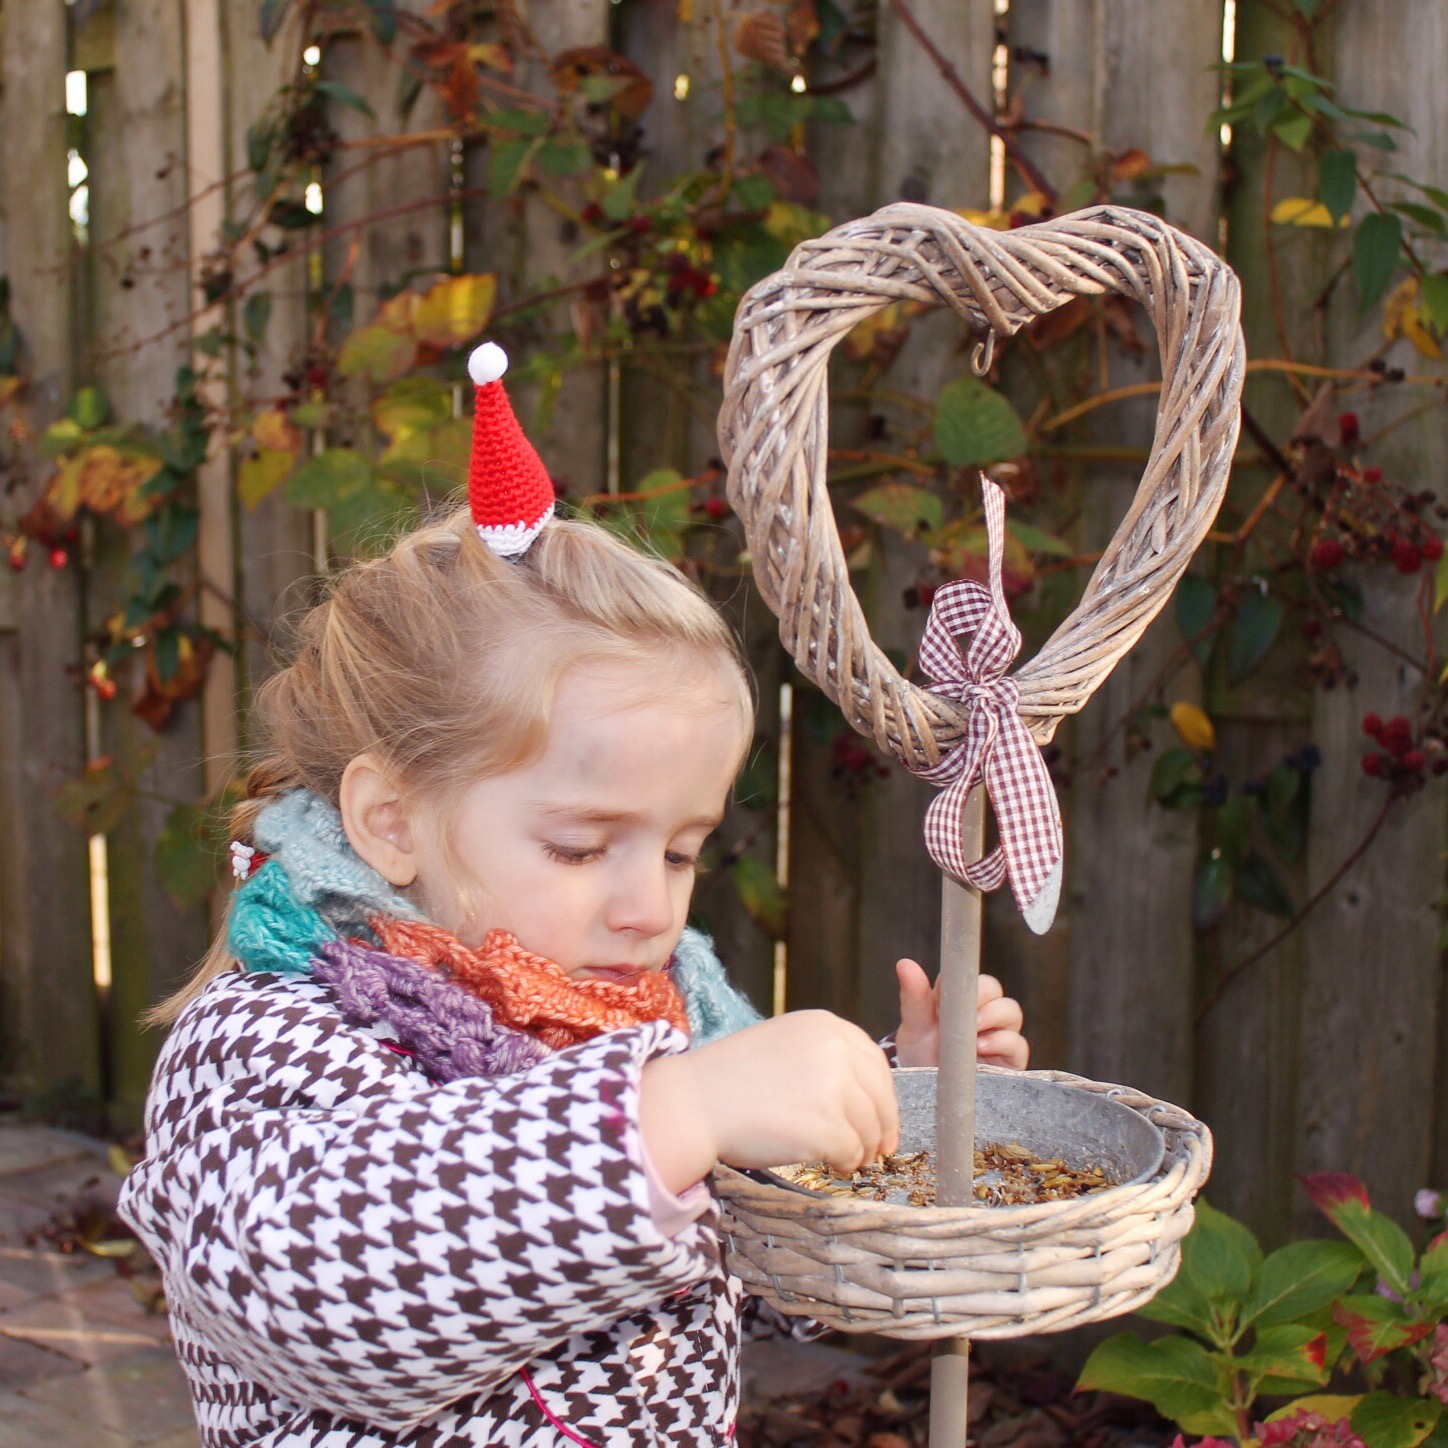
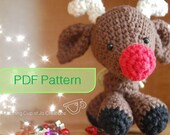
 The pattern has been updated and a few corrections made, and is ready to go for you to download and create the cutest little Santa Hat. It’s just the best Christmas accessory, everyone comments and they’re just so much fun when you see them bobbing through the busy Christmas Market crowds. I guarantee that you’ll be stopped multiple times to be asked where you found your hat, and you’ll have so much satisfaction from being able to say, “I made it myself!”